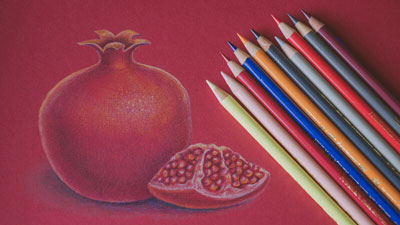
Materials for This Drawing
For this lesson, we’ll use two distinct forms of drawing media. We’ll create an underpainting with markers and then apply wax-based colored pencils over the top. We’ll apply the two mediums to marker paper, which will help prevent any bleeding from the markers and provides a smooth surface for creating transitions of color and value.
The markers are capable of filling in larger areas of color quickly and allow for layering. However, it can be difficult to develop details with the markers. The colored pencils, on the other hand, are designed and better suited for details. However, covering large areas with colored pencils can be very time-consuming.
Luckily, we can easily combine colored pencils with markers since these two mediums work well together. This allows us to use the best characteristics of each of these mediums for our benefit.
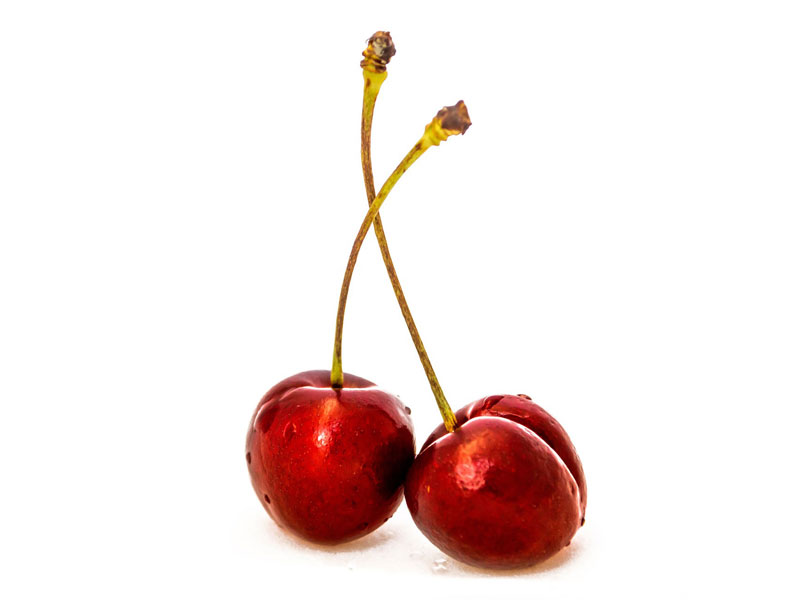
The Reference Photo
The reference image used for this drawing comes from Pixabay.com. This is a free resource for finding photo references. It has become one of the first places I look for a reference if I cannot create what I need myself. In most cases, I find an image that will work for the drawing or painting I wish to create and then edit it in Photoshop. This reference image required little editing. All I did was crop the original image down to make the composition vertical. (A horizontal composition left too much negative space around the subject.)
Here’s a look at the edited reference photo…
How to Draw Cherries Step by Step
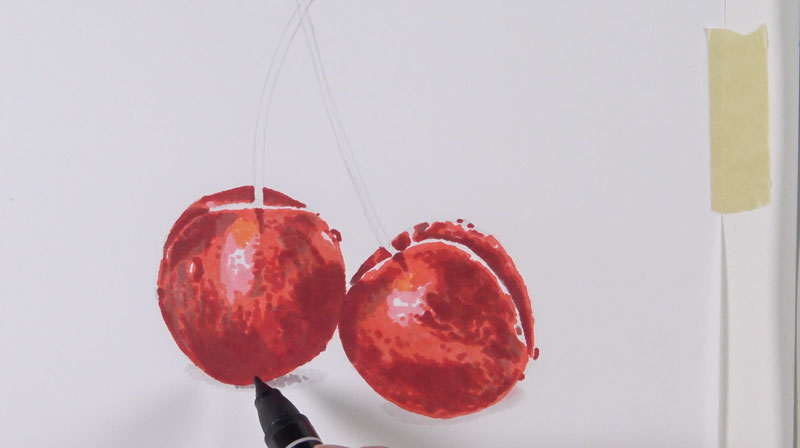
After we have created a light contour line drawing of the cherries on marker paper using an H graphite pencil, we can begin creating our marker underpainting. We’ll begin filling in most of the body of both cherries with an application of Carmine Red. We’ll avoid the areas of strongest highlight.
We can then begin broadening the range of value and tone. We’ll first address the lighter values with a Blush Pink and Pale Vermillion. Then, the darker tones are addressed with a Crimson Red.

See Also: How to Draw with Markers and Colored Pencils
Additional Marker Applications
As we continue to layer marker applications, we can begin to develop a bit more depth in the color. We can use a few neutrals to change the value of the colors that we have in place. First, 20% Warm Grey is applied over both cherries while continuing to avoid the highlights. This color is also used for the cast shadows found under each of the cherries.
After 20% Warm Grey, we can push the value range a little further with an application of 50% Warm Grey – and then a little darker with 70% Warm Grey.
By broadening the range of value, the form and texture of the cherries begins to make a bit more sense.
The marker applications alone produce a splotchy appearance. We’ll smooth out things a bit when we begin applying colored pencils, but we can unify the drawing a bit further with additional marker applications.
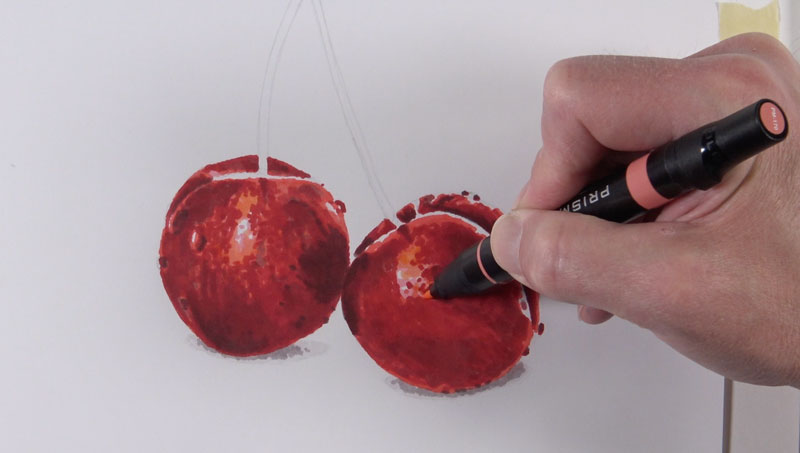
To help to unify the colors on the cherries and to add a bit more consistency, we’ll go over the body of both cherries with a Poppy Red.
For the areas of lighter value, we can further unify the transitions with a bit of the color, Peach.
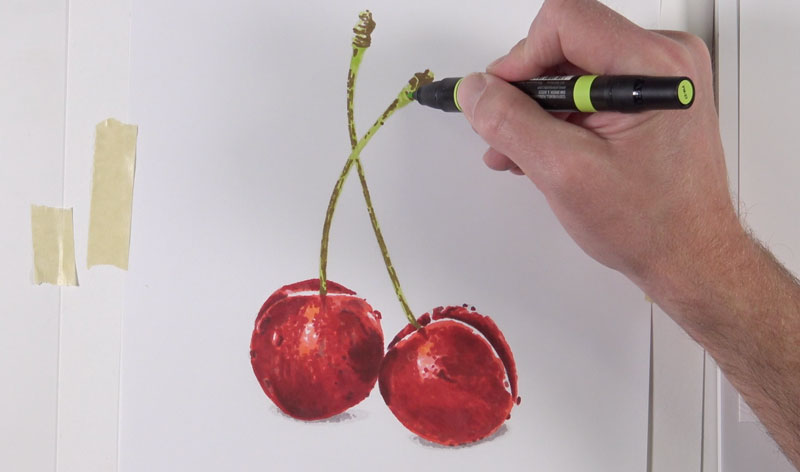
We’ll continue developing the marker underpainting by now turning our attention to the stems of the cherries. First, an application of the color, Lime Peel is applied to the body of the stem. Again, we’ll avoid the highlights, leaving the white of the paper.
A bit of the color, Dark Brown is applied to the top portion and down the shaft of each of the stems. To provide a bit more depth to the color, Cream and Chartreuse are applied.
For the darkest tones found mainly at the bottom of the stems, 70% Warm Grey is applied.
Colored Pencil Applications
Now that our marker underpainting is in place, we can begin applying colored pencils over the top. Since we’ve created a nice base for our drawing, we can now use the colored pencils to develop the details and intensify the colors. We’ve saved ourselves quite a bit of time by creating an underpainting since some of the marker applications will still show through the colored pencil applications.
We’ll begin with Tuscan Red, addressing mainly the darker tones on the first cherry. For the lighter values, we’ll use Light Peach. For the strongest highlights, white is applied.
Once these initial applications are made, we can brighten the color a bit by applying Crimson Red.
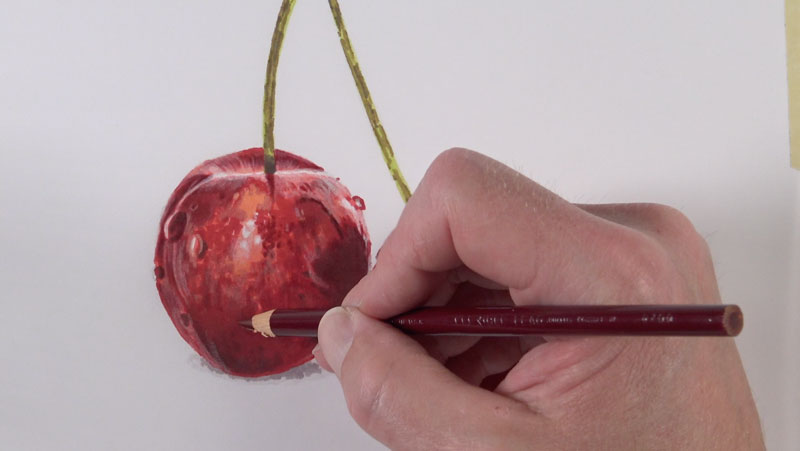
To add a bit more variety and to address some of the orange undertones, Salmon Pink and Mineral Orange are applied. The darkest areas of shadow are strengthened with a bit of Dark Umber.
Since the surface of the cherries is a smooth texture, we’ll need to be sure that this is captured in the drawing. Although the tooth of the paper is relatively weak, we still can notice a coarse texture produced by the colored pencils. To smooth this texture, we’ll need to do a bit of burnishing.

To burnish the applications in place, we’ll use a colorless blender. A colorless blender is a colored pencil devoid of any color. When applied, the wax from the pencil works the color of the applications already in place into the texture of the paper. The act of burnishing with this special pencil creates a smoother appearance to our drawing and more closely resembles the texture of the cherries.

We’ll follow the same steps to develop the colored pencil applications on the second cherry. Again, we’ll begin with Tuscan Red, Light Peach, and White.
To add a warmer, orange undertone, Salmon Pink and Mineral Orange are again used. Darker tones are addressed with Dark Umber and the color is brightened with Crimson Red. Again, we’ll burnish the colors with a colorless blender.

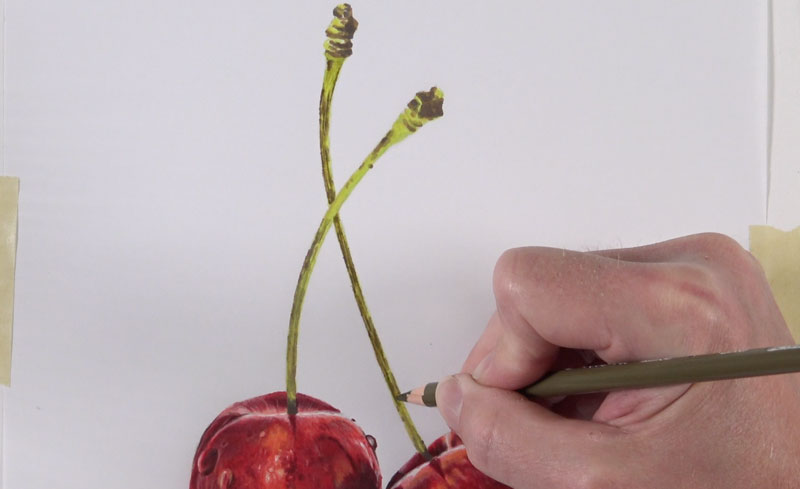
Now we’ll move on to the stems of the cherries. We’ll start with an application of Lemon Yellow with a medium to heavy application. Then we’ll apply a bit of Green Ochre to develop some of the darker tones – at the top of the stem and along the shaft.
We can add a bit of warmth to the stems of the cherries with an application of Burnt Ochre and darken up the shadowed areas at the bottom with a Dark Umber.
We’ll next apply colored pencils to the cast shadows under the cherries. First, 20% Cool Grey is applied, followed by a darker 50% Cool Grey.
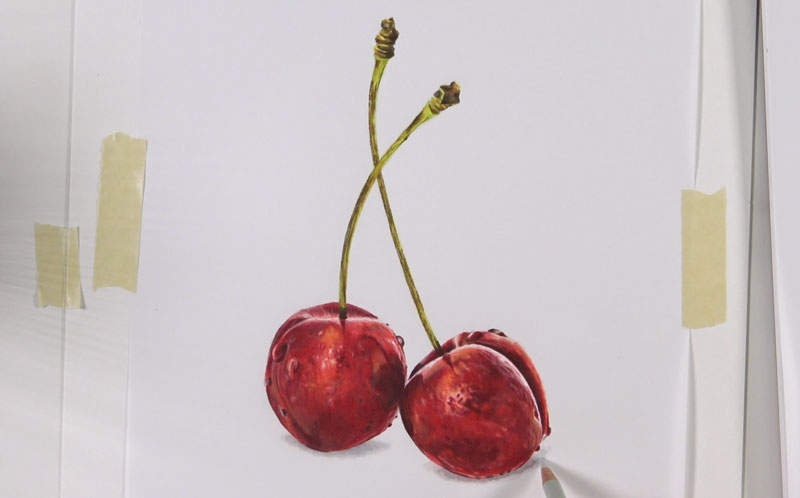
To complete the image, we’ll revisit the body of the cherries with Scarlet Lake. This color acts to unify the variety of reds and oranges and smooths the transitions of value further.
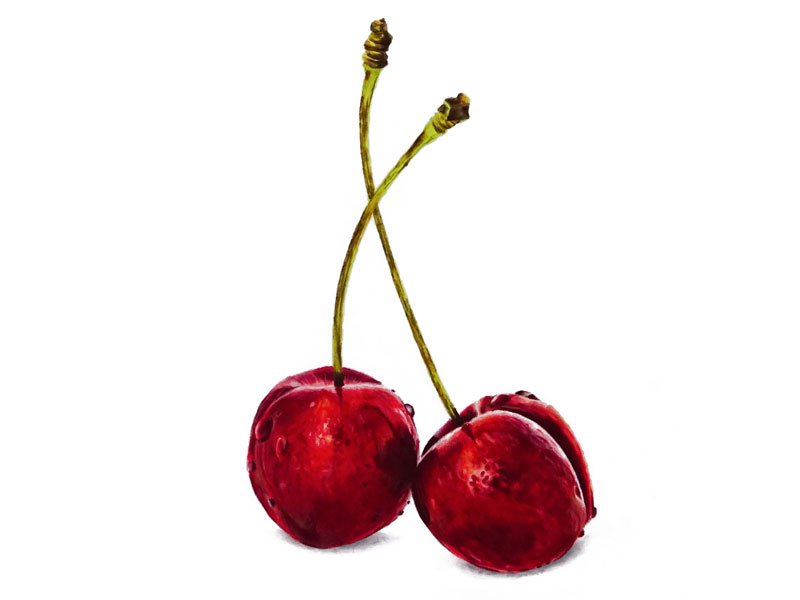
Conclusion
When we mix drawing media, we can take advantage of the strengths of each medium that we use. In this case, we saved a bit of time by creating an underpainting with markers. Since colored pencils are suited for finer details, we used them to develop the details in our drawing. No matter the medium or combination of media that we use, patience is important for drawing success. We often must work slowly and allow our drawing to develop through layered applications.
If so, join over 36,000 others that receive our newsletter with new drawing and painting lessons. Plus, check out three of our course videos and ebooks for free.