As winter passes, a single leaf remains on the vine. The young artist’s health improves, but her friend has stopped visiting. When the winter snow melts, he is found in the alley. He had passed away in the cold after painting, next to the vine with a single leaf.
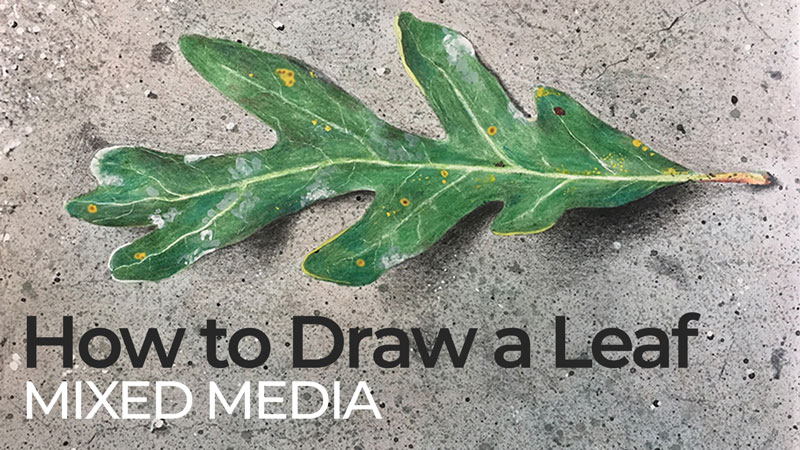
As I write this, Autumn is setting in and the leaves are beginning to fall. These wonderful creations are each a masterpiece of their own. In this lesson, we’ll combine watercolor and colored pencils to create a drawing of a leaf with watercolor and colored pencils.
How to Draw a Leaf with Mixed Media
You will need the following materials…
Surface – Bristol Board (or illustration board, Bristol paper, or another smooth paper). This surface is rigid enough to support a variety of different mediums and strong enough to accept light watercolor applications.
Colored Pencils (I use Prismacolor pencils, but any other brands are fine.) General colors that are used…
- White
- Yellow-Green
- Green
- Dark Green
- Yellow
- Black
- Brown
- Red-Orange
- A Colorless Blender
We’ll use a bit of black watercolor paint to splatter a bit of texture along with tempera paint or gouache to add a few finishing touches. You’ll need a few basic colors of tempera or gouache…
- White
- Yellow
- Red
- Blue
We’ll also use a few different brushes…
- Small round watercolor brush (size 0 – 2)
- Flat atercolor wash brush (¾ inch or larger)
- Flat acrylic or oil painting brush (1/2 – 1 inch)
Step 1 – Tone the Paper with A Watercolor Wash
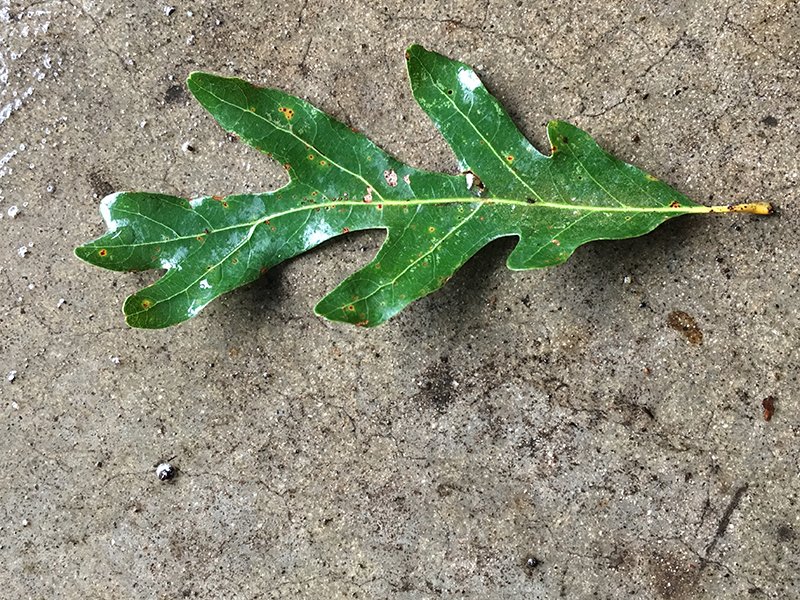
To follow along, print the reference photo from the link below. You can also take your own photo of a leaf.
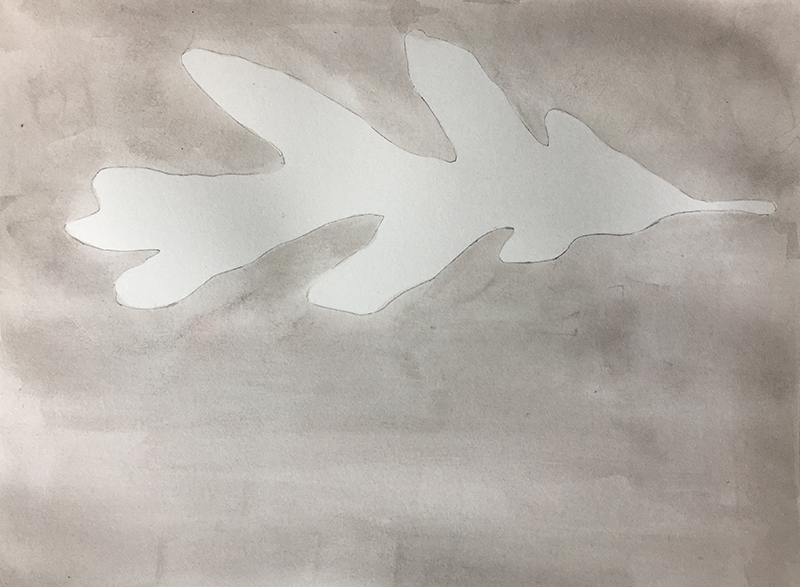
For both steps one and two, you will need a cut-out of your leaf shape. To create a cut-out, draw your leaf shape on a separate sheet of paper. It isn’t crucial that your leaf match the reference exactly. Focus on the character of the contours (smooth, jagged, straight, wavy, etc.). After cutting out the leaf shape, trace it onto your project paper. For this mixed media piece, we will paint most of the background and draw most of the leaf.
Let’s begin in the background with a watercolor wash.
Step 2 – Watercolor Wash
Moisten the paper by painting around the leaf with clear water. Don’t wet the leaf shape. With the paper moist, brush strokes will bleed/blend together, creating an even layer of color. Dilute the black paint with enough water to make a very light grey.
Step 3 – Add Some Texture
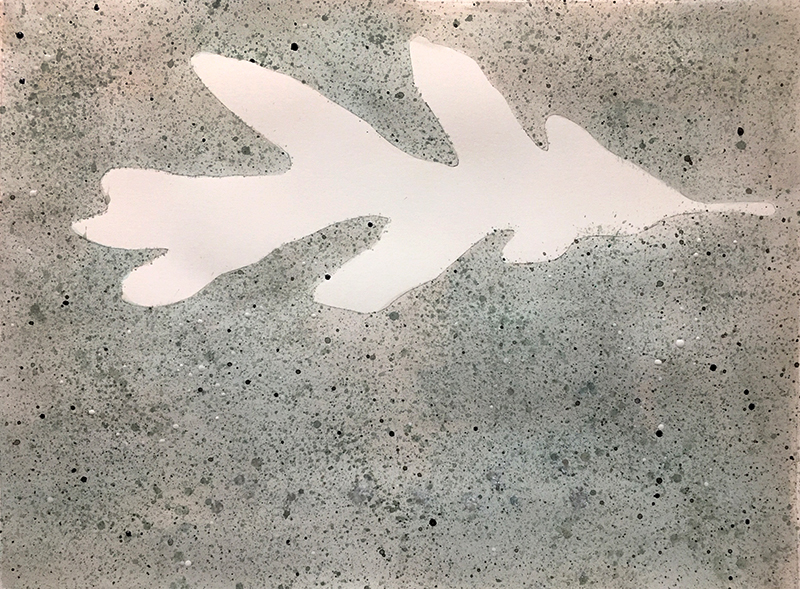
The surface of an oak leaf is smooth. I like how the gritty, rough surface of the concrete juxtaposes with the leaf. Using the cut-out from step one, cover and mask the leaf shape in the drawing. This will protect the white of the paper. Use tape to hold the cut-out in place. Splatter and flick tiny flecks of watercolor paint onto the painting. Use the flat oil or acrylic brush for this. You can also use a toothbrush which also creates a nice splatter pattern.
Splatter the watercolor paint from different directions to avoid creating a distinct pattern. Vary the amount of water in the paint to create different values. Try more that one spatter technique (thumb over the bristles, wrist flicks, etc.). Have paper towels on hand to blot away any splatters that are too large or otherwise undesirable.
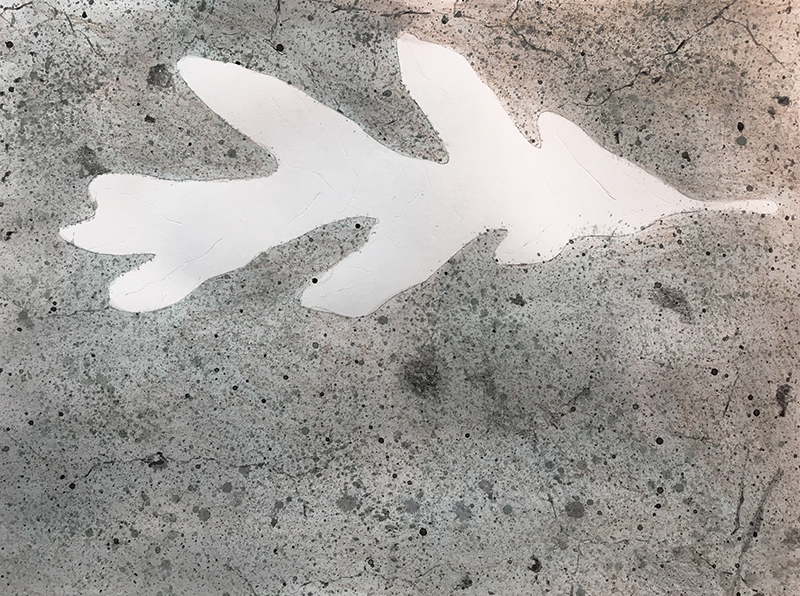
Once the paper has been covered, you may remove the mask from the leaf shape. The leaf shape is nearly free from speckles.
Step 4 – Debossing the leaf’s Veins
The small veins of the leaf are a challenging detail. Usually, I save details for last but in this case, addressing the leaf’s veins now will save some work in the end.
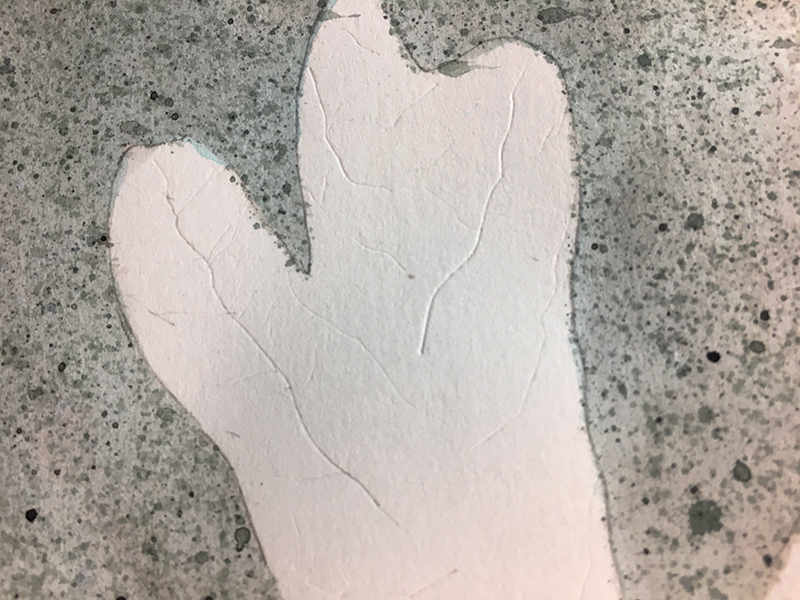
Debossing is stamping or pressing down into a surface. Using a hard point, (awl, compass tip, scissor tip, etc.) draw in the smaller veins. They will not show up well now, but after layering color pencil over these marks, the light-colored veins will emerge.
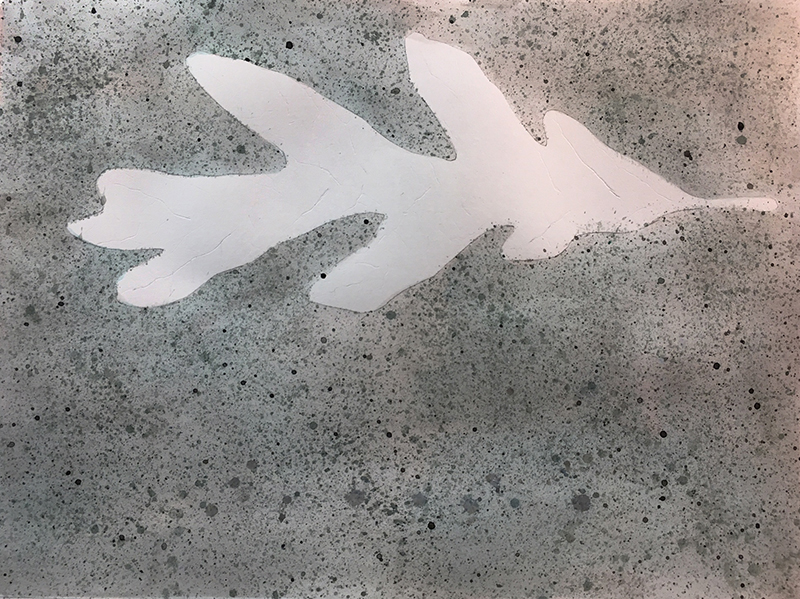
Here’s a closer look at the debossed veins of the leaf…
Step 5 – Add Details with Colored Pencils
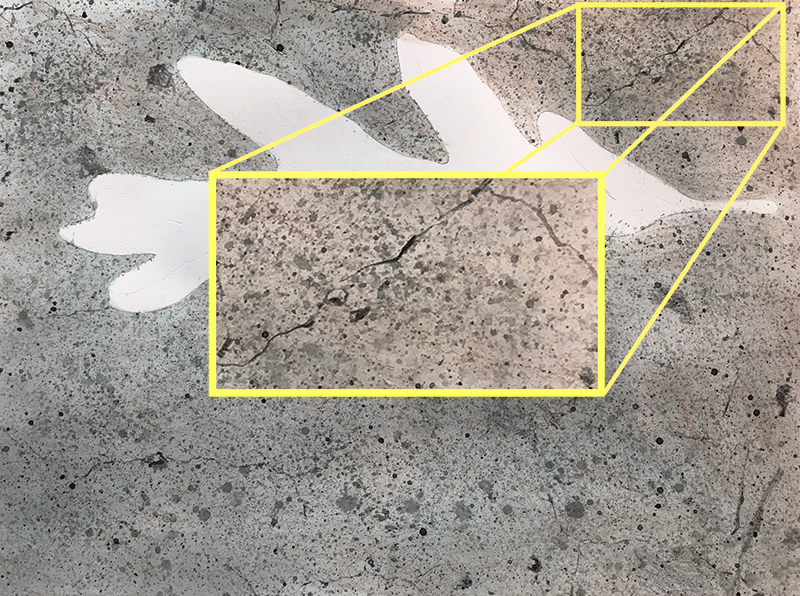
The background speckles are a great start but some purposeful marks made with a black colored pencil will make them more convincing. The dark patch in the center of the composition and faint surface cracks add character and specificity to the image. Add small marks that are less circular and mire irregular than the watercolor splatters with the black colored pencil.
Look at the detail below. Can you distinguish the watercolor marks from the color pencil marks?
Step 6 – Adding Color and Value to the Leaf
Most leaves are flat with subtle surface undulations. This means that the value changes that create in the drawing will be subtle.
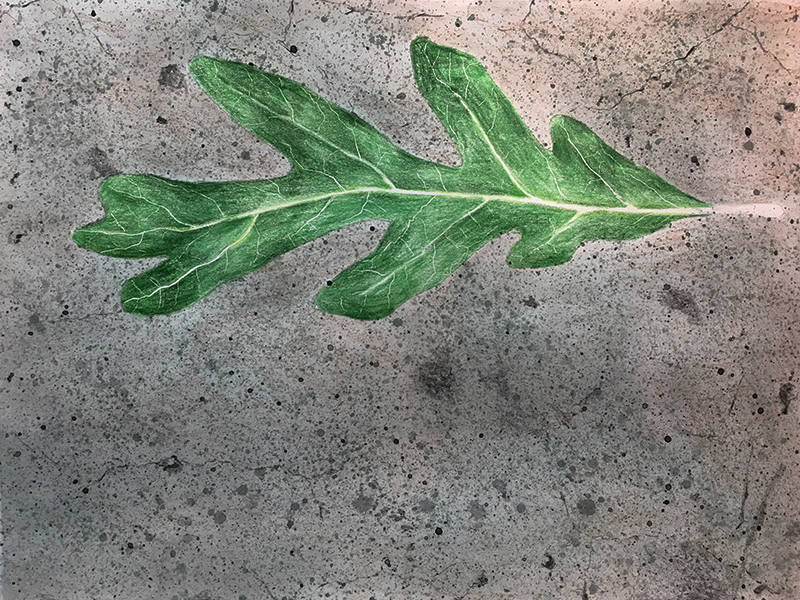
Starting with the yellow-green pencil, lightly shade near the central axis of the leaf. Develop the thick stem that runs through the middle by adding color along both of its sides. Switch to the green pencil and cover the entire leaf with a base coat of color. (Be sure to choose a natural green for this. Greens that lean closer to yellow-green will produce better results.)
Use pressure changes to control value. Heavier pressure will produce darker applications. The leaf is not the same value everywhere. Keep your values a little lighter than those you observe in the reference photograph, you can always make them darker if you need to.
During this step, I also added an imperceptibly small amount of brown over the background using color pencil. This created a more natural appearance. Use only the weight of the pencil with no additional pressure to add this light application.
Step 7 – Using Black and White
Gradually add black colored pencil to the darkest areas on the leaf. This will darken the value and lessen the intensity in these areas. Use the black pencil to create the cast shadows under one side if the leaf as well. Notice how soft the edges of the cast shadows are. Begin in the darkest areas of shadow and gradually lighten your pressure. Be sure to keep your strokes together to avoid a “scribbly” look.
Use the white colored pencil to blend the pencil strokes out of some areas on the leaf. See how some areas (near the stem) of the leaf look smoother while other areas remain rough (below).

Both the white pencil and the colorless blender will smooth the speckled quality of your colored pencil stokes. However, the white pencil weakens the color’s intensity and will lighten it as well. The colorless blender will not weaken the intensity and may actually darken the colors.
Of course, the blender pencil is not really darkening the color. It is, however, smudging color into the tiny white speckles that show through our colored pencil strokes. Eliminating the white speckles optically darkens the color.
Use the yellow pencil on the stem at the end of the leaf followed by some shading along its bottom edge with the red-orange pencil. A few speckles are added with the black pencil and the stem is done.
Step 9 – Using The Colorless Blender
Now it’s time to blend and smooth any remaining areas of the leaf that did not receive the white pencil. This will give the leaf a uniform surface that contrasts well with the rough background. We’ll avoid using the blender pencil on the cast shadow though. The unblended pencil helps to further describe the fine bumps of the gritty surface.

Step 9 – Subtle Adjustments
The bulk of the artwork is finished. Now it’s time to take a hard look at our piece and make some adjustments if necessary. I feel as though my leaf needs to be darker in value. I can still add some green over the blended leaf, making some areas darker.
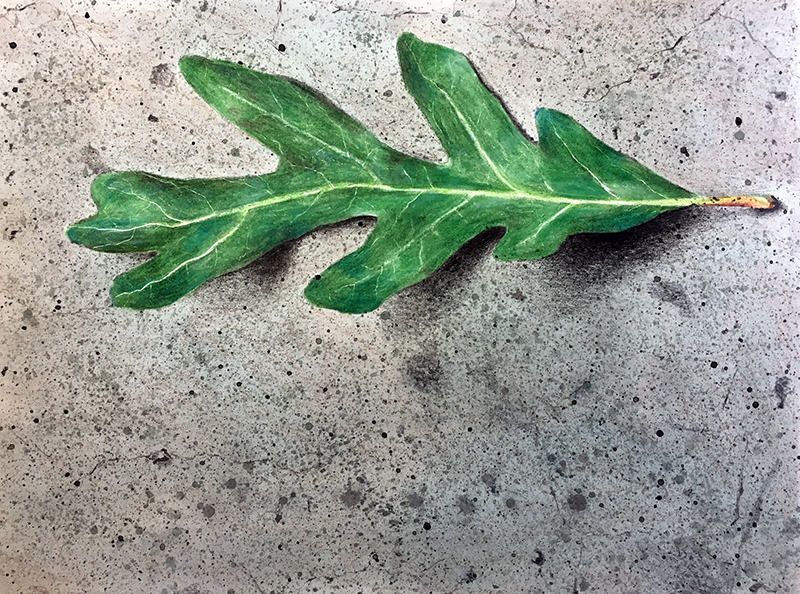
Step 10 – Finishing Touches to Our Drawing of a Leaf
Time for the tempera (or gouache or poster paint). Sometimes these paints are referred to as opaque watercolor because the binder (also called vehicle) is the same as watercolor – gum arabic. Gum arabic is soluble and can removed with a damp sponge if you don’t like what you have done. It is forgiving as a binder.
Tempera can also work as a semi-transparent paint. The milky blue/grey reflections in the leaf are created with semi-transparent applications of tempera (see below). Add a little water to a light blue mixture to create this effect. The white reflections and yellow speckles do not have extra water in their mixture so these marks remain opaque.
You can also add some extra detail to the background with white and black tempera paint as well. This will help to unify the whole composition since the medium is used throughout the work.

That’s it. We’re done. This leaf may or may not have have given hope to the woman from the O’ Henry story, but it sure was fun to create.
If so, join over 36,000 others that receive our newsletter with new drawing and painting lessons. Plus, check out three of our course videos and ebooks for free.
Lesson Discussion
Comments are closed.


Hi! Drawing is a hobby and my calming balm. My pace is when I feel upto it- could be once a month or once in three months.
My interest is to create something and bathe in the happiness this gives. I like to work with water and pencil colours.
I am interested to have guided videos of these two mediums.
Do let me know how to go about this.