Gettin’ Sketchy – How to Draw a Sloth with Charcoal – Season 4 Episode 1
This episode aired live on YouTube on June 2, 2021.
Gettin’ Sketchy is broadcast live on YouTube. In each episode, we try to create a drawing within a timed period – usually 45 minutes. While 45 minutes isn’t really enough time to create a “finished” drawing, it’s enough time to create a looser sketch. Depending on the medium used, some drawings appear more finished than others. Gettin’ Sketchy is about having fun, practicing drawing skills, and providing tidbits of drawing instruction.
While the focus of Gettin’ Sketchy is about speed, it’s only fitting that we draw a very slow animal. In this lesson, we’ll draw a sloth with charcoal.
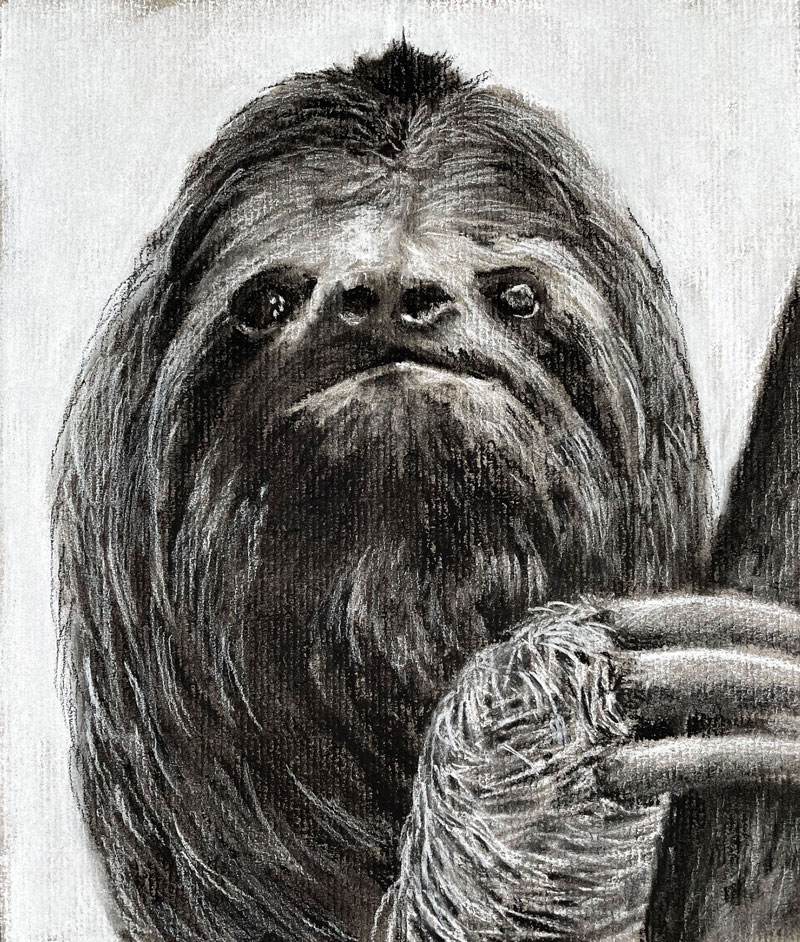
Here’s a look at the completed image…
Drawing with Charcoal
Charcoal comes in several different forms, each with their own strengths and weaknesses. In this lesson, vine charcoal, compressed charcoal, and white charcoal are used on gray toned paper. Since the vine charcoal is loose and easily erased, it is used first to create somewhat of an underpainting.
Compressed versions of charcoal follow after the vine charcoal to define and refine the details of the sloth. Compressed charcoal is more difficult to erase than vine charcoal, but it is much darker and less powdery.
With charcoal especially, a kneaded eraser is a valuable tool. In this case, the eraser is used to remove charcoal material to create grays and to keep the drawing tidy throughout the process.
See also: All About Drawing Papers
The toned surface allows us to push values as the drawing develops. Since the paper is gray, we can begin with medium grays and gradually extend the value range by adding both lights and darks. This is an advantage that we don’t have when we work on white paper but it also means that we must use a medium that can produce light values as well as dark ones. In this case, the white charcoal serves to develop the lighter tones.
See also: 6 Reasons to Draw on Toned Paper
Here are a few lessons and lesson series that provide more information on charcoal and its usage. Some of these lessons require membership…
- How to Draw a Raven with Charcoal
- The Secrets to Drawing – Charcoal (Membership Required)
- Charcoal Drawing Techniques
- How to Draw an Ostrich with Charcoal – Lesson Series (Membership Required)
- Landscape Drawing with Charcoal – Lesson Series (Membership Required)
Photo Reference
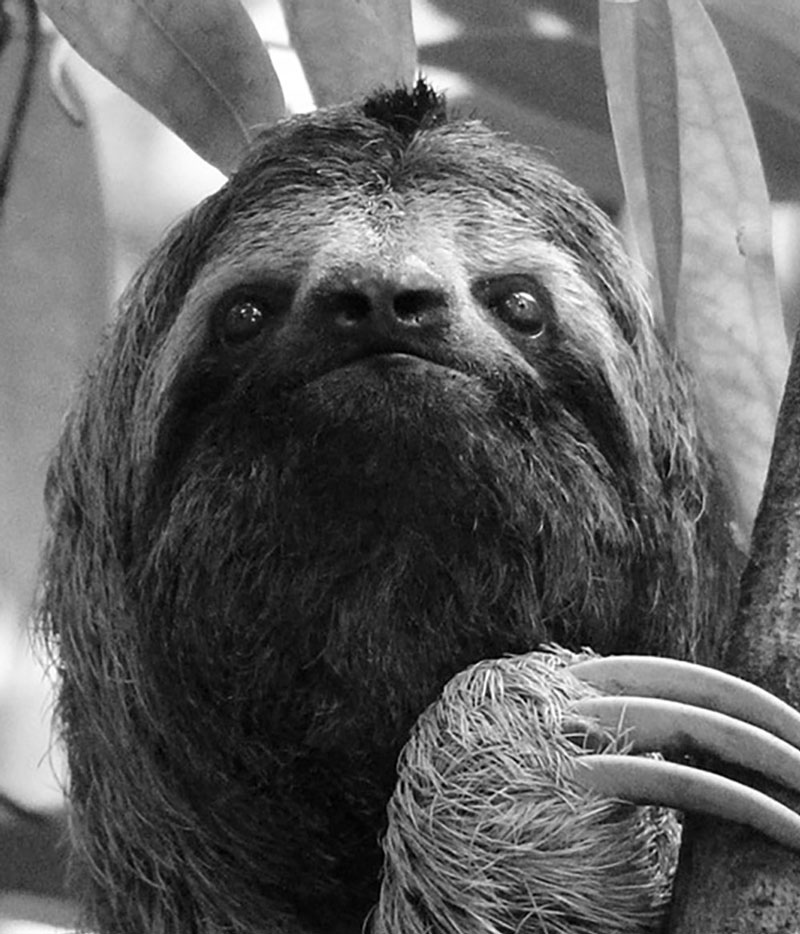
A reference photo was used to develop the drawing of a sloth. The original image featured the entire body of the sloth. Since I wanted to focus on only the head and claws, the original image was cropped. The original image comes from Pixabay.com
Here’s a look at the photo reference…

How the Drawing Develops
The approach I take to create a drawing changes slightly or dramatically depending on the medium chosen and the subject. However, in most cases, I like to define the overall shapes of the subject and gradually refine the contours before moving on to the finer details.
This often means that I will start from the outer contours (or outlines) of the subject and work my way in. This approach to drawing is often called “construction”.
See also: Drawing Basics – Construction
This is not the approach I took with this subject. Instead, I began with the eyes and nose and worked outward. I choose to work in this manner because I noted a clear relationship between the locations of these features and I knew that this area would become the focal point of the drawing.
This is a unique example of taking a different approach to laying out a drawing, but still getting similar results. In this case, I noticed that the eyes of the sloth are on a similar “line” as the nose, with the mouth just below it. This was an easy and natural place to begin making marks and more importantly, making comparisons.
We know that drawing is about observation. And close observation requires making comparisons. As we work through a drawing, we make comparisons to portions of the drawing we have already established. But we must begin somewhere and have some visual information place in order to make these comparisons. In this way, the starting point for this drawing begins within the outer contours and the comparisons expand outward from there.
Drawing a Sloth with Charcoal – Conclusion
When we draw any subject, we improve. Often the most challenging subjects present the most opportunities for growth and development. But no matter how difficult the subject may be or the challenges presented by the medium, the most important factor for improvement is action. Practice is key to improving your drawing skills. The more that you draw and the more that you challenge yourself with the subjects that you chose, the faster your drawing skills will develop. Even sketching for just 45 minutes forces you to work the same observational “muscles” that you use to create longer, more finished drawings. Even if your life is very busy and you wish to improve your drawing skills, then time to practice for just 45 minutes should be easy to find.
If so, join over 36,000 others that receive our newsletter with new drawing and painting lessons. Plus, check out three of our course videos and ebooks for free.