This is a mixed media project since we’ll use a combination of art supplies to create this art. Watercolor is used to create an under layer while colored pencils are used to develop texture and details.
In this lesson, I’ll also show you my process of designing an illustration of food, incorporating a color scheme with a logical decision-making process.
Art Supplies for this Project
I’ll be working on an A4 sheet of watercolor paper. Its surface has a rough texture which is a feature that can be used to our advantage.
We’ll need a graphite pencil to create an underdrawing. I recommend using an HB or H pencil. Softer options produce heavier lines which would be difficult to erase. Keep some erasers at hand – a kneaded and vinyl eraser are the perfect set for this project.
See also: 9 Must Have Colored Pencil Supplies
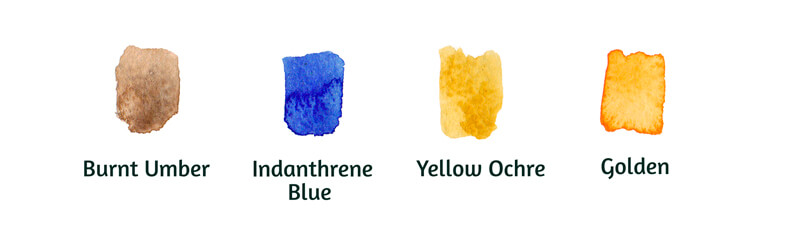
My watercolor paints are White Nights by Nevskaya Palitra. (Feel free to use any brand that you wish.) I’ve chosen only four colors, but this range is more than enough for our art.
We’ll also need some brushes to apply the watercolor. The primary tools that I’m going to use are round squirrel brushes sized 2 and 5. There is also a synthetic bristle brush used to create expressive watercolor splashes.
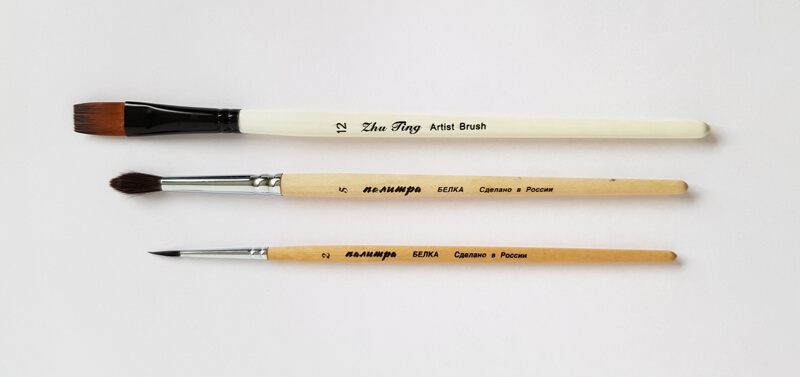
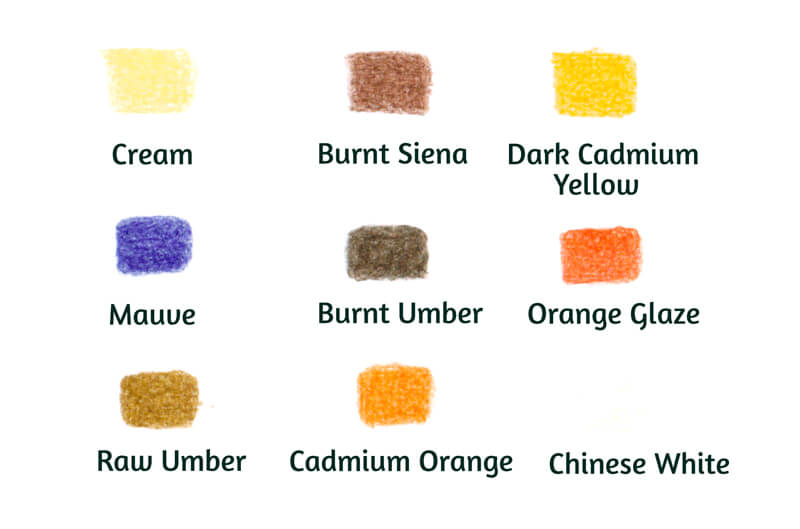
The majority of my colored pencils are Faber-Castell Polychromos except for one. Chinese White is from the Derwent line. I prefer this white pencil because it produces a dense and solid covering. It makes it easier to create highlights.
Note that this pencil is very soft, so its tip becomes dull quickly. A pencil sharpener will help to keep your pencils sharp and ready for precise mark-making.
Below you’ll find the names and swatches of the chosen colored pencils.
Details and Colors for the Cake Drawing
I strongly recommend developing a concept before we start drawing. What should your cake look like? Will the shape of its foundation be close to a triangle, a square, or a rectangle? Will there be any adornments on the top plane of the cake?
The easiest way to get a ready-made concept is to use a qualitative reference photo. Also, you can check some existing cake recipes with illustrations and find one to continue with. However, I suggest a different approach. I’m going to use my memory and imagination to make decisions. The first step is to create an image in your mind.
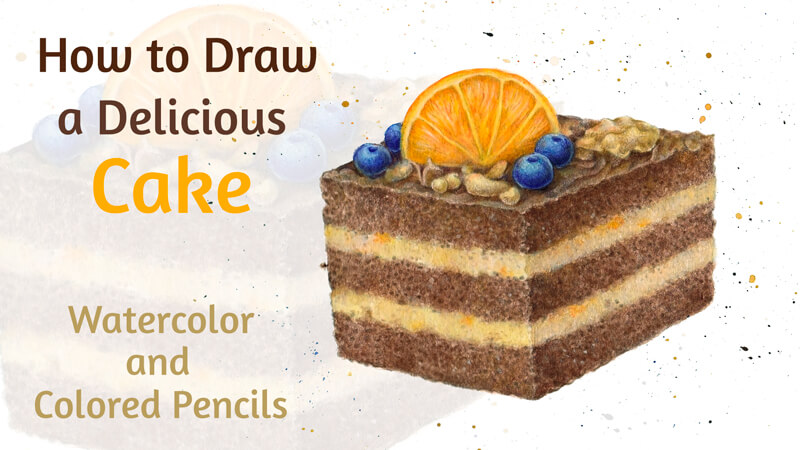
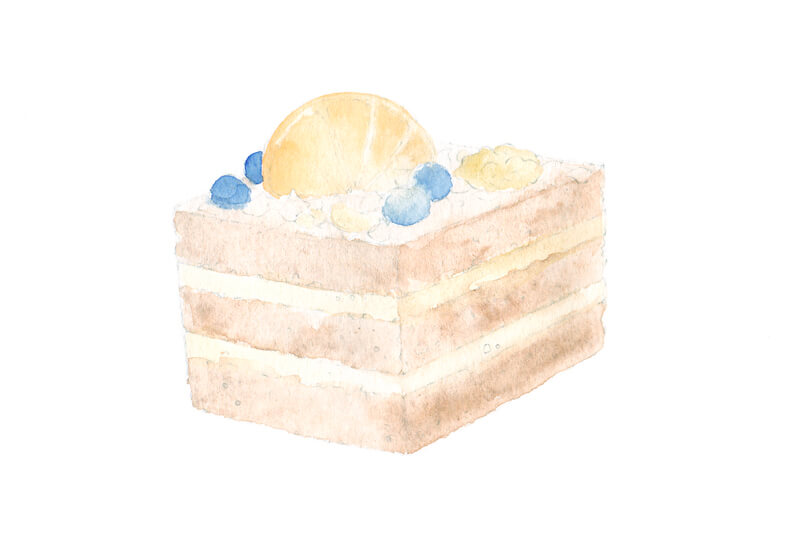
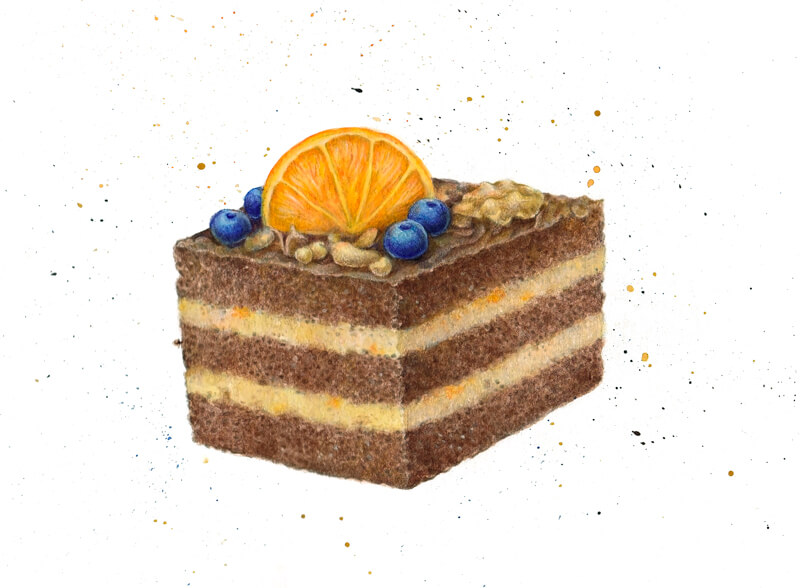
Let’s say that my piece of cake will resemble an elongated cube – or, more correctly, a rectangular cuboid.
There will be three brown biscuit layers with light-colored cream in between. The top plane of the cake will be covered with chocolate frosting. Additionally, it will be decorated with blueberries, nuts, and a slice of a tangerine.
Why a tangerine and not an orange? The answer lies in the compatibility of ingredients and personal preference. I believe that a tangerine is a better choice with berries in terms of taste.
The imaginary “recipe” is up to you. Take a moment to think about your favorite desserts. It may be useful to write down or sketch your ideas. You’ll find my quick sketch in the image below (illustration a.)
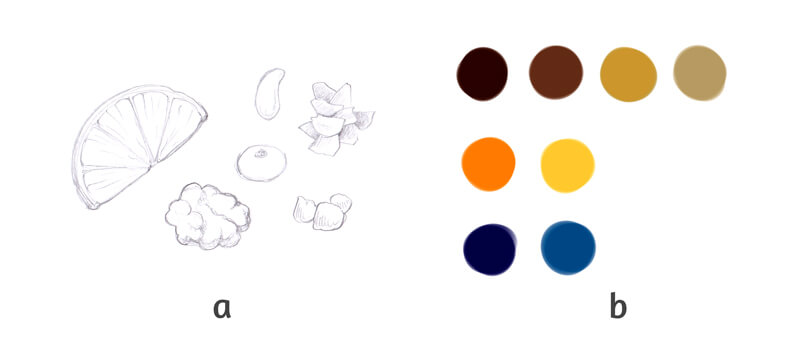
Along with the ingredients, we should decide on the colors. The cake itself will be in the range between light yellow-orange and dark orange. The saturation of colors can vary.
Also, I’m going to include some pure orange and yellow-orange accents. The tangerine slice will have the strongest intensities of these colors.
To make the art more interesting, I’m going to add several blue elements – the berries. On the color wheel, orange and blue are opposite of each other. A minor addition of the complementary color will create a pleasant color contrast. To ensure that the berries fit harmoniously into the general color scheme of our artwork, I’m going to shift blue towards blue-violet in the shaded areas.
The process of making color decisions can happen inside your mind. Or, if you wish, jot down some options, using pencils, paints, or digital software. Do you like the resulting palette?
My color map is presented in the image above (illustration b.)
See also: Color Theory – The Elements of Art
Drawing a Cake with a Graphite Pencil
Let’s start with the framework of our cake. The form is close to a cube, but is slightly elongated. The vertical lines diverge to a minor extent, which strengthens the impression that we’re looking on a cube from above. This also adds a dynamic feel to the artwork.
Keep your graphite marks as light as possible. Please note that I’ve intensified the lines in my process images for your convenience. Your lines may be barely visible.
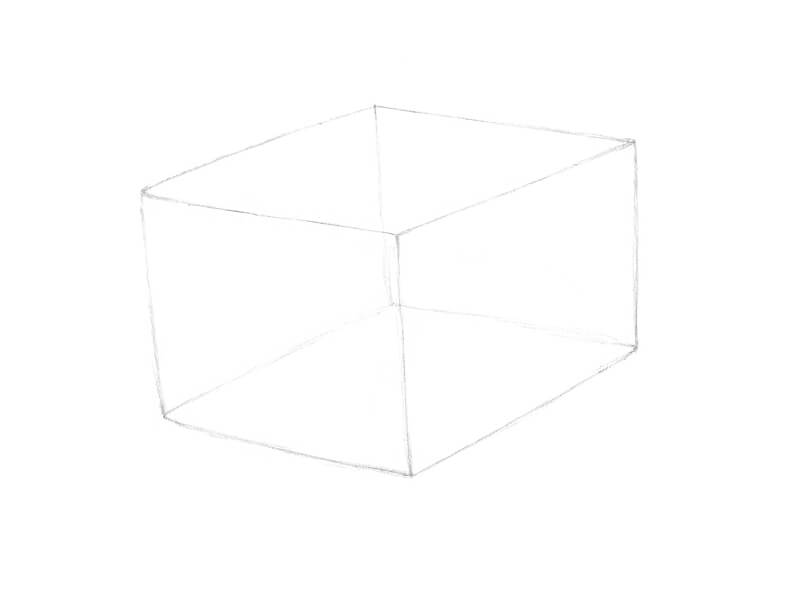
As we decided in the previous step, the cake should have three biscuit layers with cream sections in between. Keep the principles of perspective in mind while marking the borders!
With the form in place, I add the rough shapes of the tangerine slice, nuts, and blueberries that decorate the top of the cake.
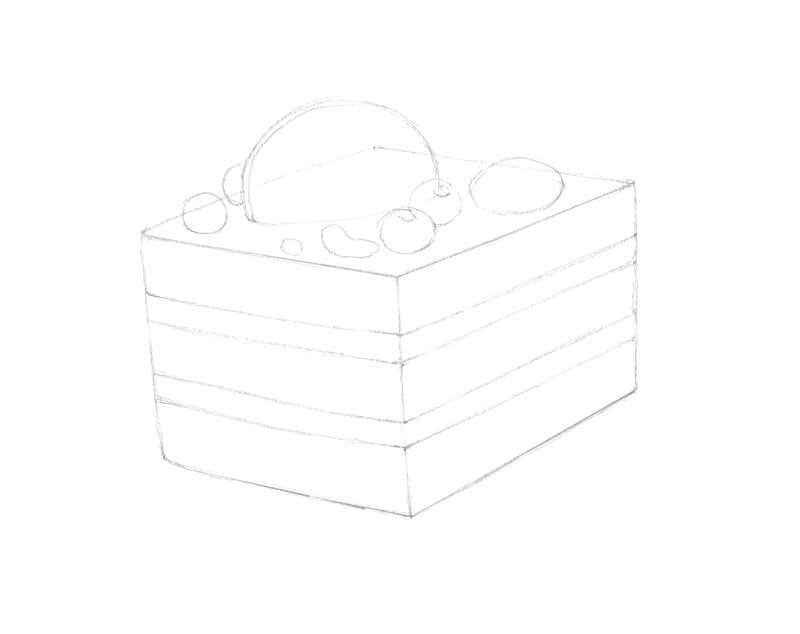
I refine the elements on the top plane. I also add some chocolate shavings to fill the space between the nuts and berries.
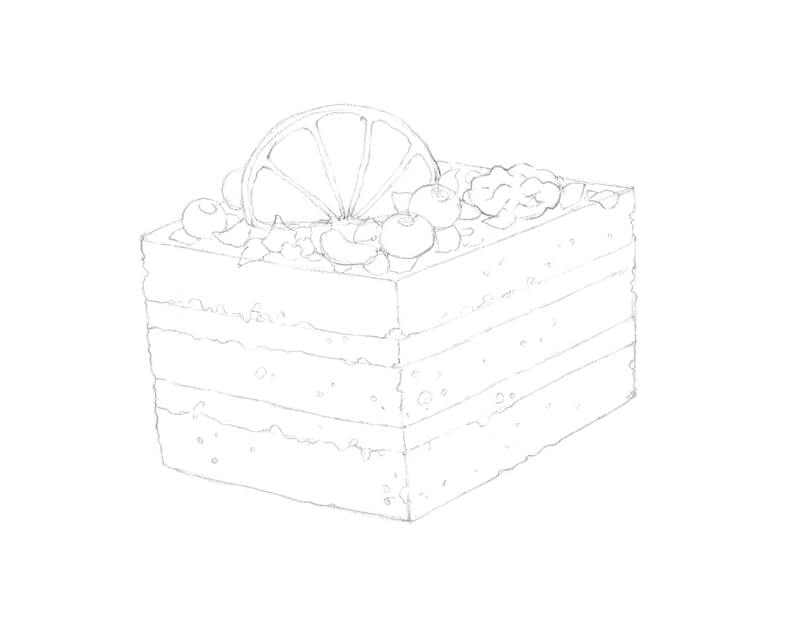
With an eraser, I soften the borders between the layers. Straight lines don’t look natural – they should have some twists and turns. The same is true for the outer edges of the cake and the general contour line.
You can add some details of texture – a piece of cake usually has a porous look and feel. Vary the hollow openings so that you have some smaller and larger ones. However, don’t overload the drawing with too much visual information.
Painting the Under Painting with Watercolor
With our sketch in place, we’re ready to create a tinted underlayer of watercolor. This step will help us to save time before we proceed to colored pencils. The great advantage of watercolor is that it quickly covers the surface, so no specks of white paper are showing through the applications.
Using watercolor may be intimidating for some artists. It’s no wonder since this medium requires skill and practice to create more or less complicated art pieces. If that’s true for you, don’t worry. Everything that we’ll be doing in the following steps is beginner friendly.
See also: Watercolor Painting Lessons
First, soften the graphite marks with a kneaded eraser. It is almost impossible to remove excess graphite after the watercolor is applied and dried.
I start with the darker layers of the cake. With the larger round brush, I moisten the area with clean water before applying the paint. Burnt Umber is my choice for the biscuit layers, the top plane of the cake, and the chocolate shavings.
I apply Yellow Ochre to the lighter cream layers. The paint is heavily diluted with water so the value is very light. I address the nuts with this color too.
I moisten the borders between the lighter and darker layers of the cake to create a soft transition.
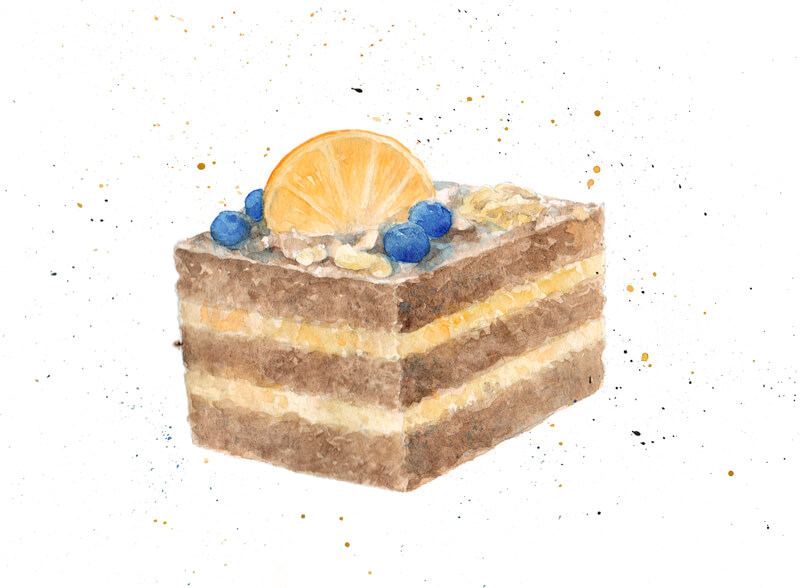
I cover the tangerine slice with Golden. Then I add Indanthrene Blue to the berries. Be careful – allow the surrounding areas to dry before applying the contrasting blue paint to prevent bleeding and desaturation.
As you can see, the first layers of paint looks faded and light.
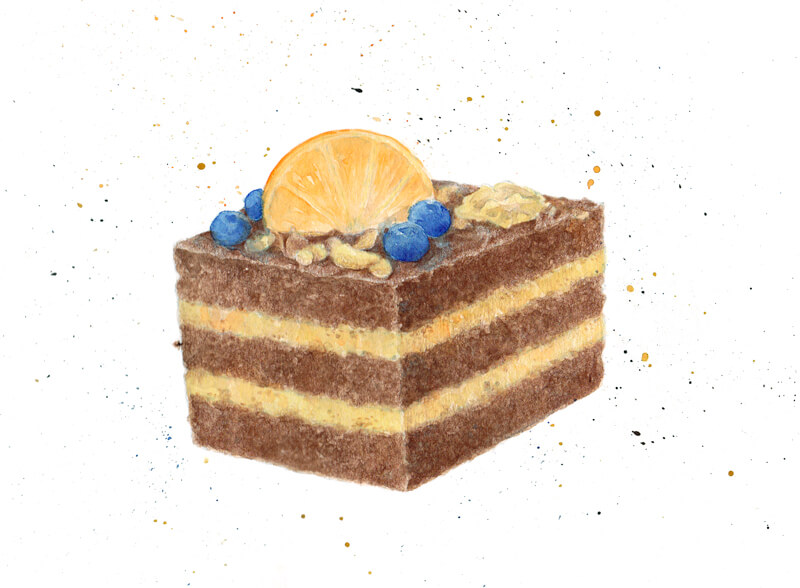
Next I’m going to repeat the same actions as in the previous step. The exception is that the paints won’t be as diluted. The brush is moderately wet. This time however, I don’t moisten the area before applying the watercolor.
I make the vertical planes of the cake slightly darker than its top, adding more Burnt Umber and Yellow Ochre respectively. I assume that the upper surface is well lit, and the right vertical side is the darkest. The location of the light source and the character of lighting in your image is up to you.
I use the smaller brush to leave dots or separate strokes while the area is still wet. This trick helps to create a grainy or porous texture of the biscuit layers.
I cover the berries with another layer of Indanthrene Blue. When lightly applied, this color can be a nice addition to other areas of the artwork.
With Golden and a small brush, I refine the details of the tangerine. I also add some strokes of this color to the lighter layers of the cake.
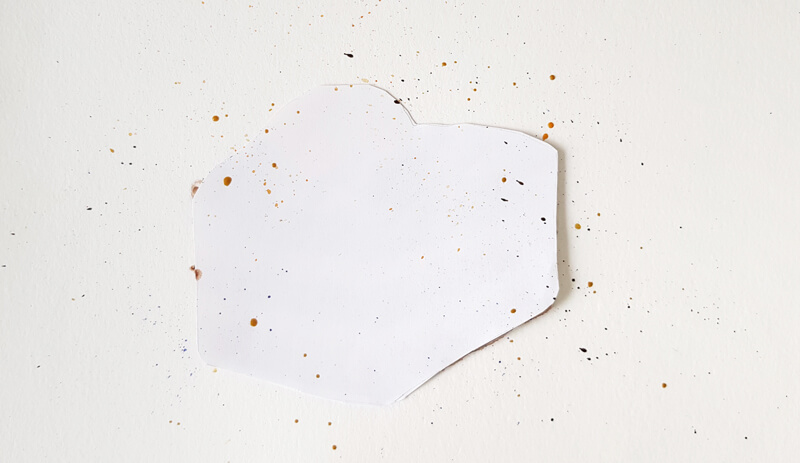
Now the under painting is complete. However, I have an idea of how to add a painterly feel to our artwork. We’ll create expressive paint splashes!
First, we’ll need a protective stencil that roughly repeats the shape of our cake, including the adornments on top. You don’t have to be completely precise with its size and silhouette.
The easiest way to make a stencil is to put a sheet of thin (printer or tracing) paper on top of your artwork. Such paper has a level of transparency, so you’ll see the silhouette of your drawing through the upper layer. Outline the rough contour with a pencil and cut it out. Then put the stencil on top of the cake.
In the image below, you’ll find my artwork covered with the stencil. With the stencil in place, the cake is protected from being stained. As you can see, the stencil is doing its job successfully!
After the stencil is in place, take a bristle brush and dip it into water. (It may be a good idea to change the water in your container to make sure it’s clean.)
Then, pick up some paint of any color and press the bristles with your finger as shown in the image below. Adjust the position if necessary.
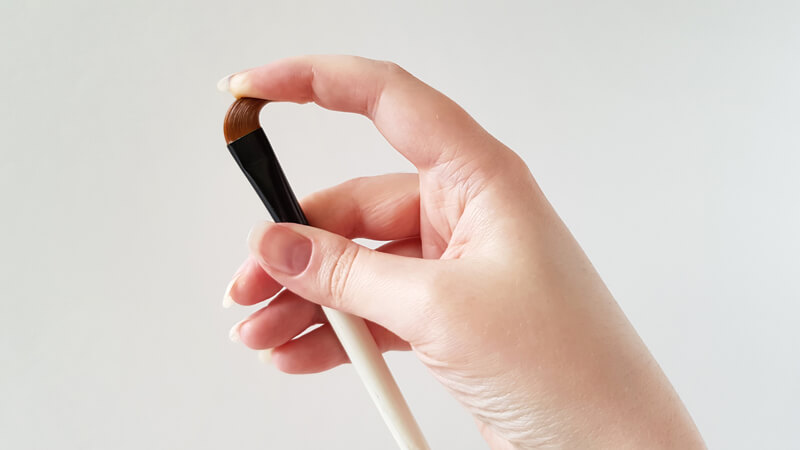
When you release the bristles, they’ll spring back and the paint will fall onto the paper, spontaneously creating a pattern of splashes. The size and location of the watercolor spots depends on the size of your brush and the way you hold it.
I recommend that you try different positions beforehand. Try to vary the pressure on the bristles, the angle relative to the paper, and the amount of water on the brush.
I used all four color options of watercolor paint to make the splashes.
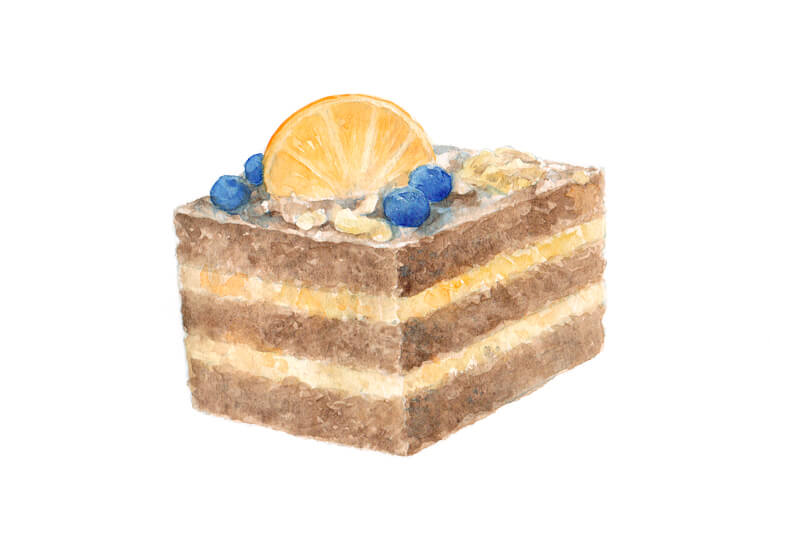
Drawing the Cake with Colored Pencils
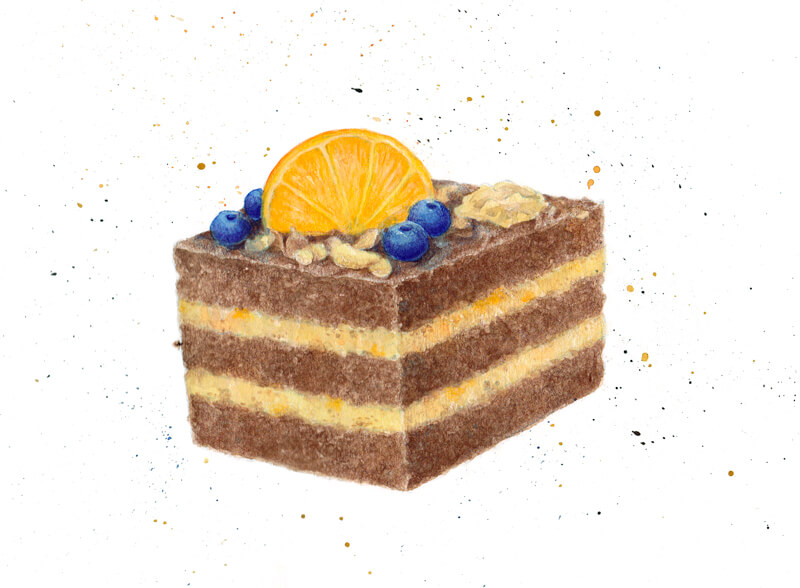
With our under painting of watercolor in place, we’re ready layer colored pencils over the top. With Cream, I cover the lighter elements in the drawing, including the nuts and some areas of the tangerine slice. The pencil moves in small circles and the covering is even and thin.
I apply Burnt Siena to all brown areas. The top plane remains lighter than the vertical sides of the cake. I create a tonal distinction between the vertical planes by darkening the right side of the cake.
You can work in a circling manner to accent the porous feel of the texture. Directional lines are also an option. The colored pencil applications interact with the rough surface of the paper and create a texture as well.
I add a thin layer of this shade to the darker areas of the nuts to unite the objects in terms of color.
With Dark Cadmium Yellow, I refine the tangerine slice. The peel and the inner elements become more vibrant and contrasting.
I also create small touches of this color within the cream layers of the cake. Let’s imagine that the cream has tiny bits of tangerine as an ingredient.
With Mauve, I add a blue-violet hint to the darker areas of the berries. I also apply a thin covering of this color to the cast shadows under the blueberries.
With Burnt Umber, I add more dots in the brown layers to strengthen the illusion of a rough and porous texture.
I also accent the shadows between the chocolate shavings and below the nuts. The core shadows of the nuts will benefit from the inclusion of this color too.
I add this shade to the darker areas of the blueberries to harmonize the colors.

With Orange Glaze, I accent the color of the tangerine peel. You can add this hue to the pulp to create a pleasant variation. This will make the texture more believable.
I also add this hue to the nuts and the orange areas in the cream layers. The goal is to create just a subtle hint of the color, so keep light pressure on the pencil.
I cover the brown areas with Raw Umber. The previous layers are still showing through, but now the color is closer to the actual color of pastry.
Then, I add a thin layer of Raw Umber to the cream layers of the cake.
I continue with Raw Umber, developing more variety of color in the tangerine slice. It needs a modest desaturation. Toning down the inner segments helps to make this section more realistic.
The upper part of the tangerine remains slightly lighter to create the illusion that light is shining through the pulp.
I add some Cadmium Orange on top of the tangerine to shift the hue towards orange while deepening the intensity.

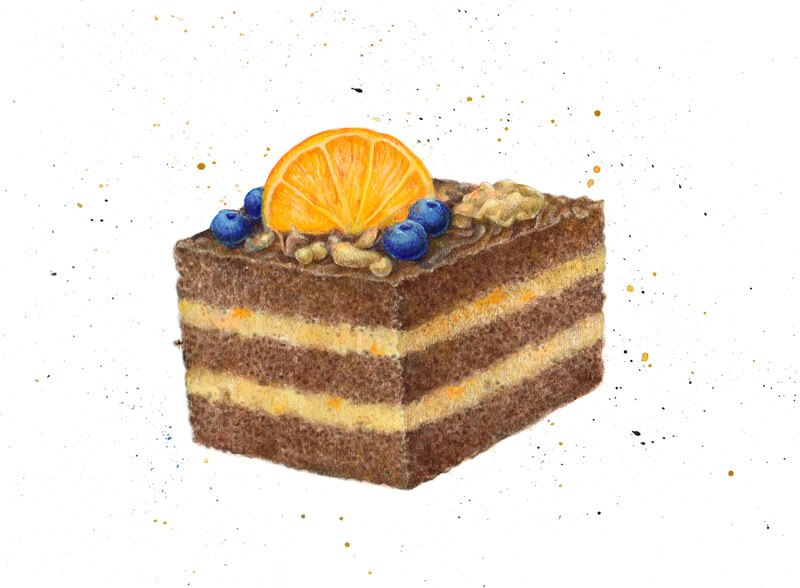
I add small dots to the cake’s layers, using Chinese White. These marks accent the irregularity of the texture and make it even more varied.
I use this pencil to burnish the berries and nuts. Some areas, such as the frosted top of the cake, the look is grainy, so I burnish them as well.
See also: 12 Colored Pencil Tips
I avoid pressing too hard because the pencil is very soft. If the applications became too light after burnishing, restore the color and value with the appropriate pencil – for example, Burnt Siena or Burnt Umber.
I cover the lighter cream layers with Chinese White to unify them. Now we have an interesting contrast of rough and smooth textures.
I leave visible strokes in the upper part of the tangerine to create the illusion of shine on the citrus pulp.
Now evaluate the art. Feel free to add any details if necessary.
How to Draw a Piece of Cake with Watercolor and Colored Pencils – Conclusion
Congratulations! We’ve created a delicious looking piece of art.
I don’t know about you, but I’m experiencing the strongest urge to have a piece of cake. This should be a sign of success!
If so, join over 36,000 others that receive our newsletter with new drawing and painting lessons. Plus, check out three of our course videos and ebooks for free.