Colored pencils are an exciting medium. While sometimes overlooked as a professional medium, colored pencils are capable of producing works that resemble paintings. They allow the artist an incredible amount of control over the application, leading to highly detailed and developed imagery.
I'd like to share with you my very best colored pencil tips. Each of them are highlighted in the video below, but details on each tip can be found further down the page.
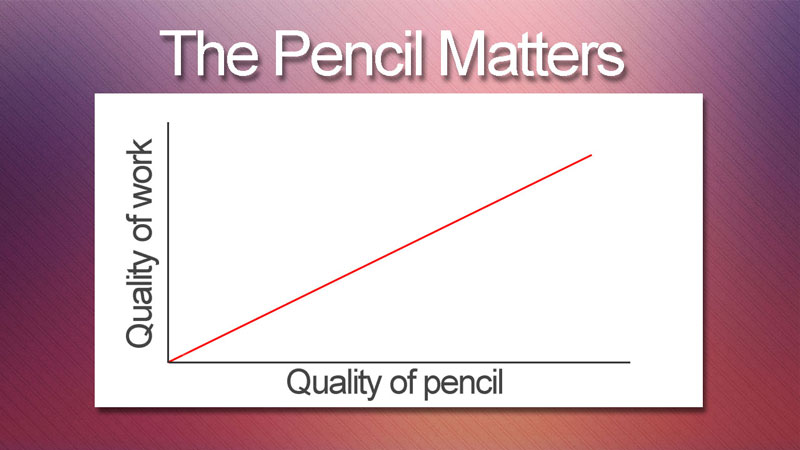
The quality of pencil that you use for your drawings is very important and directly influences your success. Using a lower quality pencil will produce lower quality results. In the same way, using a higher quality pencil will increase your chances of success.
Although lower quality pencils are much cheaper, try to avoid them. They just won't behave in the same manner as higher quality pencils and you're likely to encounter some frustration.
There are several brands of pencil that are considered "high quality". While the price is a bit higher, it is well worth the investment. If you'd like to know which brands of colored pencils that I have had experience with, and recommend, check out The Colored Pencil Comparison Chart.

Colored pencils generally are either wax-based or oil-based. (I am excluding watercolor pencils, water-soluble graphite pencils, and Inktense pencils since these pencils aren't technically "colored pencils".)
The designation of the pencil (oil or wax) is based on the binder used to hold the pigment. The binder of wax-based or oil-based pencils can destroy a pencil sharpener. The binder builds up in the sharpening mechanism and eventually can cause the sharpener to no longer function.
For this reason, I suggest using a simple hand-held pencil sharpener. It is easy to use, inexpensive, and just gets the job done.

It's easy to overlook the importance of the drawing surface. Sometimes we just "can't wait" to start making marks that we forget to consider how the surface will affect the resulting image.
While there are many different surfaces that will accept colored pencils, there are two main factors to consider - the texture (tooth) and the tone of the paper.
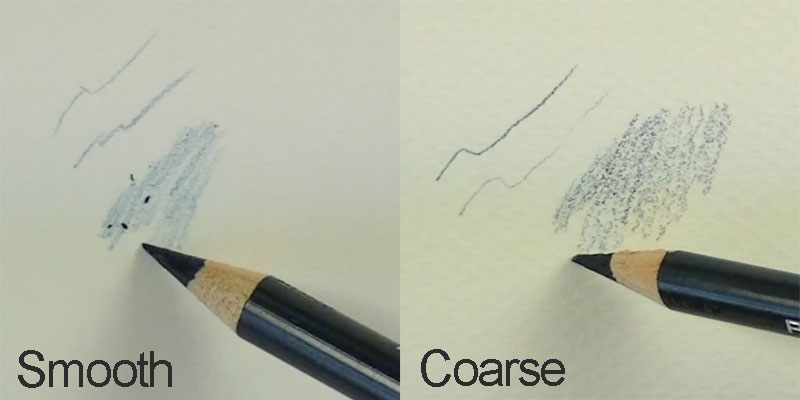
The texture (tooth) of the paper plays a vital role in how your marks will behave on the surface. Smoother surfaces, like Bristol paper, produce smoother applications. While a smoother surface will give you a bit more control over the detail in the image, it also may limit the number of layers of color that can be accepted.
Rougher textures, like watercolor paper or Mi-Teintes pastel paper, may limit the details that you are able to produce initially. But, these papers are more adapt to accepting multiple applications of color. After multiple layers have been added, and burnished, details are much easier to achieve.
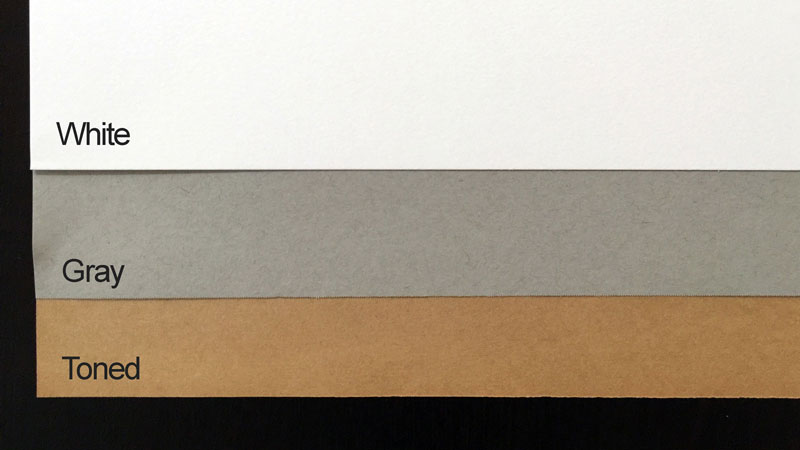
The tone of the paper is also important and should be considered. By default, most of us go straight to using white paper. It's what most of us are accustomed to, since we live in a world of white paper.
There's nothing wrong with using white paper. Bristol paper, after all, is white. But white surfaces force us to push the values darker, starting from one extreme end of the value scale. It is more difficult to make comparisons between the values and colors as we add them.
Starting with a toned surface, however, helps us by starting near the middle of the value scale. By starting in the "middle", we can "push" the values lighter and darker, making comparisons and evaluations a little easier.
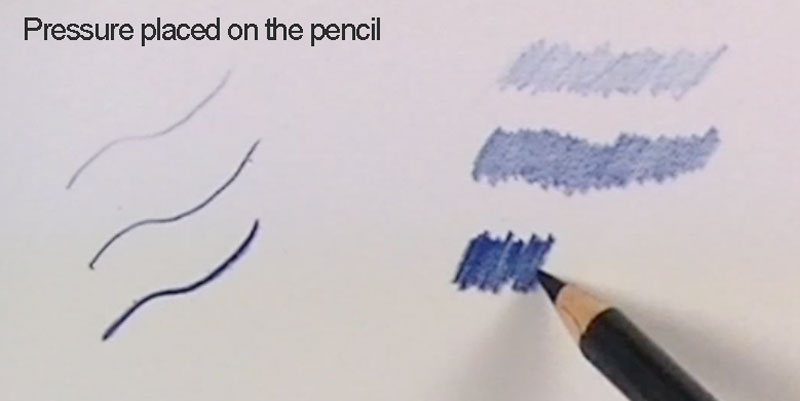
The pressure placed on the pencil can affect the value and the intensity of the color. When layering colors, this plays an important role. You shouldn't feel that all of your applications should be applied with the same pressure.
Adjusting the pressure when mixing affects the intensity and the resulting color. Experiment as you work to find the right combinations of pressure to produce the colors and values that you need for your particular application.
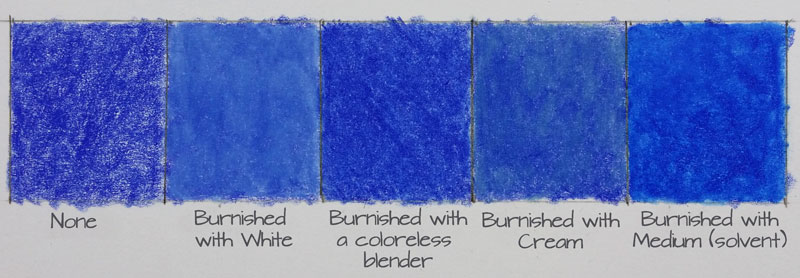
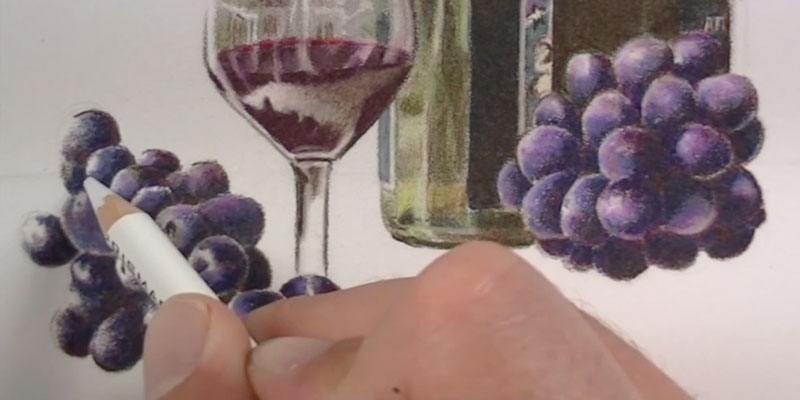
Burnishing is the process of working the material into the tooth of the paper to produce smooth and solid applications of color. This is what transforms a colored pencil drawing into a colored pencil painting. Burnishing naturally happens in a colored pencil drawing when multiple applications are added and a waxy build up occurs.
This process can be expedited using a few techniques. A light pencil can be applied over the area with heavy pressure. White and Cream work best for this approach. Although the application is burnished effectively, this approach does affect the value of the resulting color, making it a bit lighter.
A colorless blender can also be used to produce a burnished application. Colorless blenders are available as a pencil or marker. I prefer to use the pencil form, since it uses the same binder as the wax-based pencil.
Solvents can also be used to burnish applications. Many artists use alcohol or an alternative solvent such as Turpenoid which can be applied over the colored pencil application with a soft brush.
In most circumstances, you'll find that applying just one color to a location in a drawing is not enough to produce representational results. Instead, multiple layers of color are required.
Layering colors produces more depth in the color and leads to a more realistic depiction of the scene. Layered colors may be related or similar colors; or they may be complete opposites.
Layering colors of a different value or hue naturally mixes on the surface and mixed colors are always more natural in their appearance.
As colors are layered, they mix. This "mixing" may happen has the binder adheres to pigment applied in a previous application or through optical mixing. And since mixed colors appear more natural, you may look for opportunities to mix colors.
Instead of reaching for that manufactured green, mix your own by layering blue and yellow. You can always go over the application with a manufactured green, but the color should appear more natural as the yellows and blues show through.

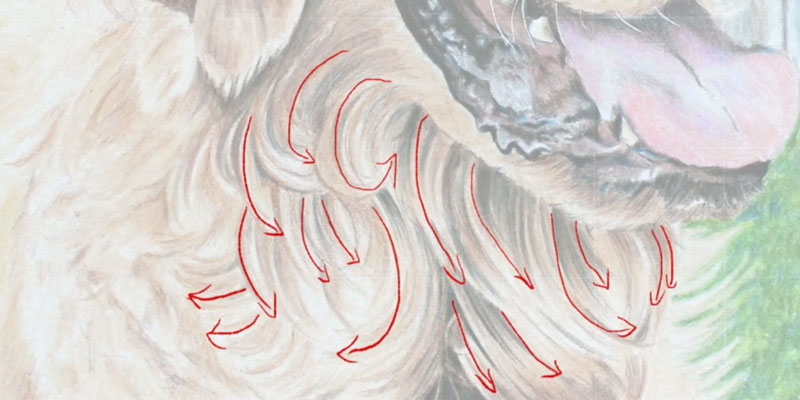
Just as brush strokes in a painting can inform the viewer of the form and texture of the subject, the direction of the marks made with the pencil can do the same. This is especially true when changes in value create the perception of lines.
If you're not sure which direction the strokes should be pulled, just consider the cross contours of the form of the subject. By pulling strokes to align with the cross contours of the form, you can communicate a bit more to the viewer. Pull the strokes in a direction that contradicts the cross contours and you could make your drawing look flat.
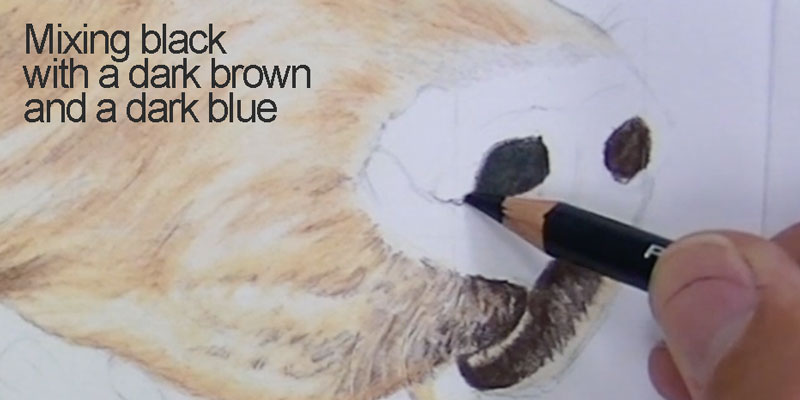
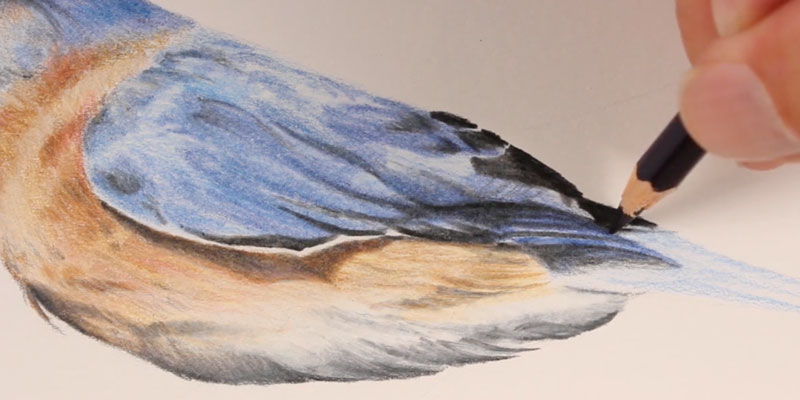
Black and white are the strongest "colors" available and in the natural world it's hard to find an example of a true black or white. Black is so strong that it can make a drawing look flat and synthetic. This is especially true when black is used unmixed in a colored pencil drawing.
To avoid producing a synthetic appearance in your drawing, try mixing your own black. Instead of using that manufactured black, mix a dark brown and a dark blue. This means layering one color over the other and burnishing them into the surface.
I have found that Dark Umber (Prismacolor Premiere) and Indigo Blue (Prismacolor Premiere) produce the best "black".
Not only does mixing a dark blue and a dark brown produce a natural black, but it also allows the artist to control the temperature of the color that is produced. Want a warmer black? Add more dark brown. Need a cooler black? Add more of the dark blue.
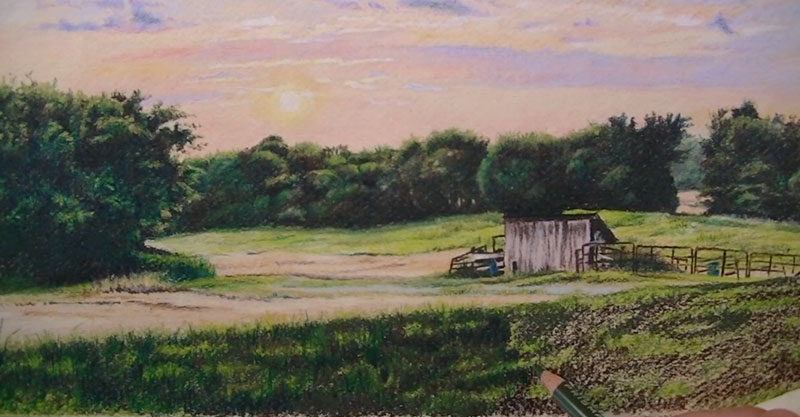
Many beginning artists pick up colored pencils and apply them in the same manner as graphite pencils, allowing the "white" of the paper to affect the resulting value. This produces a light drawing that may have color, but is far from looking like a polished painting.
But by building up layered applications to appear "heavy", the look of a solid colored pencil "painting" starts to emerge. Although applications may be lightly layered, multiple burnished layers will lead to a "heavy" (and solid) look.
Details can be overwhelming - but only if you let them be. The good news is that details and edges can be developed and defined towards the end of the layering process. Since higher quality pencils can be layered with ease, details can be added right over light to medium applications.
In essence, we can develop the colors and values in a section of the drawing and then refine the details and edges right over the top.
The only exception is in areas where the value is very light or even white. Highlights, for example, should be preserved and planned, since adding them over areas of color is difficult - if not impossible.
Perhaps the most important tip to share is simply to be patient. Colored pencils require a slow and meticulous approach. If you go into your drawing with this in mind, then your chances of success are greatly improved.
Many beginning artists make the mistake of believing that results should be quick. They become discouraged and frustrated when they don't see immediate results.
If you take your time, and work through each layer with patience, you're more likely to find success with your colored pencil drawing.