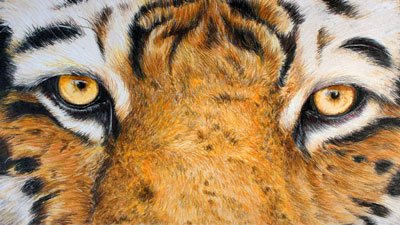
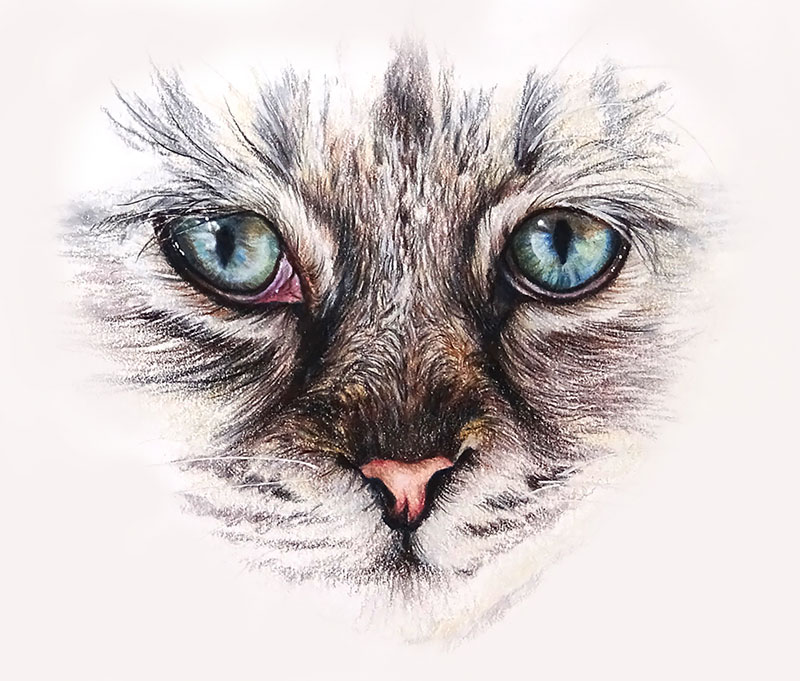
In this colored pencil drawing lesson, we create a small drawing of a cat's face focusing on the eyes. There's quite a bit of complexity in the colors found within the eyes. To handle this complexity, we'll patiently layer colors to build up depth. Gradually, our colored pencil drawing will begin to resemble a painting.
In this lesson, we use two brands of colored pencils. For the majority of the applications, Prismacolor Premiere pencils are used. These pencils are wax-based and allow us to build up rich layers of color.
Later in the process, we switch over to oil-based Polychromos pencils by Faber-Castell. These oil-based pencils can be applied directly over the softer wax-based pencils to develop some of the textural details of the fur.
For our finishing touches, gouache or opaque watercolor is applied to bring out some of the strong highlights within and around the eyes.
(Some of the following links are affiliate links which means we earn a small commission if you purchase at no additional cost to you.)
We'll start with a light graphite sketch of the subject with an "H" pencil. Very light pressure is applied to produce the sketch so that indentations are not created in the paper. We are working on white Stonehenge paper which provides a medium tooth suitable for multiple applications of colored pencils.
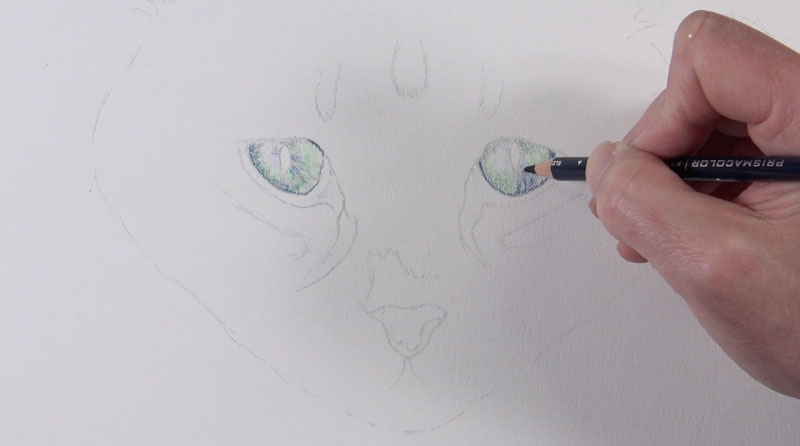
Since the eyes of the cat are our focal point, we'll begin with colored pencil applications in this area. We'll work this location a bit more than the surrounding areas to ensure that the viewer's focus stays with the eyes.
Our applications are light initially. We'll slowly apply more pressure on the pencil once we have some of the base colors in place. For now, we'll just concentrate on adding observed colors.
Cloud Blue is applied first, followed by a touch of True Green. We can make the values slightly darker with a bit of Indigo Blue.
We'll continue to slowly layer colors to gradually build up a waxy-base. As the surface becomes covered by the binder of the colored pencils, the texture of the paper begins to disappear.
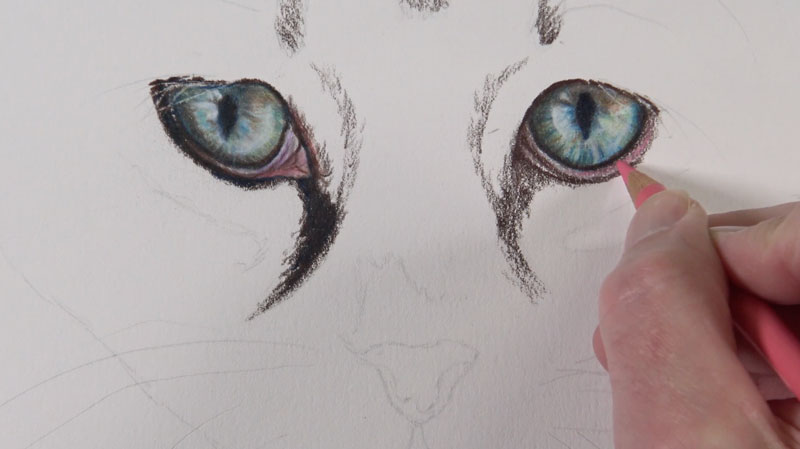
A variety of colors are added to the eyes as we slowly develop contrast between values. Limepeel, Blue Violet, 70% French Grey, Jade Green, Terra Cotta, Sienna Brown, Cloud Blue and True Blue are used to develop the iris. Strokes are pulled with the pencil from the outer edges of the eyes towards the pupil.
Layered applications of Dark Umber and Indigo Blue are applied in the pupil and around the outer portions of the eye.
As we layer applications, we'll periodically use a colorless blender to burnish. Burnishing mixes the colors, smooths transitions, and adds additional wax to the surface.
We can add a bit of white over the applications to develop slightly lighter sections and the impression of a subtle highlight.

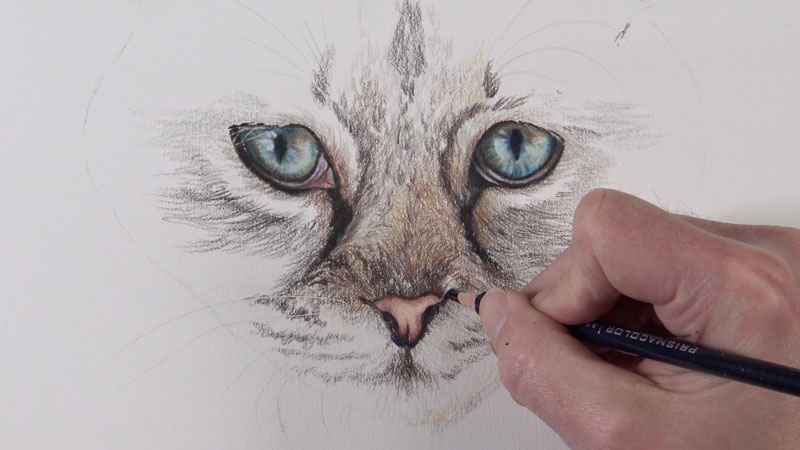
We'll next work outward from the eyes. We begin with a light application of Dark Umber. We'll work out the locations of darker tone before adding a bit of color over the top. Lilac and Pink are added over the Dark Umber base.

Over the top, we can begin burnishing the colors while making the value slightly lighter. 20% Cool Grey is applied to begin the burnishing process.
We'll then continue to develop the contrast by adding Dark Umber. Lilac is then layered again over the top. A touch of Crimson Lake is added around the outer portions of the pink shape before darkening areas further with Dark Umber and Indigo Blue.
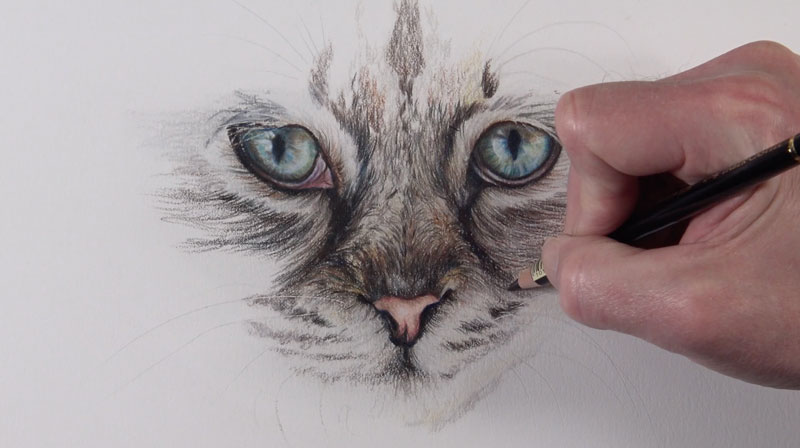
We'll then continue working outward and concentrate on creating the illusion of fur. Directional stroking is important here since it helps to create the illusion of texture. For each pencil that we use, we must be mindful of the direction that the fur grows. The strokes that we make should flow in this this direction. The length of the fur should also be considered. Areas where the fur is shorter should be developed with shorter strokes.
We'll start with a bit of Raw Umber, right above the nose, before adding 20% French Gray to the lighter areas around the face. From here, we can begin developing the contrast starting with a bit of Dark Umber.
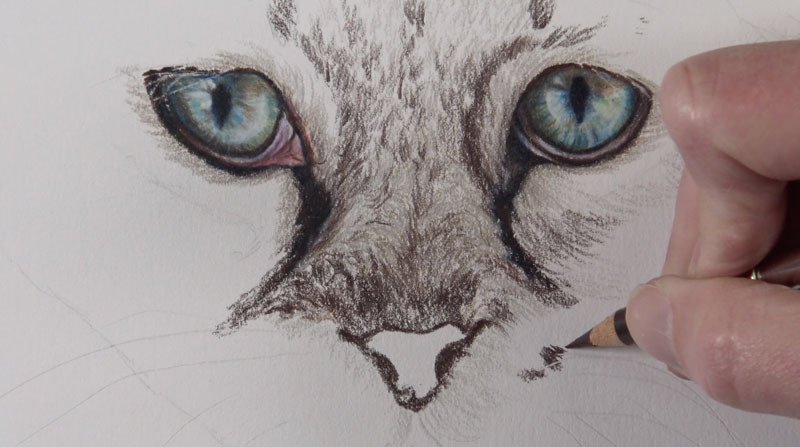
As we continue to develop the fur, we'll add bits of color. Sienna Brown and Sable are added to portions of the face. We'll also slowly push the contrast with additional applications of Dark Umber and even a few bits of Indigo Blue.
After establishing the shape of the nose with Dark Umber, we can add a bit of color. We'll start with Light Peach, followed by a bit of Crimson Lake around the edges. Dark Umber is added to create slightly darker tones. This section is then burnished with a colorless blender before applying Indigo Blue to make the "blacks".
At this point, we've built up a nice base of color for the fur, but now it's time to bring out some of the details. We'll first prepare the area by burnishing it entirely with the colorless blender.
Then using an oil-based Polychromos black pencil, we can redefine some of the fur with directional strokes. A Burnt Sienna pencil is also used in areas for a bit more color.
We can bring out the strong highlights in and around the eyes by applying white gouache with a script liner brush. Very little water is used so that the white remains strong.
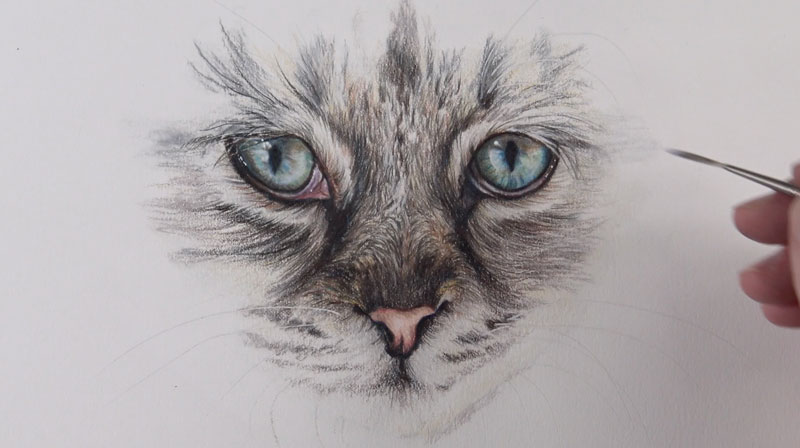
After adding a few more strokes of color to the fur, the drawing is complete.