Every time I sit down to work on a drawing, I make sure that each of these supplies are within my reach. I may not use them for every drawing that I create, but they are an essential part of any colored pencil artist’s tool box.
Let’s have a look inside…
1. Colored Pencils
Okay, so this one is fairly obvious. You must have colored pencils to create a colored pencil drawing. But there’s a little more to this.
The quality of the brand of colored pencil that you use greatly affects the results that you will see in your drawing. You cannot expect to use sub-par materials and get professional results.
Even if you are just starting out, I would suggest going right for the higher quality pencils. Using a lower quality brand may just lead to unnecessary frustration.
(Some of the following links are affiliate links which means we earn a small commission if you purchase at no additional cost to you.)
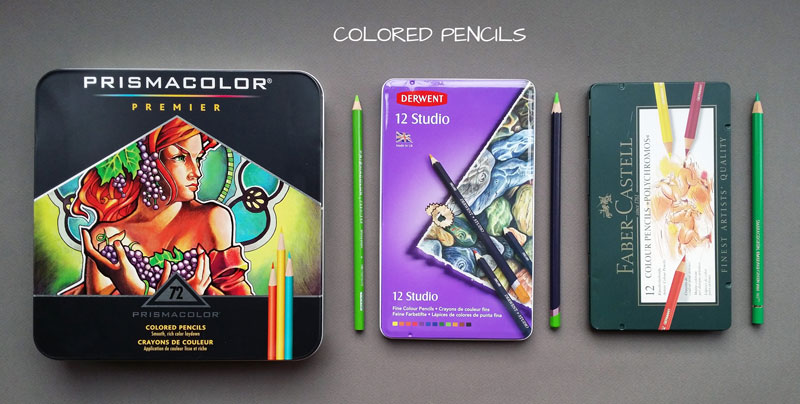
My favorite brand is Prismacolor Premier. These pencils are soft and layer easily, producing rich colors quickly.
They are wax-based, so wax bloom could be an issue, and many people complain about how easy it is to break the core of the pencil. But despite these issues, they are still “far and away”, my favorite.
Of course, there are lots of great brands of pencils out there and I’ve tried many of them. A couple of other great brands out there include:
- Faber Castell Polychromos Color Pencils (oil-based)
- Derwent Studio Colored Pencils (wax-based)
If you want to learn my opinion on each brand that I have tried, you can check out the colored pencil comparison chart.
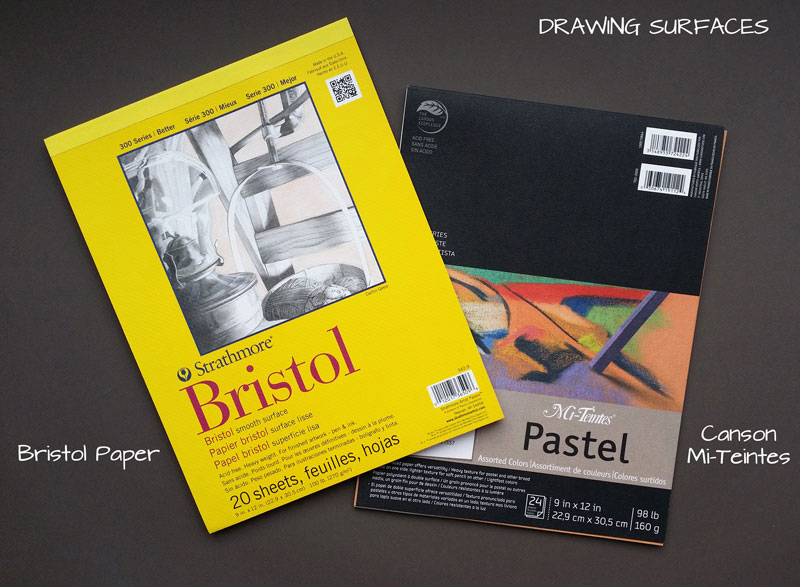
2. Bristol Paper / Illustration Board / Toned Paper
Okay, so two obvious ones on the list. You also need a quality to surface to work on. While your standard 60 lb. drawing paper in a sketchbook will accept the marks produced by colored pencils, it won’t produce the professional results that we’re after. You’ll need a higher quality surface that is better suited to accept multiple applications of color.
My favorite surface on which to work is Bristol paper. There are two different surface textures (tooth) to choose from – smooth or vellum. I prefer to work with the vellum surface which does have a slight tooth. The slight surface texture accepts the colored pencil applications with ease, allowing multiple layers of color.
Illustration board is also a great surface for colored pencil applications. Illustration board provides a surface that is similar to Bristol paper, but is backed with a rigid core. It is a bit pricer and it is hard to find in some art stores, so I tend to stick with Bristol paper.
With any colored medium, you may find it an advantage to work on a toned surface. Working on a toned surface provides a neutral starting point for adding color, allowing you to work the values darker or lighter. You may also choose to allow parts of the paper to show through the finished drawing, with specks of color that enhance the overall appearance.
There are lots of toned paper choices, but my favorite is Canson’s Mi-Teintes paper.
This paper is designed for pastel applications, but also preforms well with colored pencils. It features a heavy tooth, so multiple applications of color are required (and so is a bit of patience).
3. Hand-Held Pencil Sharpener
It may be tempting to use that shiny electric pencil sharpener that sharpens pencils to a precise point in a matter of a second. However, an electric pencil sharpener can be ruined by colored pencils.
Wax-based colored pencils produce wax-based shavings that can get caught in the blades of an electric pencil sharpener. These shavings create havoc for an electric pencil sharpener and can cause it to stop working.
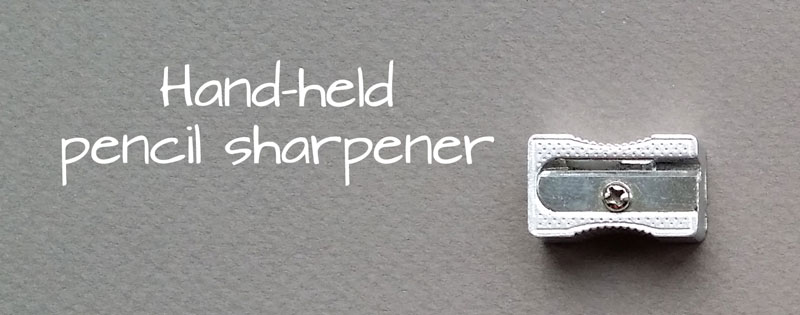
This is why I use a metal hand-held pencil sharpener. It is cheap and gets the job done. If the blade becomes dull, I can easily replace it, or just pick up another sharpener all together.
4. Kneaded Eraser and/or Vinyl Eraser
Every colored pencil artist needs a couple of erasers. I suggest having both a kneaded eraser and a vinyl one.
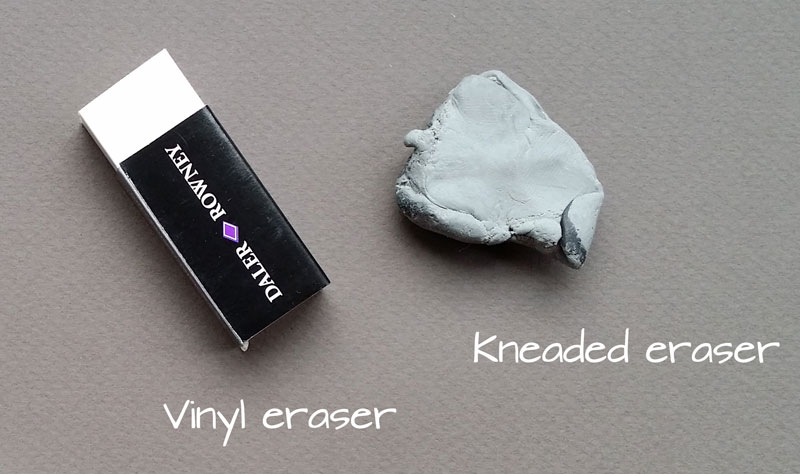
A kneaded eraser is great for “lifting” an underlayment of graphite before applying colored pencils to the surface.
However, a kneaded eraser is not strong enough to remove colored pencil applications from the surface, so this is where the vinyl eraser comes in. The tougher vinyl eraser is able to remove a good bit of material from the surface. However, you’re likely to find that it doesn’t remove it completely.

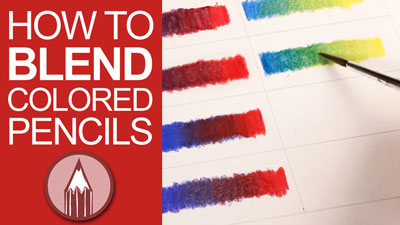
5. Colorless Blender
Burnishing is a process of layering colored pencils in order to create a solid area of pigment. It is done to eradicate the texture produced by the drawing surface. By removing much of the surface texture, a colored pencil drawing resembles a painting.
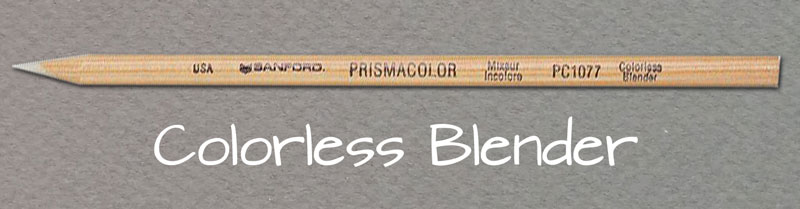
For wax-based pencils, burnishing applications of colored pencils is an integral part of the process. While lighter colors such as White or Cream can be used to burnish areas, a colorless blender is another option.
A colorless blender is a pencil (or marker) that features a waxy core of un-pigmented colored pencil medium. It can be applied directly over colored pencil applications to work the color into the tooth of the paper. It can also be used to smooth transitions of color and value in the drawing. Without a doubt, a colorless blender is a “must-have” for artists that work with wax-based colored pencils.
6. Turpenoid
Another way that colored pencils can be burnished is with a solvent. Solvents can be brushed directly onto colored pencil applications thinning the material “just enough” to work it into the tooth of the paper. Like with a colorless blender, applying a solvent can also smooth transitions between colors and values in the drawing.
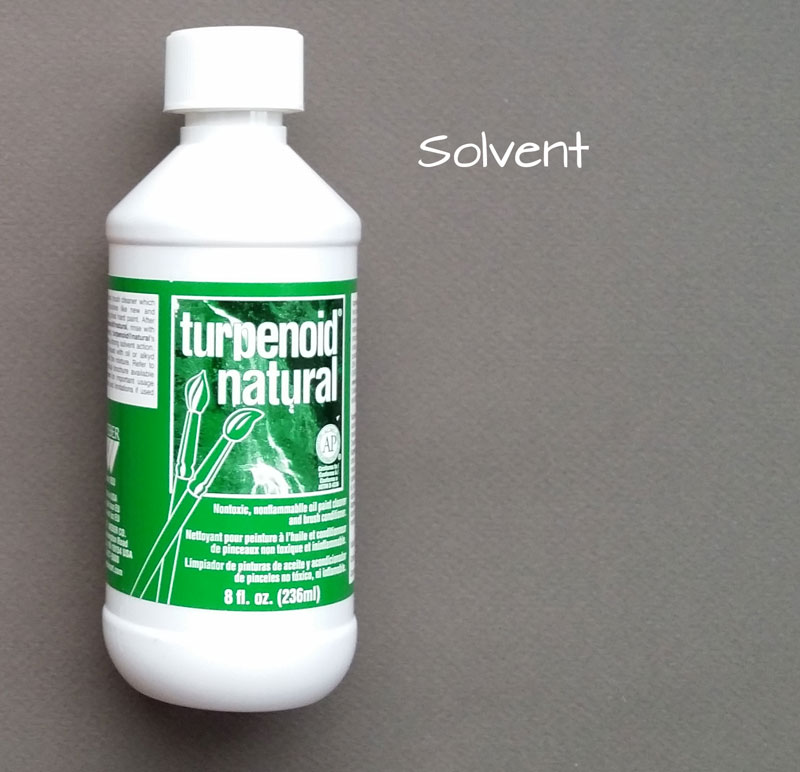
Different solvents can be used to create this effect. Some people prefer to use rubbing alcohol, but I tend to stick with a product called “turpenoid”.
Turpenoid is a relatively odorless, clear liquid that shares many of the same properties as turpentine. It thins the colored pencil applications with a good deal of control, just without the fumes.
7. Nylon Brushes
If you decide to use a solvent to blend your colored pencil drawing, you’ll need to have a few brushes. I prefer to use nylon brushes because they are strong and flexible, while providing control and precision.
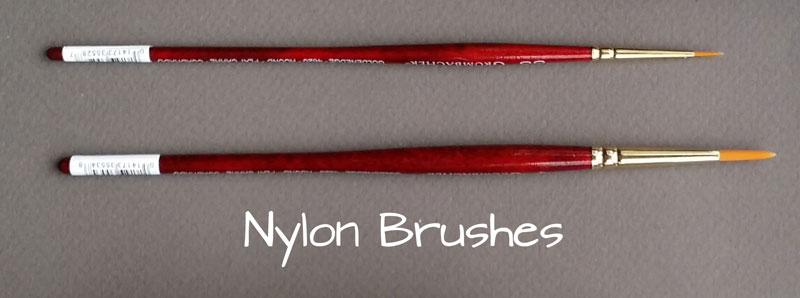
My favorite nylon brushes are the Grumbacher Goldenedge brushes. They are a bit pricey, but well worth the investment.
8. Drafting Brush
Although you won’t have to worry about any dust or powder with colored pencils, you may experience a few small pieces of the material landing on the surface as you make marks. These small pieces of color can accidentally get smeared by the palm of your hand if you’re not careful.
To prevent unwanted smearing, I use a drafting brush. An occasional swipe over the drawing removes these small specks of color.
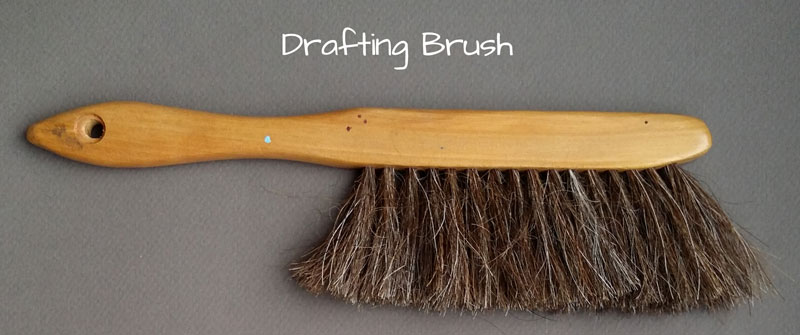
If you try to swipe the specks away with your hand, you’re likely to smear the color. However, the fibers of the drafting brush are able to pick up the material and remove it without any smearing.
9. A Blade
Another important tool is a blade. It could be an X-Acto knife, or a box cutter.
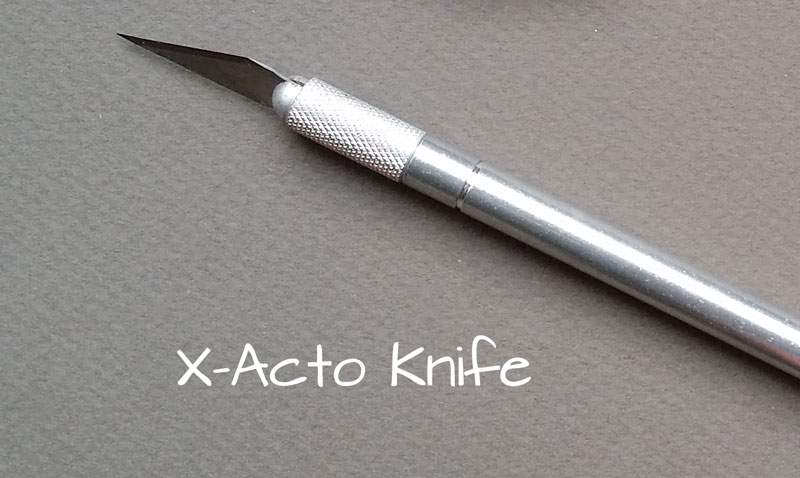
The blade serves multiple purposes. It can be used to cut down the drawing surface or to sharpen the pencils to a very precise point, which is sometimes necessary. If you do sharpen with a blade, be sure to make cuts away from your body.
One More…
One more supply that I use frequently is a masonite drawing board. I left this one off of the list because it isn’t considered a “must have”. Since most of my colored pencil drawings are relatively small (11″ by 14″ or smaller), I use a small board. I can tape the drawing on to the surface to prevent any “buckling” of the paper, but I can still turn the board to draw from different angles, if the need arises.
If so, join over 36,000 others that receive our newsletter with new drawing and painting lessons. Plus, check out three of our course videos and ebooks for free.