In this lesson, we’ll take a quick look at this interesting medium, see why these are not your “ordinary crayons”, and create a drawing.
Variety of Marks with Water Soluble Crayons
These crayons can be used in a variety of ways. You can use them on dry paper or wet. You can use them as a painting medium or as a drawing medium. You can use them on fabric instead of paper.
Finished artworks created with this medium can take on the look of traditional, transparent watercolor, an oil pastel drawing or even a mixed-media piece. In this lesson, we’ll develop a work of art that reaches for as much variety as this medium has to offer.
The Versatility of Water Soluble Crayons
Water soluble crayons offer versatility because they travel well. You can use them in the studio or on location. A brush and a few ounces of water is all one needs to carry into the field. Or skip the brush and water until returning to the studio.
These crayons are slick, creamy and full of rich, bright pigments. Sets range in size from 10 to 84 sticks and are priced accordingly. There is an option for every budget, since you can mix colors through layering and activation with water.
Water Soluble Crayons in Action
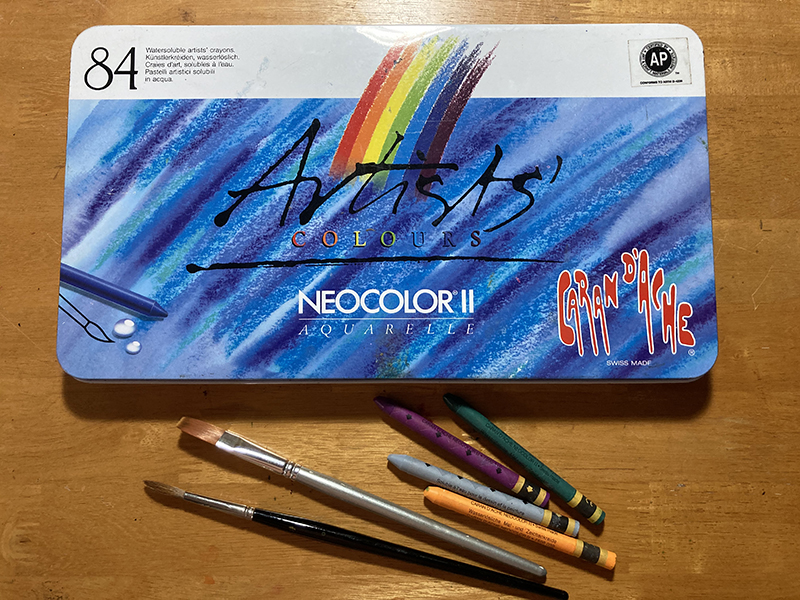
Now, let’s take a look at how these crayons behave. Besides the crayons themselves, other materials used during this product test include:
- A 3/4 inch flat nylon brush
- A round sable brush
- A natural sponge
- Water
- 140 lb hot press watercolor paper
The following link is an affiliate link which means we make a small commission if you purchase…
Buy Water Soluble Crayons On Amazon
Since this is a new medium to me, I did a quick test (below) just to wrap my mind around the capabilities of this medium.
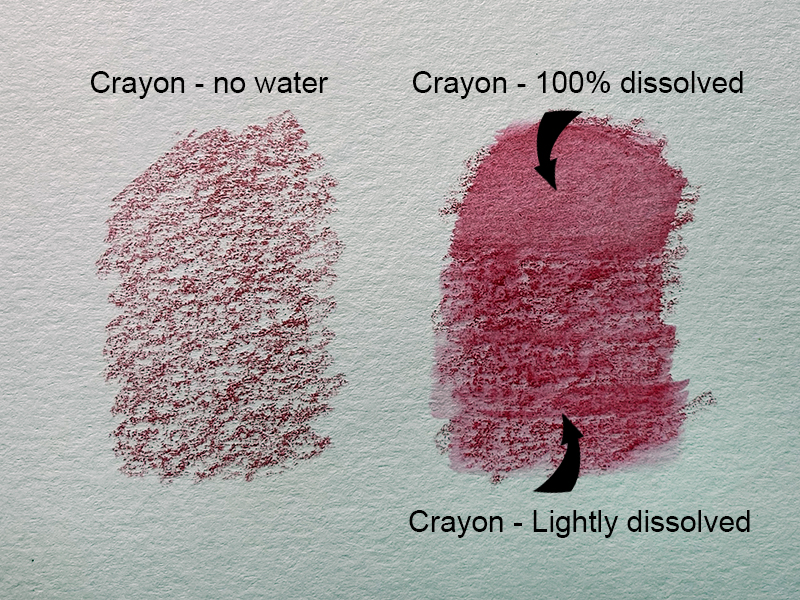
In the first test, I applied the crayon without any activation (adding water). You can see, in the image below left, that the texture of the paper is very evident.
To the right, you can see that I activated the crayon by layering water. The top of this swatch is fully saturated, eradicating much of the visible texture of the paper. Half-way down, I lessened the amount of water added. This resulted in a texture that was somewhere between the two. The texture of the paper is still visible, but to a lesser degree. This result is very similar to what we see with watercolor pencils.
See also: How to Use Watercolor Pencils
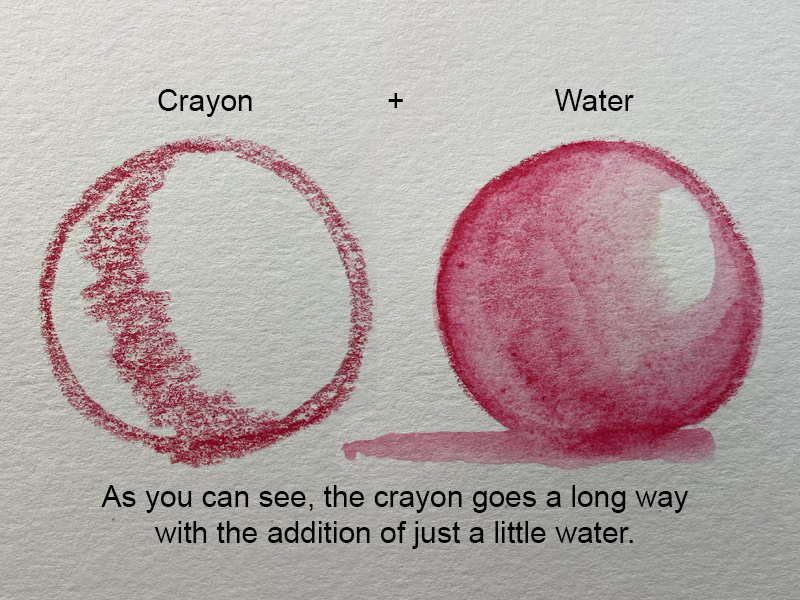
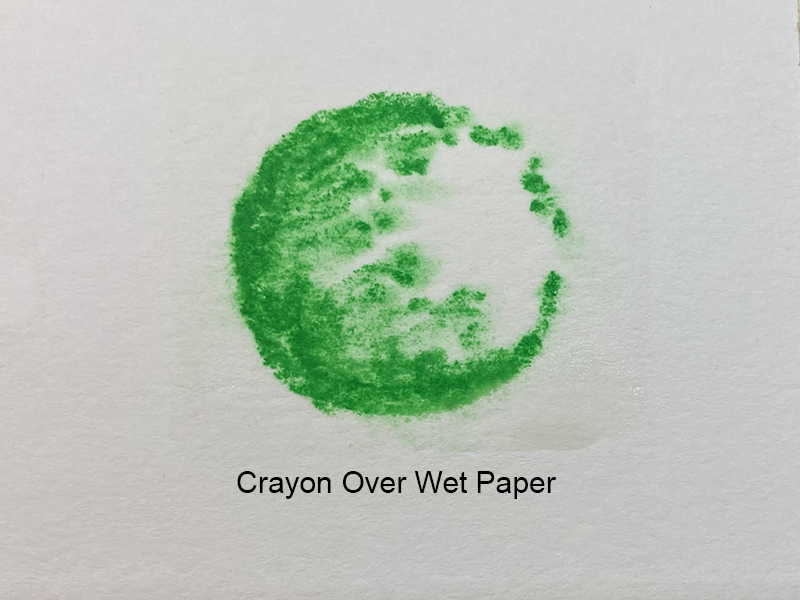
In my second test, I wanted to see how far I could extend the medium with water. I decided to draw a sphere. As you can see below, I only added the crayon medium to area of core shadow on the sphere. Using a bit of water, I was able to extend the medium to cover much more of the surface.
You can see from the above swatches that the crayons, when used without water, create a broken mark typical of traditional wax crayons. Using a brush dipped in water, one can entirely dissolve the individual marks or, with a delicate touch, only soften the marks made using the dry crayons.
Besides using a brush over the dry crayon marks, one can draw with wet crayons and/or draw on wet paper. Look at the green marks below. The top mark has the look of traditional crayons while the middle line, made with a wet crayon, looks darker and richer in color.
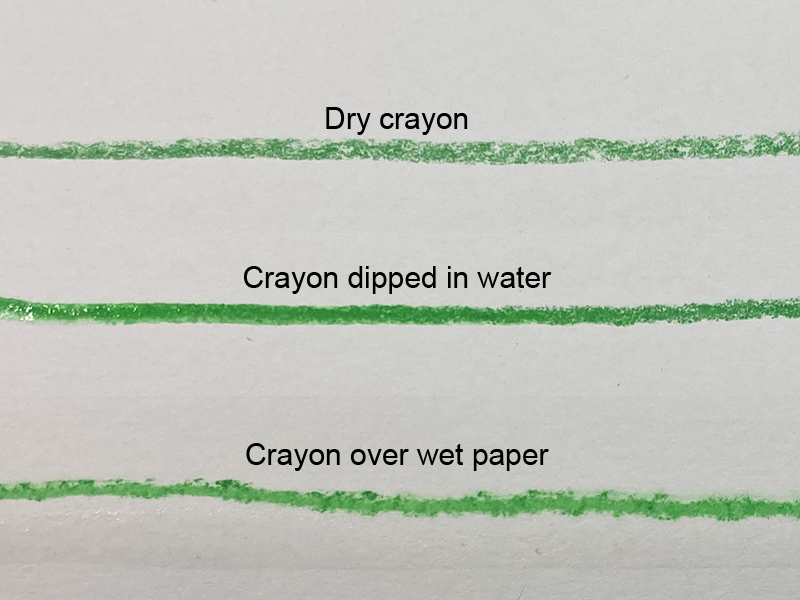
The bottom line, perhaps the most unique of the three, was made across wet paper. This line, compared to the other two, is irregular. Like the middle line, it’s more solid than the “dry” crayon line.
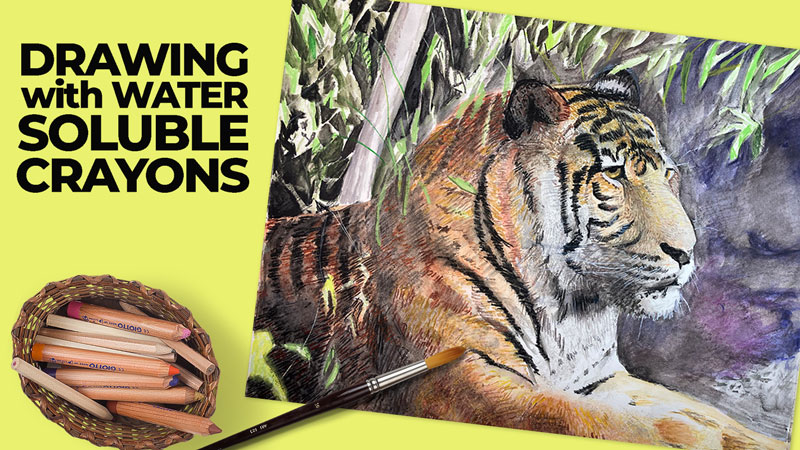
Drawing with Water Soluble Crayons
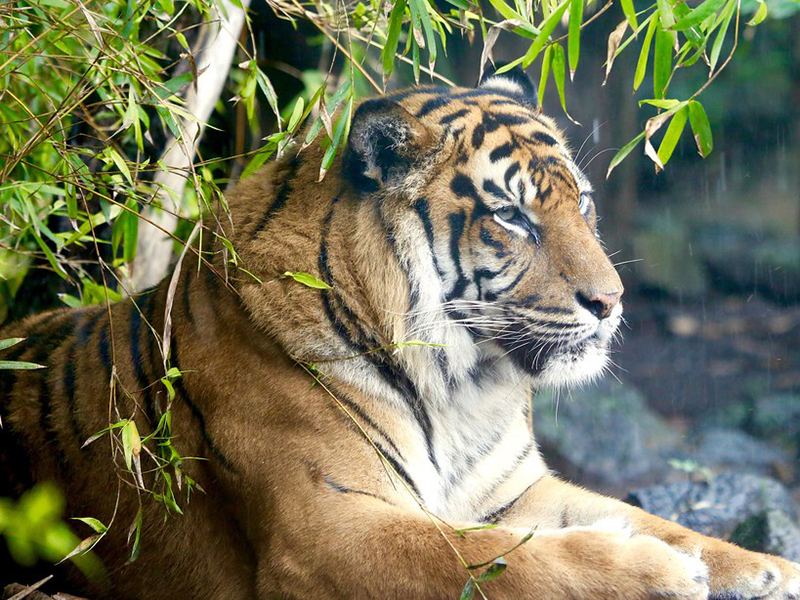
For this drawing, I worked on hot press (smooth) watercolor paper. The selected reference is a photograph of a tiger (below). The image is perfect for a secondary color scheme, so I used the oranges, greens and purples as well as a wide selection of neutrals from the 84-stick set.
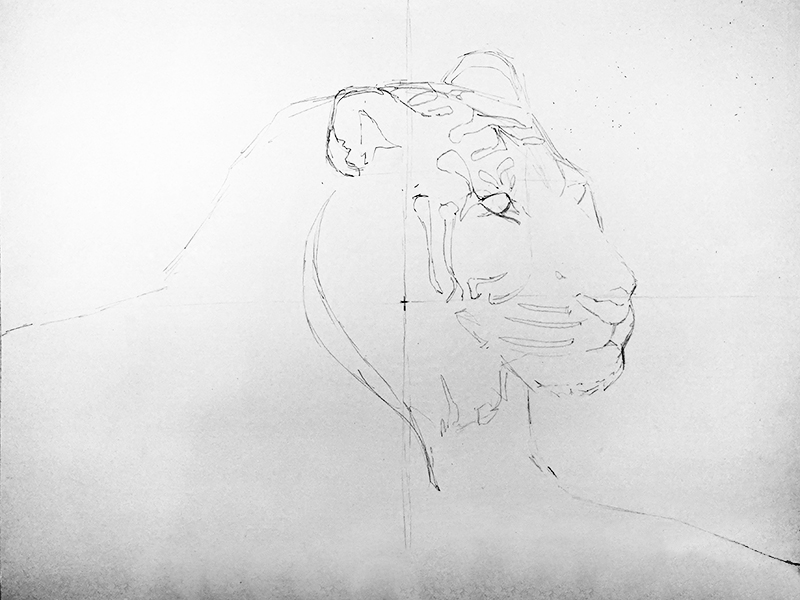
Step One – Line Drawing with Pencil
Though not a requirement, I chose to make a basic line drawing with a pencil before moving on to the crayons. Having a line drawing in place helps us to keep the image “tight”. The water soluble crayons are somewhat of a looser medium.
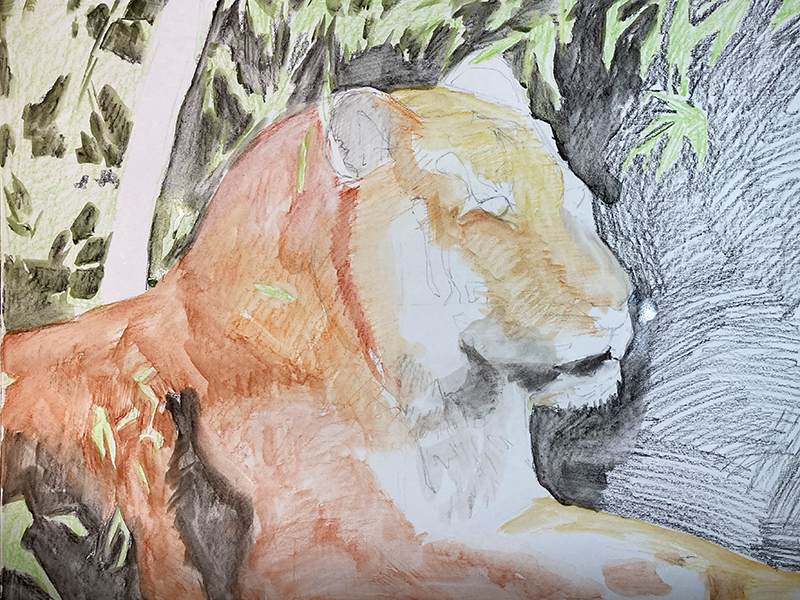
Step Two – Initial Applications with Water Soluble Crayons
Using the crayons, general colors were applied to the dry surface. From my test swatches, I knew that the application of water over lightly applied crayon would darken the values so I was careful to keep my first applications light. The tiger stripes, being dark, were entirely ignored in this initial application of crayon.
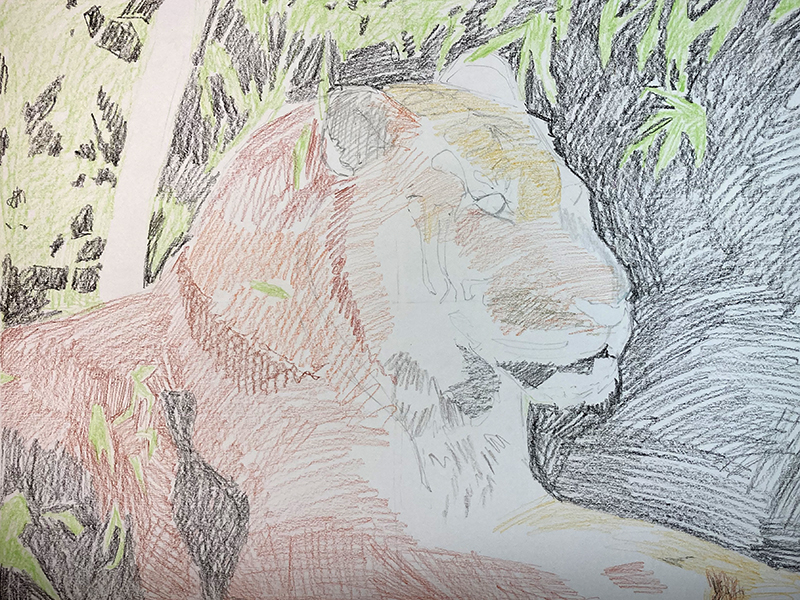
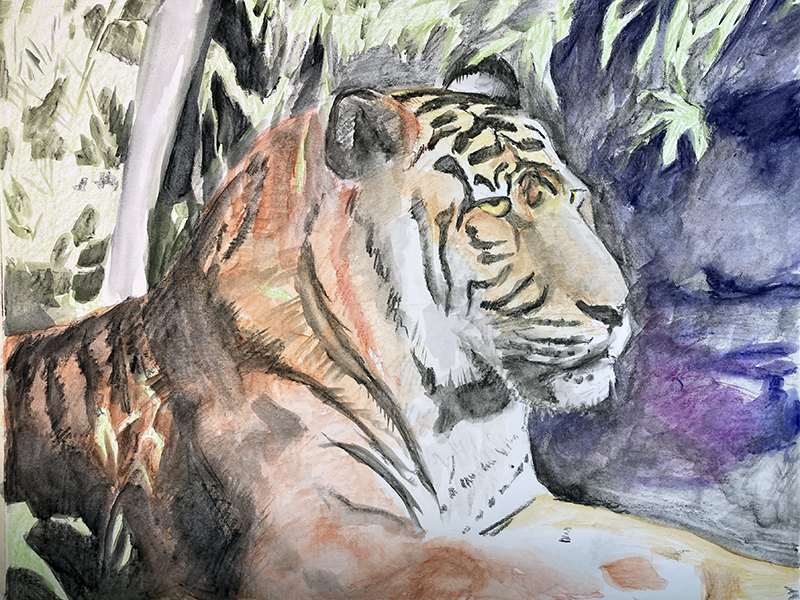
Step Three – Water Washes
Using the 3/4″ brush and water, I completely dissolved the crayons. Usually, from the very start of a watercolor painting, the artist must carefully preserve the white of the paper to act as highlights. I ignored that convention since I knew I could add white or light marks at the end given the covering power of these soft sticks.
Step Four – Building Up a Range of Value
The next step was all about building value. I basically repeated steps two and three until the values were closer to those observed in the reference image. A layer of crayon was applied and then dissolved. Once that layer dried, another layer of crayon was applied and dissolved. I began to purposefully manipulate my brush strokes while dissolving the crayon, at times working the brush in the same direction as the tiger’s fur.
As my applications of crayon became bolder, I was able to actually paint with the wet pigment. That is, I could pick up color from one area and mix it into color in another area.
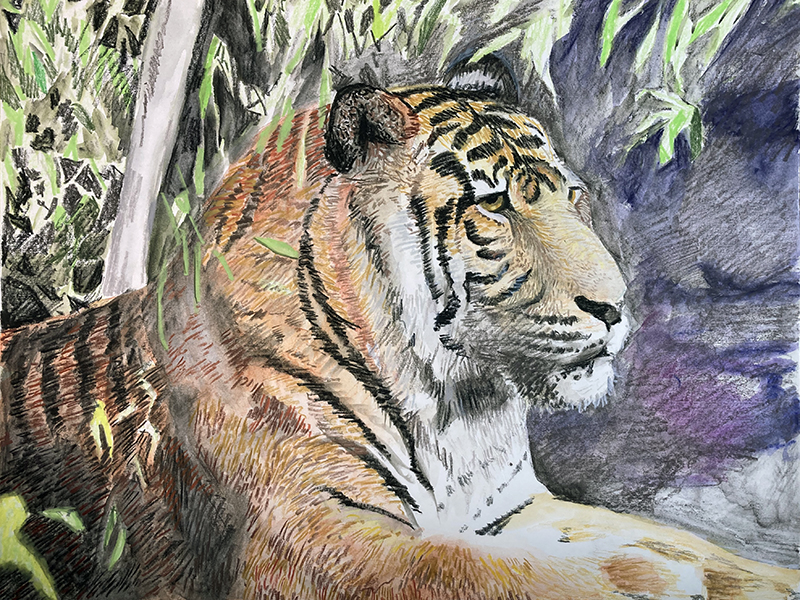
Step Five – Layering Dry Marks
My intention all along was to complete the project as I had begun – by drawing. I wanted to create some space in the artwork by separating the tiger from the background through a contrast in detail. To accomplish this, I began to draw over the painting using distinct marks meant to simulate the texture of fur. During this stage, I still worked around the tiger but continued to homogenize the background with a wet brush.
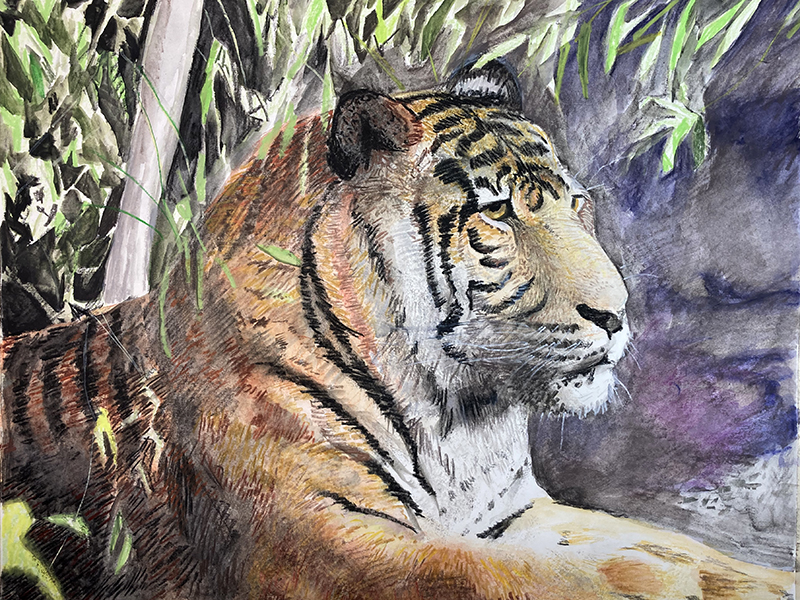
Step Six – Adding Details
The small linear details – like the tiger’s whiskers and the stems of the leaves, had been ignored up to this point. It was time to see if a wet crayon would indeed “float” these light details over the darker colors without losing their brilliance.
During this late stage of the painting, I was visually overwhelmed by the crayon marks that were drawn over the painted tiger in step five. I felt like, in some areas, the bold, staccato marks of the crayons were too distinct. My solution was to use a wet, natural sponge instead of the brush. I dabbed the wet sponge over the tiger in places, giving the sponge a couple of degrees of twist with each dab to further blur and soften the crayon marks.
Protecting the Work
A completed water soluble crayon artwork is delicate and should be protected like a watercolor painting or a pastel drawing. That means having it framed behind a piece of glass. As an alternative, you can also seal it a couple of layers of floor wax. When using the floor wax method be sure to employ a soft, wide brush and try to cove the painting with as few strokes as possible to avoid disturbing the crayon marks underneath.
Working with Water Soluble Crayons – Conclusion
As you can see, this medium is quite versatile and provides the artist with a variety of ways it can be used. It’s unique but reminds me a bit of watercolor pencils. The methods and approaches are quite similar, as are the results.
If so, join over 36,000 others that receive our newsletter with new drawing and painting lessons. Plus, check out three of our course videos and ebooks for free.