How to Light Your Art Studio
The light in your studio plays a huge role in the accuracy and potential success of your paintings and drawings. Often it is the last thing considered, but having the proper lighting can actually lead to better paintings and drawings.
Ideally, we would all love to have natural sunlight radiating into our studios both night and day. Obviously this isn’t possible and even if we do have the “holy grail” of a north facing window, the light will always be on the move as the sun makes its daily journey.
Not all of us can work during the day either and some of us actually prefer to work at night. So this means we have to look to artificial light to meet our needs.
It’s easy to assume that all we need to do is drench our studios with as many lights as possible to best replicate the natural light of the sun, but this would be a mistake. Too much light is just as bad a having too little.
In order to best light our art studio we must first understand a bit of the properties of light and how they affect the way we perceive color and value.
Let’s first discuss the temperature of light.
The Temperature of Light
Not all light is created equal. Light can be cool or warm. The temperature of light is measured on a scale and is designated based on degrees of a measurement called Kelvin.
The temperature of light is measured on the Kelvin scale from 1000 to 10,000. Cooler light has a higher Kelvin degree while warmer light has a lower degree.
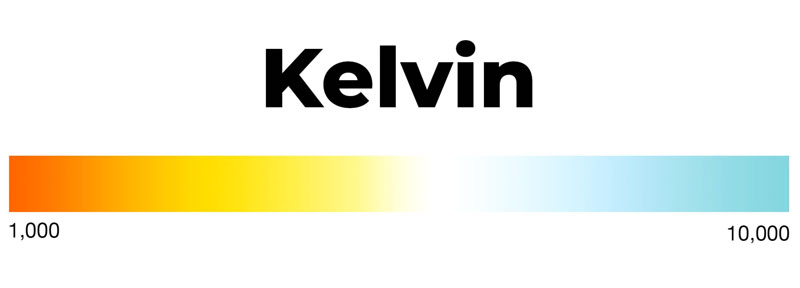
To make this scale a little easier to understand, let’s look at a few examples.
The embers in a smoldering fire may be around 1000K.
A burning candle is a little cooler, at around 1800K.
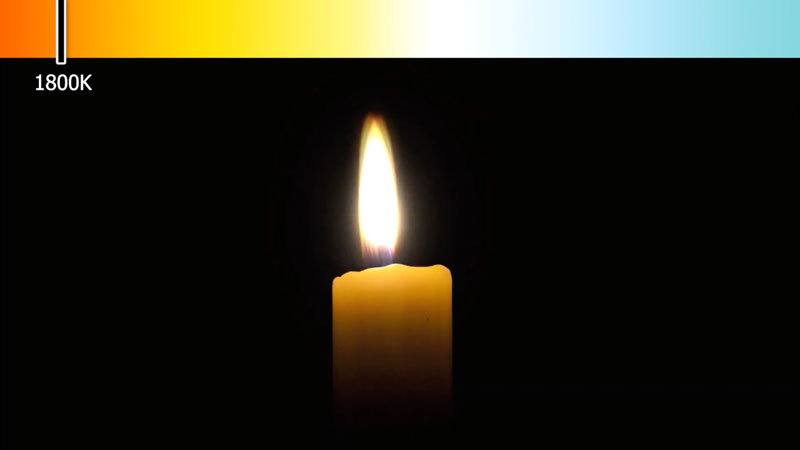
A standard incandescent light bulb may be around 2700K.
The sun at sunset may fall around 3400K.

The sun at noon is around 5000K and on a clear bright day may be as high as 6500K.
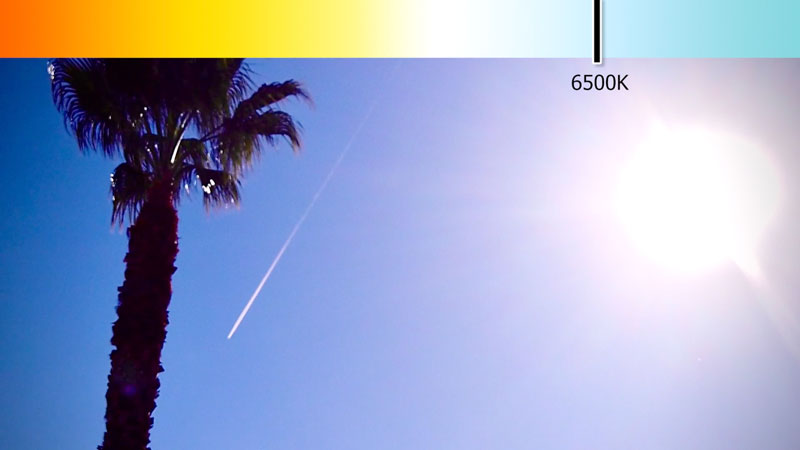
So, sunlight, the light we most want to replicate, is actually a cooler light.
This means that using a standard incandescent light bulb to light your art will make the colors that you choose less accurate. Since the colors you perceive will be warmer than they actually are, you’re likely to overcompensate and make the colors that you add to the drawing or painting a little cooler. This will likely result in “bluish art”.
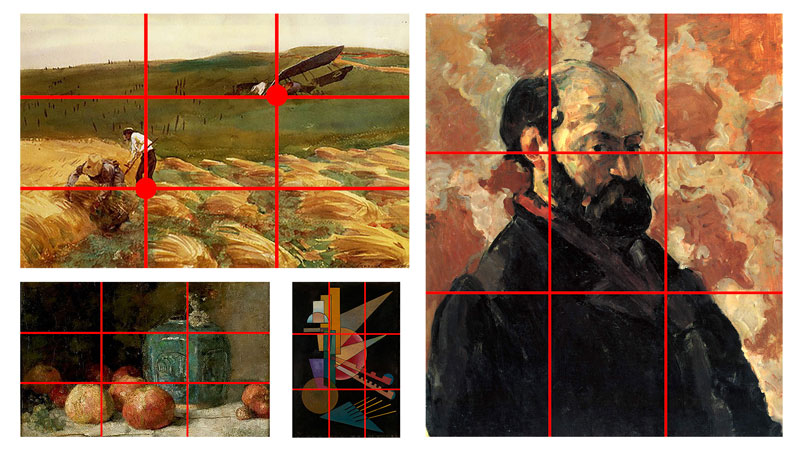
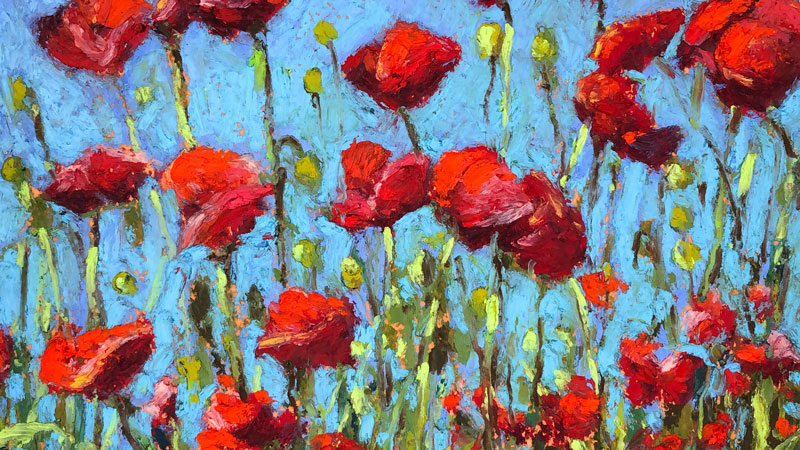
Take a look at how the colors in these artworks change as the Kelvin is adjusted.
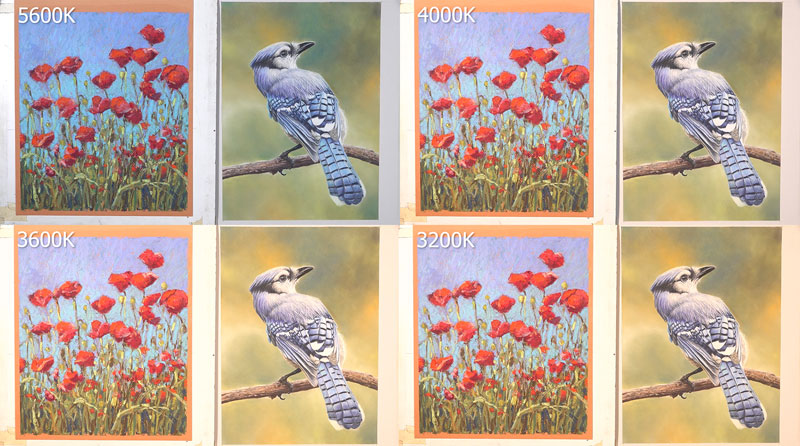
Notice how the colors change dramatically.
So in order to most accurately capture the colors in our paintings and drawings, we need to look for lights that are cooler. Any light around 5000K is most ideal, since it most accurately mimics the light produced by the sun.
A Kelvin degree higher than 5000K may make you force colors a little warmer, resulting in a drawing or painting that is actually to yellow or orange, so don’t go too far on the cooler end of things.
The Intensity of Light
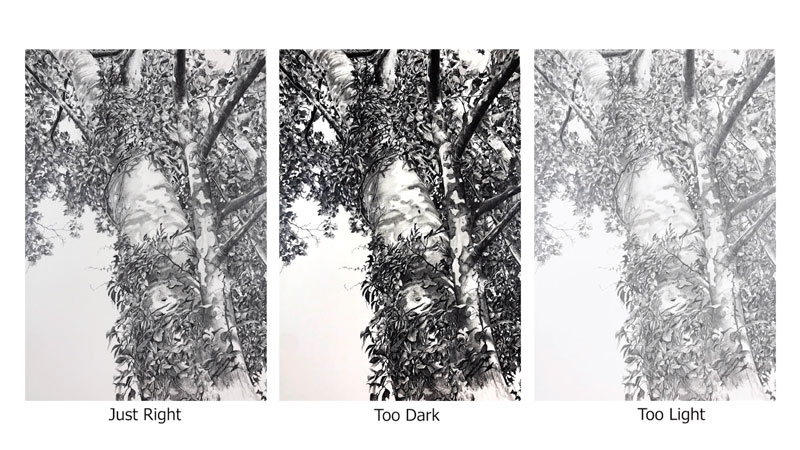
Color temperature is obviously important, but the intensity of light in your studio is equally so. The intensity of light will affect how you perceive and develop the values in your drawings and paintings. Value, one of the seven elements of art, affects the illusion of light, form, and texture. It is the value, or darkness or lightness of color, that ultimately leads to success in creating these illusions.
If your light is too intense, then you’re likely to overcompensate and create drawings and paintings that are too dark. If your light is too weak, then you’re likely to create drawings and paintings that are too light.
The intensity or brightness of light is most commonly measured in lumens. The higher the lumens, the brighter the light.
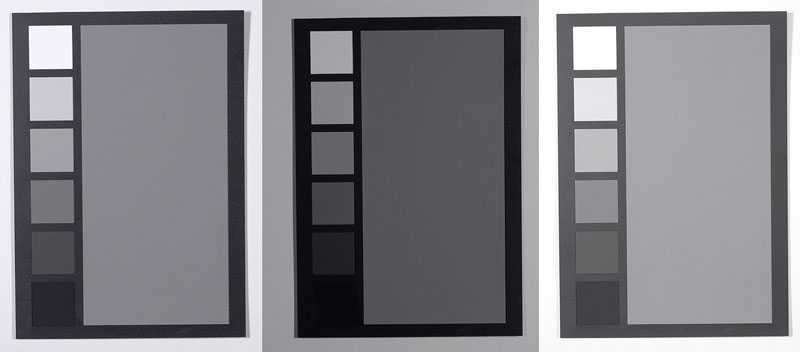
Ideally, we want to create an environment that has the right amount of light intensity directed at the drawing or painting surface. One way we can measure this is using a value scale.
After setting up your lights, use a value scale to evaluate the intensity of your lights. Pay special attention to white and black. If the white appears as a light gray, then you may need more intense light. If the black appears as a dark gray, then your lighting may be too intense.
Besides choosing bulbs of differing intensities, we can also adjust the distance between the art and the lights. Obviously, moving the light farther away from the art will lesson the intensity, while moving it closer with make the light more intense.
Having adjustable lighting in your studio is recommended so that you find the perfect intensity for your unique environment.
The Angle of Your Studio Lights
The angle of your lights is also important. We want our lights to be positioned in a way so that we minimize glare and create an even spreading of light across the drawing or painting surface.
The angle of your lighting depends on how you set up your work space. The ideal angle of your lights will depend on whether you work on a flat or tilted surface or if you work upright on an easel.
Lighting a Flat Surface
Let’s first look at the ideal lighting setup for working on a flat surface. Although my preferred setup for drawing is on a tilted surface, I typically work on a flat surface so that the camera is positioned directly above the art for filming.
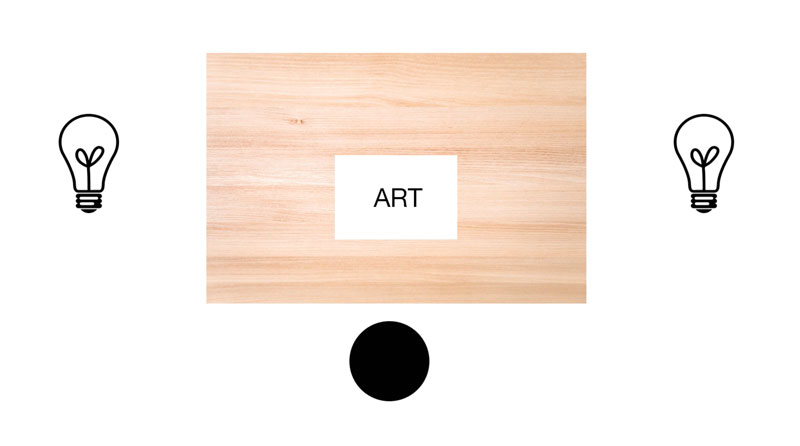
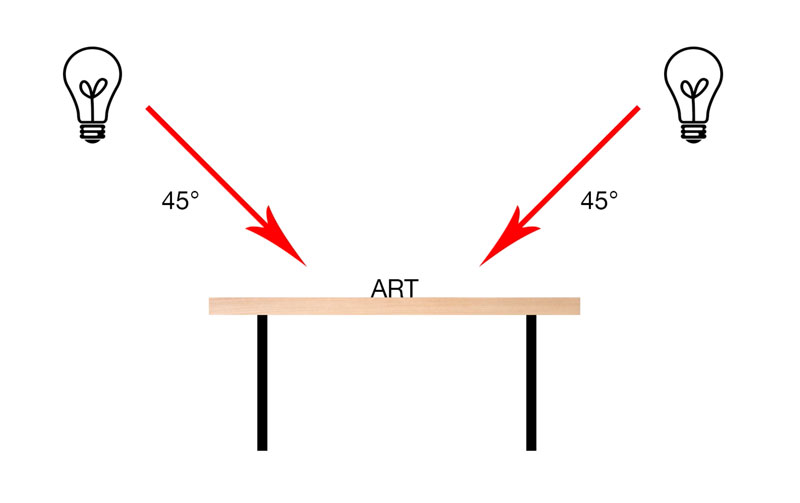
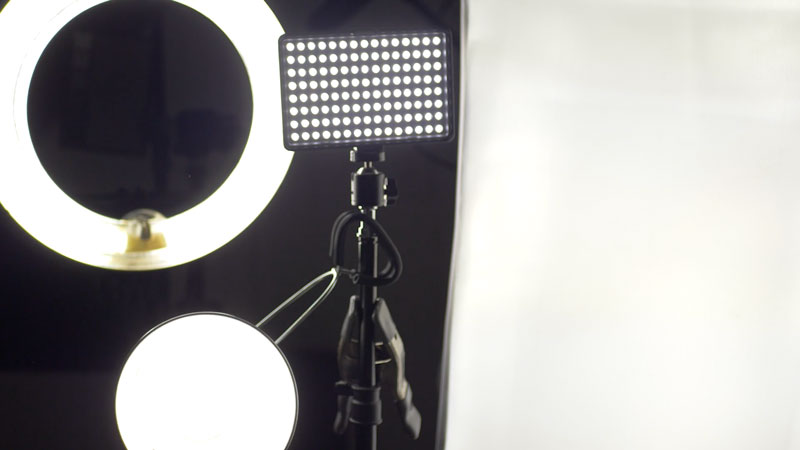
In my studio, I have two LED panel lights supported on light stands on either side of the drafting table. These lights are positioned so that light is directed at a 45 degree angle on the artwork from both sides. This allows for an even distribution of light and minimizes glare or reflection.
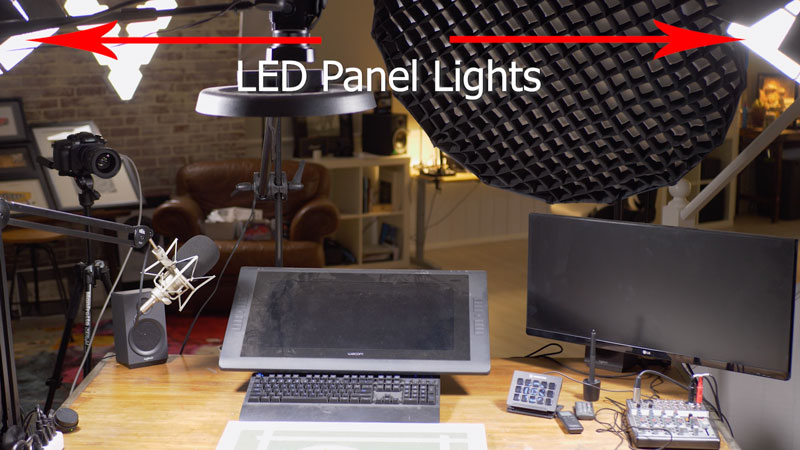
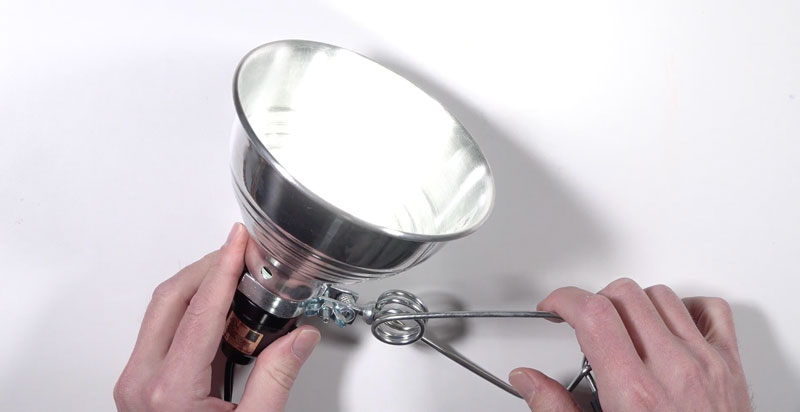
I also have a ring light directly above the art, but this light is only used for filming purposes or for photographing art.

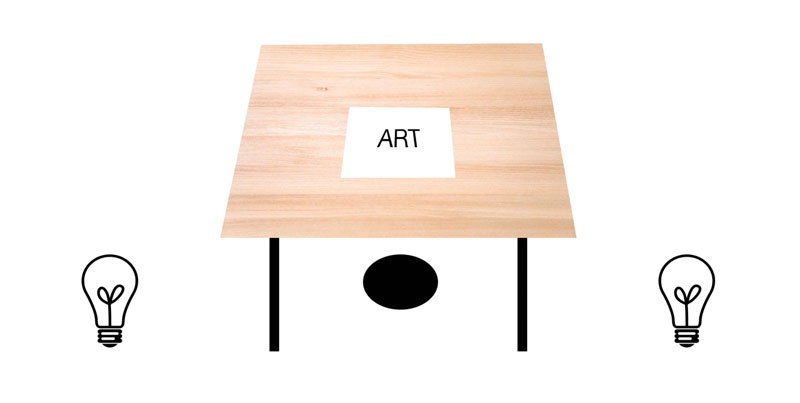
Lighting a Tilted Surface
For a tilted surface, I recommend moving the lights slightly behind you, but keep the angle at 45 degrees. This will result in even distribution of light without glare.
Lighting an Easel
Things change a bit when working on an easel. Since the art is directly facing the artist, glare is a bigger issue. If you were to light the art directly overhead, then the top of the painting would receive more intense light than the bottom and you would be fighting glare.
If using a singular light, it may be best to move the light or position yourself so that the light is behind you slightly and directed at the easel at a 45 degree angle.
This may require building a contraption or your own lighting rig to achieve the best light.
I have found however that using two lights, one on either side, works well without having to build anything. In this case, we can position lights on either side the of art and behind the artist, again positioned at a 45 degree angle to the easel.
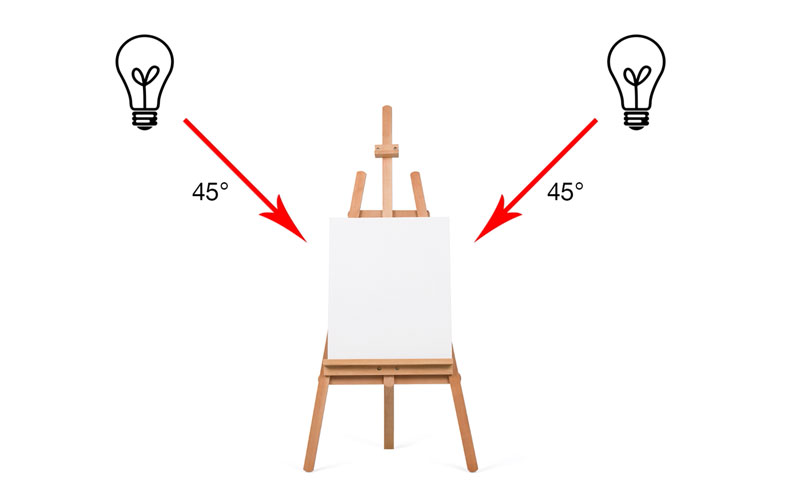
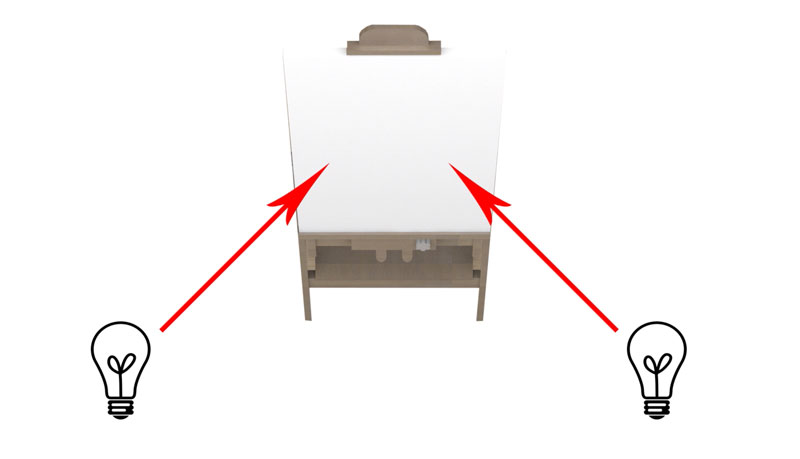
You may have to move the lights around to find the ideal intensity and to eliminate glare, but this beats building a lighting solution that lacks adjustability.
Lighting Options and Bulbs
Incandescent Bulbs
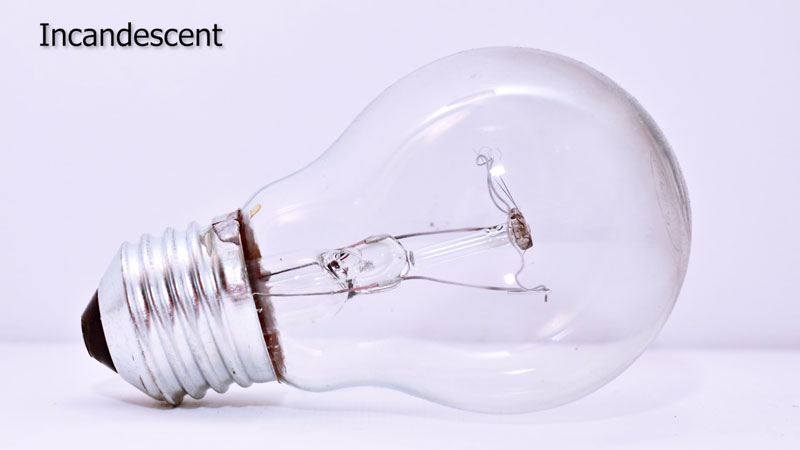
The first type of bulb is the standard incandescent light bulb. As we have discussed, these bulbs typically are found on the warmer end of the Kelvin scale and are generally not suited for lighting your art studio.
Fluorescent Bulbs
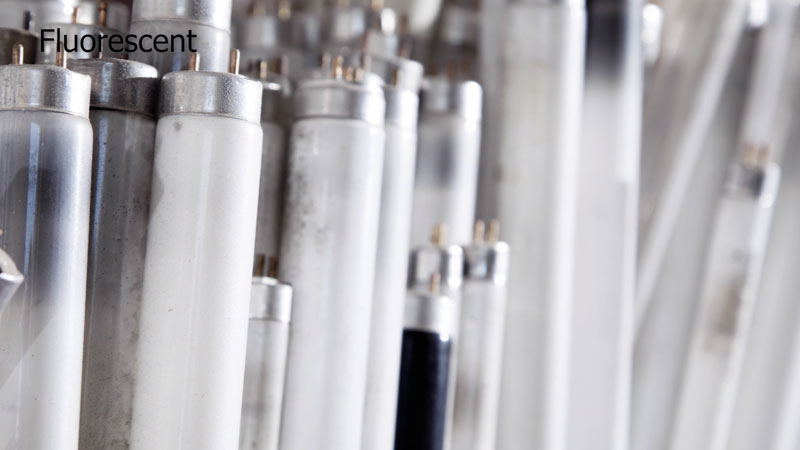
Fluorescent bulbs are typically long and slender and some artists prefer these because they spread light fairly evenly. Not all of us however have the fixtures needed for this type of lighting and don’t want to install them in our studio spaces. However, these bulbs do produce cooler light that is closer to natural sunlight.
Compact Fluorescent Bulbs
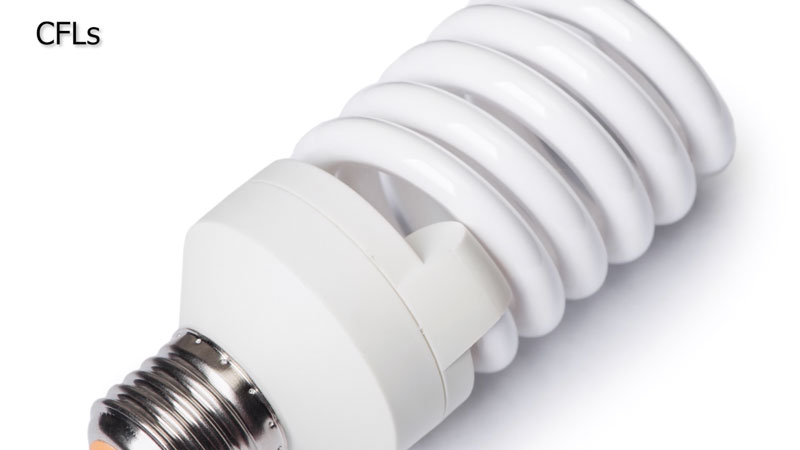
Compact fluorescent bulbs, or CFLs, work in the same way as standard fluorescent bulbs, but are coiled and their shape resembles that of an incandescent light bulb. These bulbs are available in a variety of temperatures and lumens making them ideal for use in a studio. They fit in standard incandescent fixtures and can be used in inexpensive clip on cans than can be purchased at most hardware stores.
LED Panels
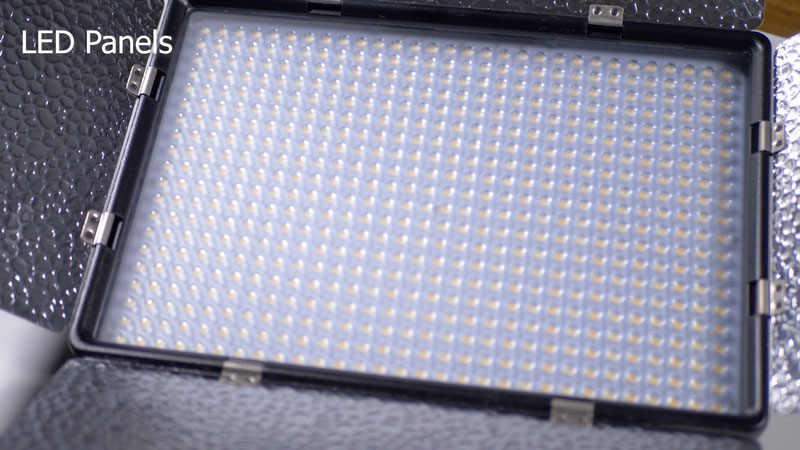
In my opinion, the best option for lighting your studio comes in the form of LED panels. This type of lighting has become extremely popular among photographers and videographers and these are the type of lights that I use in my studio.
Here’s where you can pick up LED light panels and light stands for your art studio (the following links are affiliate links which means we make a small commission if you purchase)…
These lights are adjustable based on both color temperature and intensity making them incredibly versatile.
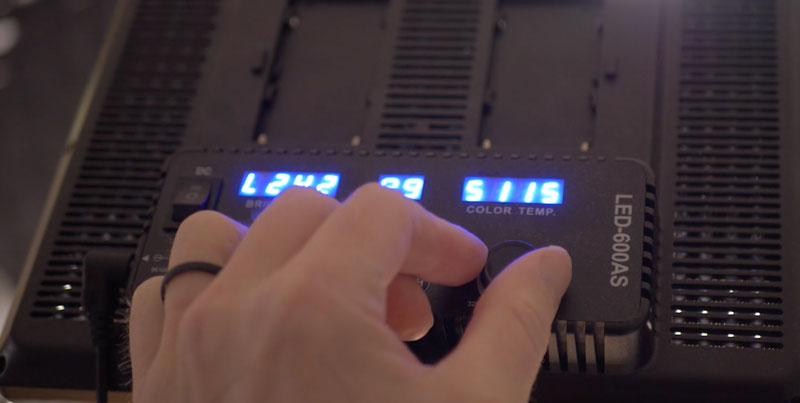
With a twist of the knob, these lights can output light with a warmer temperature or a cooler one based on your unique setup. The intensity of the light can be adjusted as well.
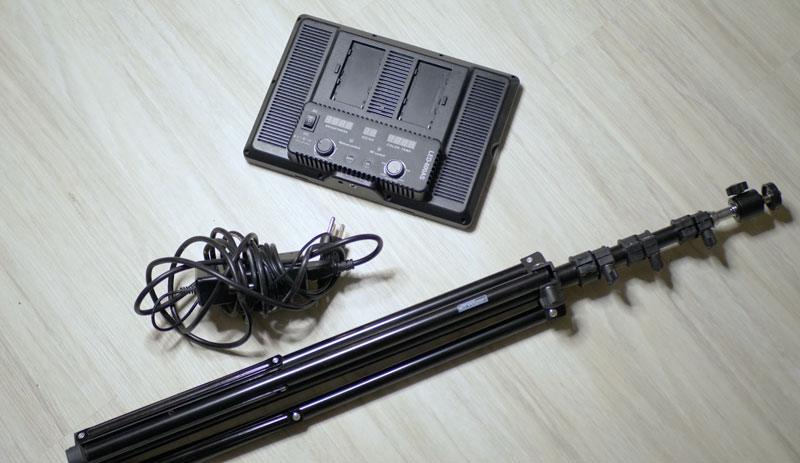
When supported on a light stand, these lights are easily placed wherever you need them. And if your home studio is also your dining room, they can easily be stored away until your next session.
LED panels also last a very long time, so you won’t find yourself replacing them often. I have used these lights in my studio on a daily basis for well over two years without any issues.
Lighting Your Art Studio – Conclusion
So there you have it. Lighting your studio is not to be overlooked. Since we as artists are in the business of capturing light in our drawings and paintings, the light in our studio should be something that we consider. You definitely have some options, but none of the options that we discussed here are too expensive.
Keep in mind that your lighting needs will different based on your studio space and some adjustments will be necessary, but having the right light makes a huge difference in what you create.
If so, join over 36,000 others that receive our newsletter with new drawing and painting lessons. Plus, check out three of our course videos and ebooks for free.