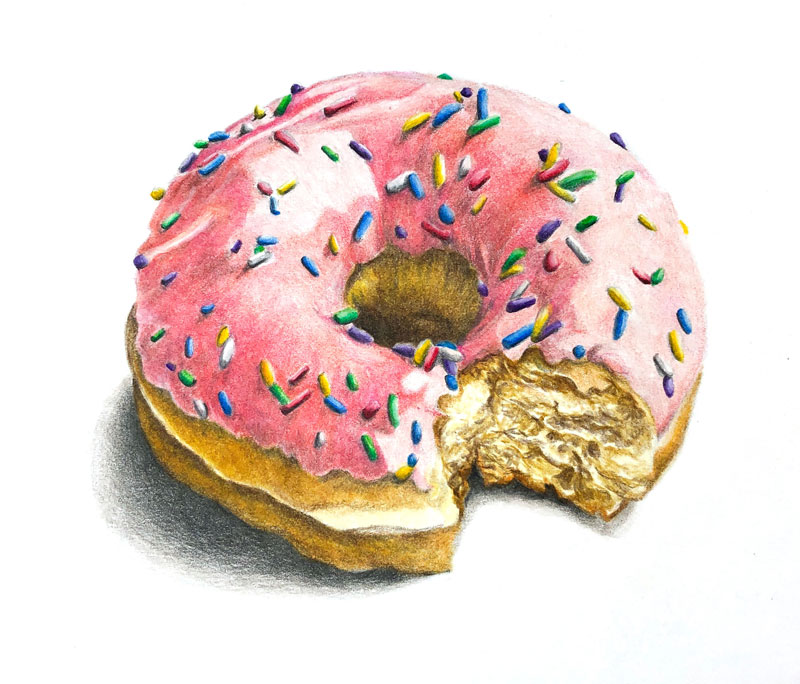
Drawing a Doughnut with Colored Pencils
In this colored pencil lesson, we’ll take a look at drawing a delicious, frosting covered doughnut, sprinkled with colorful candies. We’ll work on smooth Bristol paper and use Faber-Castell’s oil-based Polychromos pencils to complete the drawing.
Materials for this Lesson
The colored pencils we’ll use for this lesson are the oil-based Polychromos colored pencils by Faber-Castell. These professional pencils are rich in pigmentation and are designed for layered applications. They are pricey when compared to lesser brands, but the difference in quality is clear when they are applied.
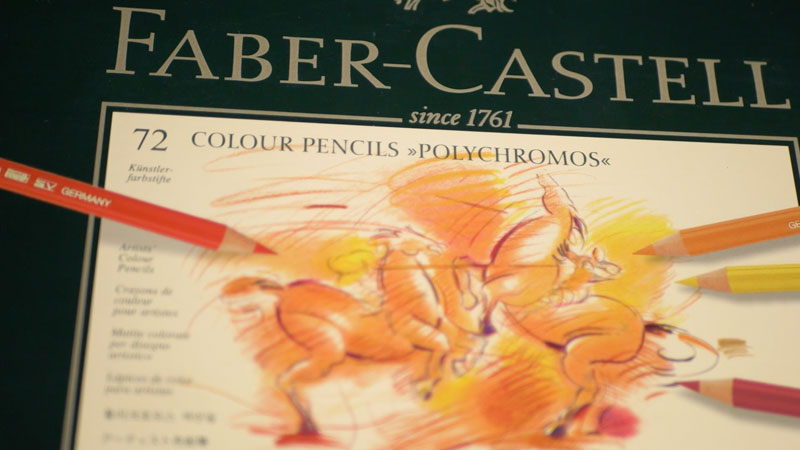
Oil-based colored pencils differ from wax-based colored pencils in the binder that is used. Oil-based colored pencils have an oil-based binder (which holds the pigment together), while wax-based colored pencils feature a wax-based binder. Most colored pencils on the market are wax-based.
Because the binder is oil-based, these pencils behave in a slightly different manner than their wax-based counterparts.
See also: Wax-based Colored Pencils vs. Oil-based Colored Pencils
The surface we’ll use is smooth Bristol paper by Strathmore. I love this particular surface and use it for a variety of media including pen and ink, graphite, and colored pencils.
The tooth (or texture) of this artist’s quality paper is very smooth. This is both and advantage and a disadvantage.
The advantage of this paper is the control that you have when applying colored pencils. Since the texture is less pronounced, you aren’t fighting against it to create intricate details. The pencil marks are smooth and well-controlled.
The drawback is the lack of tooth. More tooth on the paper means more layers of colored pencils can be applied. Layering colored pencils builds depth in color, which results in more natural, realistic imagery.
More on drawing papers…All About Drawing Papers
Here’s a look at the specific materials used to create the art. (The following links are affiliate links which means that I make a small commission if you purchase without an additional cost to you)…
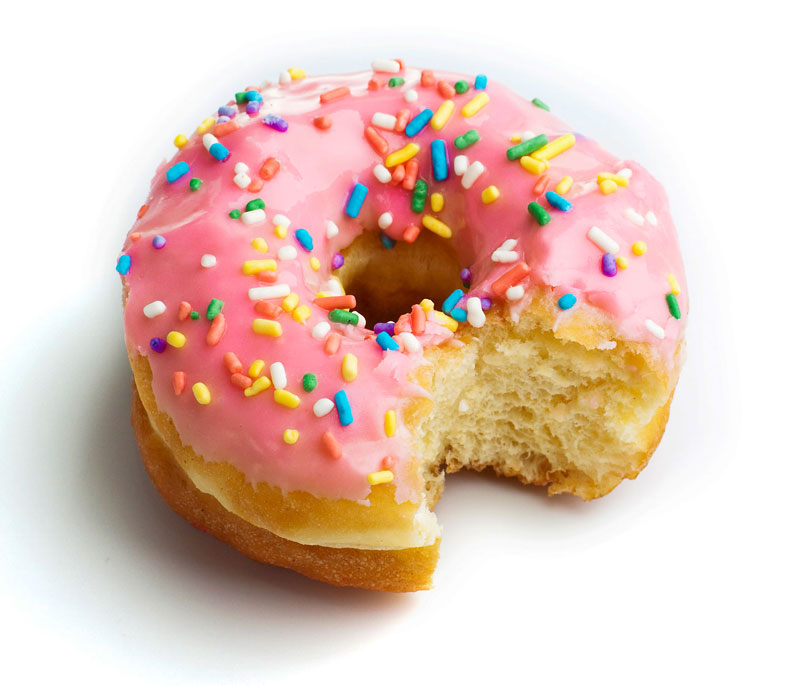
The Photo Reference
We’ll work from a photo reference to complete the image. Keep in mind that we aren’t trying to create an exact copy of the reference. Instead, we’ll use the reference for shapes, contours, color, and texture. We can deviate from the reference as much as we like. Remember, it’s the finished art that matters – not how well you copied a photo.
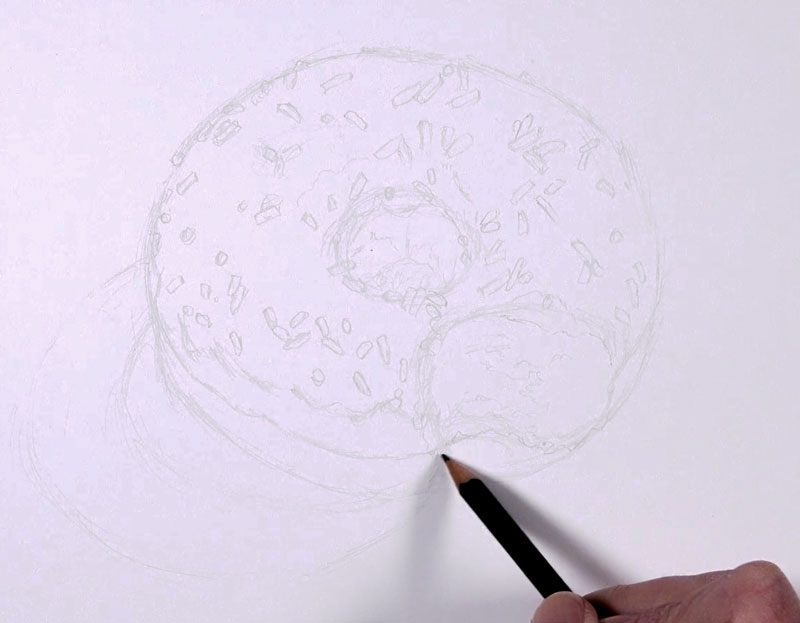
Start with a Sketch
We’ll begin our drawing with a light sketch using a graphite pencil. A hard graphite pencil, such as an “H” or “2H” will do. Try to avoid using anything harder than “2H” as it may create unwanted indentations in the surface of the paper.
See also: Artist’s Graphite Pencils Explained
Avoid using a softer pencil, such as a “2B” or darker. Darker pencils may leave too much graphite on the surface which may result in muted colors and bits of gray showing through the colored pencil applications.
The image that follows has been darkened to allow you to see the sketch a little easier. Your sketch should be as light as possible.
Adding Colors to the Doughnut
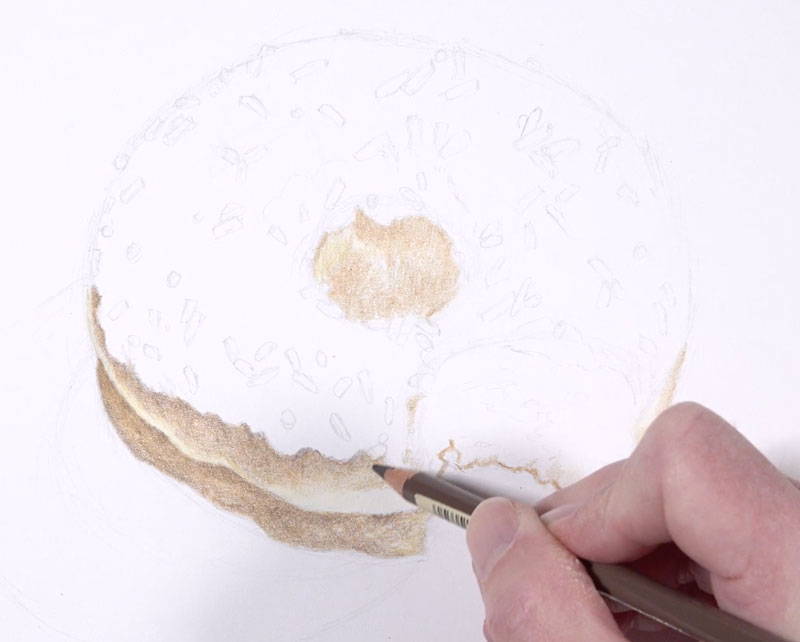
We’ll begin with colored pencil applications on the doughy part of the doughnut. We’ll layer a few colors to build up depth.
The first color that we’ll layer is Raw Umber. This color is carefully applied using a circular stroking pattern. This is followed by Cream, Terra Cotta, and Van Dyke Brown. The Cream applications are made primarily in the areas of lighter tone, while the Van Dyke Brown is applied mainly in the areas of darker tone.
Wax-based pencils can be burnished using a colorless blender while oil-based pencils are less receptive to a colorless blender. For this reason, we’ll blend the applications using a solvent. The solvent used in this drawing is Turpenoid Natural.
Using a soft brush, just a touch of Turpenoid is applied to the applications. This dissolves the color slightly, resulting in a smoother, more even distribution of color.

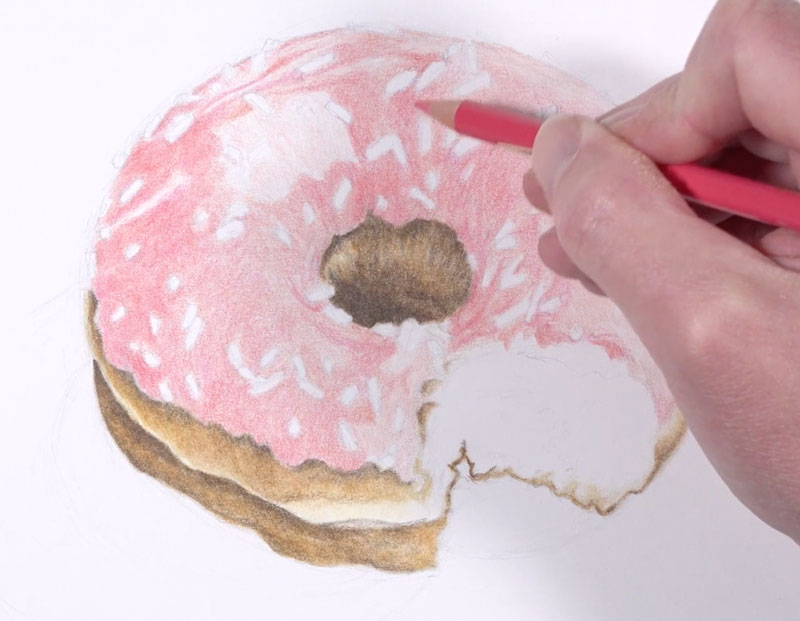
Next we’ll move on to the frosting. We’ll begin with a light application of Medium Flesh, taking care to preserve shapes of lighter value in areas where we see the strongest highlights.
To make the highlights slightly lighter, an application of White is applied.
To add to the complexity of the color, we’ll next layer a bit of Pink Madder Lake. This color is layered primarily over the areas where the values are darker.
This color is followed by Rose Carmine, adding a bit more to the complexity and intensity.
A few stronger shadows exist around the candies and the body of the frosting. Again, we’ll use Payne’s Grey to make the shadows a little darker. To warm up the shadows, we’ll layer Medium Flesh over the top.
As we did with the doughy sections, we’ll layer a bit of Turpenoid Natural with a soft brush to even the color.
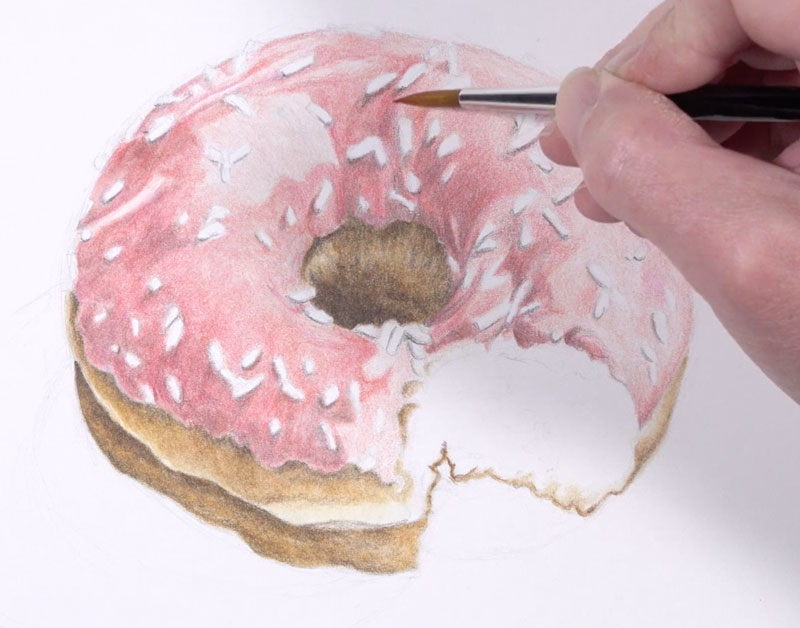
If needed, you may go back over portions of the frosting with any of the pinks that we applied initially to intensify the color.
Next, we’ll address the sprinkles. We’ll use a variety of colors, using both a dark and light version on each sprinkle. Highlights are intensified with White, while shadows are darkened with Payne’s Grey. Remember, each candy sprinkle is a small form, meaning that is has highlight, mid tone, and shadow. Be sure to keep your shadows and highlights consistent for each sprinkle that you draw.
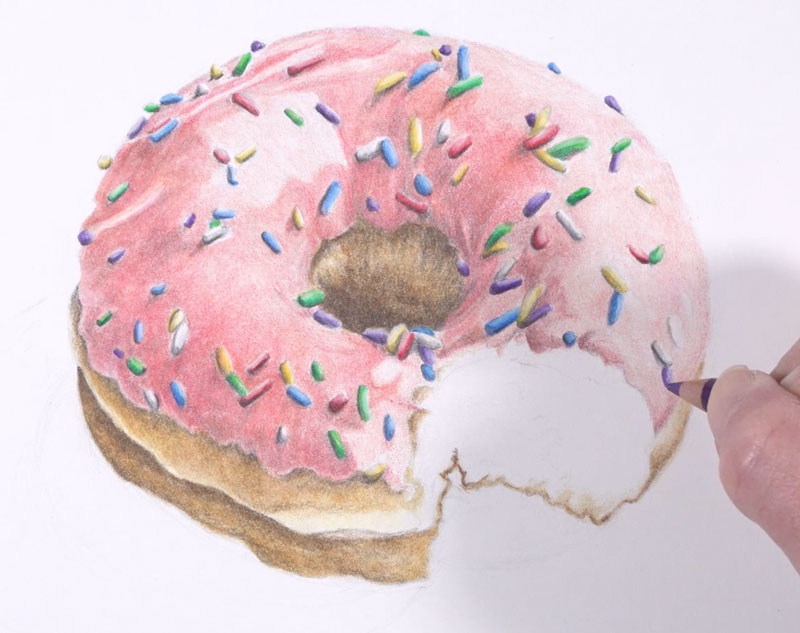
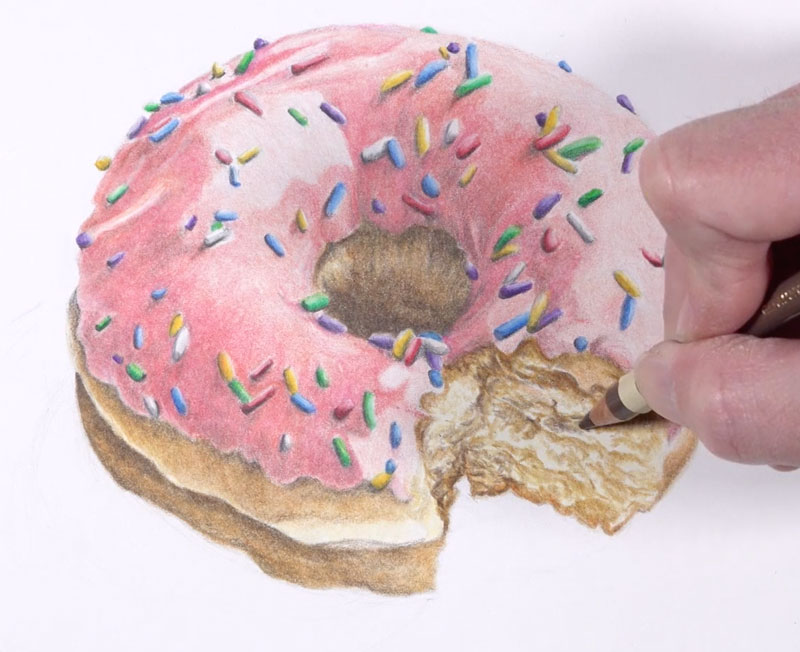
With the sprinkles in place, we’re now ready to address the bite mark in the doughnut.

We’ll begin by coloring in the entire shape of the bite mark with an application of Cream. This is followed with Raw Umber, drawing in textural marks to mimic the flakey dough. Strokes are mostly horizontal on the right side of the shape and are more circular on the left side. Be sure to leave bits of the Cream showing through – it’s the contrast that leads to the illusion of texture in a drawing.
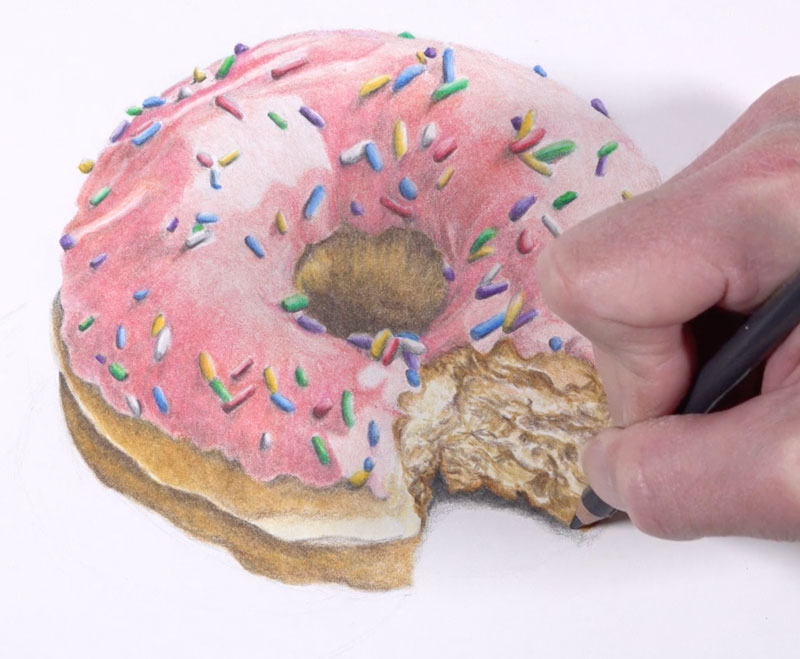
We’ll then darken the shadows in this area with a bit of Van Dyke Brown. Walnut Brown can also be used if the value needs to be darker. The more that you push the darker tones, the more pronounced the illusion of texture becomes.
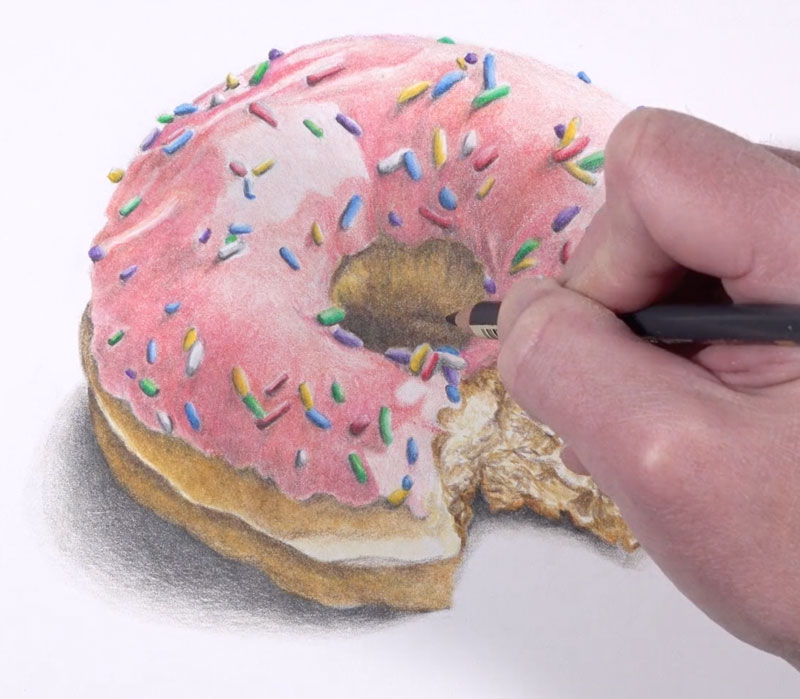
Next we’ll add a bit of cast shadow underneath the doughnut. Instead of using black, we’ll layer a couple of grays. First, Warm Grey V is applied, followed by Payne’s Grey. Cold Grey II is applied around the outer edge of the shadow to ease the transition to the white background.
We’ll also extend a cast shadow on the left side, using the same combination of colors. The shadow is much larger on this side.
Sticking with Payne’s Grey, we can enhance some of the shadows inside of the doughnut hole and in areas where the icing overlaps the dough.
Now our drawing of a doughnut with colored pencils is complete…
Doughnut Drawing with Colored Pencils – Conclusion
Like is the case with any colored pencil drawing, patience is important. Take your time when developing each layer of color to build up depth in the color. Perhaps you’ll create a drawing that’s good enough to eat!
If so, join over 36,000 others that receive our newsletter with new drawing and painting lessons. Plus, check out three of our course videos and ebooks for free.