Success with Colored Pencils
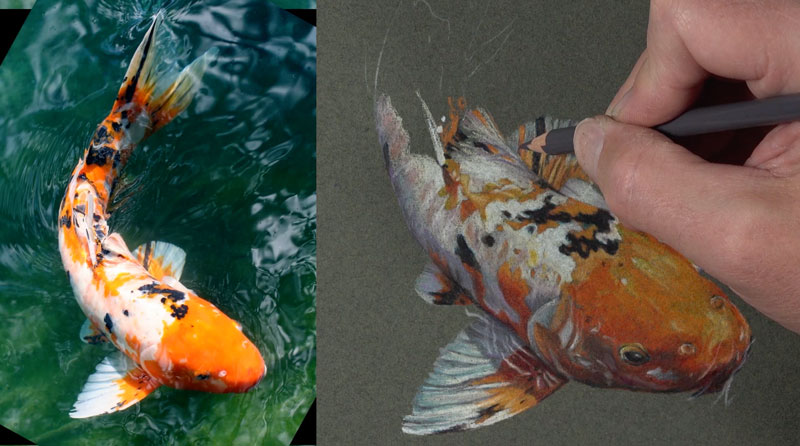
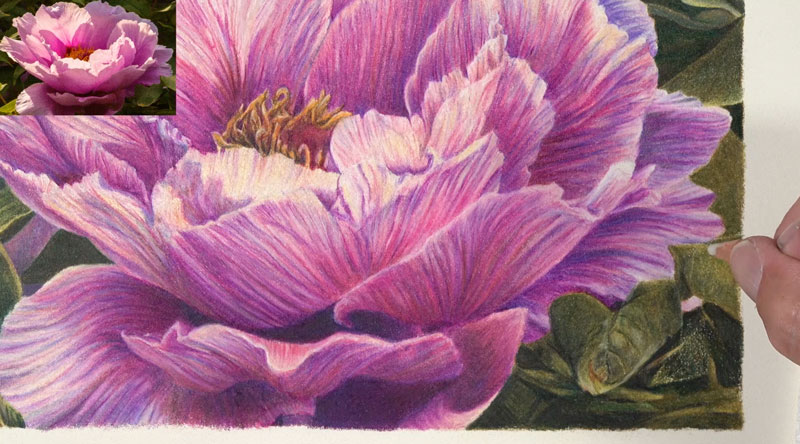
Colored pencils are one of the most rewarding mediums to work with. A finished colored pencil drawing, when done correctly, can resemble a painting. But colored pencils are perhaps the most misused medium on the planet. In this lesson, I’ll share 7 secrets to success with colored pencils that you can apply to your own colored pencil drawings.
Secret # 1 – Layer and Mix Colors
Colored pencils are designed to be layered. When they are layered, mixing naturally occurs. Mixed colors have a more realistic appearance. When colors are mixed and layered, the complexity of the resulting color has more depth and interest.
This means that when you layer and mix colors, your colored pencil drawing is more realistic and more interesting. So instead of trying to find a pencil that is a perfect match, consider creating this color by layering and mixing.
Secret # 2 – Work on a Slightly Textured Paper
Because layering is so important with colored pencils, we need to work on papers that will allow multiple layered applications. This means that papers with a slightly heavier tooth will perform better. Avoid papers with a super heavy texture and look for papers that have a medium texture.
Papers such as Canson Mi-Tientes paper, PastelMat paper, and Stonehenge papers are all wonderful surfaces for colored pencils. Also consider papers that have a tone or color. While most of us assume that colored pencil drawings must be created on a white surface, colored papers are sometimes a better choice.
See also: Best Papers for Colored Pencils
Secret # 3 – Build Up Solid Applications
Colored pencils are at their best when the applications are solid. When colored pencils are layered, more of the material is applied to the surface. Our goal should be focused on filling the tooth of the paper completely with the colored pencil medium. This leads to an appearance more like a painting instead of a drawing.
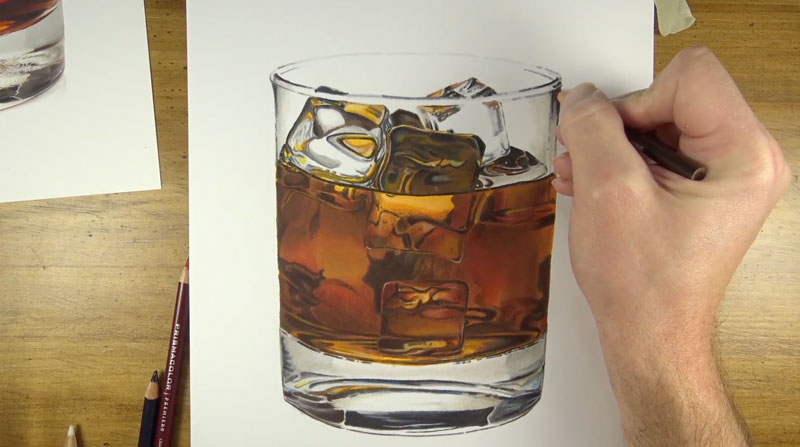
Most people who are new to colored pencils assume that they should be used in the same way as a graphite pencils. But colored pencils are a completely different medium and look their best when most, if not all, of the paper is covered.

Secret #4 – Burnish and Blend Applications
Burnishing with colored pencils is the process of smoothing or blending applications with a tool or solvent. By burnishing, we create smooth transitions between colors and values. This is an essential part of drawing with colored pencils.
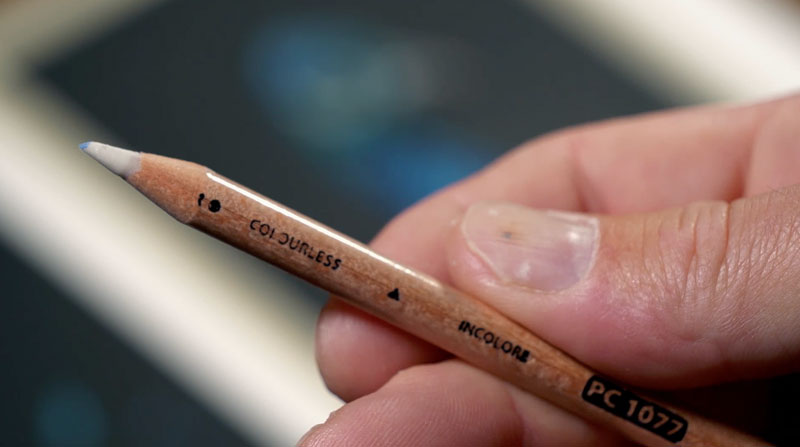
Burnishing can be accomplished by using a special pencil, called a colorless blender. This pencil has a core of colorless colored pencil medium. When applied over areas of color, the wax of the pencil works to blend and smooth applications, working the material into the tooth of the paper. The result is a more consistent application with smoother transitions.
Burnishing can also be accomplished using a light colored pencil. Lighter grays, Creams, and White can be used to burnish applications. Keep in mind, however, that burnishing with a light pencil will also lighten the values of the colors in that area.
You can also burnish areas using a solvent. Gamsol, mineral spirits, and baby oil are all acceptable solvents for burnishing. These solvents can be lightly applied with a brush over areas of color, producing similar results as a colorless blender.
See also: How to Blend Colored Pencils
Secret #5 – More Colors are Better
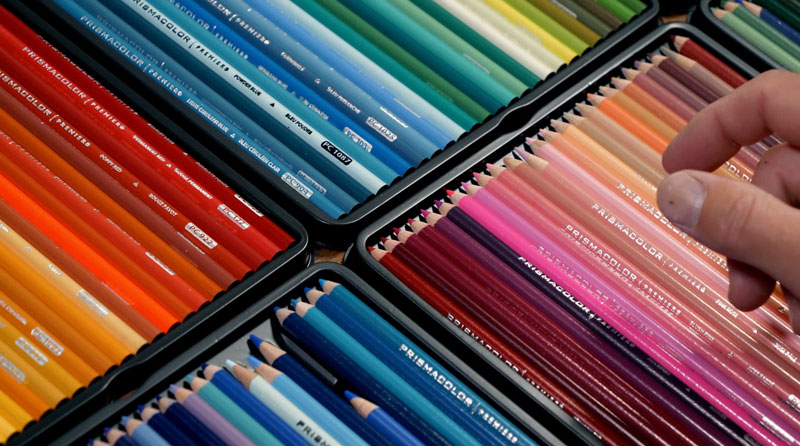
With traditional painting mediums, like oils, acrylics, and watercolor, we can mix almost any color with just a handful of pigments. With colored pencils, mixing is more difficult. This means that we are limited in the colors we can create through mixing. Because of this, it’s better to have more choices when we create our drawings.
Having more colors at your disposable means that you have a better chance of matching and mixing colors that you need to complete a drawing. With just a few colors, your options are limited. So unlike other mediums, having more colors is better.
See also: The Best Colored Pencils
Secret #6 – Be Careful with White and Black
The colors white and black are neutral colors. These colors are essential for mixing different values of colors. But, when white or black is used on its own in a colored pencil drawing, the result can look unnatural. Instead, consider lighter or darker values of colors. For example, you may consider using 90% Cool Gray instead of black – or 10% Cool Gray instead of white. These colors result in a more natural appearance and keep your drawing from looking flat.
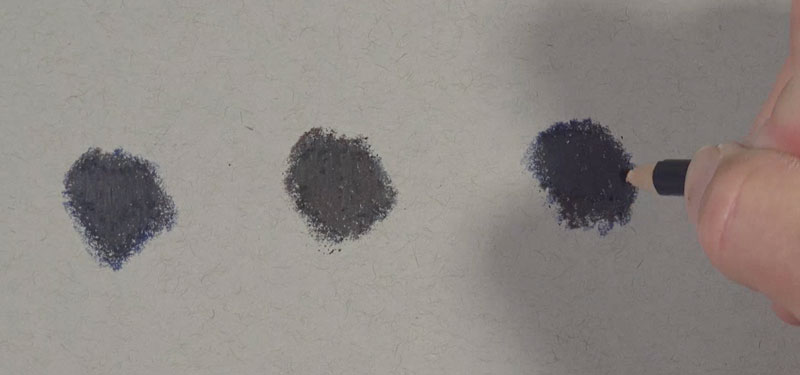
If you need a black in an area within a drawing, you can mix your own. By layering Indigo Blue and Dark Umber, the result is a more colorful black. You can control the temperature of the black as well. By adding more brown, you create a warmer black. By adding more blue, you create a cooler black. Make sure your blacks and whites have a little color in them in order to create more natural looking colored pencil drawing.
Secret #7 – Work Slowly
When used correctly, colored pencils are one of the slowest mediums available to artists. Layering and mixing takes time to develop. Filling the tooth completely is also a slow process. Burnishing also requires time. Be prepared to work slowly when working with colored pencils. I like to work in small areas within a drawing, completing these areas as I go. This gives me small wins along the way and encourages me to continue.
If you hurry through a colored pencil drawing, your results will reflect this. Instead work slowly, take your time, and let your drawing develop at its own pace. While it will take more time to complete a colored pencil drawing, your time will be well spent in the end – if you work slowly.
If so, join over 36,000 others that receive our newsletter with new drawing and painting lessons. Plus, check out three of our course videos and ebooks for free.