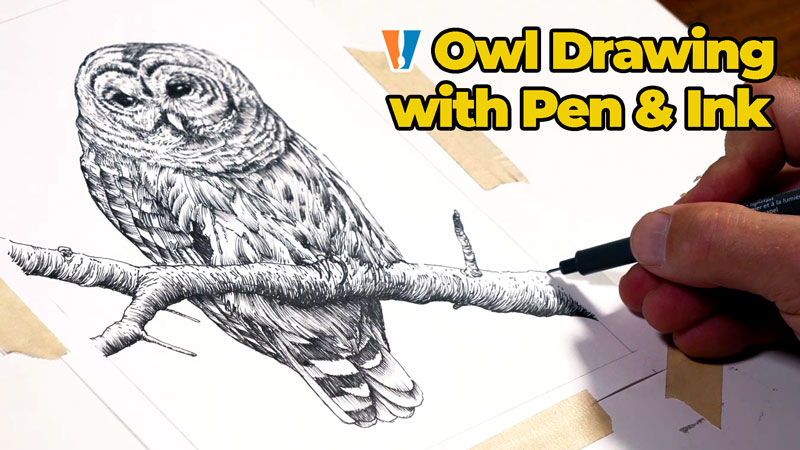
Success with Pen and Ink Drawing
Pen and ink is a wonderful medium for creating impactful drawings. The use of black ink on white paper results in maximum contrast. However, some people are intimidated by the permanence of ink and are afraid to push the medium to its fullest potential. But pen and ink should not be scary. If you know a few secrets, which I’m going to share with you, you can find success with pen and ink.
Secret # 1 – Work on Papers with a Smooth Tooth
The texture of the paper that you work on is commonly referred to as tooth. For pen and ink drawing, smoother papers typically perform better than those with a heavier tooth. Heavily textured papers produce inconsistent, broken lines and can wear out your pen quickly.
Smoother papers, however, allow your pen to glide over the surface – resulting in more controlled, clean lines. For cleaner pen and ink drawings, consider working on papers such as Bristol Smooth or papers specifically designed for pen and ink – like pen and ink paper.
See also: All About Drawing Papers
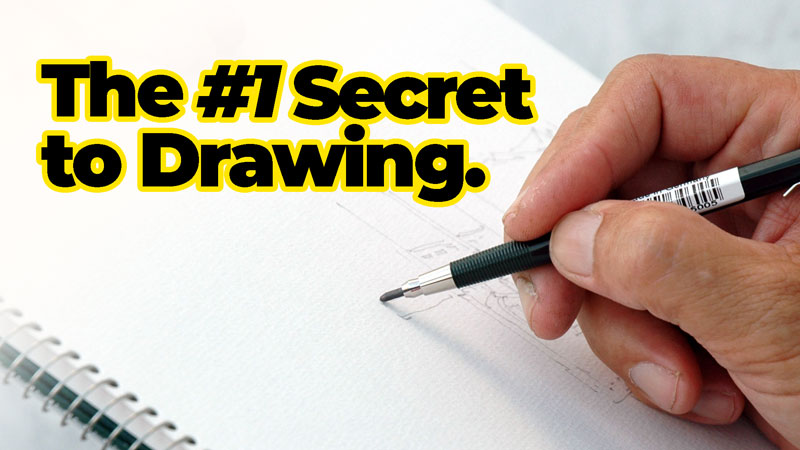
Secret # 2 – Start with a Light Pencil Drawing
Some people believe that you should never create a pencil drawing prior to adding ink. They argue that a pen and ink drawing should be purely pen and ink. However, most accomplished pen and ink artists always start with a pencil underdrawing.
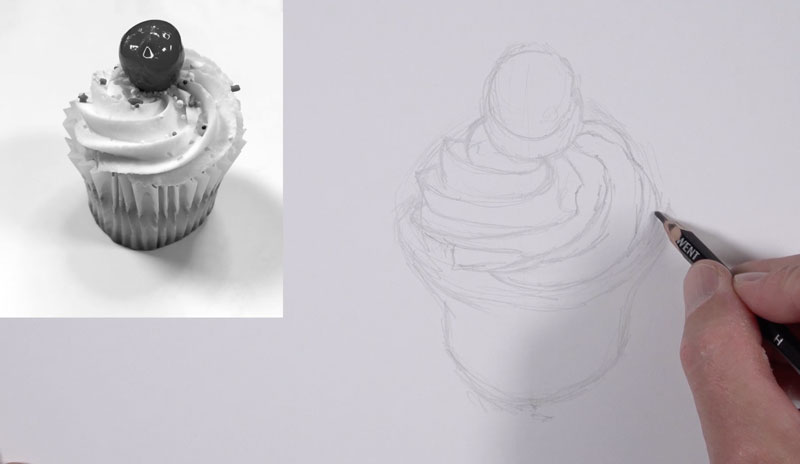
Starting with a pencil drawing ensures accuracy and allows you study the subject prior to making permanent marks with ink. You can work out in your mind how you plan to address certain areas of the drawing before committing to marks that are impossible to erase. A pencil is more forgiving and allows you to make mistakes in the early stages of the drawing.
Just be sure to create your pencil drawing with a light pencil – like an H or 2H and use a light touch when making marks. Avoid shading with the pencil and keep as little graphite on the surface as possible. Any remaining pencil marks can easily be erased after the ink has dried.
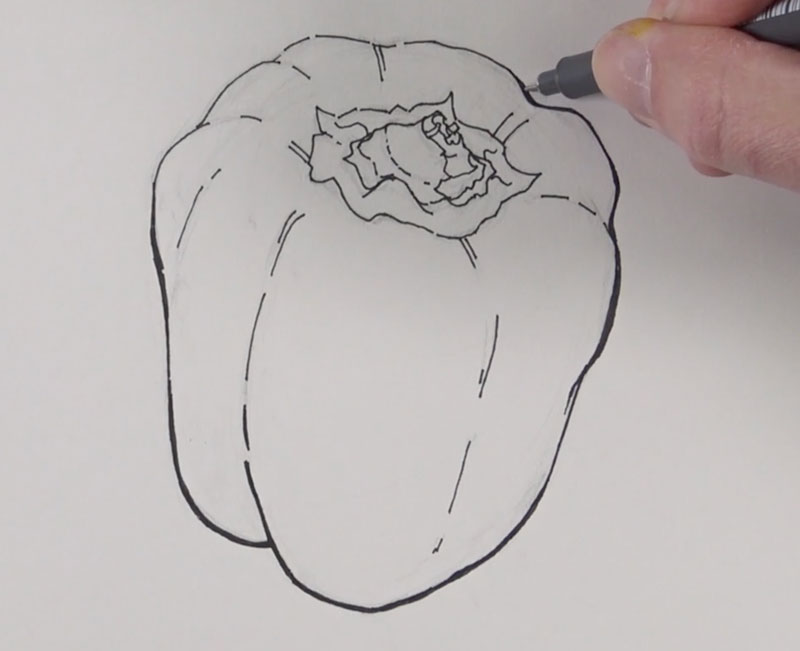
Secret # 3 – Practice with Line
Line is one of the 7 elements of art. In fact, it is the most foundational of the elements. Line is arguably the most important element of art when it comes to pen and ink. We use line to define the edges of subjects – but it does more than that.
We also use line to develop value relationships in a pen and ink drawing. This means that when hatching and cross hatching are used – line is the main element used to develop value. And value tells the viewer about the light within the scene, the form of the subjects, and the texture.
This is why line is so important in pen and ink drawing. If you want to improve your pen and ink drawing, then you must focus on practicing drawing with line.

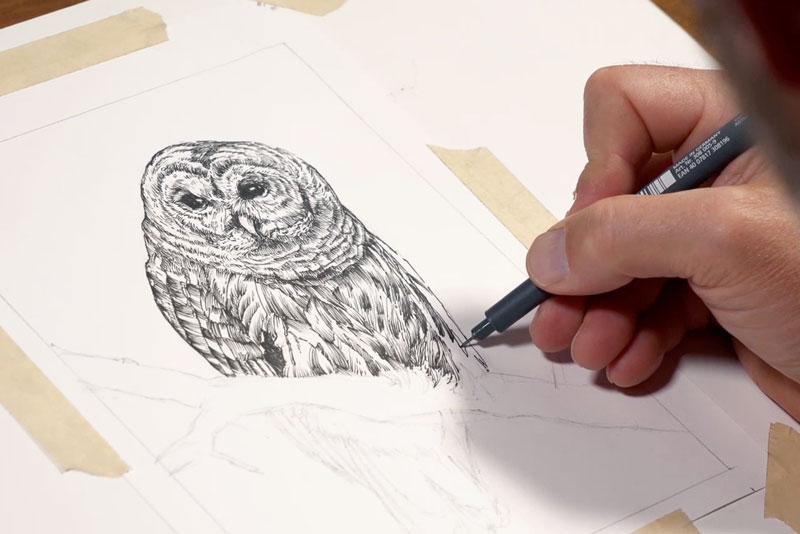
Secret #4 – Use Directional Stroking
The direction that you push or pull your strokes plays a role in the success of a pen and ink drawing. When developing values on the subject, you should consider the form and texture of the subject. This will help determine the direction that you make your strokes with the pen.
Strokes should be pulled over the form of the subject, changing direction according to the specific plane of the form. This type of line is called a cross contour line – since it flows over the contour of the subject.
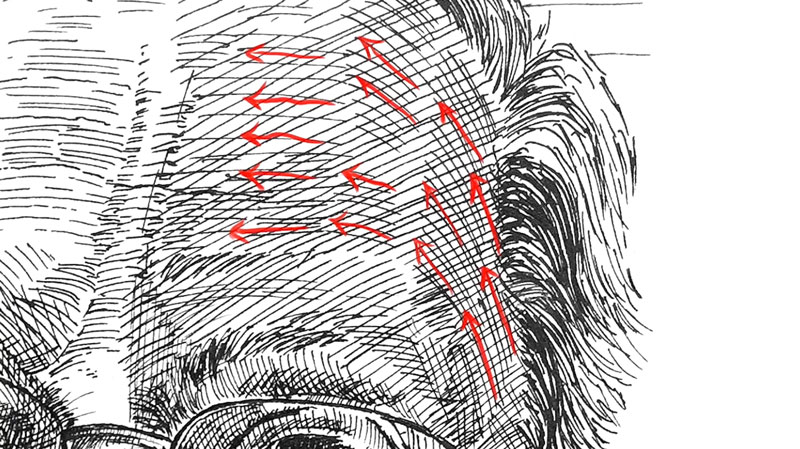
Use cross contour lines when developing the shading with hatching and cross hatching. Avoid using flat lines since this will make your drawing appear flat as well. By pulling lines over the form of the subject, we not only develop the values, but also the form of the subject.
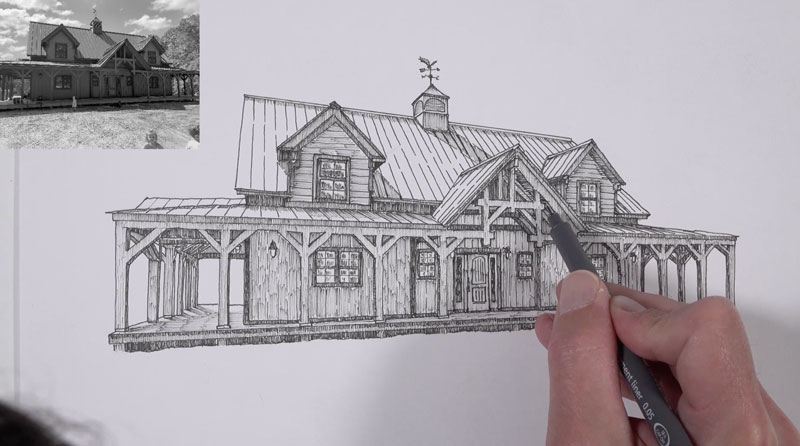
Secret #5 – Vary Line Quality
I like to think of line quality as the thickness or thinness of a line. Instead of using just one thickness of line, be sure to vary the line – especially around the outer contours of the subject. Allow your line to get thicker in areas of shadow or where the subject gets thicker.
Create variety. It can be subtle – but even subtle changes in line can go a long way in creating a more interesting drawing. Your lines don’t have to be complete lines either. Including broken lines can help indicate highlights or areas of lighter value. Variety is the spice of life, but it’s also a principle of art. By varying the line quality we create more communicative and interesting pen and ink drawings.
Secret #6 – Be Consistent with Your Applications
There are lots of different ways to mark marks with pen and ink. There’s hatching, crosshatching, random lines, stippling and more. While it may be tempting to incorporate every technique you know into one drawing – it’s better to stay consistent with just one technique.
While we need variety in our drawings, we also need harmony – another principle of art. To ensure harmony in a pen and ink drawing, pick an application technique suitable for the subject and stick with it. If you start with cross hatching – stick with cross hatching. If you start with stippling – stick with stippling. Try not to mix methods. In other words, don’t use stippling with hatching and vice versa.
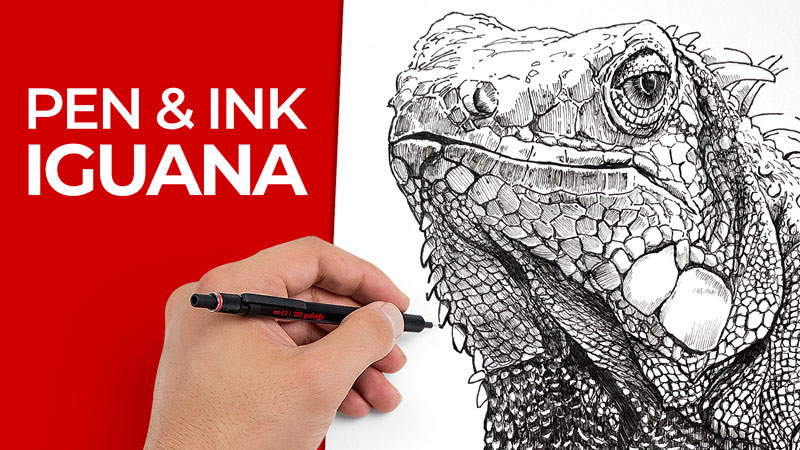
Secret #7 – Experiment
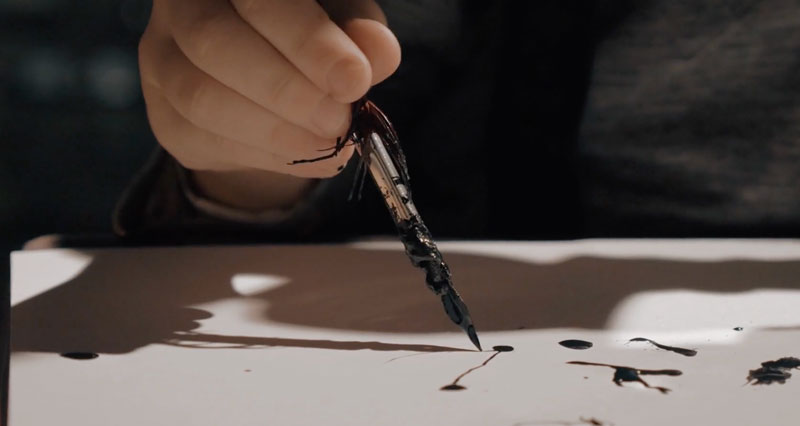
There are many different ways to apply ink to the drawing surface. Most of us simply use a technical drawing pen. However, you can create a broader variety of marks by experimenting with different techniques. While I love my technical drawing pens, I also love using dips pens. While this technique is more labor insensitive, I find that I have more control over my marks and can create more variety when ink is applied in this manner.
You can apply ink using just about anything – from a brush to a stick. If you’ve never tried a different way to apply ink, experiment to discover new ways to create marks.
If so, join over 36,000 others that receive our newsletter with new drawing and painting lessons. Plus, check out three of our course videos and ebooks for free.