Gettin’ Sketchy – Drawing a Baseball and Glove – Season 4 Episode 8
This episode aired live on YouTube on July 21, 2021.
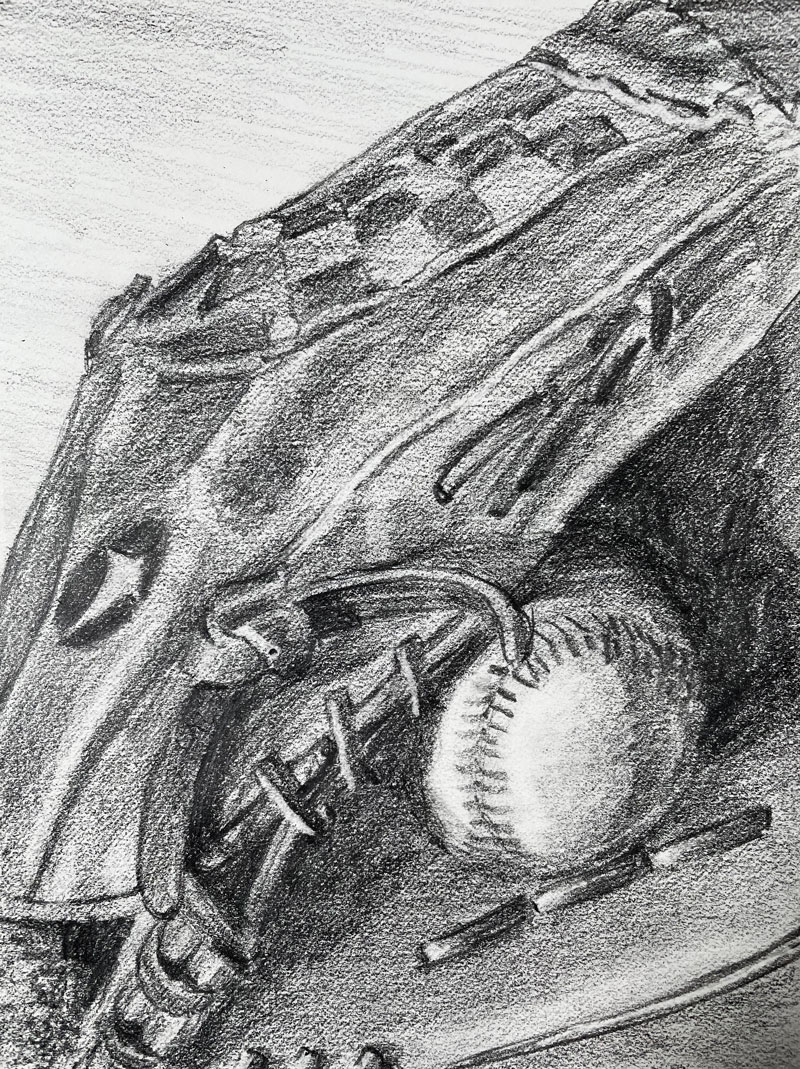
In this timed drawing exercise, Ashley creates a drawing of a baseball and a glove with pencil on white drawing paper. Drawing this subject seems like a difficult task on the surface. There are plenty of values, textures, and details. But Ashley demonstrates how even a complex subject can be simplified. The drawing is completed within about 45 minutes. Grab your sketchbook and let’s get started.
Here’s a look at the completed drawing…
Getting Started – Drawing the Contours of the Glove and Ball
Ashley begins the drawing by analyzing the relationships between the edges of the glove and the boundaries of the picture plane. This provides a starting point for comparisons. In order to begin a drawing in this manner, you must first plan out the picture plane – making it proportional to the photo reference. As you can see below, Ashley has done this.
Ashley looks for locations along the edge of the picture plane where the glove goes out of view and uses this information to place the first marks. Drawing is about observation and making comparisons and this is great place to begin making comparisons.
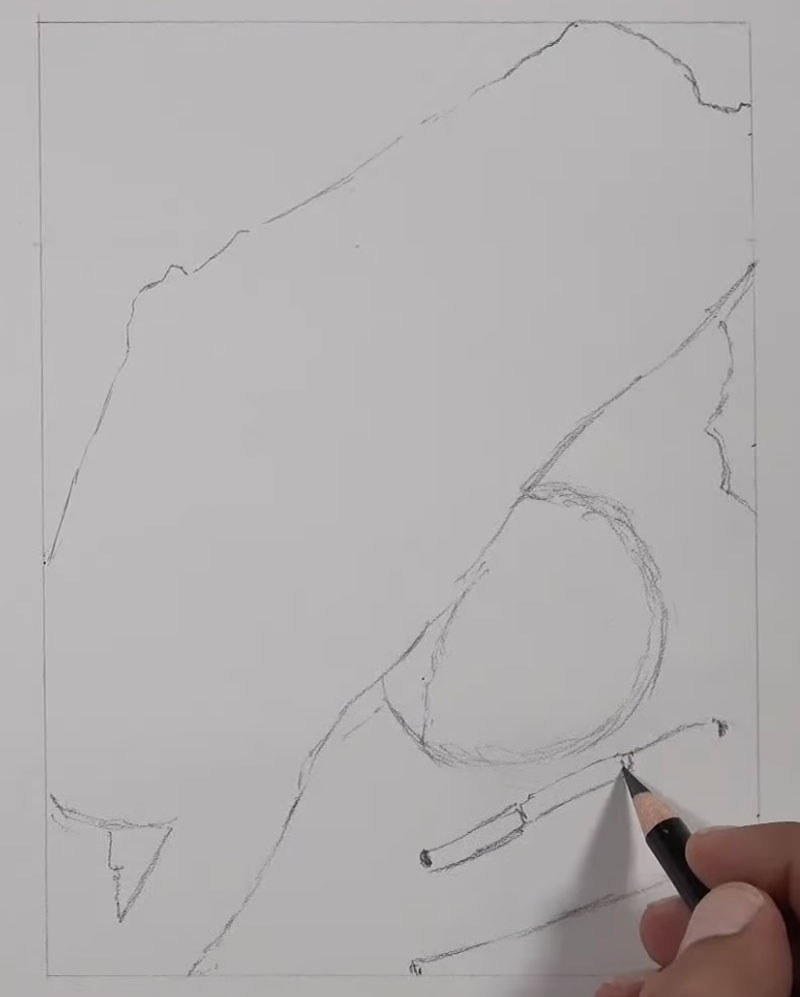
With the overall shape of the glove and ball defined, Ashley continues to make visual comparisons. With the contours in place, he can begin to add some of the details using basic shapes.
Shading the Baseball Glove and Ball with Pencil
As mentioned before, this image is full of different values and textures. For this reason, it’s important to get some of these values in place as soon as possible. One approach to doing this is to draw the contours of all of the details and then meticulously shade each section.
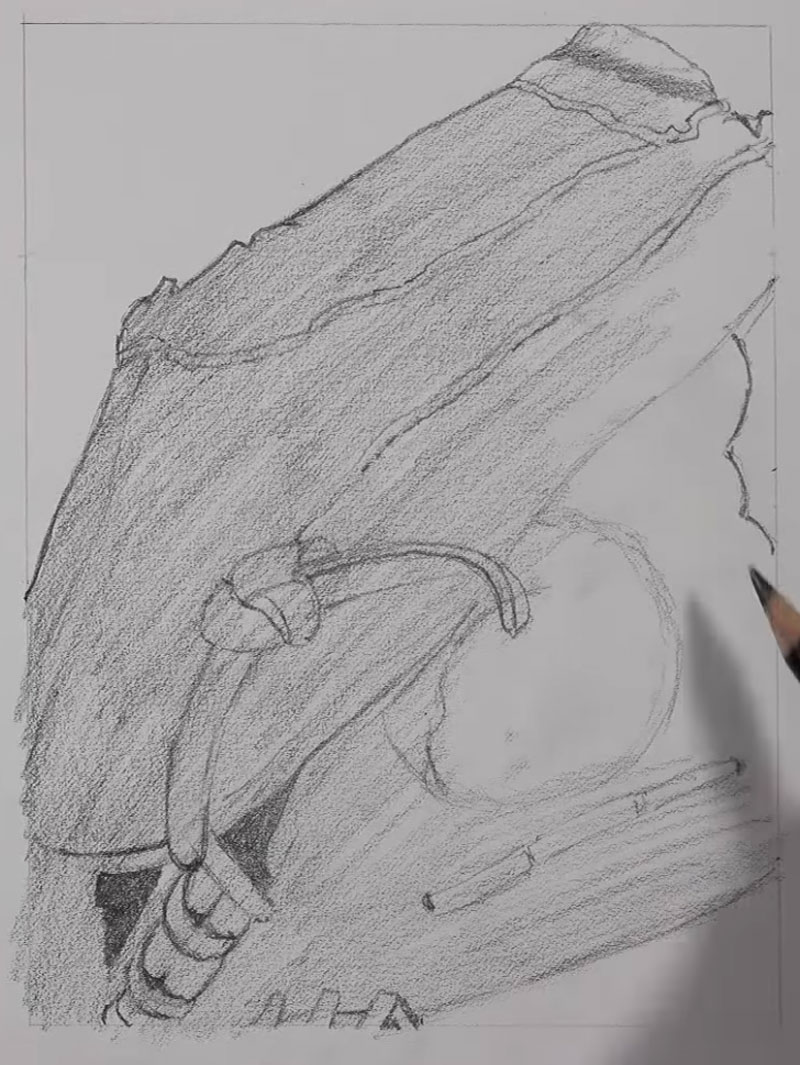
While this approach is perfectly acceptable for longer drawings (untimed), we are working against a time constraint here. For this reason, Ashley decides to begin adding some shading earlier in the process. His plan here is to add tone with a quick pass of the graphite and then pull out details by adjusting the values with both erasers and the pencil.
In the image below, we see this taking place. The value that is developed is still relatively light, but it does provide a middle value in which to push both darker and lighter.
From here, it’s a matter of refining the values and highlighting the details. Ashley adds a small value scale in order to make comparisons. This value scale helps him to measure the values he includes in the drawing.
In nearly every drawing or painting, a full range of value is required in order to create a convincing drawing. In order to push the range of value, Ashley begins darkening the shapes of darker tone with pencil while pulling out the highlights and lighter values with an eraser.
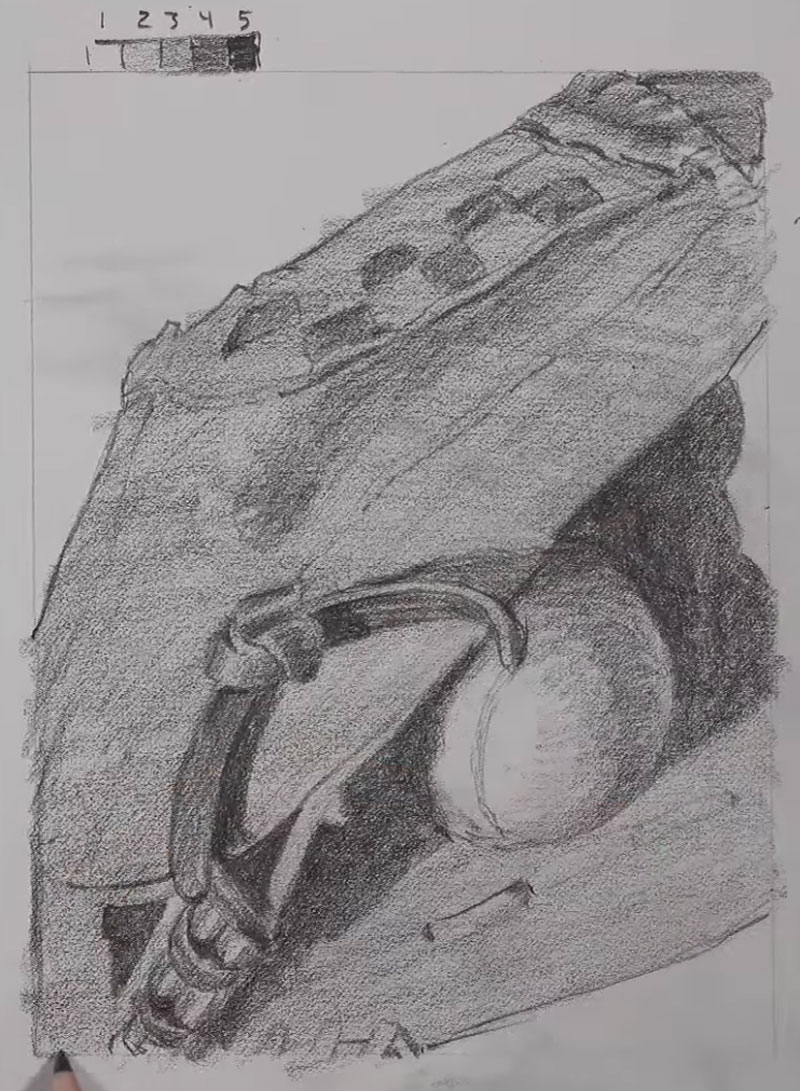
While this happens, the range of value becomes broader with higher levels of contrast. The texture of the glove slowly emerges and details begin to make sense. This is largely due to the fact that the illusion of texture is so dependent on value and directional stroking.
Refining the Drawing and Pulling Out the Details
The drawing continues to be refined with additional applications of the graphite pencil and erasing of lighter tones. Most of the details are implied with a subtle contrast in value. The logo is also added as well as the stitching on the baseball.
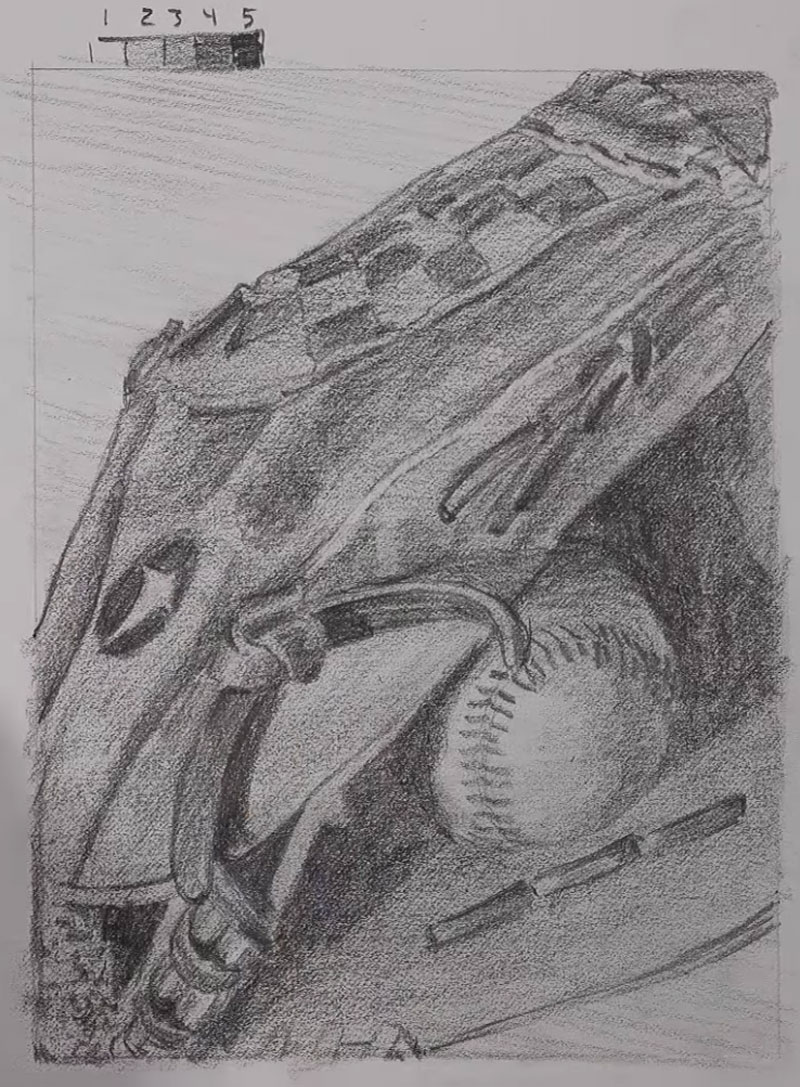
As you can see, a drawing can be manipulated after graphite has been added by using an eraser to lighten tones. Values are also added with the pencil. This process of manipulating values is sometimes called “rendering”.
This process helps the artist to produce a full range of value in a short period of time. As an added benefit, the drawing goes through different stages. At a certain stage, the drawing could be considered “finished” even though additional refinement could possibly follow.
Materials Used For Drawing the Baseball Glove and Ball
This drawing is developed using very basic tools and materials. Since the range of value in the drawing is especially important, a soft graphite pencil is used. This versatile pencil is General’s Layout pencil. This pencil is soft enough to create darker marks similar to those of a 4B pencil but hard enough to keep a sharp tip for a longer period of time. Not many pencils are capable of doing this, making this pencil an “all around performer”.
The surface used for this drawing isn’t particularly special. Basic 80 lb. white drawing paper is used which is the same type of paper you’ll likely find in most sketchbooks.
Erasers are not just for fixing mistakes and are used for making and adjusting marks as well. A basic pink rubber eraser is used along with an electric nylon eraser for precision.
Photo Reference
Ashley created the photo reference for this drawing by setting up the baseball glove and ball on a table with a strong singular light source that originates from a window. This produces distinct shadows and clear highlights.
Here’s a look at the photo reference…


Drawing a Baseball Glove and Ball – Timed Drawing Exercise – Conclusion
As we’ve seen here, even subjects that seem complex and overwhelming can be tackled in a short period of time. Details don’t have to be “spelled out” for the viewer. Instead, they can be implied through thoughtful use of value. Shading can be quick and refinement of the drawing can happen in various stages – all of which could be considered “finished”.
If so, join over 36,000 others that receive our newsletter with new drawing and painting lessons. Plus, check out three of our course videos and ebooks for free.