Gettin’ Sketchy – Drawing an Elephant with Pencil – Season 4 Episode 7
This episode aired live on YouTube on July 14, 2021.
Grab your sketchbook and a soft pencil and let’s get ready to sketch an elephant.
In this timed drawing exercise, we’ll tackle drawing an elephant walking towards the viewer. This angle presents a few challenges. We can see that the animal is foreshortened and there is some awkward overlapping of the front leg and trunk. But these challenges are easily met through careful observation and visual comparisons. The real challenge here is the time constraint of just 45 minutes.
See also: Foreshortening
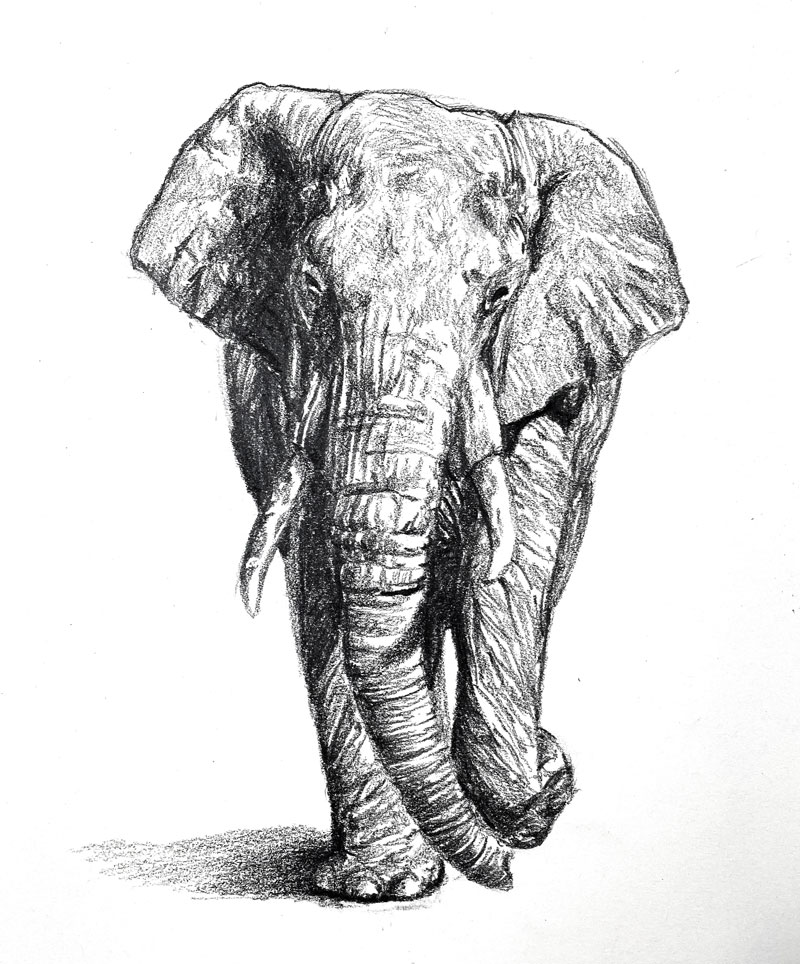
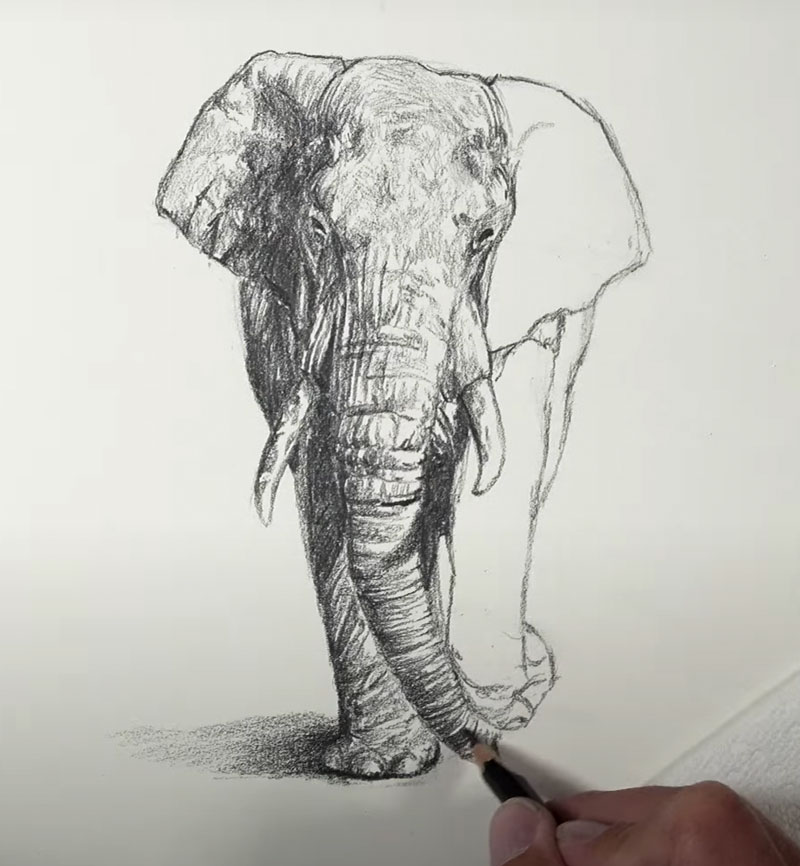
Here’s a look at the completed drawing…
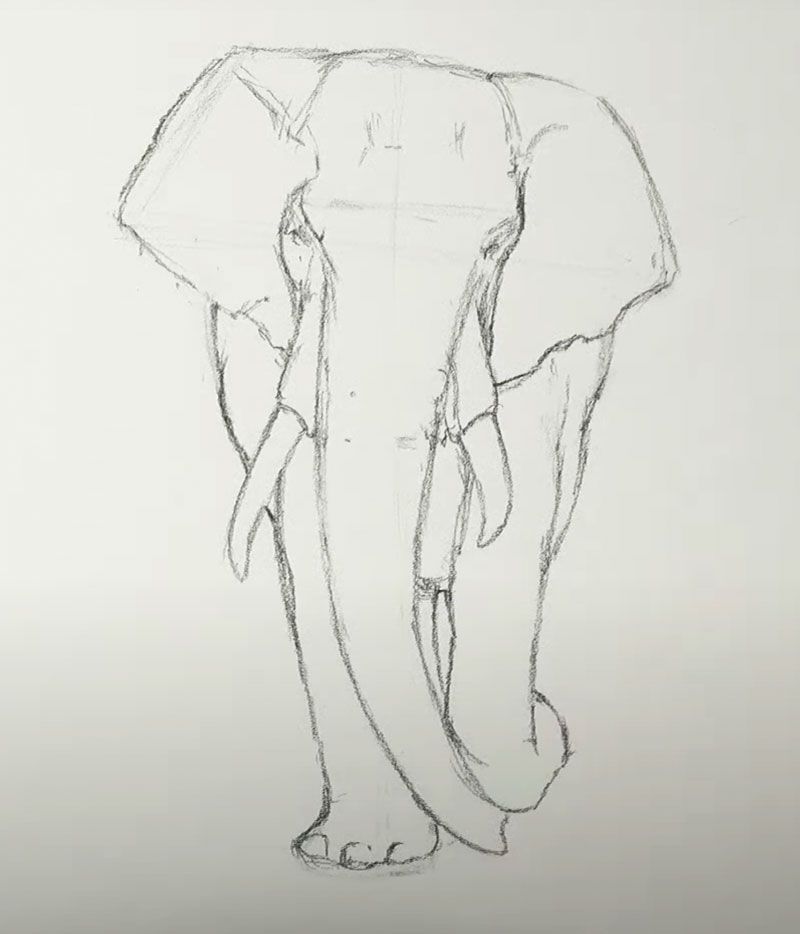
Laying Out the Drawing
Typically, I like to construct a drawing by stacking shapes. I look at the overall shape of the subject and visually break this shape down into simpler shapes. These shapes are loosely sketched with many lines as I try to find the larger shape. This approach, commonly referred to as “construction”, allows me to work faster and with better accuracy.
See also: Drawing Basics – Construction
However, for some subjects and compositions, I prefer to work through the layout process by making pure observational comparisons. Usually, this is not a conscious decision, it just happens. In other words, I just “go with the flow” and do what feels natural.
This is the approach I took with the drawing of the elephant.
The drawing begins with a few simple measurements. First, a light line is drawn from the top of the head to the bottom of the elephant. This initial line helps to ensure that the drawing will fit within the picture plane.
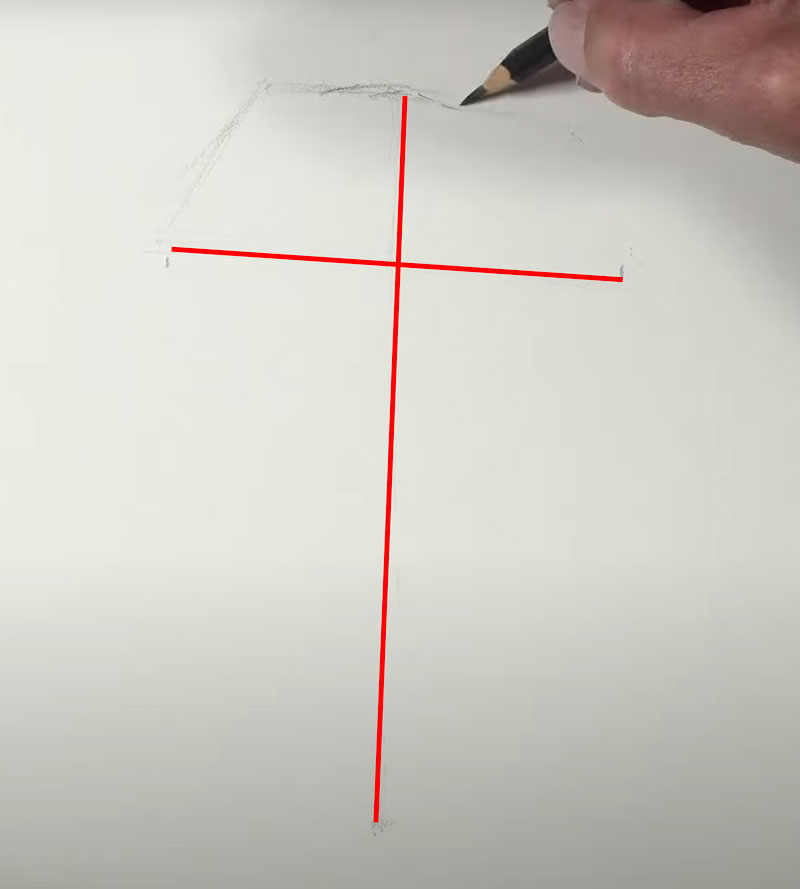
From there, I drew a line for the width of the head, including the ears. I used the height of the elephant to measure this line against. So with just a couple of lines, I knew the height and width of my drawing.
Using these two lines as a starting point, I began building each section of the elephant from the top down, continually making visual comparisons.
Shading the Drawing of an Elephant
Shading is the process of developing the value within the drawing. Value, one of the seven elements of art, refers to the darkness or lightness of color. In nearly every situation, our goal should be to develop a full range of value within the scene. This means we should strive to include the darkest darks and the lightest lights.
Since the paper is white, we rely on the paper to influence the lighter values, while using our pencil to develop the dark tones.
As the value develops through shading, the texture is also addressed. Texture in a drawing is often developed through value. The relationships of the values inform the viewer of how light behaves on the surface. The relationships of values result in the illusion of texture in a drawing. There are other influences as well. The drawing medium and the surface texture of the paper also plays a role in the creating convincing texture.
In this case, our sketch subject – the elephant – features a textured skin so the value and the texture are developed concurrently. Due to the time constraint, the shading and texture are developed rather quickly.
Since speed was important, loose directional strokes were made during the shading process. By adjusting the amount of pressure placed on the pencil, middle and darker values were developed quickly. This approach is great for sketching, but for longer drawings, a slower approach may be better.
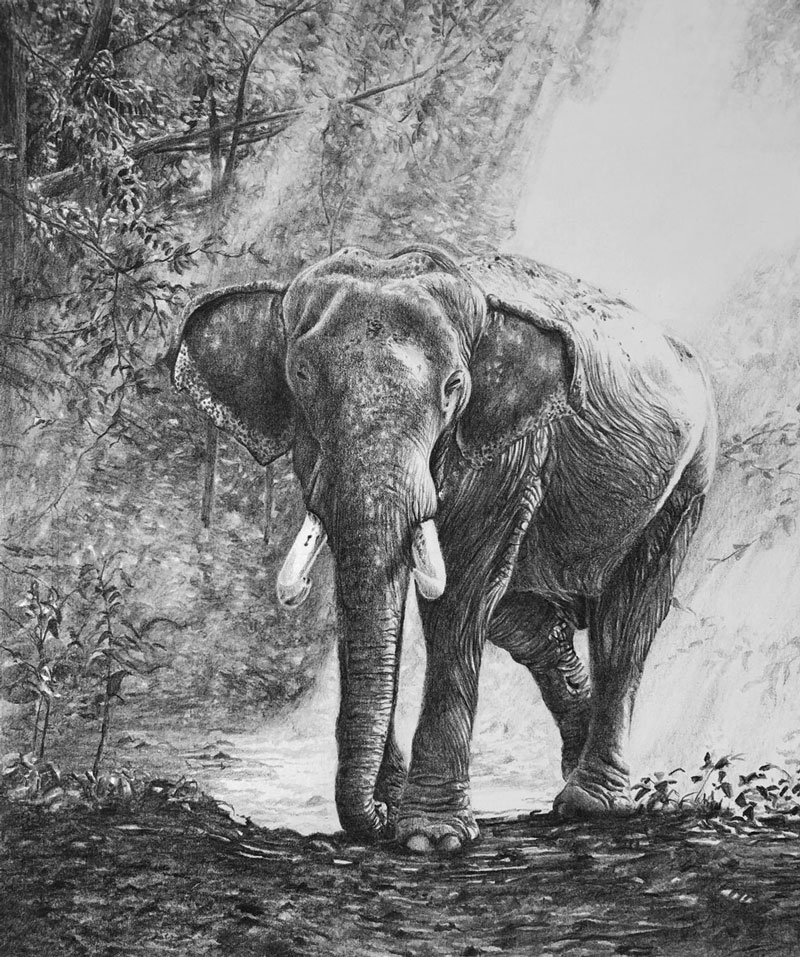
Below, you’ll find another graphite pencil drawing of an elephant that I created for a Live Lesson series. In this lesson series, we worked on Stonehenge drawing paper (a higher quality paper that is 100% cotton). Instead of just one pencil, several different grades of graphite were used.
See also: Artists Graphite Pencils Explained
A slow, methodical approach to shading was taken. But just like our quick sketch here, the pressure placed on the pencil was adjusted in order to develop the textures and range of value.
See also: Pencil Shading Techniques
In contrast, this drawing took around 20 hours to complete…
Watch the full lesson series of the drawing here…Graphite Pencil Drawing of an Elephant Live Lesson Series
So it’s important to note here that the level that you develop a drawing often happens during the stage in which you are developing the value. When more time is spent developing the value and texture, the result is usually a more realistic drawing. However, even with a quick sketch, we can still communicate the subject as long as there is a full range of value developed.
Materials Used For Drawing the Elephant
On the surface, the materials used in this sketch of an elephant are relatively simple. We only use a single pencil and white drawing paper. However, the specific paper and the pencil are important. In this case, the paper is 80 lb. white drawing paper that features a weak to medium tooth (texture). The pencil used is the Matte pencil by Blackwing. This pencil is soft like a 3B pencil but is not quite as shiny as traditional graphite, making it more closely related to a carbon pencil.
The Blackwing pencils are also smoother in feel compared to other brands of graphite pencils. This makes the marks made with this pencil a little more gratifying since the pencil seems to glide over the surface.
See also: Blackwing Pencil Review
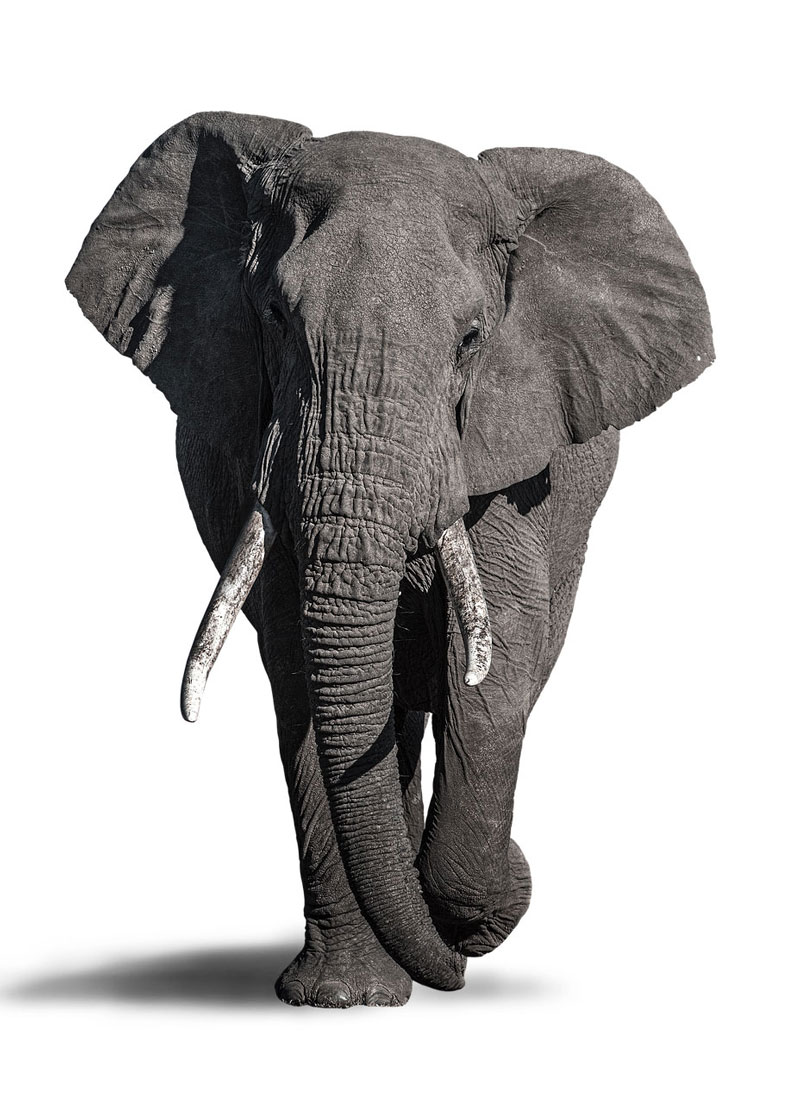
Photo Reference
The photo reference for this drawing exercise comes from Pixabay.com. The image was slightly altered to include a white background. The values were enhanced and the contrast was adjusted. A cast shadow was added on the ground to the left using Photoshop.
Here’s a look at the photo reference…

Drawing an Elephant with Pencil – Timed Drawing Exercise – Conclusion
Any drawing that we undertake will present challenges. The more challenges that we face, the more that we grow. Although this elephant sketch was completed in just 45 minutes, we were able to exercise the same “artistic muscles” we use when we create a longer, more developed drawing. Sketching is important and should be practiced often. Setting a time constraint gives us a starting and ending point. It gives us a window of practice so we’re not overwhelmed.
If so, join over 36,000 others that receive our newsletter with new drawing and painting lessons. Plus, check out three of our course videos and ebooks for free.