Creating an Underpainting with Markers
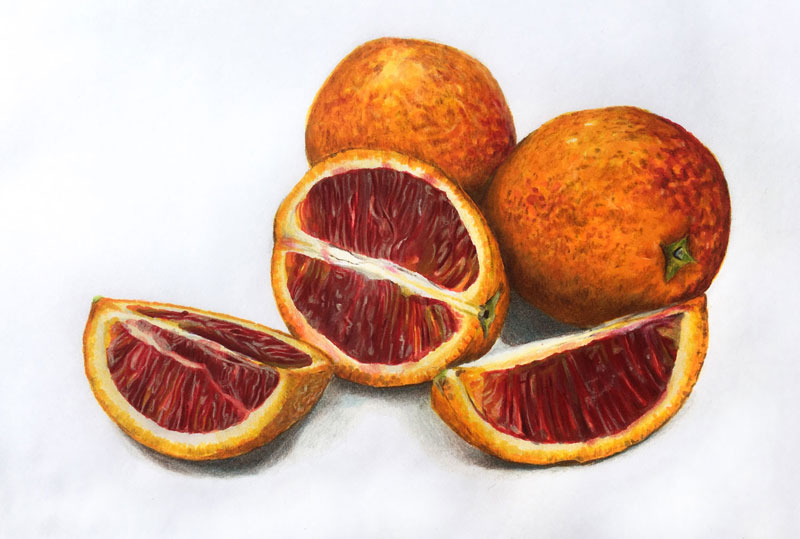
Markers and colored pencils simply work well together. By using alcohol-based markers, we can cover larger areas quickly while concentrating on laying down colors and values early in the process. This not only saves time, but it also creates an underpainting in which colored pencil applications can be layered upon. Essentially, we can use the markers to establish initial colors and values broadly and use the colored pencils to develop the details of the drawing.
More lessons that feature markers and colored pencils…
Drawing Surface For This Lesson
This combination of media can be applied to most drawing surfaces, however smoother surfaces will produce better results. Smoother surfaces tend to accept marker applications with ease, however they do limit the number of layered applications that you can apply with colored pencils. The key is finding a drawing surface that accepts the markers but also allows for layering of colored pencils.
Paper specifically manufactured for markers works exceptionally well for this combination. Marker paper is smooth and semi-transparent, however there is just enough tooth to accept colored pencil applications over the markers. Because the surface is smooth however, you are limited to number of layers that you can apply with colored pencils. It is advisable to work as much as you can with the markers before developing the details with colored pencils.

Another consideration is the thinness of the paper. Since the marker paper is thin, some wrinkling may occur while you work. You can tape the paper down to a support to prevent this to a certain degree. Marker paper is white, but toned drawing paper also can be used if the tooth is rather smooth.
If you love the control that you get from colored pencils, but don’t like the time it takes to cover the surface, you may consider this combination. The markers not only cover large areas quickly and create additional depth, but also speed up the process, allowing you to get to details (the fun part) quicker.
If so, join over 36,000 others that receive our newsletter with new drawing and painting lessons. Plus, check out three of our course videos and ebooks for free.
Lesson Discussion
Comments are closed.


Great article and I find the video very soothing.