Drawing with Black and White Ink
In this pen and ink lesson, we’ll take a look at drawing a bird in the snow using a combination of black ink, markers and white ink on gray sketch paper. You’ll learn how to use black and white ink to create strong contrast and a full range of value.
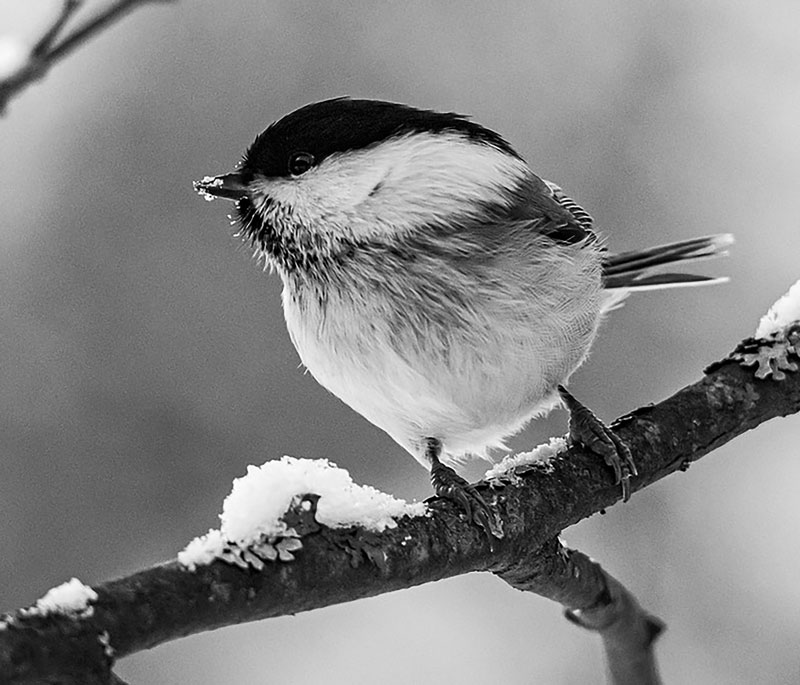
We’ll work from observation, using a photo reference. Here’s a look at the photo reference used for this drawing…
We’ll use technical black drawing pens by Staedtler, white gels pens, a white Posca marker, and a few gray scale alcohol-based markers. The paper is Strathmore Toned Gray Sketch paper. We’ll also use an H graphite pencil for sketching the subject.
Sketching The Bird with Graphite
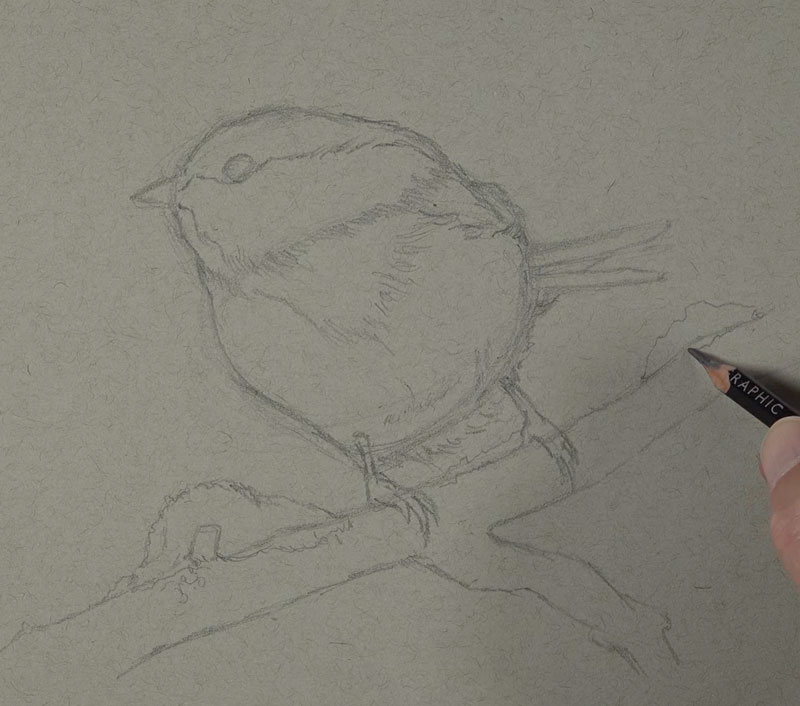
The picture plane measures eight inches across by seven inches tall. I’m using this picture plane to make comparisons with the edges of the picture plane and where the edges of the body of the bird are located. First, I plan out where the top of the head’s going to be located and then, the bottom of the body.
I start drawing my basic shapes, making comparisons between the edges of the picture plane. As each shape is added, I can use this information to make comparisons to ensure accuracy in the shapes that follow.
Add a Light Marker Underpainting
With our sketch in place, we’re ready to start with our marker applications. We’ll use the marker applications as an underpainting. I begin with a 20% warm gray. It’s barely visible on the surface of the paper, because these two grays are pretty similar. I like to start cautiously and gradually darken the values.
After our light applications with the 20% warm gray, we can switch to the 50% warm gray. It’s quite a bit darker and more visible on the surface. We want to be careful, in these early stages, that we don’t get too dark too quickly. We do have the advantage of using the white media that we’ll be applying later in the process, but we still need to work a little cautiously here in the beginning.
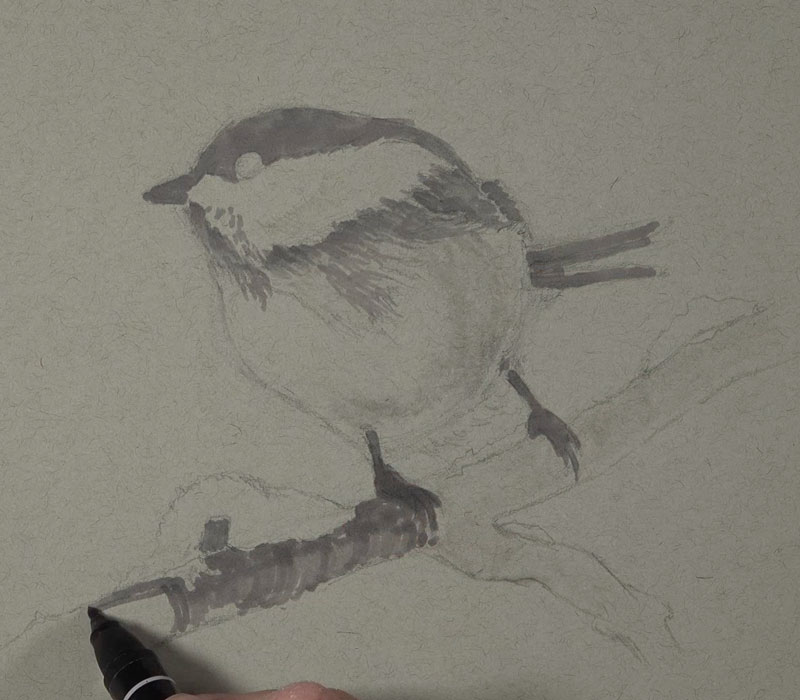
Marks added over the branch should curve over the form of the branch. This adds the value obviously, but it also gives us a little bit of information about texture and, more importantly, the form of this particular section.
Shading and Texture with Pen and Ink on the Bird
For now, we’ll go ahead and switch over to our pen and ink applications. For this entire drawing, I use the 0.1 Pigment Liner by Staedtler. Marks flow in the direction that’s consistent with how the small little feathers grow on the head. So it’s very important to think about your directional stroking, especially when you’re using a medium like pen and ink.
Although pen and ink is considered more of a precise technical medium, you can still be rather loose with your applications and still end up with a rather tight drawing. So don’t be afraid to let your hand be a little bit loose when you’re making these marks. If you overtighten or clinch up a little bit, you’re going to find that your marks are too controlled and your drawing will look lifeless.
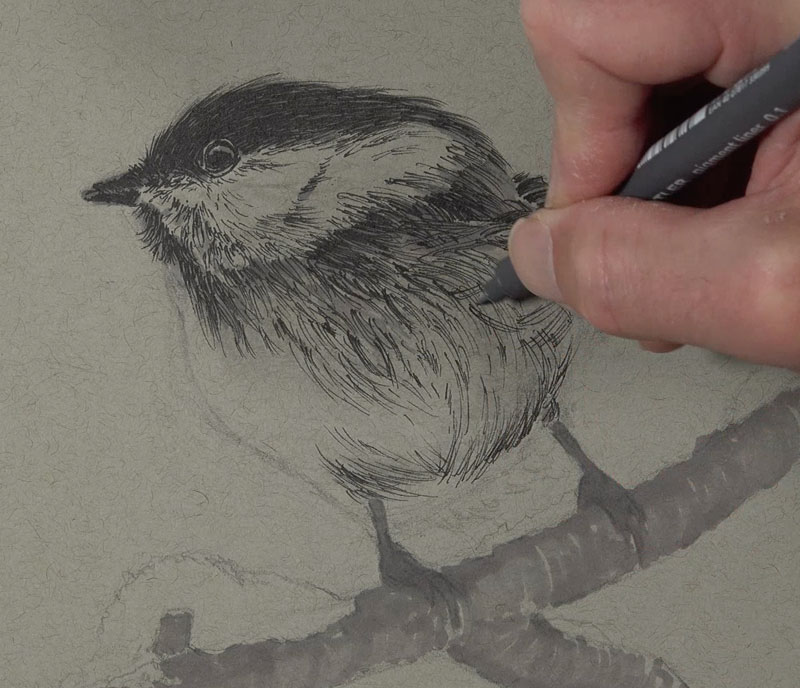
In the areas where we see lighter values, we’re going to leave those spaces open for now. We’re going to address those a bit later with the white media, but for now, we’re concentrating on the values that exist on the lower part of the value scale or the darker values.
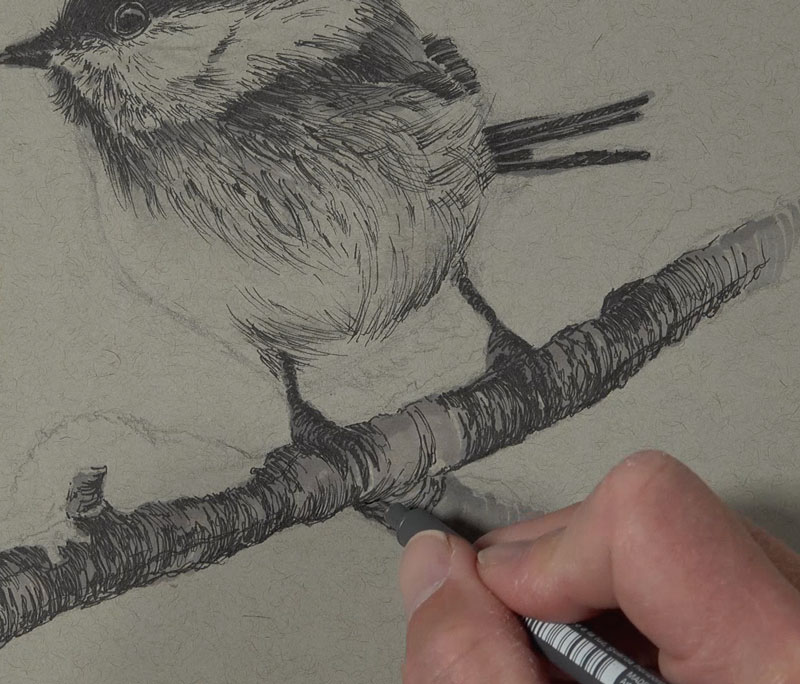
On the talons, we’ll allow these marks to curve over the curved surface. These are called cross contour lines and they help to communicate the form and the texture, while developing the value. And speaking of the branch, we’ll continue down on the branch, with the pen and ink applications. Here again, I’m adding more variety in my mark, leaving some spaces open, but more importantly, I’m making sure that my directional stroking is flowing over the form of the branch.
Adding White Ink to the Body of the Bird
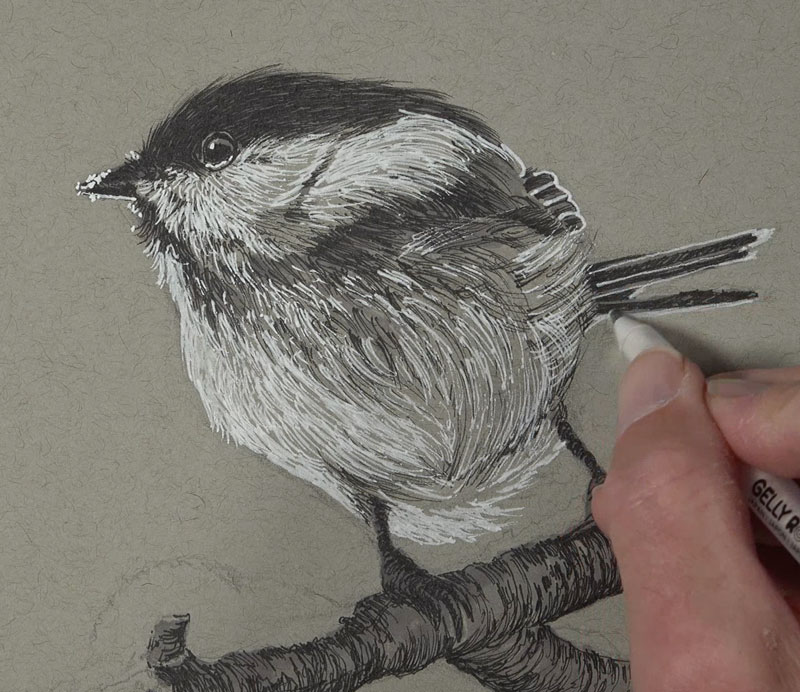
Next, we’ll go ahead and move on to our white media. I start with a gel pen, adding the highlight in the eye and the highlights around the beak. There’s also a bit of snow on the beak here as well. At first, this isn’t going to make very much sense in our drawing, but once we get all the other bits of snow in place and all of the light values, it’ll make more sense. Initially, you can see how much contrast there is when we start applying the white pen.
We’ll go ahead and start working with the white gel pen into the white or light areas in the body of the bird, and we’ll allow some of the pen and ink applications to show through. Of course, the breast of the bird is where we’re going to see the strongest highlight, since our light source is originating from the left side. So we’re going to have a heavier application on the breast of the bird with the white media.
You’ll notice the white gel pen is not quite as consistent with the mark making as the black ink pens, so you’ll need to keep this in mind, of course. Having a somewhat broken line is oftentimes encouraged. Again, that creates more of a realistic appearance.
More Marker
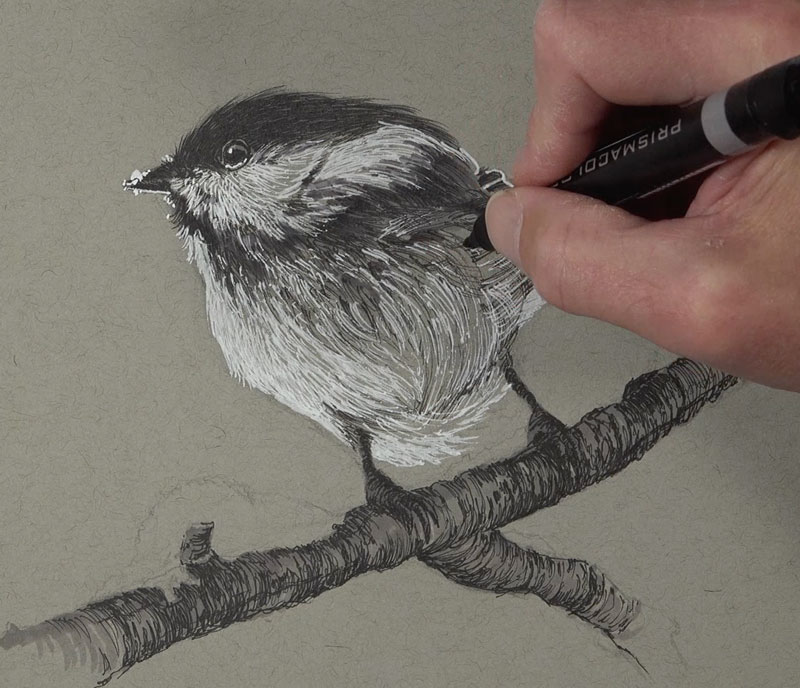
With a good bit of white and black ink on the surface, we can evaluate the values. I see that some grays should be darker. I switch over to the 70% warm gray, which is a much darker marker. Most of these darker values that I add at this point exist on the underside of the shape of lighter value at the top of the head.
We’ll continue with this marker a little bit further down, making some of these areas just slightly darker. Then it’s back with the gel pen, adding a few more highlights.
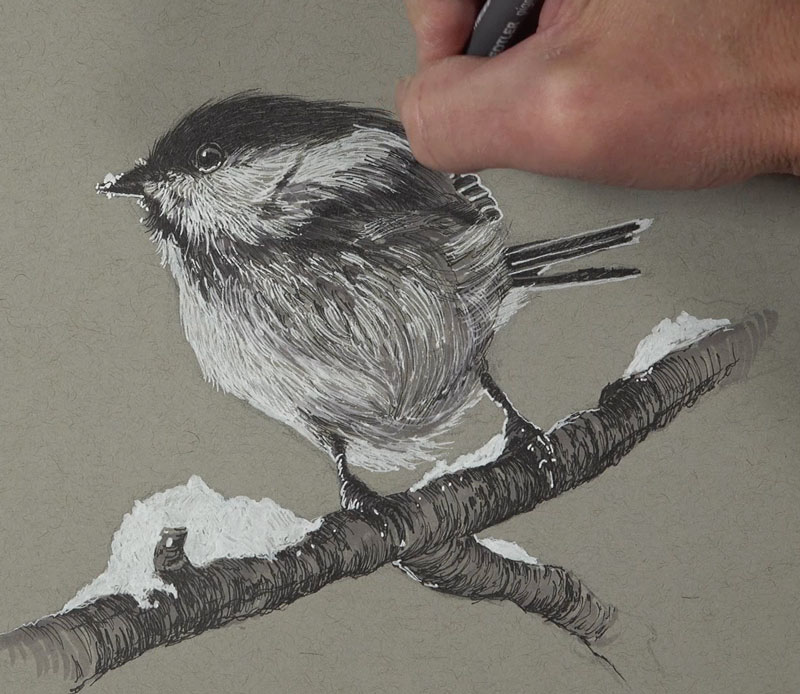
Next, we switch over to the Posca marker, filling in the shapes of snow. Then, we’ll switch back to the pen and ink. We’ll go ahead and fill in some of the areas that got a little bit too light with our applications with the white media.
Completing the Drawing of Bird
We’ll add a bit of shadow to most of the tufts of snow with 50% warm gray. Then we’ll add a bit of 20% warm gray over the top, to create a little bit of a transition.
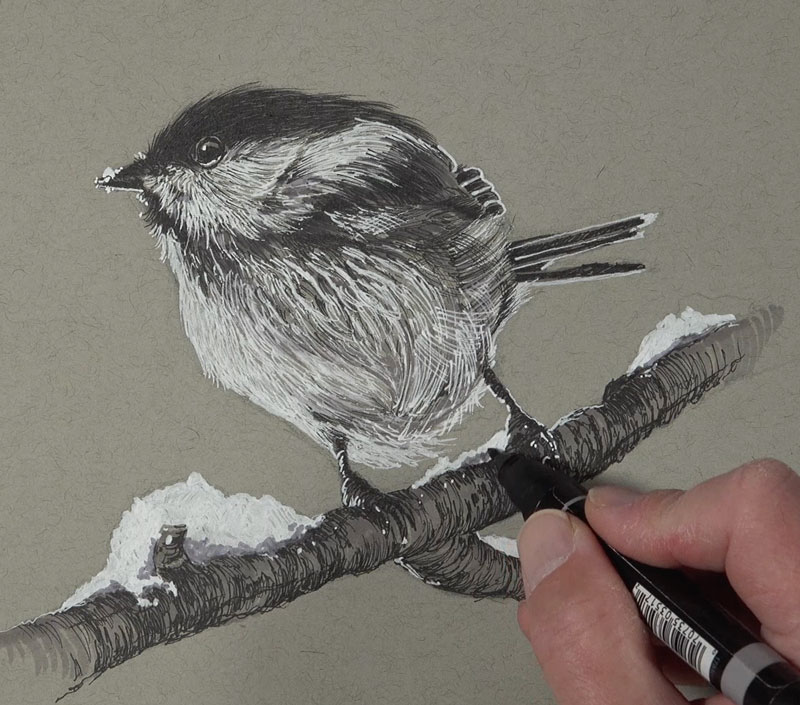
Now, we’ll add a few last marks here with pen and ink, adding a few bits of information about some of the smaller feathers while darkening some of the values. We’ll do the same with the white gel pen. Once all of the ink has dried completely, we’ll use a kneaded eraser to remove any remaining graphite lines that are still visible.
Drawing a Bird with White and Black Ink – Conclusion
Now our drawing is complete. Here’s a look at the completed drawing…
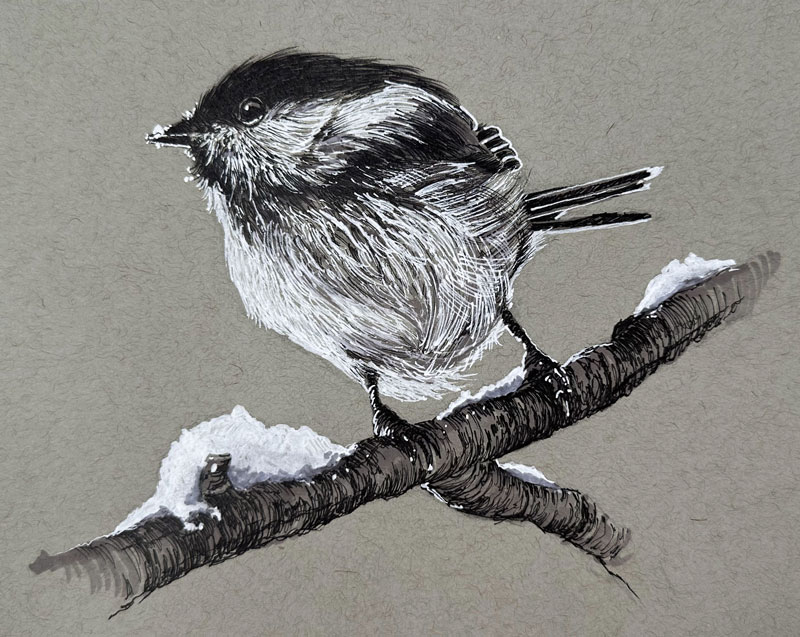
White and black ink works well together when the surface is toned. This approach is not recommended if you are working on white paper. I hope that you enjoyed this lesson, and if you drew along with me, I hope that you are happy with your results.
If so, join over 36,000 others that receive our newsletter with new drawing and painting lessons. Plus, check out three of our course videos and ebooks for free.