Black Watercolor Paper
In this watercolor lesson, we’re going to take a look at painting on black watercolor paper. I’ll be honest, when I first heard about black watercolor paper, I was intrigued, but I was also confused because it goes against everything that I know about watercolor painting. With traditional watercolor painting, the transparent or translucent watercolor is applied to a light surface, usually white watercolor paper. The white of the paper affects the values, specifically the light values that we see in the painting. Dark values are easy to achieve with multiple layered applications. Now what happens if we work on black watercolor paper? How do we create a full range of value? I can understand that there are probably folks out here that went out there and bought black watercolor paper and tried to apply traditional watercolors to the surface and got frustrated because the result is obviously a dark painting.
How can we use black watercolor paper in order to create a watercolor painting? In this lesson we’ll cover this and we’ll create a painting from start to finish on black watercolor paper.
For this lesson, I’ll use Stonehenge Black cold pressed watercolor paper, along with Winsor and Newton Designer’s gouache. We’ll sketch the subject using an HB graphite pencil.
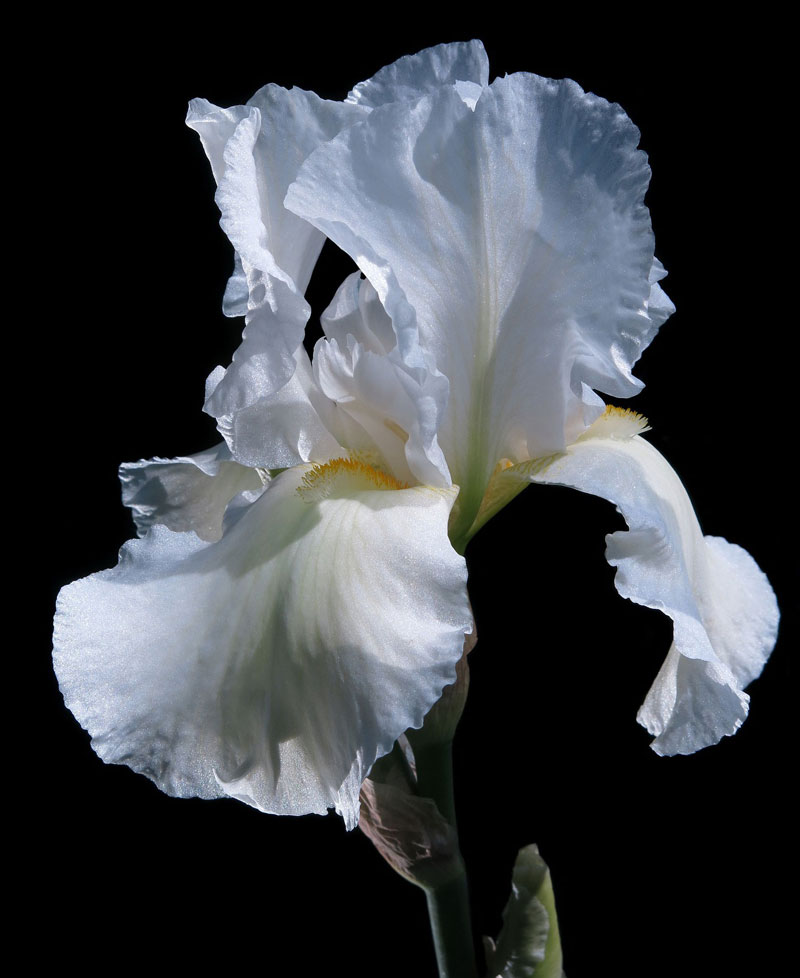
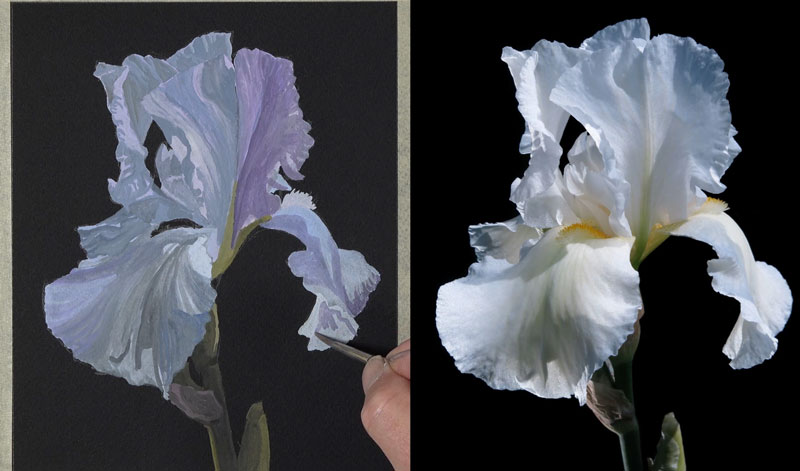
The photo reference that is used is pictured below…
Sketching the Flower
I’ll start here with a light sketch using an HB graphite pencil. I’ll take my time and pay attention to the shapes that I see. It might be helpful to mark out areas where you see areas of contrast or areas where a dark value comes in contact with a light value. You may even create a drawing that’s more simple than the one that I’ve created here.

Painting the Underpainting
Once we’re happy with our pencil sketch, we can move on to applying the gouache to the surface. On my palette, I’m going to apply primary colors, yellow, blue, and red, a bit of white, and a bit of black. I’m going to start here by mixing a light purple and apply this color to the bulk of the petal shapes.
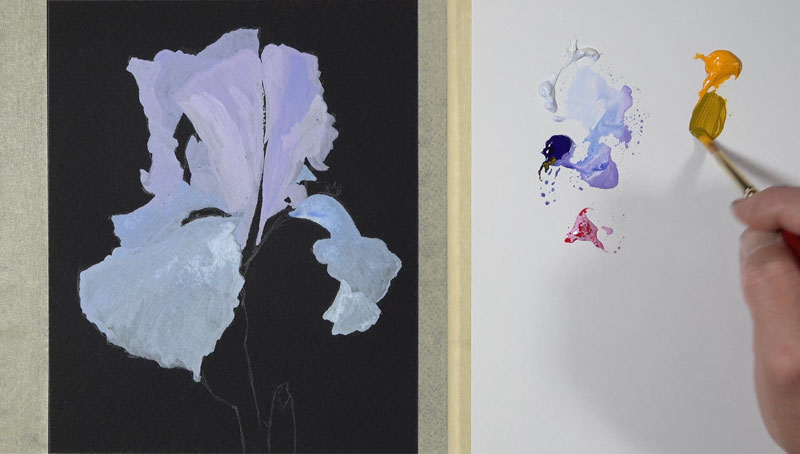
Now that we have our shapes for the petals established, let’s go ahead and mix up a green and apply this color to the stem. A bit of yellow and a bit of our blue is mixed together. To make it a little bit lighter, we’ll add just a touch of white. Here again, we just want to fill in the shape of color initially and later in the process we’ll adjust the values.
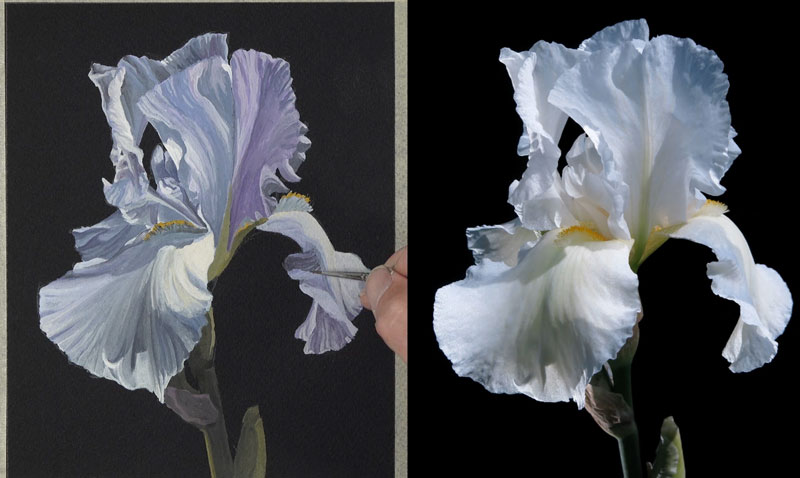
Adjusting the Values on the Petals of the Flower
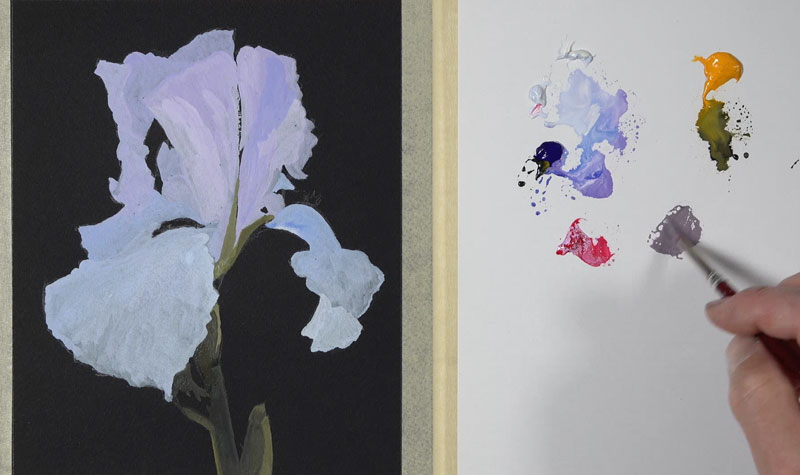
Now that we have our basic shapes established, we can start pushing the value range. We’re going to start adding some of the shadows and the highlights, broadening the contrast within the painting. We’re going to do this gradually just as we did with the shapes of the petals where we were paying attention to the overall shape. We’re going to do the same thing now with different values. We’re just going to pay attention to the shapes of dark and light values that we see and paint these within the overall larger shapes, progressively working our way down to the smaller shapes.
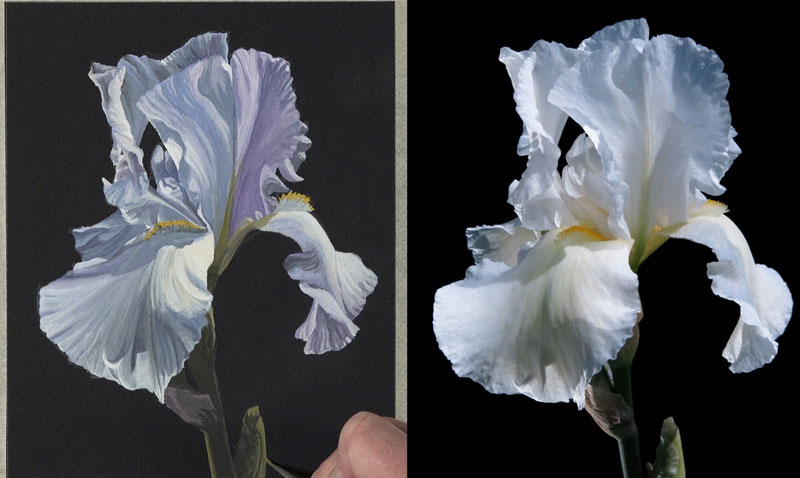
Adding Warm Highlights
The light in the scene is important, and in this particular case, we have a dominant light source originating from the right side. This means that our highlights are going to exist primarily on the right side of each one of the petals and our shadows are going to exist primarily on the opposite side of that. As we continue to push these value relationships, gradually our flower will begin to take on the illusion of having form. I bring in a little bit more of that yellow for the highlighted sections of the flower. This is going to contrast nicely with the purple shadows since yellow and purple are opposite from each other on the color wheel. These are called complementary colors.
Now, one trick with gouache is after you apply some of the color, you can load your brush up with just a bit of water and pull the color around. Doing this will reactivate some of the colors underneath and allow you to blend and make smooth transitions of color and value.
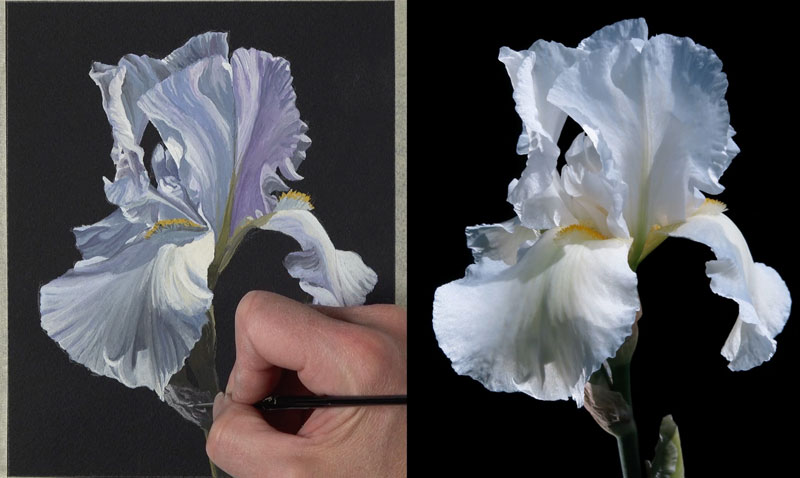
Increasing Contrast Between the Highlights and Shadows
We’ll continue to push the contrast between the light and dark areas on each flower, paying attention to the shape. We’ll gradually push the shadows darker while making the highlights lighter.
Pushing the Values on the Stem of the Flower
Just as we did on the petals of the flower, we’ll now push the contrast and value range on the stem of the flower. We use a lighter yellow-green for the highlights and cooler, blue-green for the shadows.

Finishing Touches to the Painting
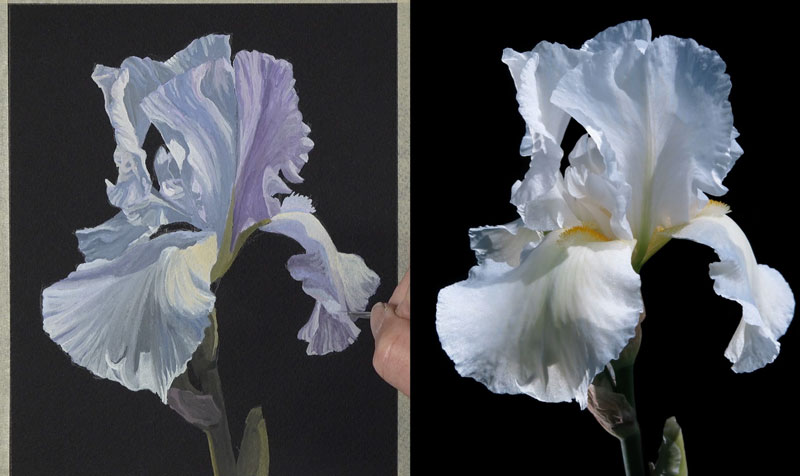
Lastly, we make a few more adjustments to the painting, including adding the highlights to the top of the stem with a light purple. Once you are pleased with the value relationships and shapes, a kneaded eraser can be used to erase any remaining graphite marks.
Painting on Black Watercolor Paper – Conclusion
Now our gouache painting of a flower on black watercolor paper is complete. Here’s a look at the finished painting…
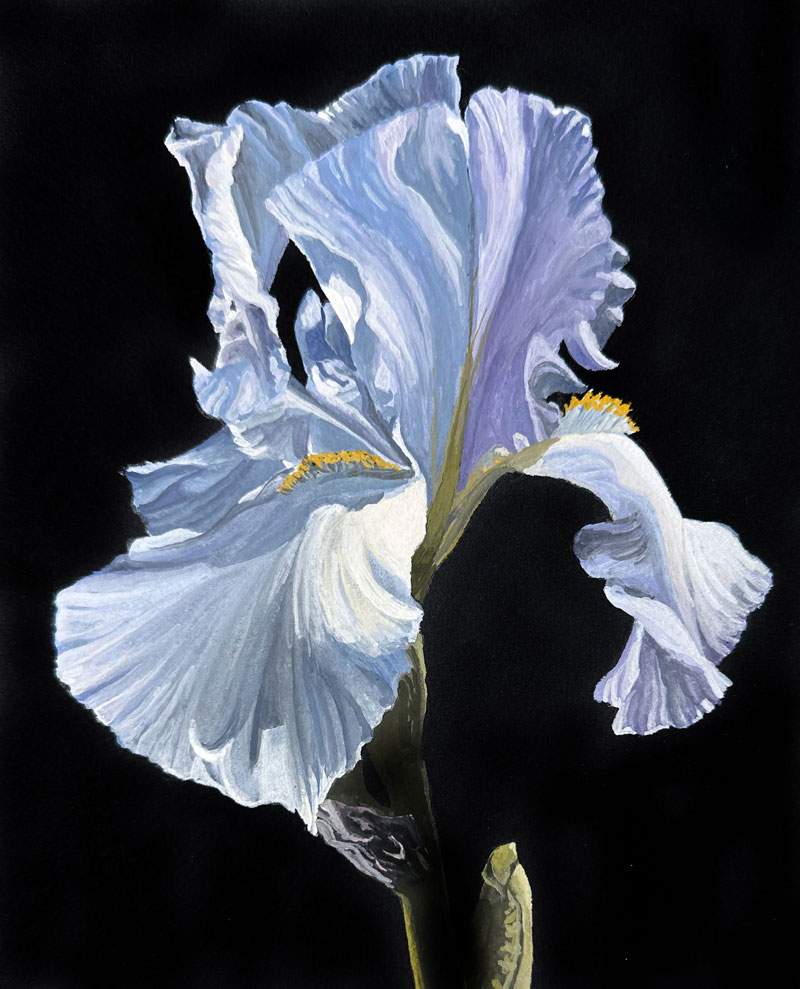
Black watercolor paper is a fantastic surface if you use the proper application techniques and media. For watercolor painting, I would suggest sticking with gouache over traditional watercolors. This surface is also suitable for other forms of art media, including colored pencils and pastels.
If so, join over 36,000 others that receive our newsletter with new drawing and painting lessons. Plus, check out three of our course videos and ebooks for free.