You Need Patience for Realistic Drawing
It’s easy in today’s world to take a look at all of the drawings and paintings that are created by amazing artists all over the world. They share their artworks on YouTube and other social media sites, and usually they’ll show you a time-lapse version of the art creation process. This fools some of us into believing that creating art in a realistic manner can be done in a short period of time.
The truth is that that’s not the case at all. In fact, creating a realistic drawing or painting does take time. In fact, a lot of time – probably more time than you might imagine. So, the mindset we need to have as artists is we need to be patient. This is going to be difficult for some of us to be patient, but if you’re just a little bit more patient with your drawings, you will see improvements. In fact, it’s the easiest way to get better at drawing and painting. Just slow down, be patient, and take each step of the process slowly.
I’m going to share with you one of the modules from one of our courses. The course is Realistic Pencil Drawing, and in this course, we share how to create realistic pencil drawings. This particular exercise is just one small fraction of the course, but it’s an exercise designed to help you get better at being patient. And if you do this exercise and carry the concepts over to your own drawings and paintings, I guarantee you’ll see improvement immediately.
Drawing Exercise to Increase Patience
How do we become more patient with our drawings and paintings? Well, the answer is we need to practice patience, and if we practice it, we’ll get better at it.
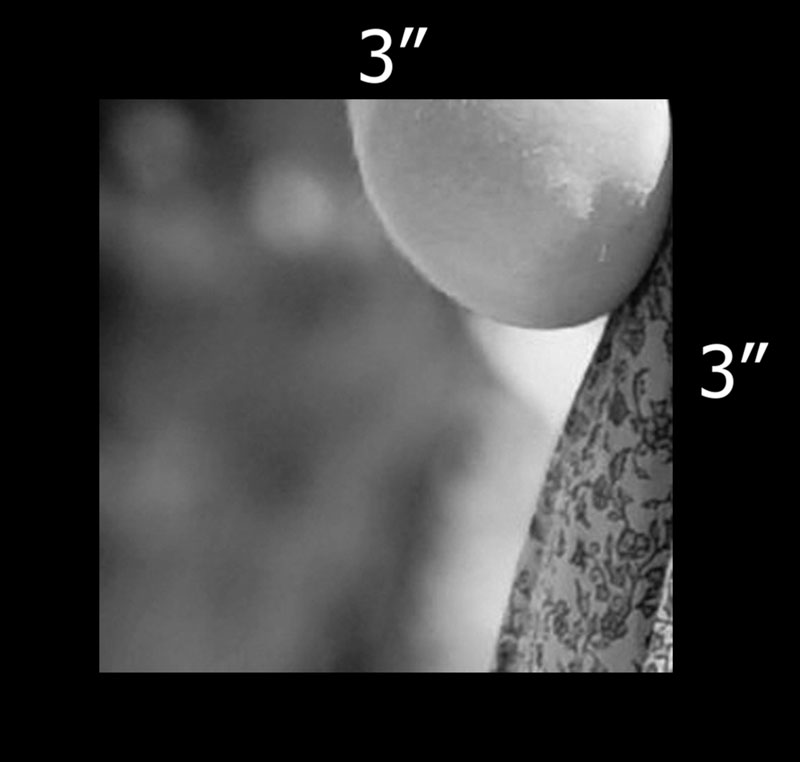
In this exercise, we’ll work from a photo reference. You’re not going to know exactly what it is we’re drawing. I’ll reveal that at the end. What I want you to do is just concentrate on the lines, shapes, and values that you see. I want you to create a 3″ by 3″ drawing. But here’s the catch. I want you to spend at least two hours drawing this 3″ by 3″ square with graphite. Take your time, work slowly and be patient.
Here’s a look at the reference photo…
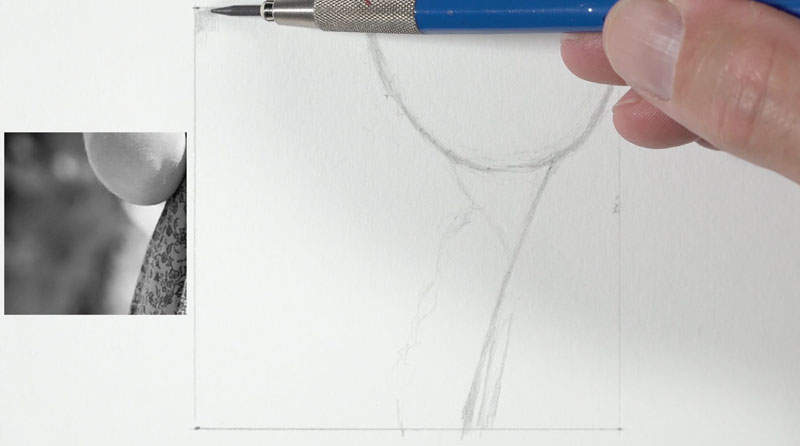
Draw the Contours
We’ll begin by drawing the contours, or outlines, of the subject. We simply need to pay attention to the larger shapes and their boundaries. Draw lightly and loosely in the beginning and use the outer edges of our 3″ by 3″ swatch to make comparisons.
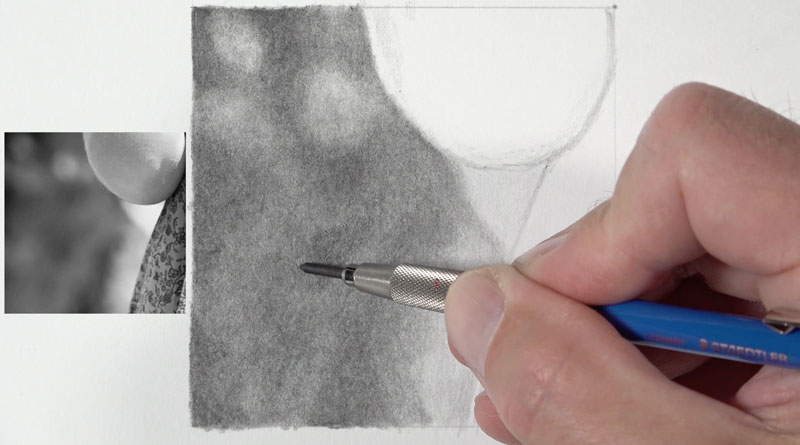
Begin Shading
Next, begin gently adding graphite with the pencil. You can use a blending tool to work the material into the surface to create a smoother appearance. Pay attention to relationships of different values and try to match the darkness and the shape as closely as possible. You should continually move your eyes back and forth from the reference to the drawing paper. Remember, drawing accurately is about observation.
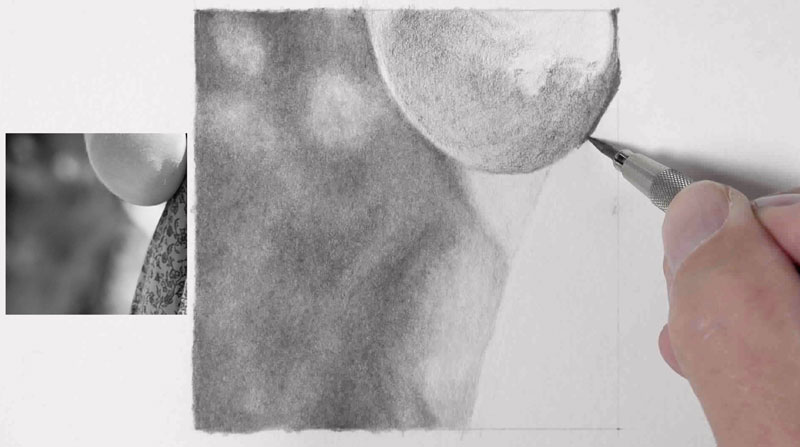
Once we have the larger section covered with graphite, move on to the next section. Here again, we’ll gradually build up darker tones and values. Start lightly and then gradually make the values darker. Be patient and work slowly, concentrating on the texture that produced by the pencil and the surface of the paper.
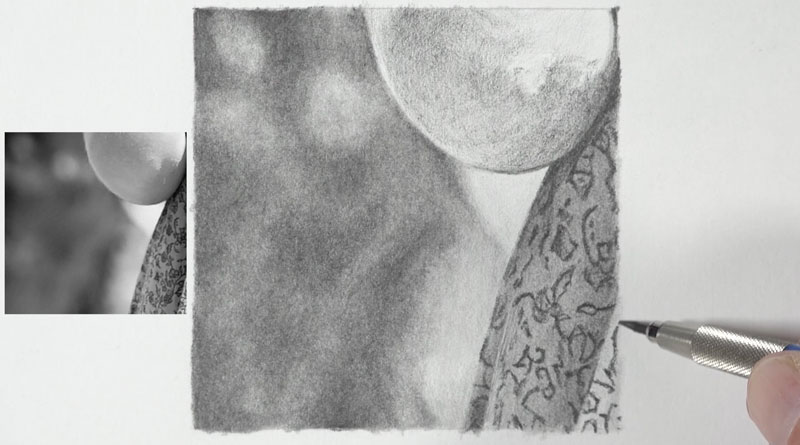
Add Details with a Sharp Pencil
Now we can add the details and finish of the last section. The detail here resembles a pattern with crisp, deliberate lines. In order to have complete control and mimic the lines that we see as marks, our pencil should be sharp. Sharpen as frequently as possible to replicate the observed pattern.
See also: How to Sharpen Any Pencil
Revealing the Image
Now our small drawing is finished. So what is this? Well, it’s part of a much larger image, of course. We are actually zoomed in really close. If we zoom out, we can see that this is a small section of a larger photo reference.
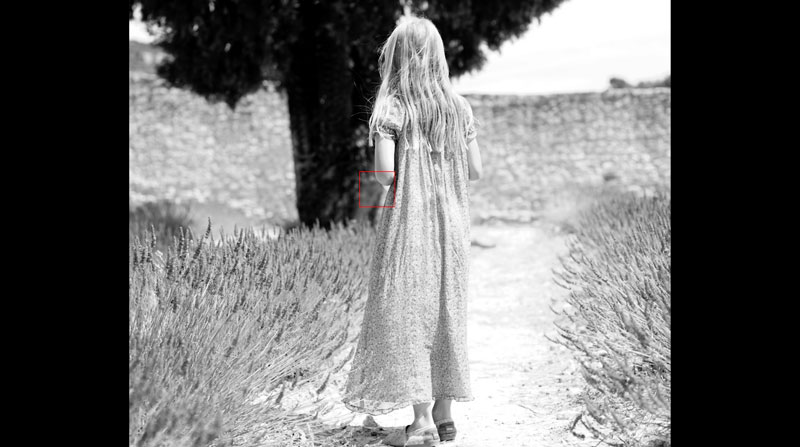
Now imagine for a moment that we took this small section and drew it in this manner on a large sheet of paper, and this was instead a three-inch by three-inch section of this larger drawing. As you can see, we would end up with a highly realistic pencil drawing.

Realistic Drawing Hack – Conclusion
Hopefully, you now see how important it is to be patient with a realistic drawing. It simply takes time to create a convincing drawing. So, if realism is what you are after, you better be patient. But being patient just might be the big difference maker, and the peice that you’ve been missing.
If so, join over 36,000 others that receive our newsletter with new drawing and painting lessons. Plus, check out three of our course videos and ebooks for free.