The Problems with Watercolor
Of course, the problem is not with watercolor but with us. What problems do we have with the medium?
- Watercolor paper buckles and wrinkles when it gets wet.
- We must carefully preserve white highlights from the start of a painting.
- Watercolor dries lighter that it looks when wet, so the darkest values never seem dark enough.
Do any of the statements above describe your feelings about the medium? Not to worry. The example painting that follows will offer a solution to each of these challenges.
Getting the Wrinkles Out of Watercolor Paper
Most watercolor paper does expand and wrinkle/buckle when wet. The simplest solution is to use the thickest, heaviest, watercolor paper available. Typically, watercolor paper is available in three weights (thicknesses) – 90 lb, 140 lb, and 300 lb. Each weight is progressively thicker. For example, 300 lb paper will not wrinkle or warp in the course of a normal painting. For that reason, it is the most expensive option and the simplest solution to the wrinkling problem.
See also: All About Drawing Papers
The two lighter weight options will buckle when wet and need stretching. Stretching a piece of watercolor paper will not prevent it from warping but it will prevent it from staying warped. Simply let a stretched painting dry between layers and it will return to perfectly flat.
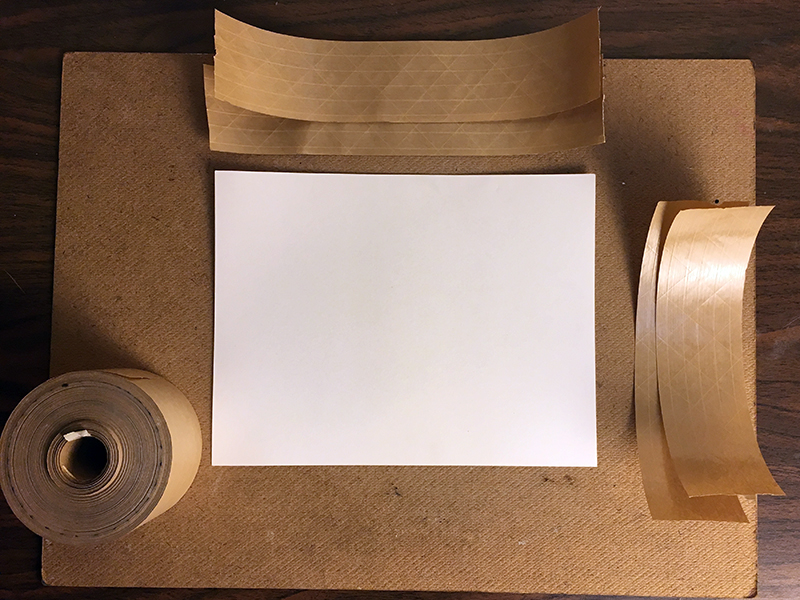
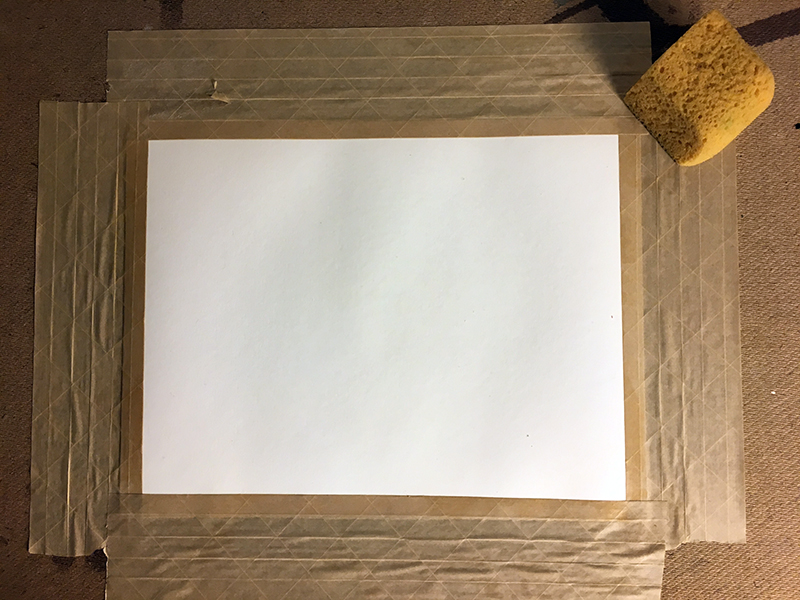
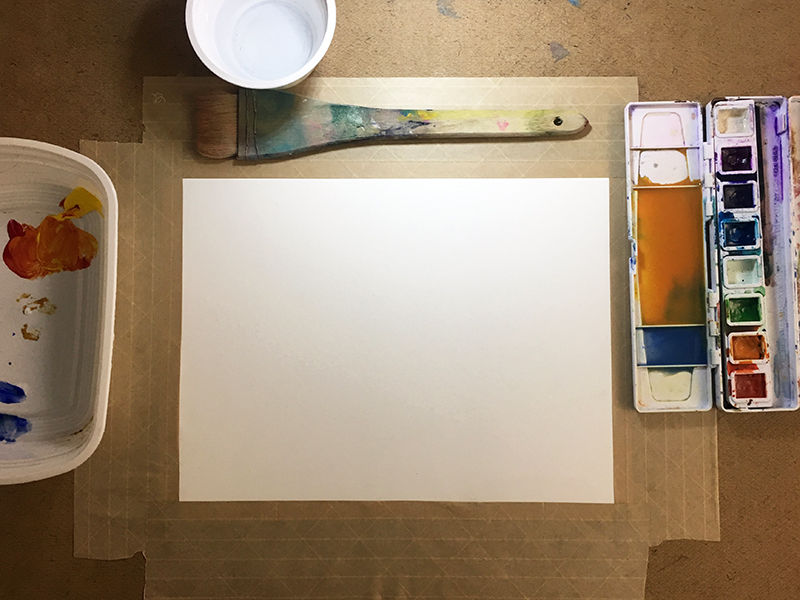
To stretch a sheet of watercolor paper you will need gummed tape, a rigid surface (hardboard, plywood, drawing-board, etc.), a sponge and some water. Begin by pre-cutting the gummed tape to match the dimensions of your watercolor paper. Using a sponge and wet the entire paper.
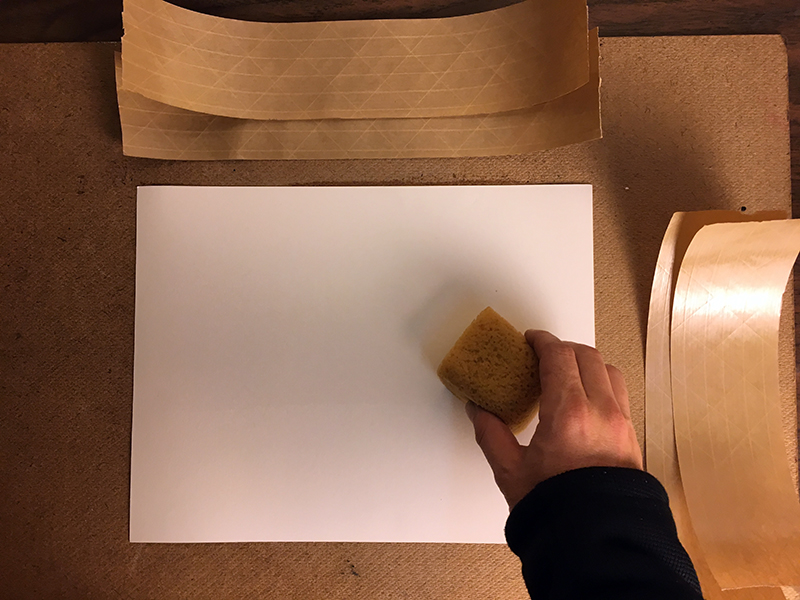
The paper will quickly expand. After a minute or so, tape the paper to a ridged support using the gummed tape. Wet the tape with the sponge and press it into place. As the paper and tape dry, they will form a bond. The paper shrinks as it dries, becoming taught across the surface of the board.
Now that our paper is prepared, we’re ready to begin with the painting process.
Applying a Wash
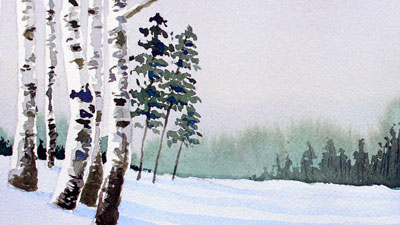
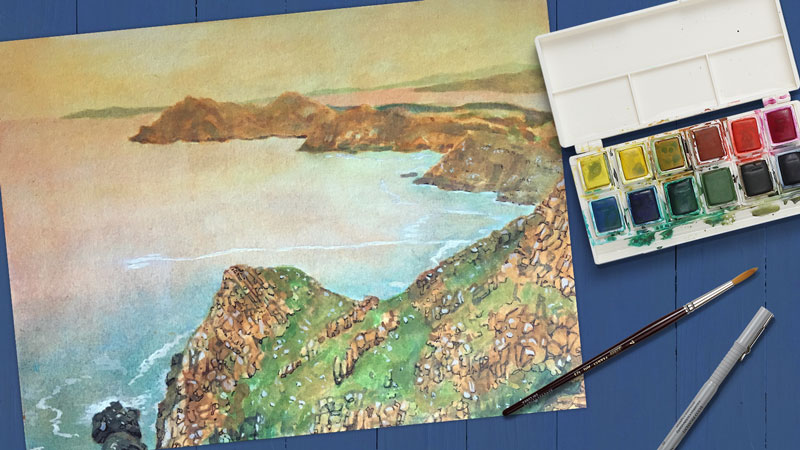
The example painting is based on the landscape photograph below if you are following along.
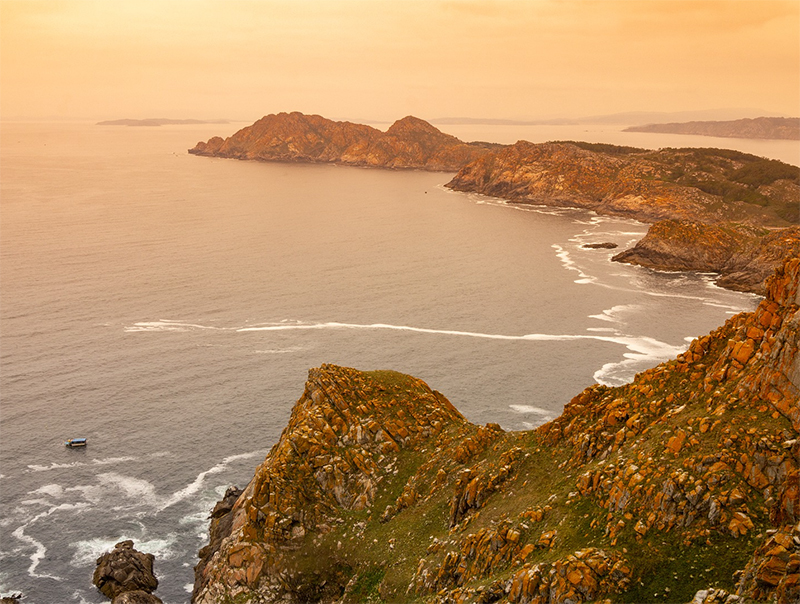
Since the subject includes large areas of a gradation of color, a wash is an appropriate first step. To create a wash of color, first “paint” the paper with clear water, then add the appropriate color to the wet paper. The strokes will melt together on the damp surface, leaving a smooth application of color.
Using a large, soft brush, I first applied a wash of orange transitioning to blue. This initial wash is so light that it will not present a problem when painting the darker islands on top. Of course, the white details in both the water and the land have not been preserved in the wash application. We must rediscover them in the later stages of the painting.
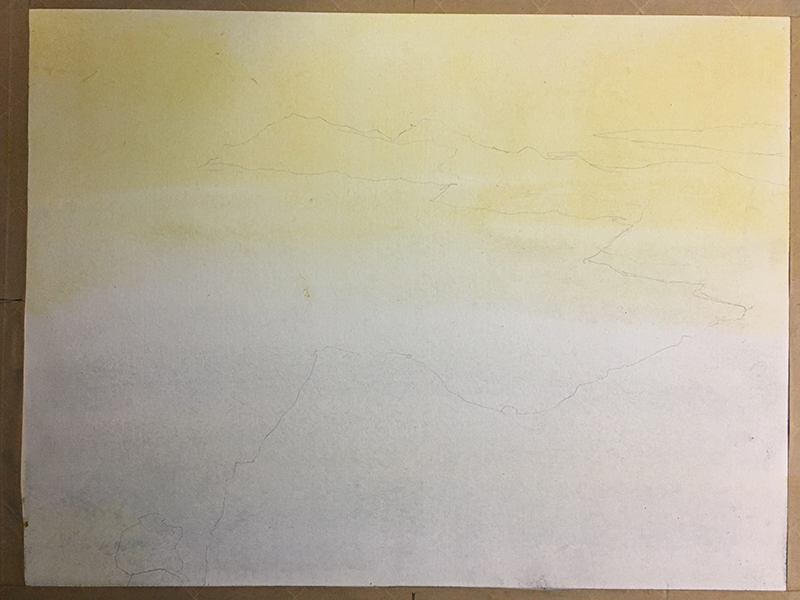
Since watercolor is transparent, any proportional mistakes are difficult to alter. Therefore, it is acceptable to lightly draw important contours with a pencil (see above).
Adding Layers of Watercolor Washes
The islands are painted in using mostly orange, green and brown. Orange is used for the rocks and green for the grass. Though this painting will not include the same level of detail as the photo reference, an attempt is made from the beginning to describe the rough texture of the rocks.
Look at the foreground. At this point the white rocks in the grass have been ignored.
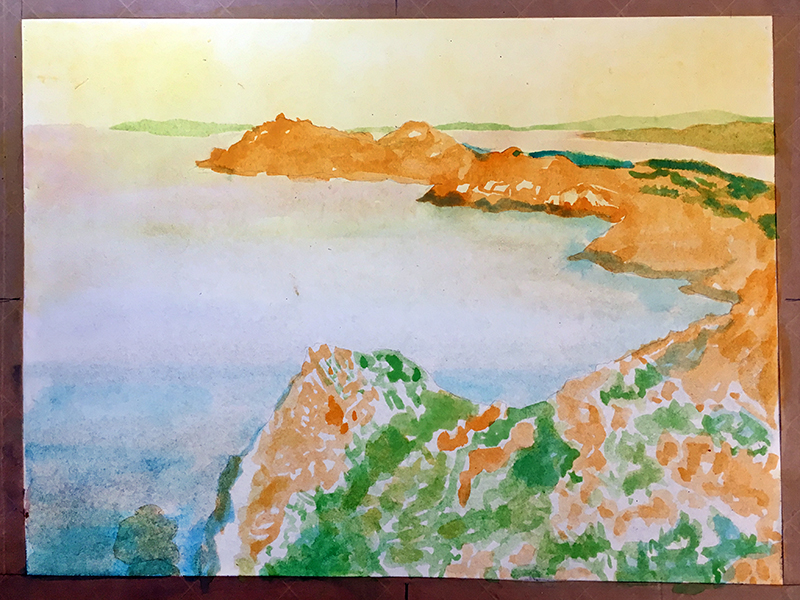
Allow the paper to dry to avoid bleeding. Then apply small marks of brown mixed with blue to start the process of carving-out individual rocks from the orange areas (see below). The brown and blue mixture will produce a natural dark value.
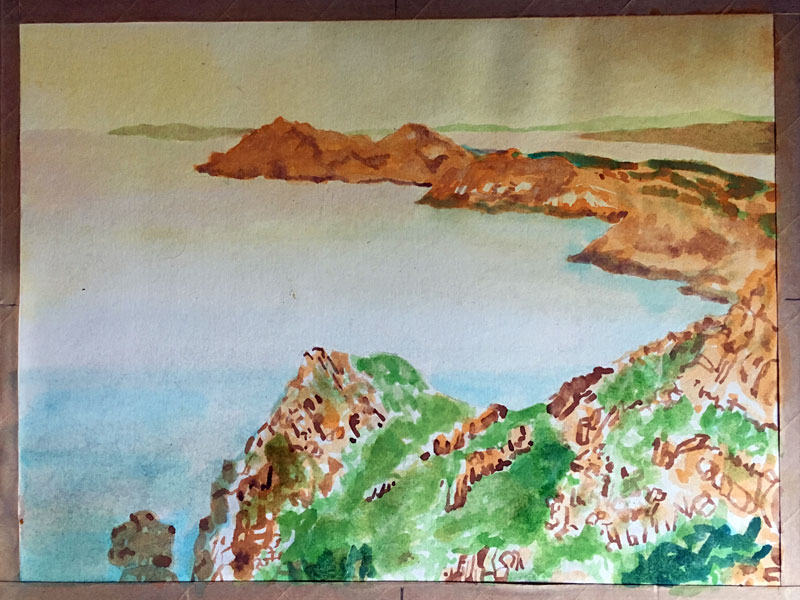
The colors and marks at this stage feel somewhat disconnected. A wash of orange over the entirety of the land will both dull the green and unify the composition.
I will continue developing the painting in several layers, alternating between broad washes of color and smaller marks meant to capture detail. This building up of layers should continue until the general colors and value desired are achieved. Don’t worry about having ignored the white details, we’ll add them in a moment.
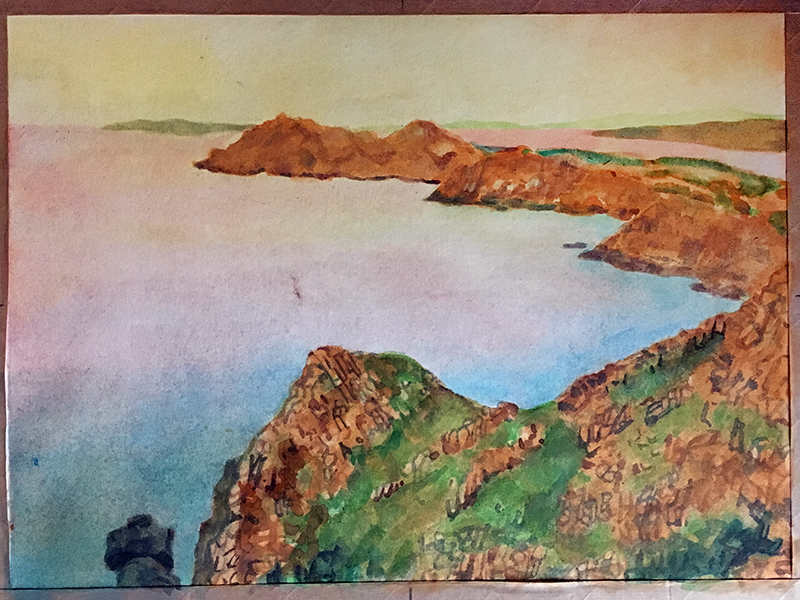
Addressing White Areas with Watercolor
It’s now time to add white. Since we did not “preserve” the white of the paper we will need to use white paint. Some watercolor sets include an opaque white. Called Chinese White, it is a weak white and has a somewhat milky appearance. Gouache and modern-day tempera paint are suitable substitutes. The small white details in the foreground are painted with Chinese White.
Using white paint takes away the pressure of maintaining white detail from the beginning of the painting, but note that the white will not be as strong if these sections were preserved. If a strong white is desired, these sections must be preserved prior to the initial wash.
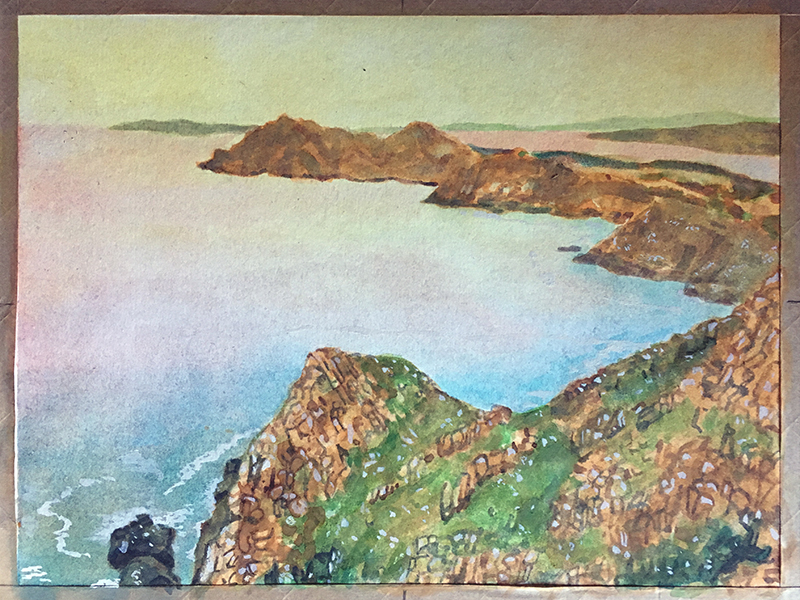
If the Chinese White or tempera paint is not strong enough then use white acrylic paint. The Chinese White was, in fact, not bold enough to capture the white details seen in the water. In these areas, acrylic paint is used instead. Acrylic white is permanent, allowing for the application of subsequent washes of color over it – a great benefit.
Adding Dark Accents for a Full Range of Value
The painting is nearly complete. The small, dark details in the rocks found in the foreground are missing the same level of contrast and sharpness as seen in the reference photo. Using a drawing pen (.03), marks are drawn over the painting to better describe the rocks. If a more painterly look is desired, a brush can be used instead.
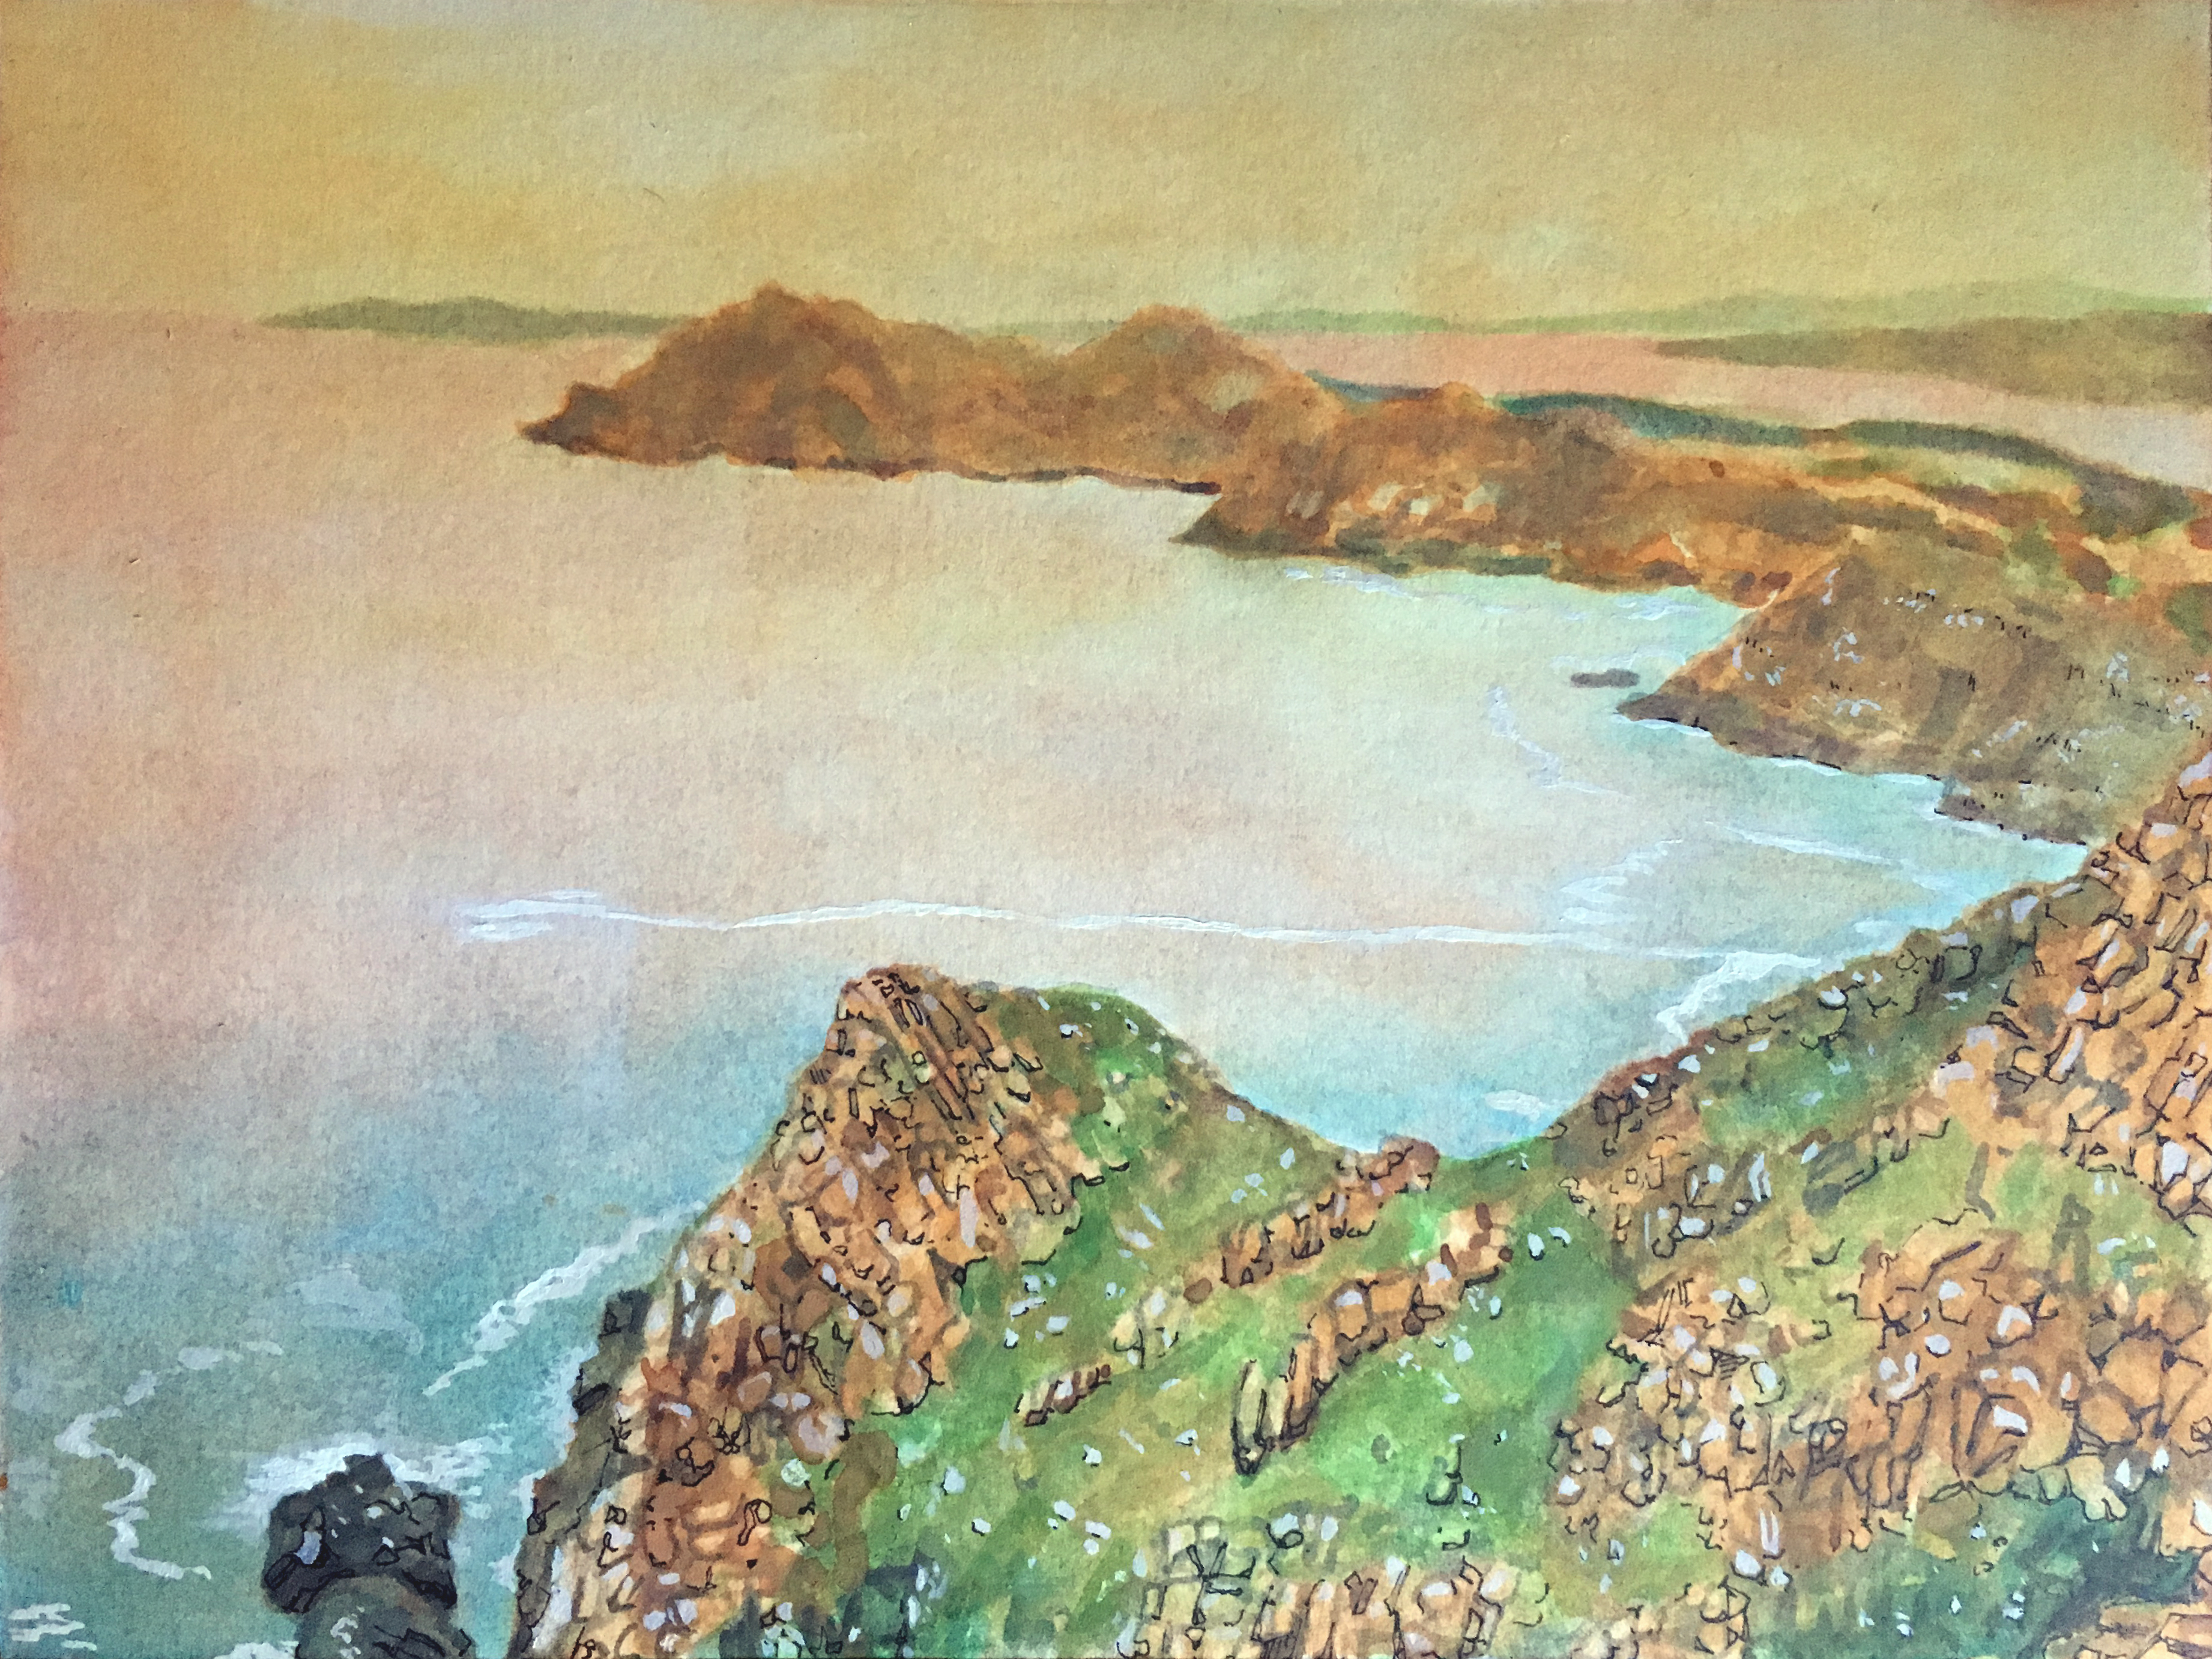
When using a pen with watercolor, it is important to avoid complete contours. That is, do not outline everything. Doing so would give a painting a coloring book feel. Instead, apply dark accent marks in a disconnected, abbreviated manner.
Remove the Tape
Once finished, it is time to either cut the painting away from the gummed tape, or remove the tape. I prefer to remove the tape by simply pulling it away from the painting. Having a border makes matting and framing easier. Be careful when removing the tape from the painting. It’s advised to pull the tape away slowly, at a 90 degree angle.
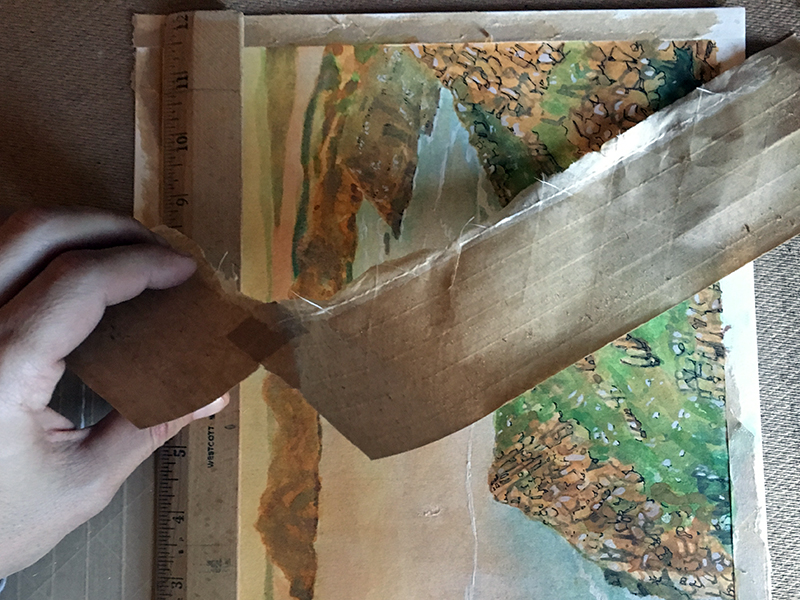
Place a ruler along the edges of the painting to hold it down while pulling up the tape. Some of gummed tape will remain on the border. Use some water to soften the glue and pick off the remaining tape scraps. Once the painting is in a mat the border will be entirely covered.
See also: How to Remove Artist Tape without Tearing the Paper

Conclusion
Watercolor is a challenging medium, but we don’t have to make it more difficult. You don’t have to paint on buckled paper – stretching the paper helps to keep it under control. You don’t have to preserve the white of your paper – can add white. You don’t have to settle for weak values – you can make them darker with ink. Don’t stress – art should be fun.
If so, join over 36,000 others that receive our newsletter with new drawing and painting lessons. Plus, check out three of our course videos and ebooks for free.