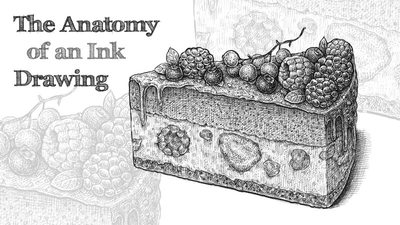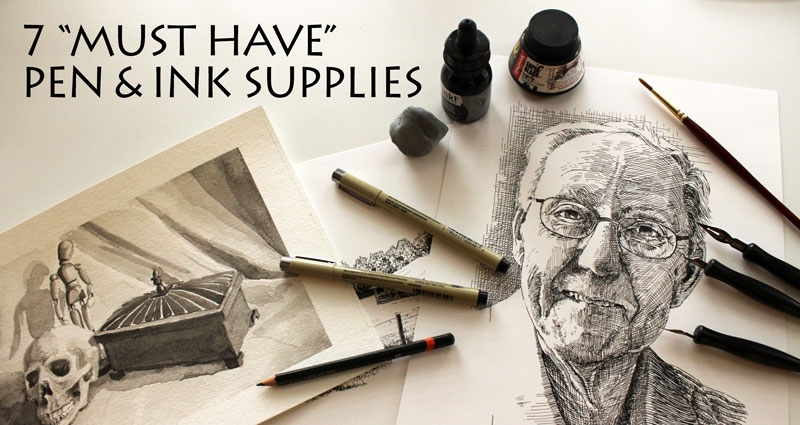
The appeal of pen and ink drawing is found in the strong contrast, the emphasis placed on the mark, and the challenge of permanence since ink cannot be erased or altered much after it has been applied. Pen and ink artists are often drawn to the precision of the medium as well. The enjoyment found in creating a well-executed and clean drawing with pen and ink is quite satisfying.
Perhaps, you’ve been creating pen and ink drawings of your own for a while, or perhaps you’re just starting out. Either way, there are few materials that I feel are essential for any artist. Compared to other mediums, the list of supplies is relatively short and most of the materials are inexpensive and easy to find at any art store.
1. Ink
Inks for drawing generally fall into two categories. Ink is either pigment-based or dye-based. Pigment-based inks are technically a suspension in which pigment particles are included, while dye-based inks are a solution in which the ink is infused.
When pigmented inks are applied to the paper, the pigment sits on the paper, coating the surface. When dye-based inks are applied, the surface is dyed and may be absorbed into the paper. Typically, pigment-based inks are much stronger in intensity than dye-based inks.
For this reason, I suggest using pigment-based inks for drawing. Dye-based inks may be used for tinting surfaces, but for making marks, it’s best to stick with pigment-based options.

(Some of the following links are affiliate links which means we earn a small commission if you purchase at no additional cost to you.)
There are lots of options and brands for pigment-based inks. I have found that Speedball’s Super Black India Ink is very strong and suited for drawing with precise lines as well as creating an ink wash of values. Another quality ink is Liquitex’s Professional Acrylic Ink.
2. Nibs and Handles
Traditionally, pen and ink drawing has consisted of dipping a tool into ink and then using the tool to make marks on the surface. Throughout history, the tool used to make these marks has evolved. Sharpened bird feathers where once used as well as sharpened reeds. Today, the artist has quite an arsenal of tools at their disposal. While many modern pen and ink artists prefer to stick with technical pens, which we’ll discuss in a moment, some still prefer to use the traditional approach.
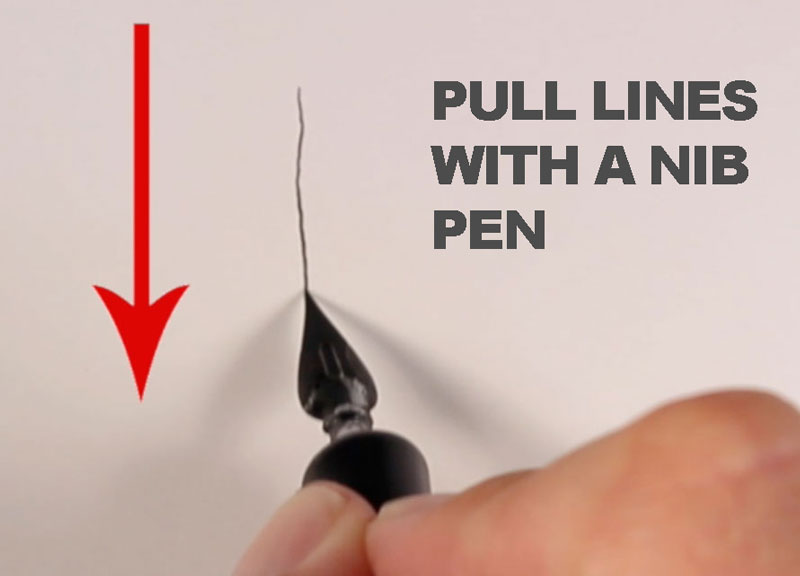
For those that prefer to create pen and ink drawings in this manner, a variety of nibs are available. Nibs are simply reservoirs that feature a variety of widths, capable of producing a wide variety of marks. Nibs vary in flexibility as well. Stiffer nibs produce a consistent mark, while flexible ones can vary line width based on pressure placed on the pen. Nibs are placed into a handle and then dipped into a container of ink.
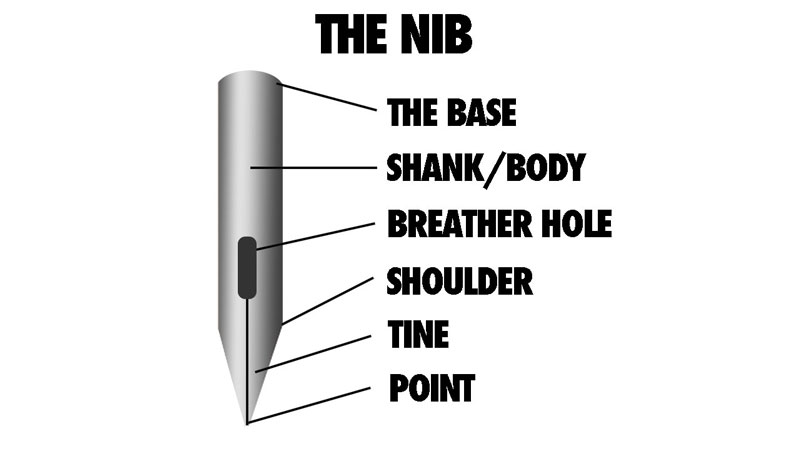
Marks are pulled on the surface to produce intricate line work in a drawing. If the nib is pushed away from the artist, splattering may occur. Of course, this is one drawback when using the traditional approach, but this often considered a trade off for those that find that nib pens produce a cleaner and more precise look to the finished drawing.
Speedball produces a great inexpensive set that includes two pen handles and a variety of precise nibs for drawing.
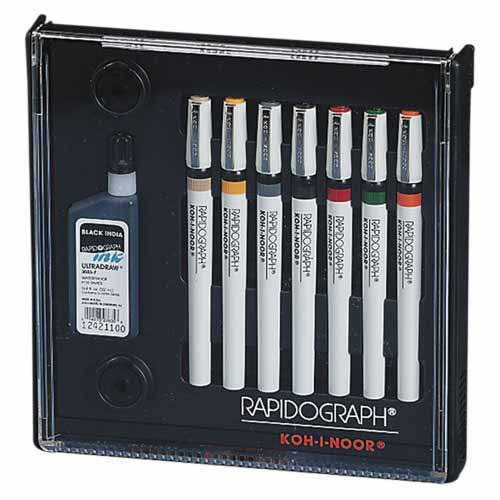
3. Technical Pens
For those that do not want the hassle of dipping a pen over and over again into a bottle of ink, risking spills or splatters, technical pens offer another solution. Just like nibs, technical pens are produced in a variety of widths. Unlike nib pens, technical pens are either pre-filled with ink or are refillable.
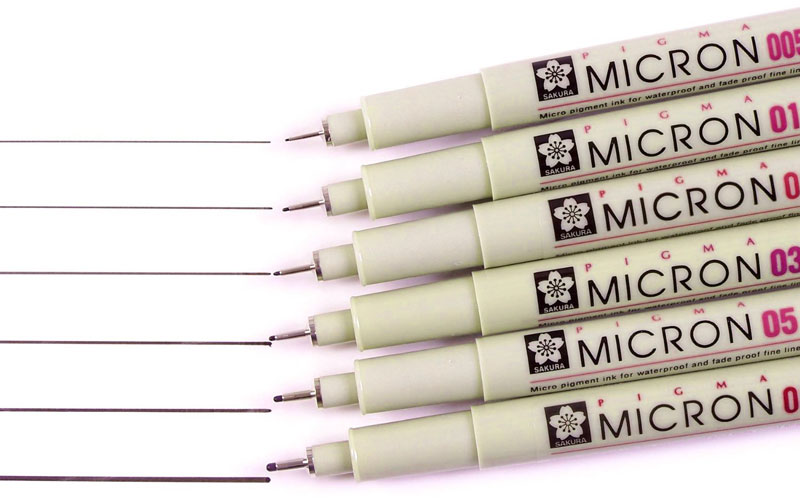
Technical pens vary greatly in price depending on what the artist requires. Pigma Micron pens, by Sakura, are disposable and are very popular. They can be found at most art stores and are very inexpensive. The quality of this pen is very high for such an inexpensive solution.
Refillable options are more expensive, but you may end up saving in the long run if pen and ink is your medium of choice. Rapidograph pens by Koh-I-Noor feature refillable cartridges and sturdy pen casings. These pens produce consistent marks but do require care and occasional maintenance.
No matter which technical pen you choose to use, it is advised to use a pen that features ink that will not fade and will last the “test of time”. Here are a few things to look for…
- Archival – Archival inks are permanent, acid-free, and resistant to chemical breakdown over time. Pens that feature archival inks are labeled as “Archival”.
- Fade-Resistant – Fade-resistant inks are, as the term implies, resistant to fading when exposed to light. Lesser quality inks will lighten over time when exposed to natural light conditions.
- Water-Proof – Water-proof inks are especially important when watercolor or ink washes are to be applied over the line drawing. The last thing you want is to apply watercolor washes over an ink drawing only to watch your lines bleed and mix with the paint.
- Fast-Drying – Most inks found in archival pens will be fast-drying. Inks that dry faster as less likely to create smudges during the drawing process.
4. Surfaces and Paper
The paper or surface is often overlooked as a factor for success. However, the surface is just as important as the pen that you use to apply the marks. For precise drawings, most artists prefer to work on a smooth surface.
Smoother surfaces feature a weaker tooth (or texture). A weaker tooth reduces the chances of paper filaments from being lifted or scarred from pen and ink applications. Bleeding is also less likely and the marks are more consistent.
Bristol paper provides an excellent surface for precise line work. This paper is heavy, like card-stock, and is available in two different surface textures. The “vellum” surface is quite smooth but provides enough tooth for some resistance as marks are made. The “smooth” surface is very smooth but some may find it is too “slick” for much control.
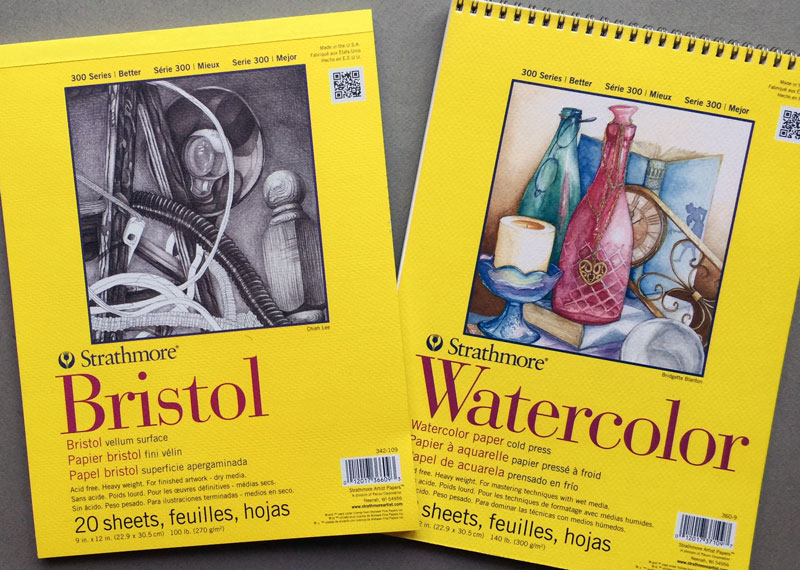
When ink wash or watercolor washes are to be combined with pen and ink line work, watercolor paper is an acceptable solution. Watercolor paper is available in three different textures: rough, cold press, and hot press.
Rough surfaces may be too rigid for most pen applications. Cold press papers feature a course texture, but are still suitable for line work. Hot press papers are smooth and provide consistency in line, but brush strokes made with ink or watercolor washes will be visible. When I combine ink or watercolor washes with pen and ink line work, I typically stick with cold press papers.
5. Nylon Brushes
Beyond using a pen, ink can also be applied with brush. Larger areas can be addressed quickly and gradations of value can be created. Natural hairs can also be used, but for the most control, I suggest a synthetic brush.
If you’ve ever tried to fill in a large area of solid black with a pen, then you know how long this process can take. Not to mention all of the visible lines that are created by the pen that detract from the drawing. A quicker and more consistent approach is to apply the ink straight from the bottle with a brush. If you are concerned about control, you may be surprised just how much control you can achieve with a quality brush. Edges can easily be cleaned with a pen.
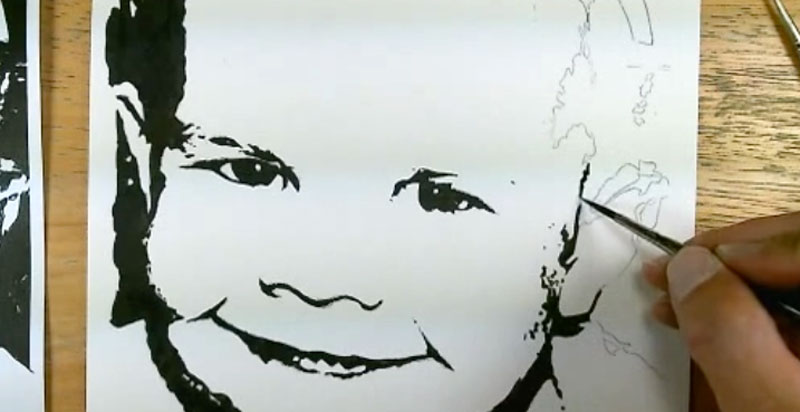
Gradations of value can also be created by adding water to the ink to create an ink wash. When this approach is taken, the ink behaves like watercolor paint. However, for stronger, pigment-based inks, you’ll find that quite a bit of water must be mixed with the ink to create lighter values. (Mixing with water should occur on a palette or plate instead of adding water to the ink directly in the bottle.)
I prefer to use Goldenedge watercolor brushes by Grumbacher for ink wash applications. These brushes are also my choice for watercolor painting. They provide superior “spring” and control.
6. Graphite Pencil
Believe it or not, including a graphite pencil in this listing of materials may spark a bit of controversy. There are those that believe that a pen and ink drawing should consist only of ink and that preliminary marks made with a graphite pencil is somehow cheating. I am not of this belief and consider a graphite pencil to be a tool that no pen and ink artist should be without.
It is common practice to create a light graphite sketch of the subject before developing the value, texture, and detail with ink applications. Since graphite applications are to be erased out after the ink has dried, the type of pencil that you use is important.
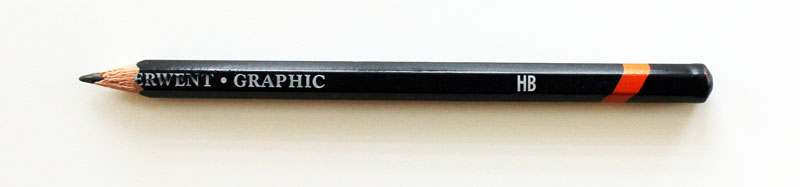
You may already know that graphite varies in softness. “B” pencils are softer, producing darker marks, while “H” pencils are harder resulting in lighter marks.
The common assumption may be to use a lighter “H” pencil to make preliminary marks. However, since these pencils are harder, the chances of producing unwanted grooves in the surface of the paper is greater. Subsequent marks made the ink may not fill in the grooves left by the harder pencil resulting in broken lines.
The softer and darker “B” pencils will typically not produce these grooves, but are harder to erase. In order to preserve a clean appearance in the finished work, it is important that all traces of graphite be removed.
It will vary from artist to artist as to which graphite pencil is best to use, but I suggest staying close to the middle of the graphite grades. I typically use an “HB” pencil for preliminary sketching. If your mark is typically heavier, I would try an “H” or “2H”, but be wary of placing too much pressure on the pencil. If your mark is typically very light, you could try a “B” or “2B” pencil.
7. Kneaded Eraser
When the ink has dried completely, any graphite marks left from the preliminary sketch can be removed. A kneaded eraser is able to lift the graphite from the surface without disturbing the tooth of the paper or smudging the ink.
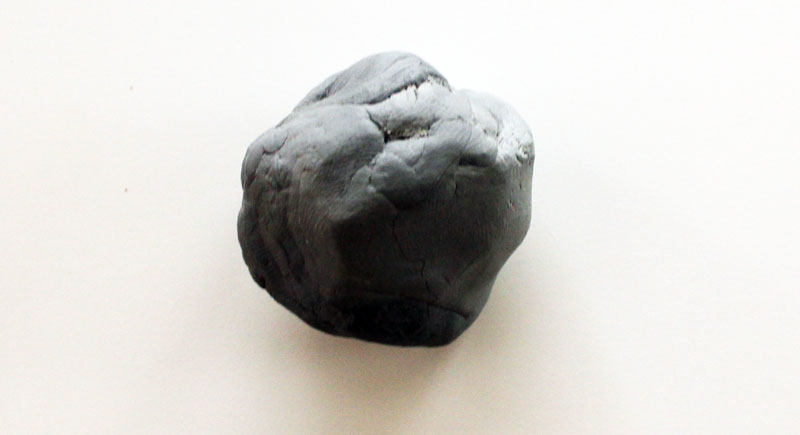
Stronger erasers, such as a rubber eraser or plastic eraser, may tear the surface or cause smudging. This wonderful eraser should be found in any pen and ink artist’s tool kit.
If so, join over 36,000 others that receive our newsletter with new drawing and painting lessons. Plus, check out three of our course videos and ebooks for free.