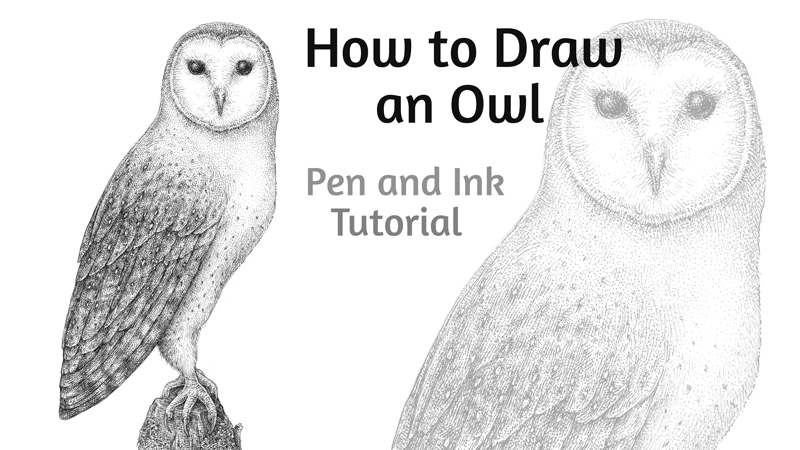
In this tutorial, we’ll walk through the process of drawing a barn owl. Hopefully, we’ll also learn a couple of fun facts about owls along the way!
First, we’ll sketch our bird with a graphite pencil to create an underdrawing. Then, we’ll complete the artwork with ink liners. I’ll be using three ink liners (numbers are 0.05, 0.1 and 0.2) on a relatively small, A4 paper size. You may use nib or dip pens, if you prefer.
Research and Sketching
I usually suggest doing some preparatory work before proceeding to the final art. Learning more about the subject of your drawing often helps to get a more realistic and credible result. Moreover, it allows you to be more relaxed in the process because you’ve already gathered some important information and know exactly how this subject should look.
However, if you are confident enough or prefer being spontaneous, feel free to skip this part.
Quick research allows me to refresh everything that I know about owls – and common barn owls in particular. Here is a brief summary…
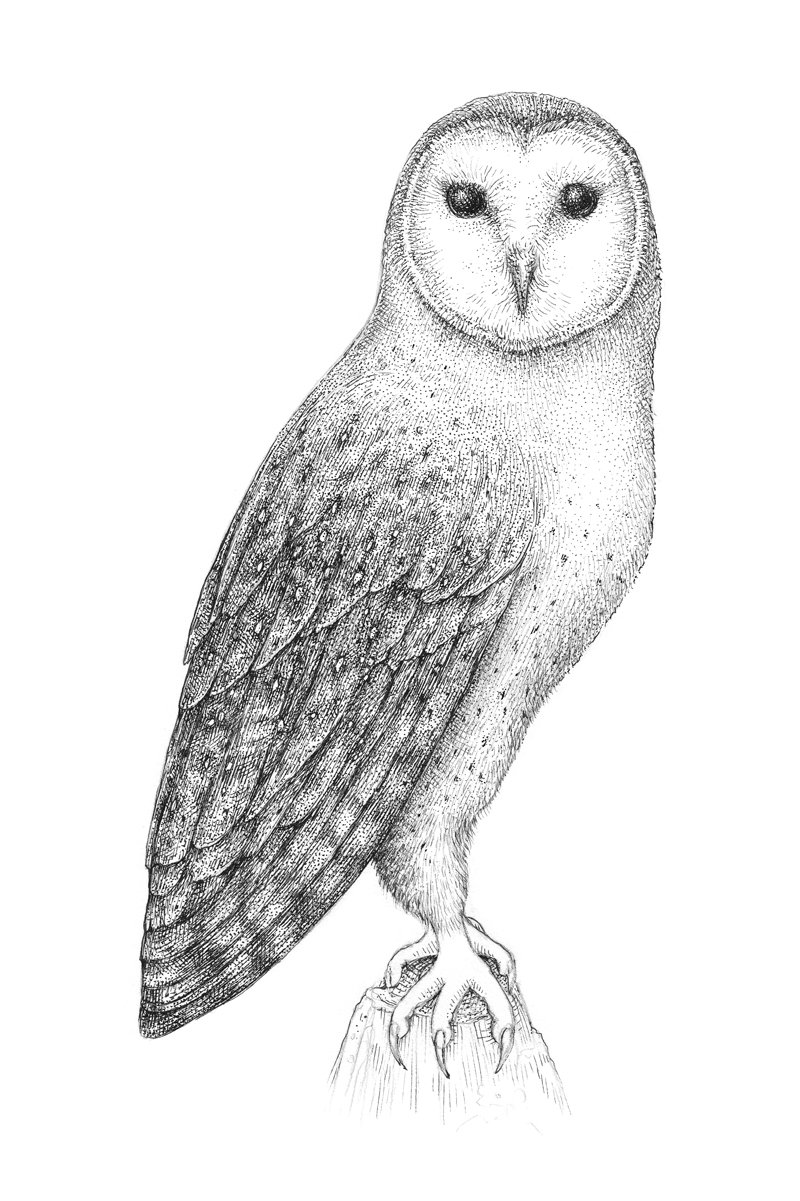
There is a considerable variation between the sizes and color of the approximately 28 subspecies of barn owls, but we can see some common features. The barn owl is a medium-sized bird with a slender body, long wings, and a short tail.
The plumage on the head and back is a speckled shade of grey or brown. The underparts vary from white to brown and are sometimes spotted with dark markings. The face is characteristically heart-shaped, resembling a flat mask, and is white in most subspecies.
I also examine many photos and watch some videos, observing the most popular poses and general behavior of the bird’s body.
I always like to see owls when I visit a zoo – a nice habit for somebody who spends a lot of time drawing animals. By the way, if you try to hoot near a real owl, chances are that it will answer you.
The more you observe owls, the more details you’ll notice. You’ll see that every individual bird, even inside one subspecies, is unique. That’s why this tutorial is an invitation to study owls, develop a genuine interest for them – and not a “one answer to all problems” on drawing an owl.
See also: How Step-By-Step Drawing Tutorials Can Lead You Astray
At this preparatory step, just learn anything about your subject that you feel is necessary. Also, you may find it useful to sketch whatever you like: poses, patterns, faces, eyes, feet, etc. Allow yourself to be curious, without any strict rules or expectations. If you make any preparatory drawings, there’s no need to show them to anybody – unless you want to.
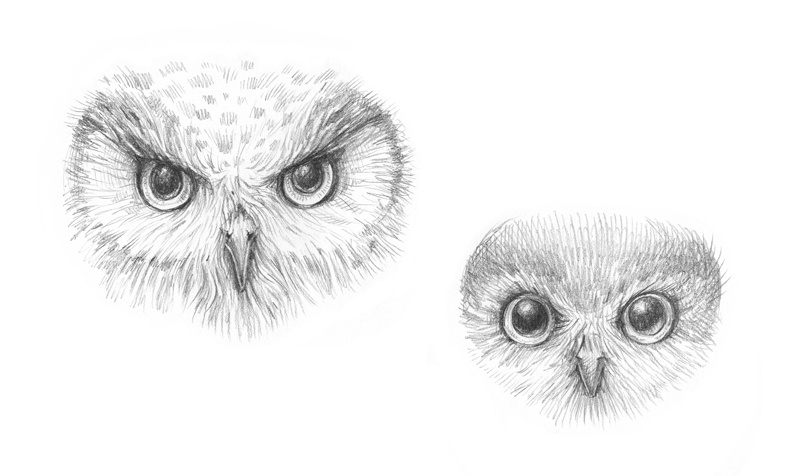
My research was relatively extensive. It included various species of owls, not just barn owls. Some results are in the image below. When I’m drawing, I pay close attention to the face of an owl. It’s helpful to try and capture an expression, even the mood of the bird – in addition to the accurate facial features.
Drawing the Owl with a Graphite Pencil
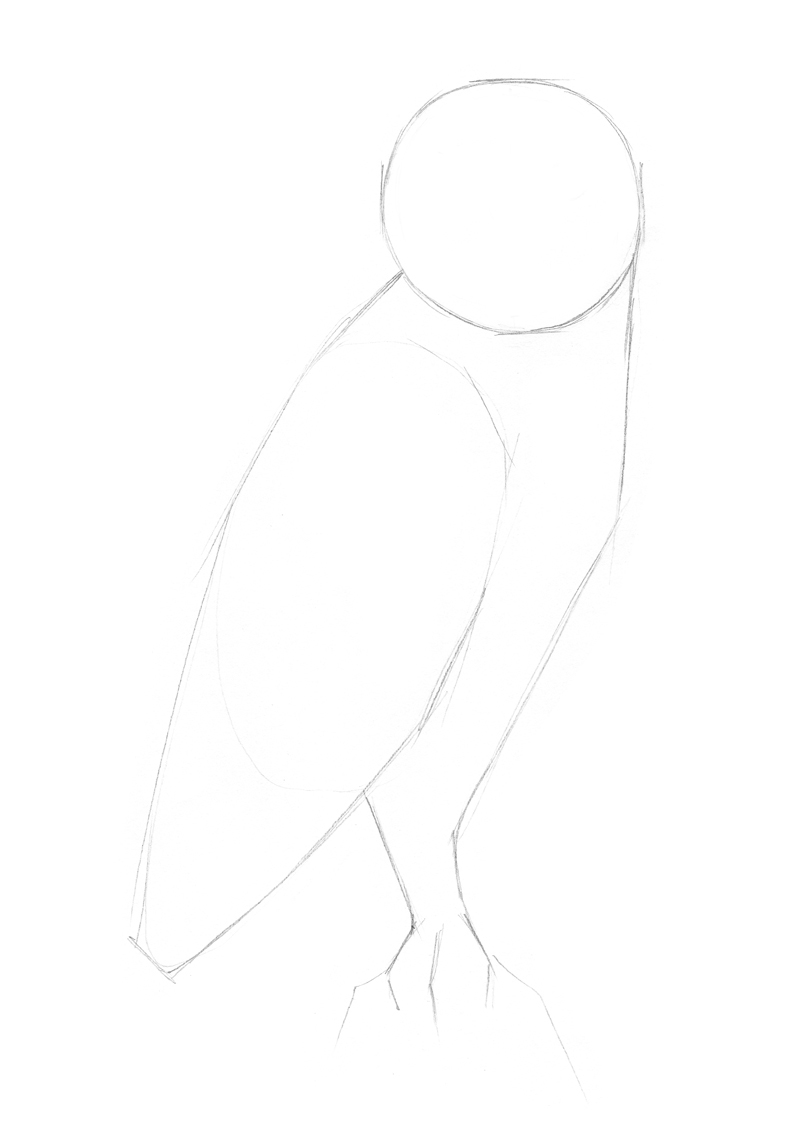
I outline the general shape of the head. Its width and height are nearly equal. The height of the head shape fits into the height of the body approximately 2.5 times.
With the same rough lines, I add the body and the framework of the leg that is closer to the viewer. There are four toes, but one of them is facing backwards.
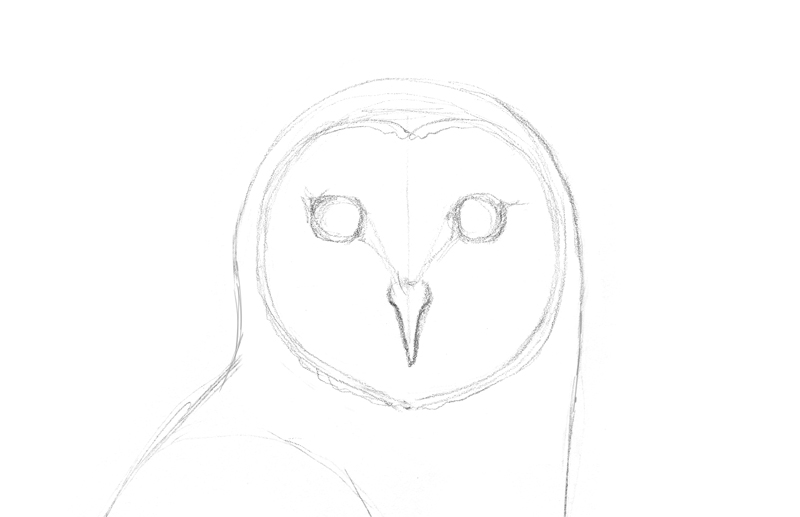
I refine the head, adding the characteristic heart-like outline. To draw the eyes and the beak, I help myself by marking a center line that divides the owl’s face into two halves. Later, we’ll add feathers around and above the beak, making it resemble a nose.
I also add the eyes. The distance between them is slightly greater than the width of a single eye.
Barn owls don’t have ear tufts. By the way, all owls have excellent hearing, but barn owls have even bigger advantage.
The heart-shaped facial disk, created by the feathers, form a hollow disk around the entire face. It operates as a satellite dish – capturing and locating the sound. Two ear openings are located at both sides of the disk. As it is for other owls, the ear openings are positioned slightly asymmetrically, which allows for greater accuracy in pinpointing the exact location of a sound.
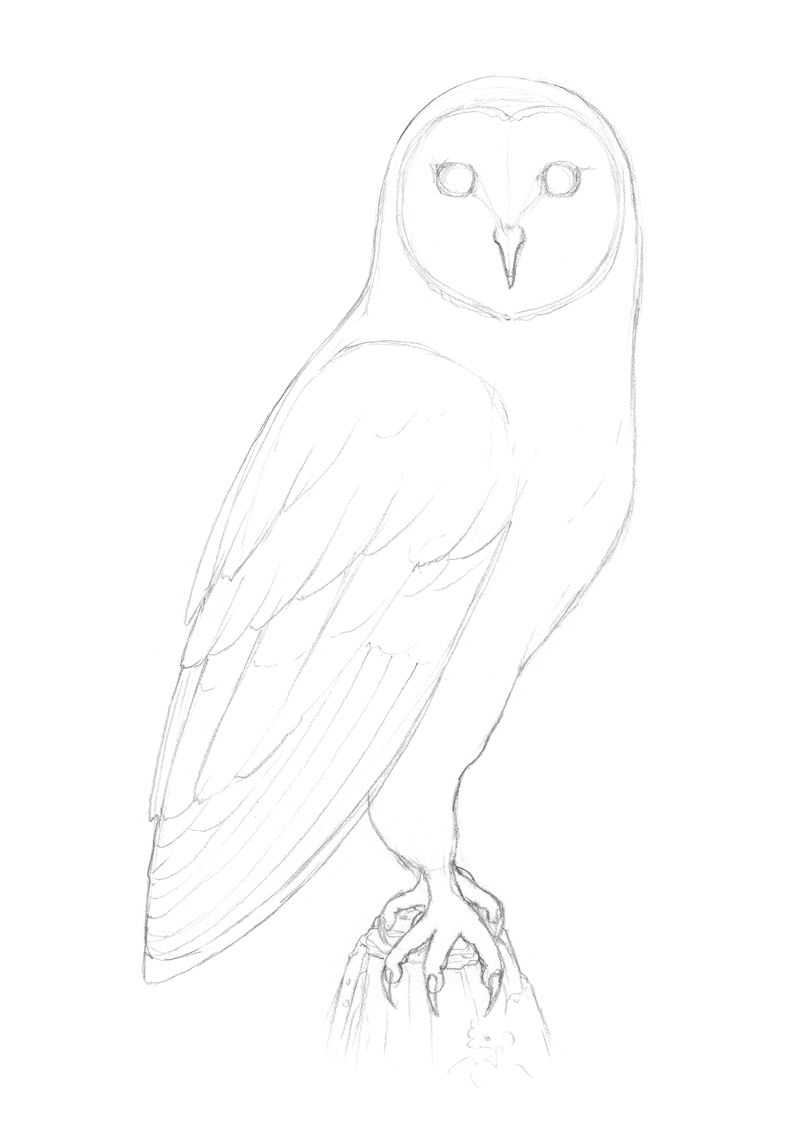
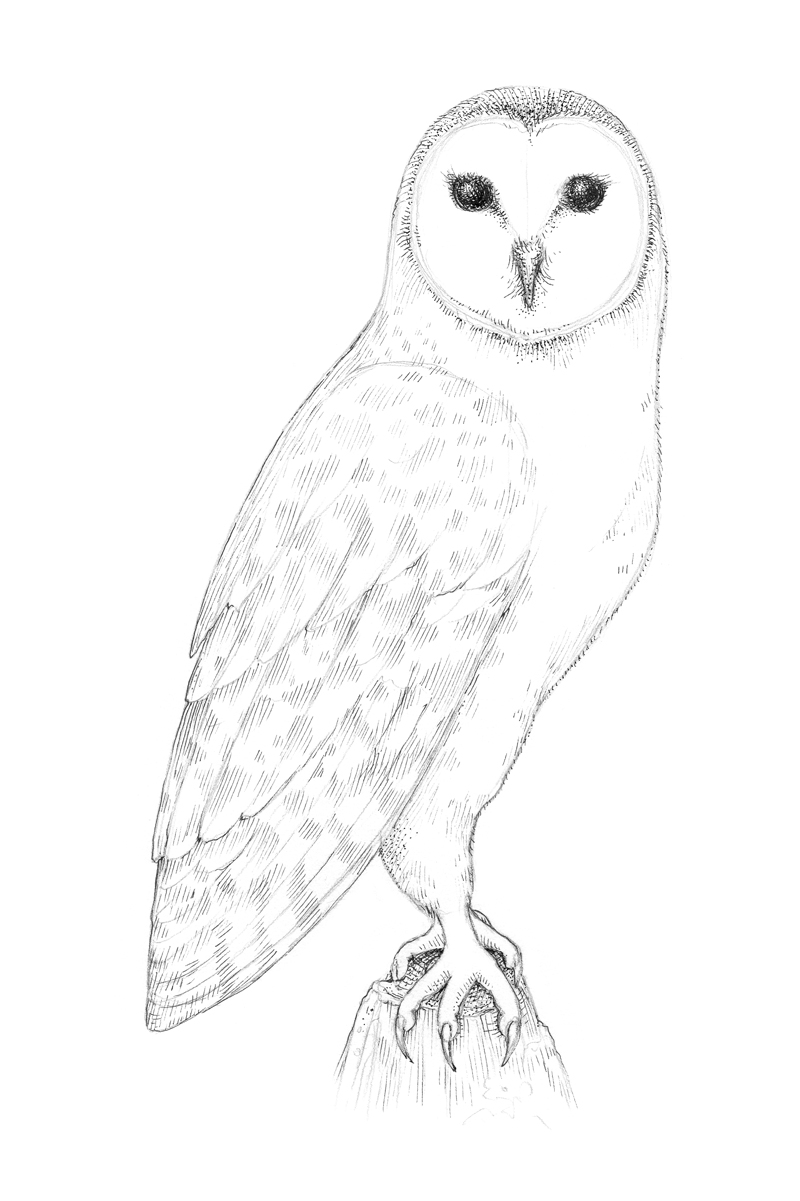
I change the contour line of the body, making it smoother and more organic. Now we have graceful curves in the breast and leg areas.
This pose, with the accent on the long owl’s wing, is chosen deliberately. I mark out some feathers to emphasize the beautiful relief, which we’ll develop in future steps. Elongated feather segments, at the wing’s lower part, make the whole shape even more eye-catching.
The legs are long and slender. They’re covered with feathers, except for the lowest parts. I also draw the long toes with talons at the ends.
The toes on the leg that is hidden are still partially visible – so I include them in this step.
Of course, we could add some hints of the second wing and a short tail, but I decided to go for a simpler pose. The goal is to accent the distinctive face and the texture of the wing that is closer to the viewer.
Let’s proceed to the inking part.

How to Draw an Owl with Ink
The eyes are important. If drawn with care and attention, they can communicate the expression and convey the mood. This is true for portraits of all creatures – not only those of people.
With 0.1 liner, I darken the eyes, layering the ink hatches. There is a highlight at the upper part of both eyes, so I leave a small spot of untouched paper there. Also, I leave a thin, blurry line of reflexed light at the edges of the eyes. Varying the density of ink layers creates these slight variations of tone.
An owl’s eye color is an indicator of what time of day this bird prefers to be active. Most owls with orange eyes are active around dawn and dusk. Owls that have dark brown or black eyes (like our barn owl) typically are nocturnal – they prefer to hunt at night. The dark eyes allow the bird to camouflage themselves much easier than brighter-colored eyes.

I also mark the feathers around the eyes and the beak, using directional strokes to indicate the form. The direction and roundness of the longer ink hatches creates the illusion that the head is three-dimensional. Using short hatches and dots, I border the facial disk.
The barn owl’s face is white or very light in color, so don’t rush to cover it with ink marks right away. Let’s proceed to the bird’s body.
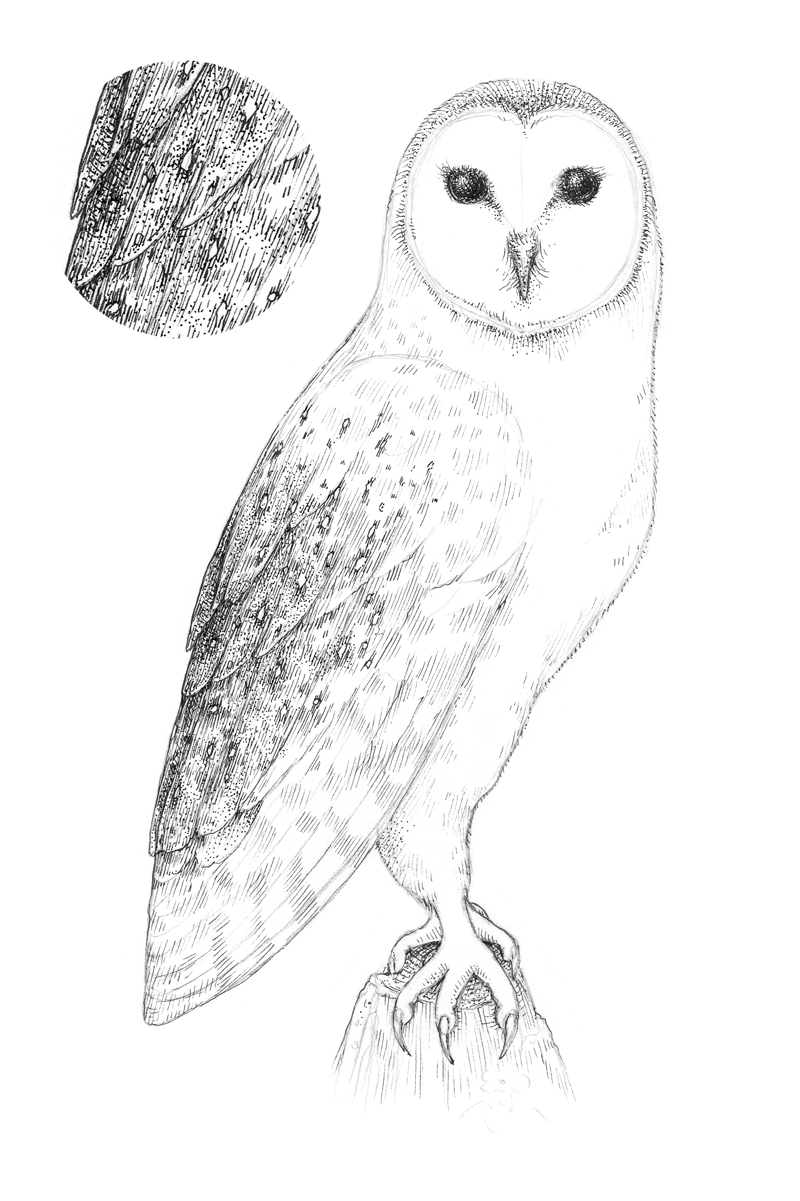
With 0.1 ink liner, I mark the darker spots on the wing and a subtle shadow on the leg.
Small groups of short hatches, applied to the body, lay the foundation for the texture. Again, the body, including the legs, is usually pale, so we have to be as delicate as possible here.
I also cover the snag under the owl with layers of hatching. The direction of lines helps to differentiate the horizontal and vertical planes.
With a 0.2 ink liner, I make the darker areas of the feathering darker, adding a bit of contrast. Both hatching and stippling are suitable for this texture. When separating and detailing the feathers, we should be mindful that the wing consists of small elements, but it is still a visually unified unit.
Wing feathers of a barn owl feature a peculiar pattern of small, white, slightly elongated spots that are bordered with dark color. These small spots are included as the texture is developed.
In the image below, you’ll see a close-up of the wing texture.
I continue working on the wing, using the same process of layering ink applications.
Avoid making the texture too monotonous. There should be irregularity since this better reflects reality.
I leave the upper part of the wing slightly lighter to indicate the light source.
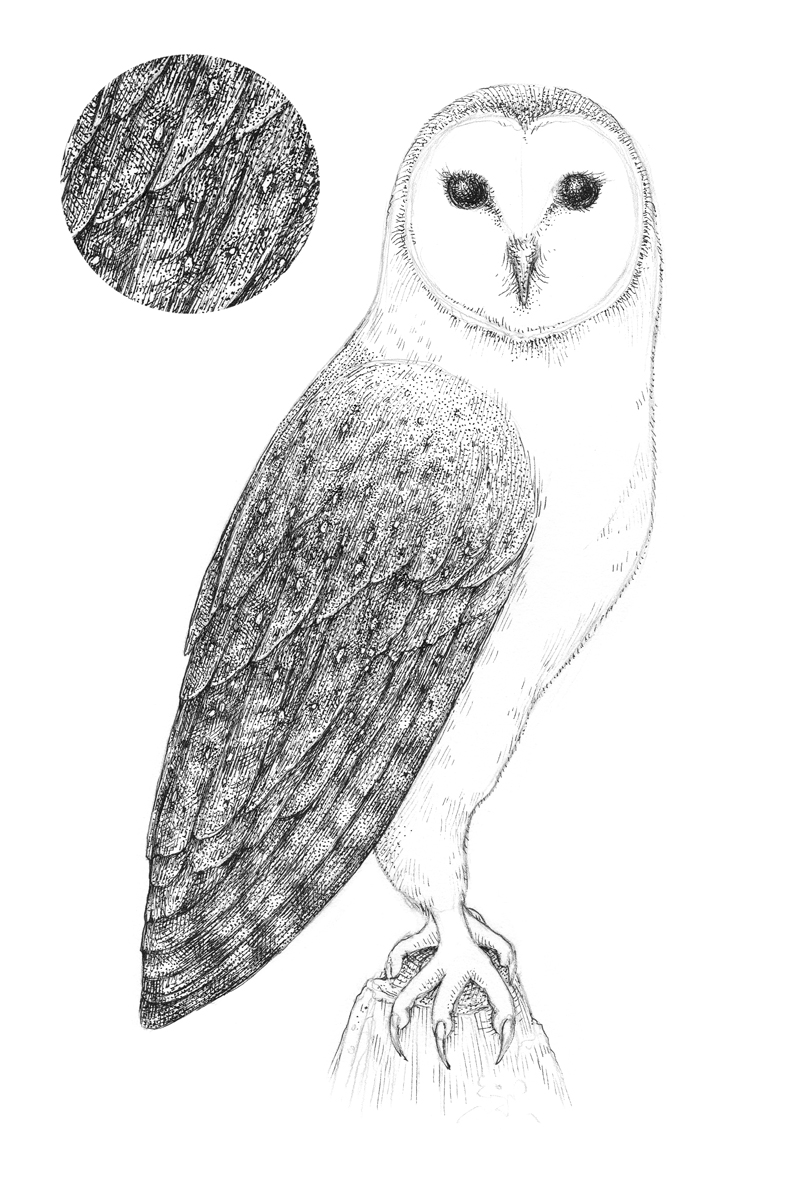
With the thinnest 0.05 liner, I work on the white feathering of the owl’s facial disk. I want this area to be as eye-catching as possible, so I leave a large area of untouched paper here.
The head itself is usually darker than the facial disk, so we can apply more ink marks to this area.
I use short hatches and stippling. Both techniques can successfully imitate soft, short, fluffy feathers that look unified from a distance. At the sides of the neck, I add some cross contour hatching to give the bird more volume and accentuate its form.
See also: Improve Your Drawing and Painting with Cross Contour Lines
The wing will be our “measuring stick” in terms of value. We don’t want the face or the body to be as dark as the wing.
I accentuate the shadow under the lower part of the facial disk to suggest some relief. I also erase the pencil outline of the facial disk after the ink has dried. If you feel that any graphite marks are now unnecessary, feel free to erase them.
With a 0.05 liner, I work on the texture found on the body of our barn owl. Just as we did on the wing, we’ll gradually layer ink applications to slowly build up a range of value.
Hatching may be denser here and there, just to break the monotony of the texture. I use stippling for the lightest areas, particularly on the owl’s chest.
Ink marks made with a thin liner resemble a graphite pencil drawing from a distance. By switching from wider to thinner lines deliberately, we open a variety of possibilities and artistic effects.
It’s important to keep the edges of the owl’s body slightly ‘fluffy’ or ‘hairy’, without any solid contour. That’s why we didn’t start the work by outlining the contours. However, the wing usually has a sleeker texture than the rest of the body, so having a clear, readable contour here is justified.
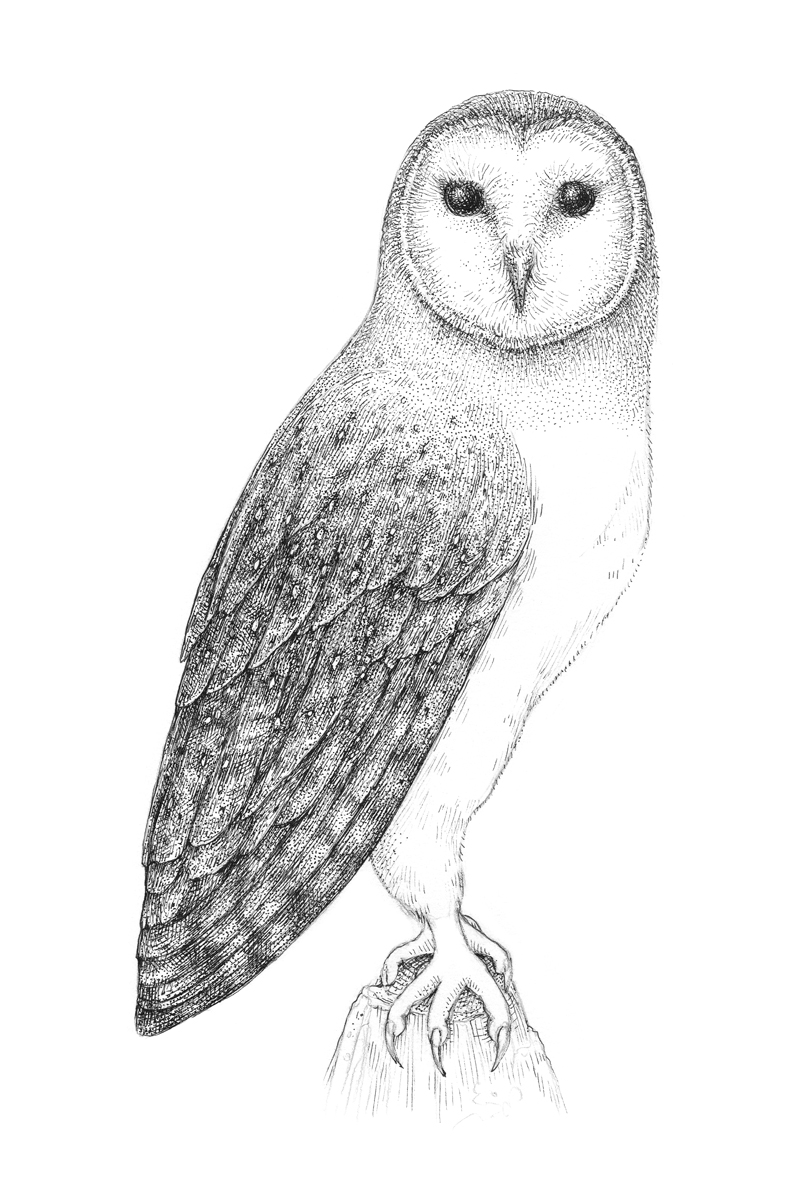
There are small black spots on the underside of the barn owl, so I add them, using the 0.2 liner.
The drawing is close to completion, but we still have to work on the talons of the owl. Or, to be precise, one foot and a part of another. I use the 0.1 liner for this step.
Rounded contour hatches that go from one side of the talon to another help to accent the form. The same principle applies to individual claws – with the exception that lines are shorter. I add some stippling to vary the pattern of ink marks and strengthen the core shadows.
In general, the feet are darker than the plumage found on the legs.
As a finishing touch, I work on the wooden texture of the snag, revealing the organic pattern of the bark and darkening the cracks. I also add some moss with spontaneous circular motions of the ink liner.
We’ll also add a hint of shadow on the top of the wood, strengthening the illusion of the light source within the scene.
See also: Drawing With Ink Liners: Natural Textures

Conclusion
Congratulations – we’ve done a great job! I’m happy with the result. Hopefully, you enjoyed every moment of this creative journey, too.
What do you think – maybe we should expand this feathery topic by creating an additional tutorial on drawing an owl of another species?
Again, thanks so much for joining me through the whole process. I wish you much inspiration and luck in your journey of mastering ink techniques and drawing in general.
If so, join over 36,000 others that receive our newsletter with new drawing and painting lessons. Plus, check out three of our course videos and ebooks for free.