Plein Air Painting with Pastels
In this lesson, we’ll get out of the studio and go outdoors for a bit of plein air painting with pastels. Plein air painting refers to the act of drawing or painting outside, within the natural environment of the subject. This form of creating art has always been around, but became popular with the French Impressionists. These artists worked to capture the subtle nuances and effects of natural light. As a result, nature became their studio.
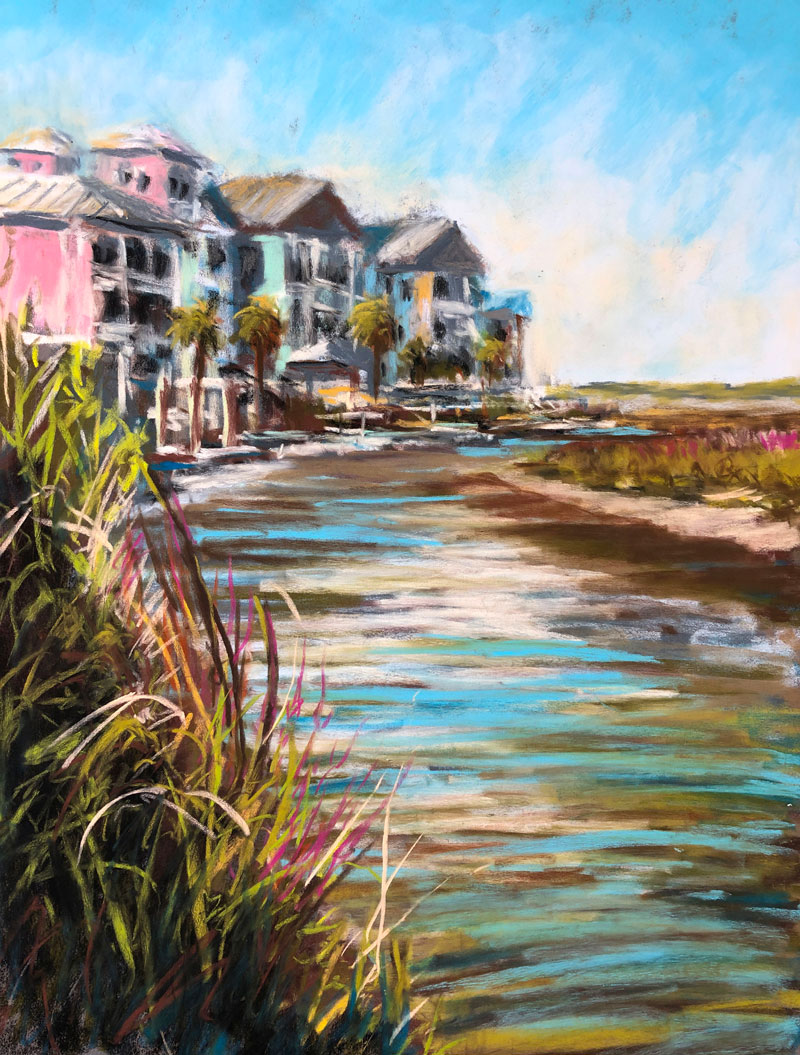
For our demo, we’ll work quickly and loosely as the French Impressionists did, but instead of traditional oil paints, we’ll develop our image with soft and hard pastels. We’ll also exaggerate some of the natural colors to add more “pop” and interest to our image. Here’s a look at the finished pastel painting…
Art Materials for this Lesson
Traditional soft pastels and hard pastels (NuPastels) are used to complete the painting. The soft pastels are by Rembrandt.
The work is completed on a medium gray piece of PastelMat paper. This paper features a fine, but coarse texture which locks the pastel in place on the surface. This reduces dust and actually enhances the intensity of the color.
See also: PastelMat Paper Review
Instead of lugging all of my pastels out to the location, I brought a smaller selection of pastels. This not only limited the color palette but also sped up the process since I didn’t have to spend much time choosing the next color.
NuPastels are slightly less dusty compared to traditional soft pastels. This material can be considered a hard pastel, although the material is not that dissimilar from soft pastels. I typically use both hard and soft pastels interchangeably.
(The following links are affiliate links which means that I make a small commission if you purchase without an additional cost to you)…
Setting Up
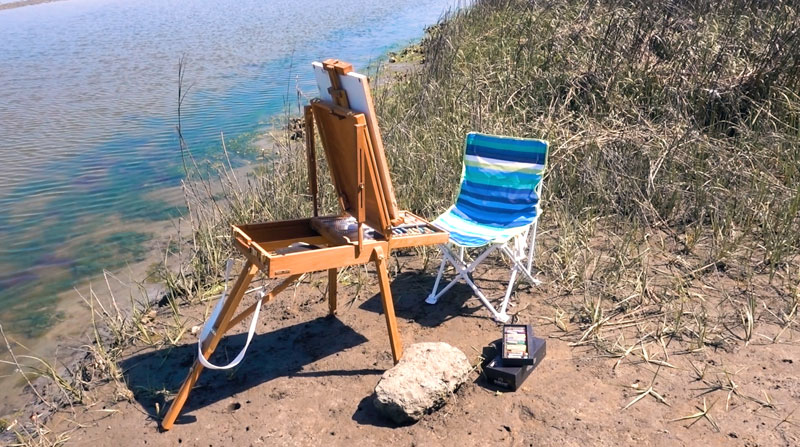
Our location is a beautiful small island off the coast of the eastern United States. Ocean Isle Beach is found on the southern tip of North Carolina and is separated from the mainland by a marshland that features a maze of waterways and grasses. After exploring a bit, I found a nice little place to set up, overlooking the marsh with a view of a row of colorful houses. On the bank of the wetland, I set up my easel, chair, and pastels and began to work.

Blocking In The Shapes
When working outdoors, speed is especially important. In the natural environment, everything is constantly changing. The light changes every minute. The wind blows and moves grasses and trees. And in this case, the water was also moving as the tide began moving back in.
Because there is so much change, we must be prepared to work quickly. This means we must make quick decisions and not become overly obsessed with details.
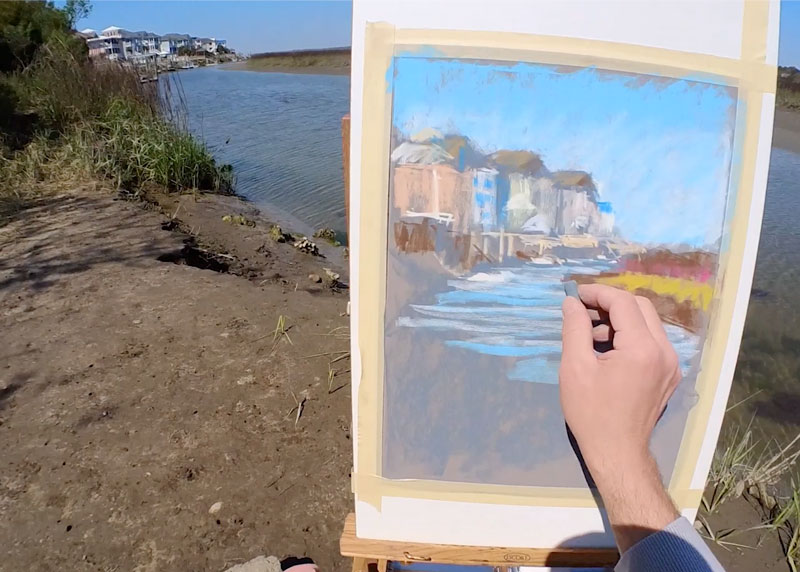
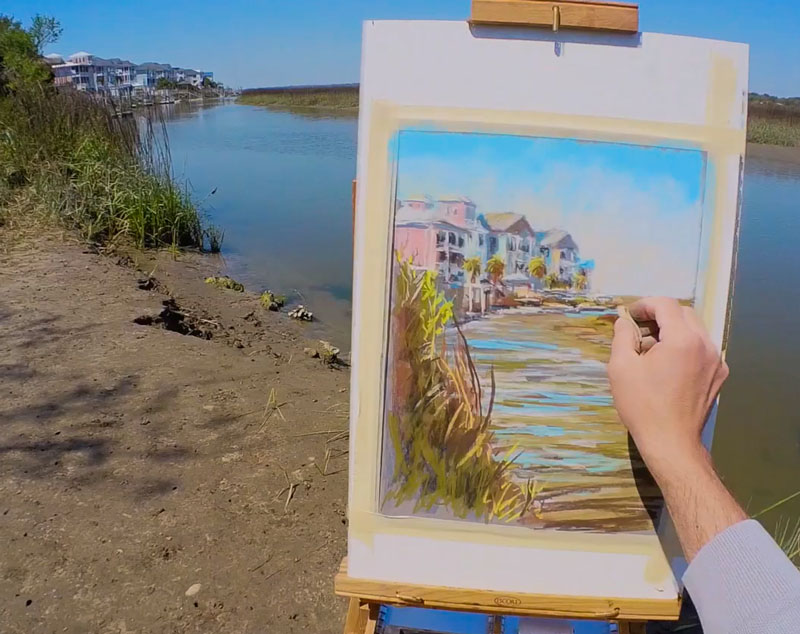
Just as we would with an opaque painting medium, I began blocking in the larger shapes of the composition. This included the shapes for the houses, the water, and the banks on either side of the water. A dark gray pastel was used for these initial marks. You’ll notice that this gray is a bit cooler than the gray of the paper. This created a bit of necessary contrast against the warm gray of the paper.

This process is loose and quick. We’re not striving for perfection, instead we’re simply thinking about getting visual information down on the surface as quickly as possible. We’ll refine the drawing as we continue.
Once the basic shapes of the houses, grasses, and water were in place, a light blue was applied to define the sky and reflections in the water.
Developing Colors and Contrast
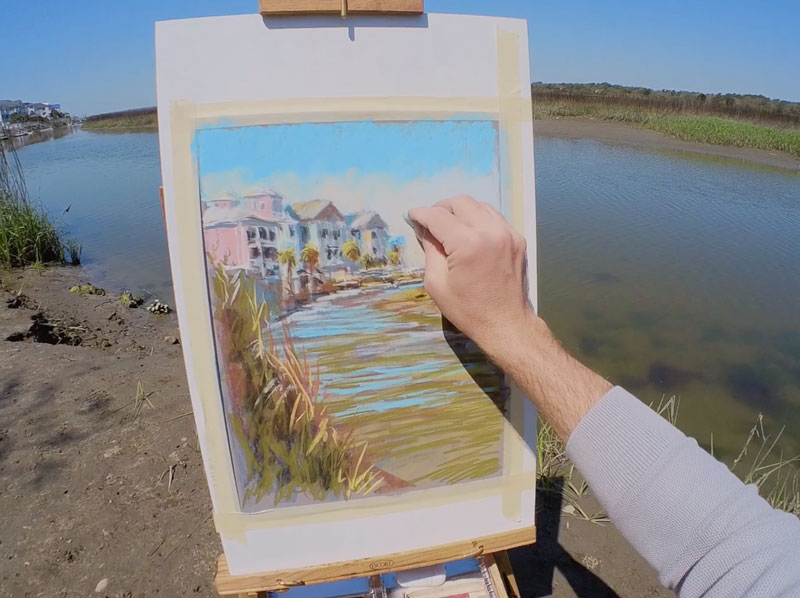
Once the overall shape of the composition was established, I could begin adding colors over the blocked out shapes. As each layer was added, the contrast was developed and the colors became more complex.
Although black is eventually used in this painting, I avoided using it or white early in the process. Instead, dark brown, grays, and blues were substituted in order to establish the shapes of shadows. Lighter values were added using creams, light grays, blues, and pinks.
Even at this stage, the process of choosing colors and mark making is quick and loose. Pastels are very forgiving as a medium and we can afford to be experimental with color choice.
As the work progressed, I could begin developing some of the complexities, mostly through gradations and contrast. The painting never fully becomes “detailed or complex”, although details and complexities are implied. For example, a gradation from light blue to darker blue is developed in the sky through layering.
The light is clearly strong and direct which produced intense shadows and highlights. This required me to push some of the values much darker and use black in areas. However, I continued to layer colors over the black applications to mute them, making them feel a bit more natural.
Gradually, the details began to emerge as I continued to layer colors. Directional strokes of various colors and values became palm trees, small docks, grasses, windows, and roofs.
I continued to bounce around within the picture plane. As I saw colors, I quickly added them. To ensure harmony, I made sure that each color that was added was also included somewhere else within the picture plane.
I kept returning to the houses, then back to the water, then on to the grasses, then back to the houses again. This approach encouraged me to develop the entire image at once while also creating a sense of unity.
While the water reflected a brilliant blue from the sky, many other colors were present as well. Greens, browns, and dark blues were all visible at different moments during my “session”. Just as the light changed, the colors and shapes of colors in the water were constantly changing as well. I tried to capture the movement and character of the water through contrast and directional stroking.
Pastel strokes are more horizontal near the horizon line, becoming slightly curved down near the bottom of the picture plane. The contrast and size of the strokes increase lower on the picture plane as well. This helped to create the illusion of space while hinting at the movement of water.
Creating “Details”
The details in this image are developed through value contrast and directional strokes. When most of us think of details, we think that they must be developed through careful applications of the medium, usually with a tedious, time consuming process. And while details can certainly be developed in this manner, they can also be implied with looser, less defined marks.
We don’t have to spell everything out to our viewers. Their brains will make sense of the visual information we provide and “fill in the blanks”. This essentially means that our viewers will fill in the details, as long as we imply them with contrast and directional stroking.
From my vantage point, I saw lots of details on the houses. In fact, the details were so numerous that they were slightly overwhelming. Each house had a dock and most had fences, poles, and other things that overlapped. While I certainly could have developed all of those details, it was best to imply them though simplification. To do this, I simply layered darker and lighter colors to create contrast with defined directional strokes.
This approach communicated the details without actually including them.
Finishing Up
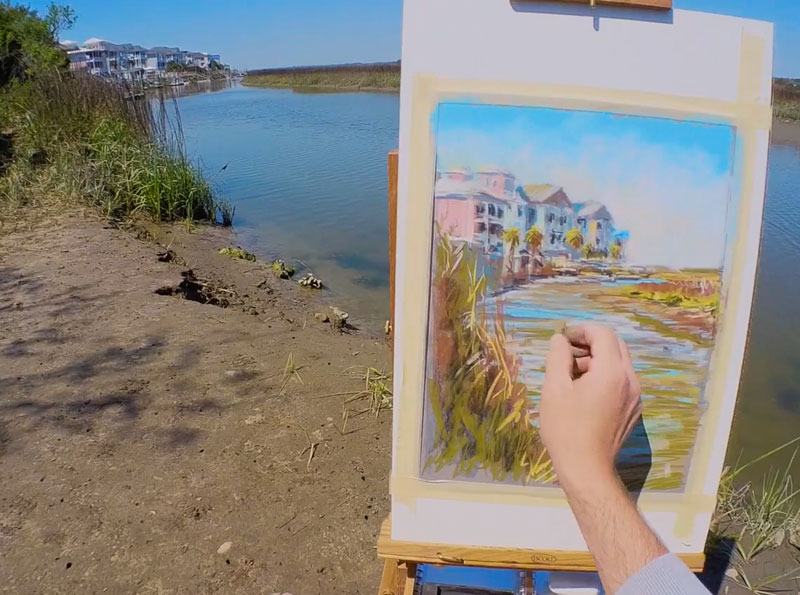
In the lower left foreground, I wanted to capture the movement and sharpness of the grasses. Instead of using just a variety of greens, I also incorporated browns, cream, reds, and even a few pinks.
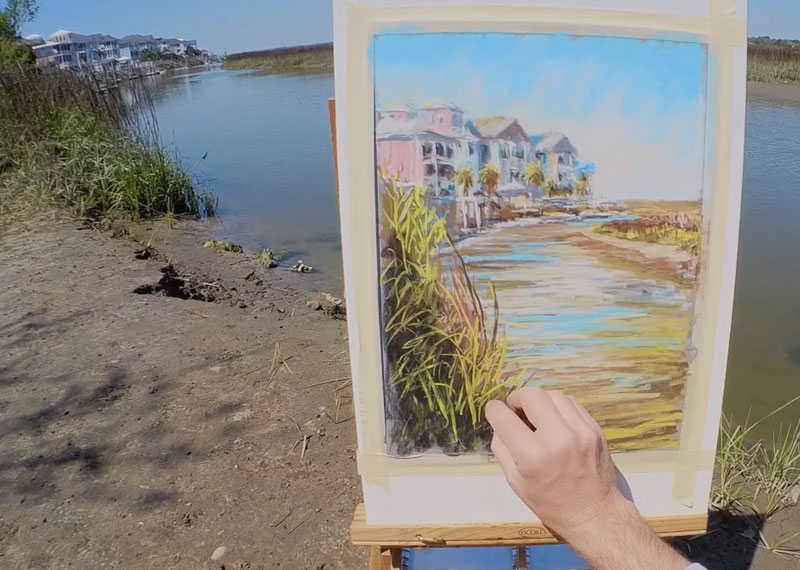
Marks made here were strong and deliberate as a I tried to capture the character of the grasses instead of a literal reproduction.
To finish the painting, I added a bit of darker blue to some of the shadows to make them feel a bit more natural and colorful. These cooler shadows were most evident in the shadows of grasses in the foreground, but a few blue marks were also added to parts of the water.
Then, as a final touch, light blue was again added to the water for additional contrast and to communicate the brilliant blue sky reflected from above.

Plein Air Pastel Painting – Ocean Inlet – Conclusion
Creating art outdoors, in nature’s studio, presents its own set of challenges. The light is always changing, the bugs are always biting, and everything moves. But, this environment also allows for creativity that may not be tapped into in the studio, where everything is controlled. You may discover that when you take your supplies outside, your style changes and you may learn new things about yourself as an artist.
So grab what you can, head outside and start creating. You may discover that a very different artist emerges outside of the studio.
If so, join over 36,000 others that receive our newsletter with new drawing and painting lessons. Plus, check out three of our course videos and ebooks for free.