Drawing Fabric with Pastel Pencils
In this lesson, we’re going to take a look at drawing a classical subject matter – folds of fabric or cloth. Pastel pencils are used for this demonstration, but you can use any drawing or painting media that you wish because the concepts that we cover can be applied to any drawing or painting media.
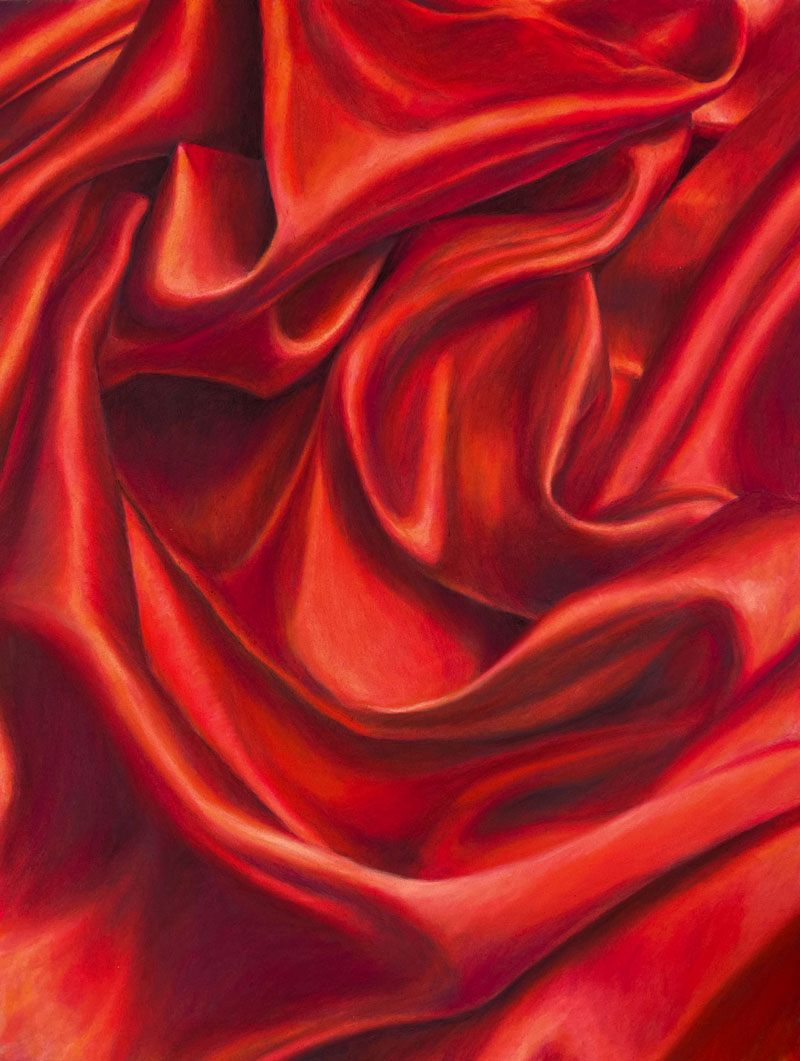
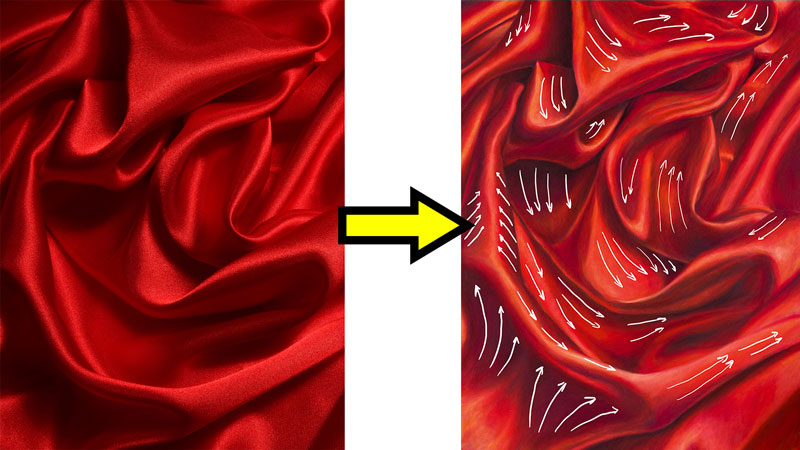
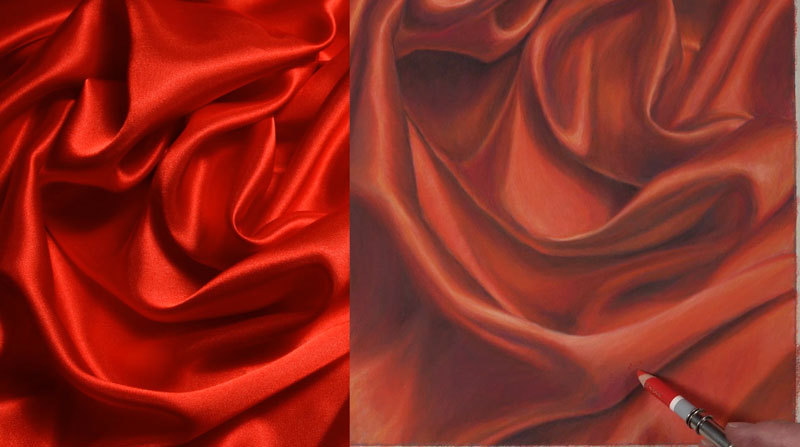
Here’s a look at the completed drawing…
Materials and Surface
This drawing is created on Pastelmat paper, which has a very fine, but heavy tooth. A dark gray surface is chosen for this particular demonstration.
The drawing is completed with CarbOthello pastel pencils. These pencils are a little bit harder than some of the pastel pencils out there, but they keep a nice sharp tip and give you lots of control. We’re only going to be using a few colors.
See also: Pastel Drawing Lessons
Here are the general colors that are used. Note that these are not the specific names of the colors, but a general description…
- A couple of Red-Oranges
- Peach
- Cream
- Dark Cool Gray
- Black
- Golden Yellow-Orange
- Dark Red-Purple
Keys to Success When Drawing Fabric Folds
Drawing folded fabric is a classical subject that may seem very difficult at first impression. We’re going to take a structured approach that makes the process easier.
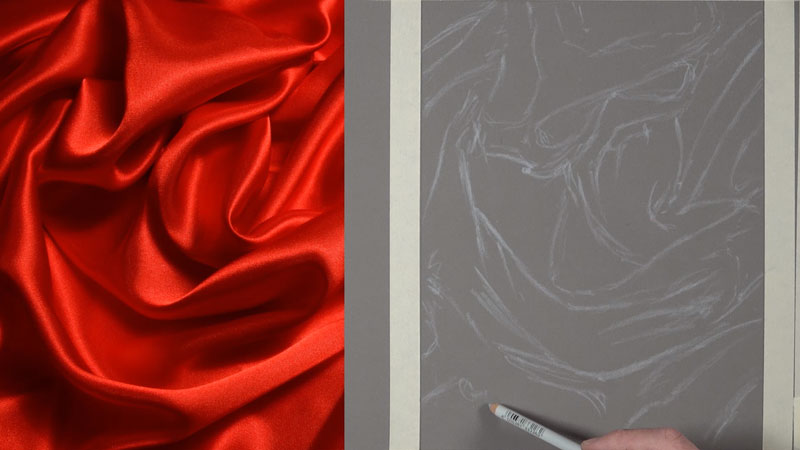
A photo reference is used to create the drawing. Here’s a look at the reference image…
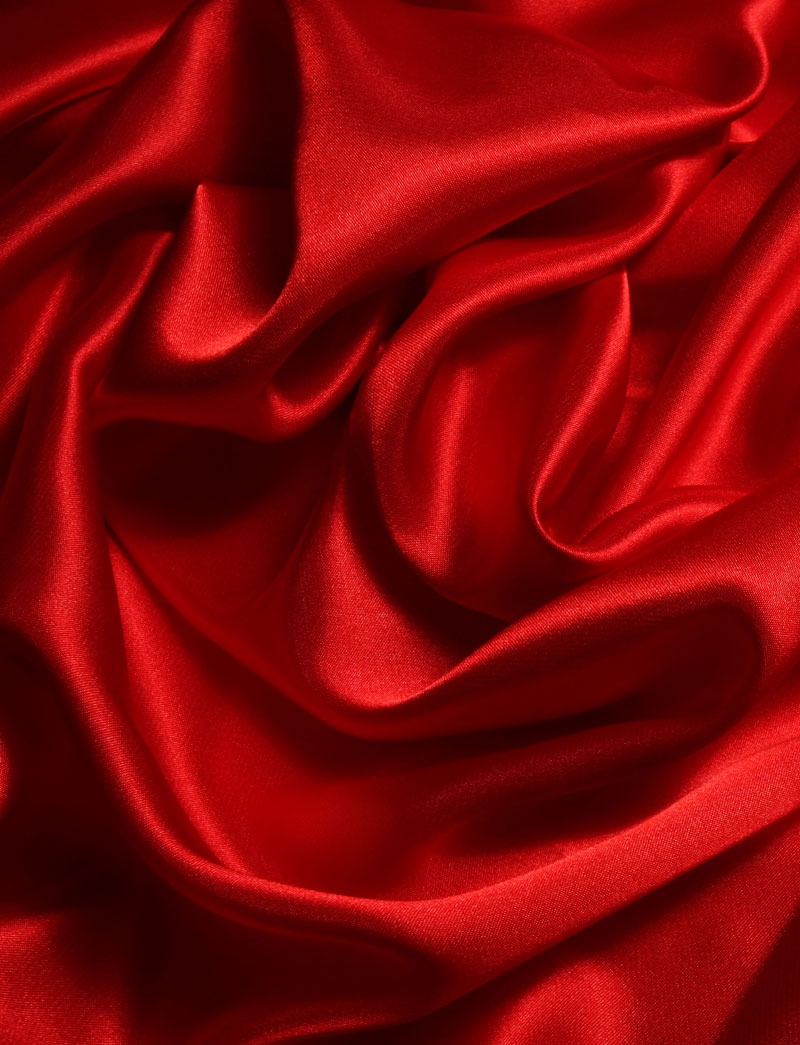
The first step is to find the contour lines. These contour lines aren’t very obvious, but we can look for them by looking at areas of contrast in value. These are areas where we see a dark value nestled right next to a lighter value. We’re going to start by making these initial marks on our drawing paper.
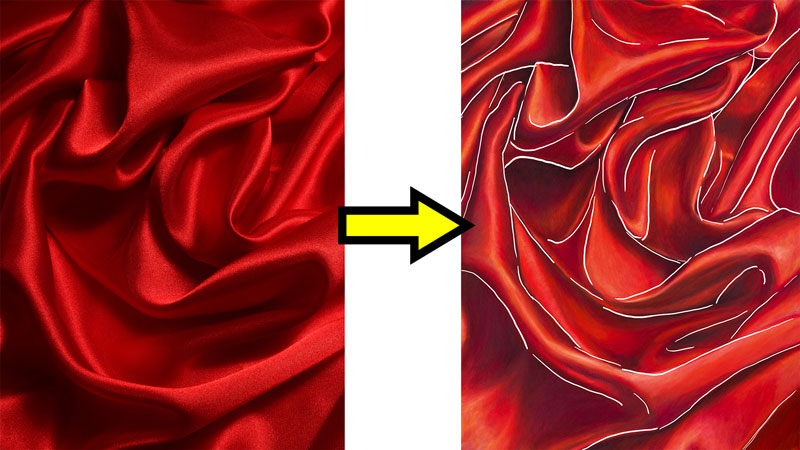
After the contour lines are roughly in place, we’ll begin analyzing the relationships of the values. The lighter values are going to be found where the fold comes towards the viewer. Any area that protrudes is generally going to be lighter in value. The opposite of this is true. Any area that recedes is clearly going to be darker in value.
The relationships of light and dark values and the transition areas that happen between will eventually lead to the illusion of folds. If you have trouble seeing these values, you might try squinting your eyes. When you squint your eyes, you remove all those edges of strong contrast and instead only see the shapes of value.
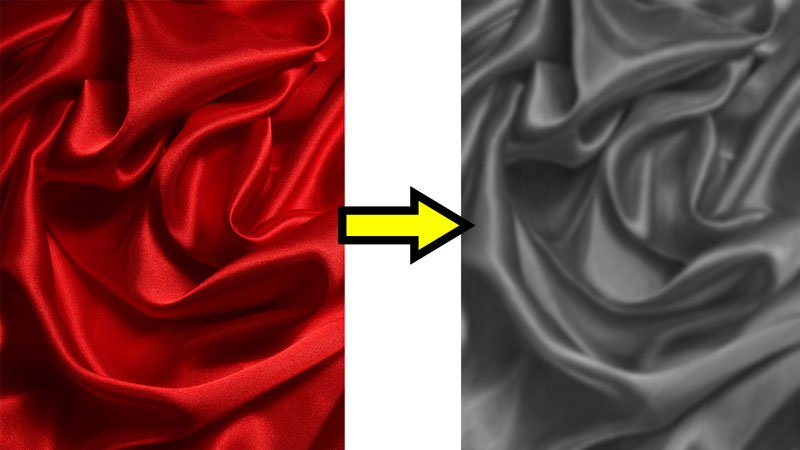
As we develop the values, we’ll also consider the directional stroke-making or the direction that we pull the pencil when we’re making marks. Directional strokes help to create the illusion of form and texture as well.
Drawing Fabric Folds Step by Step
We’ll begin by sketching the contour lines on gray Pastelmat paper using a light cool gray pastel pencil. I’m using this pencil simply because it provides enough contrast against the darker gray background so that I can see the marks. I know that when I apply pastel applications over the top, these marks will dissolve and disappear. At this point, I’m just concentrating on the contrast and value. You can see that these lines are loose and sketchy.
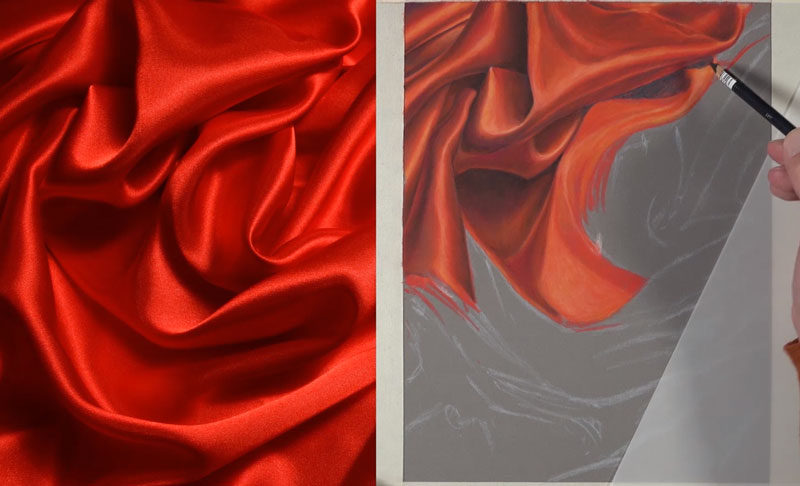
Now we’re ready to start applying the actual colors and develop the value. I’ll start here by trying to figure out a formula or a process that I can go through by layering my pencils that’s repeatable. I’ve started with one of the red-oranges that we’re using. This is the red-orange that’s a little bit more red. Over the top, a peach pastel pencil is used to define some of the areas of highlight.
A cream pencil is used to add a little bit of warmth to these highlighted areas. A dark cool gray is then used for the shadowed areas.
Black is also layered with a very light touch. Black on its own is much too dark, so red-orange is applied over the top to create a darker value that doesn’t look unnatural.

To create a warmer highlight, a golden yellow-orange is layered over the highlighted areas.
And to add a bit of color, a touch of dark red-purple is applied to the middle shadows.
Formulaic Pastel Applications
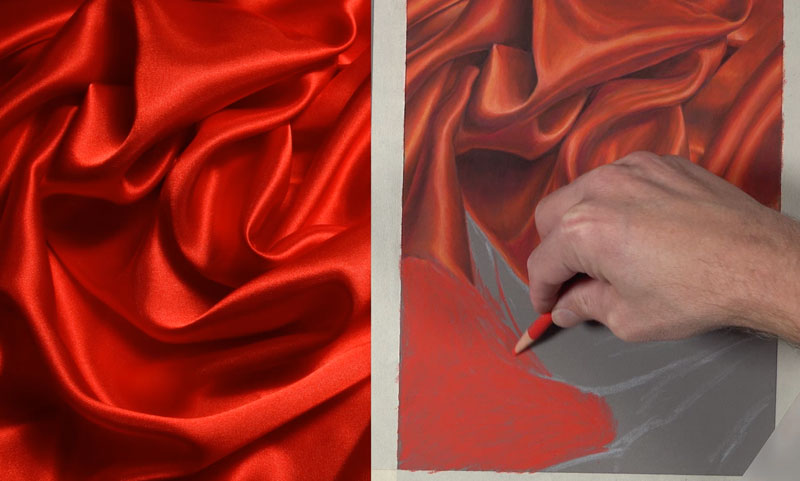
At this point, I have my process down. I know what order of colors that I want to add to create the desired effect. Now it’s simply a process of repetition, taking each section at a time.
All we need to do is continue working our way across the picture plane. And in this case, I’m working my way down and to the right, trying to keep the palm of my hand out of the way. I’m doing this because I’m right-handed. If you’re left-handed, you might consider working from the upper right hand corner, progressively working your way down the picture plane and slowly to the lower left hand corner.
I should point out that you should be patient in this process. Of course, you should be patient with any drawing or painting that you create.
Often, inexperienced artists believe that works of art are easily created by people who have developed their drawing and painting skills. And this isn’t necessarily true. Nothing comes easy, no matter how skilled you are as an artist. It does require your full attention. And there are challenges inherent in every subject, no matter what your skill level.
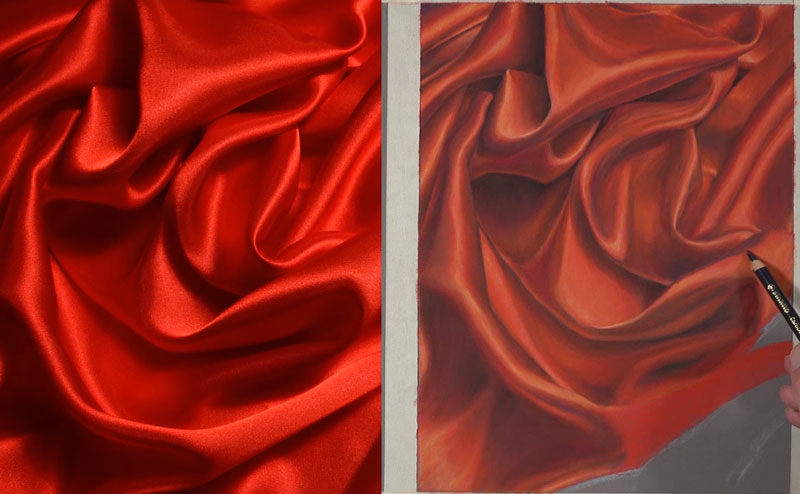
After we’ve patiently worked our way down the picture plane, carefully layering our progression of colors, our drawing of folded fabric is now complete.
Here’s another look at the completed drawing…
Drawing Fabric Folds – Conclusion
Drawing folded fabric like this is really not that dissimilar from drawing anything else that you might draw from observation obviously. It’s clearly about understanding the relationships of values because value, the darkness or lightness of a color, is how we understand the form of objects. It’s how we understand the light within the scene, the texture. Value is so incredibly important.
If so, join over 36,000 others that receive our newsletter with new drawing and painting lessons. Plus, check out three of our course videos and ebooks for free.