Photo transfers are also called "acrylic transfers" or "gel medium transfers". No matter what you call them, the outcome is the same. The process is easy and the resulting effect is quite nice.
The process of creating an acrylic transfer is straight forward. Virtually any image can be used but those with high contrast seem to produce the best results. (You can edit the photo in any photo editing software to increase the contrast or make adjustments on a copy machine.)
An acrylic transfer can be a great way of creating visual art on its own or by adding interest to a painting or drawing. It's also a popular technique for those interested in creating unique pages for scrap-booking.
Photo transfers can be created on almost any surface that will accept acrylic paint and virtually any image that can be photocopied can be transferred. Heavier papers or rigid surfaces work the best - watercolor paper, illustration board, masonite, and canvas are all popular choices. Wood can also be used.
An acrylic transfer basically takes the ink from a photocopied surface and makes it a part of the acrylic on a new surface. The resulting effect is a dream-like or "mysterious" work of art. Additional applications of media can be applied over the image for further embellishment, if so desired, since the image is now essentially embedded into the "painting".

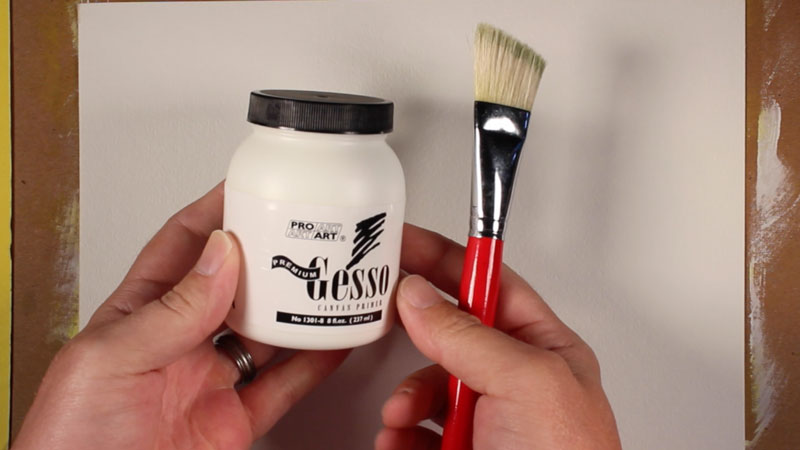
You will need a few supplies in order to create an acrylic transfer. First, you will need a surface to work on. This can be any surface that will accept acrylic paint. As mentioned before, Watercolor paper and canvas work great. You will also need acrylic gesso, brushes, acrylic medium gel , a photocopied image, and acrylic paint.
Cover the surface with gesso first and let it dry. This is completely optional, but I've found that the gesso makes the surface sturdier and accepts the medium a little easier.
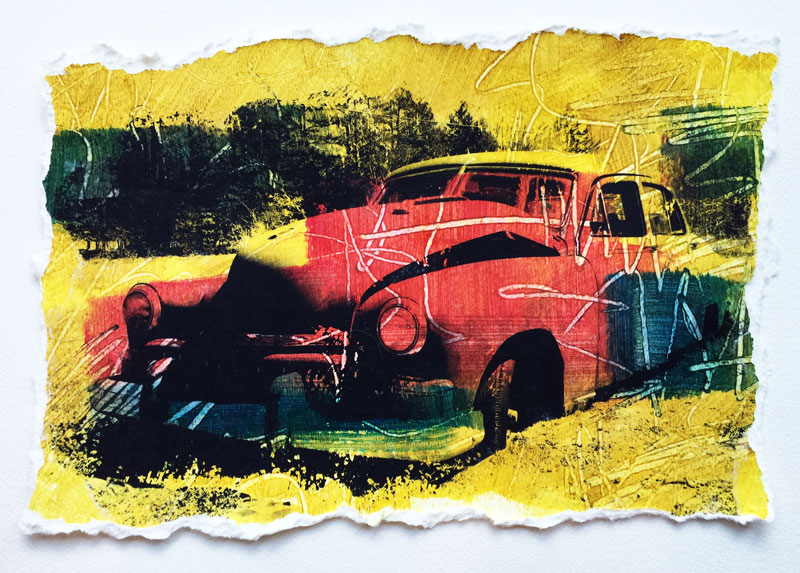
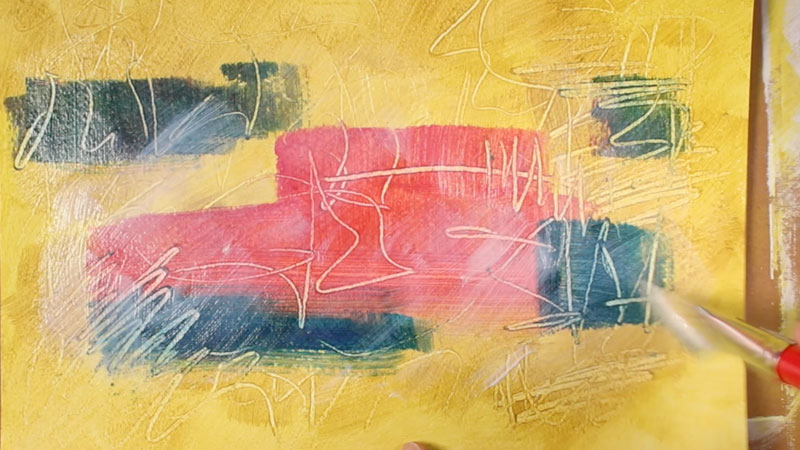
You may want to add some color to the surface. You can do this with acrylic paint. You can consider the color relationships as you add the color. I am going to go with a primary scheme in this case, starting with a yellow application first. A few areas are enhanced with a bit of Raw Umber.
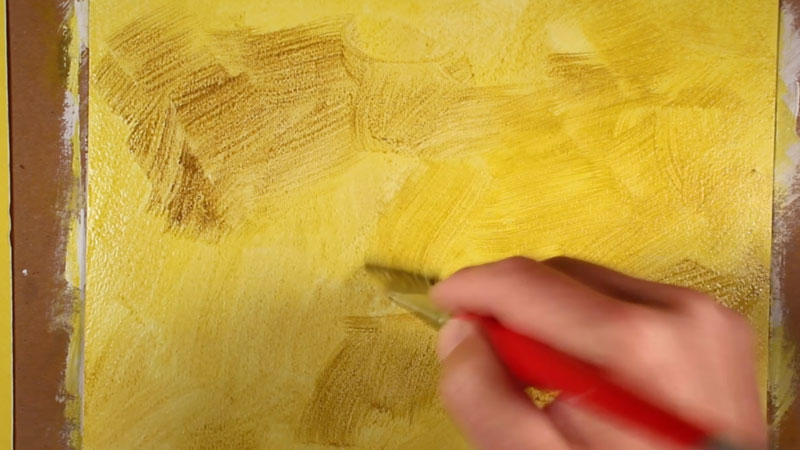
Before this layer dries completely, the end of the brush is used to create a few textural marks.
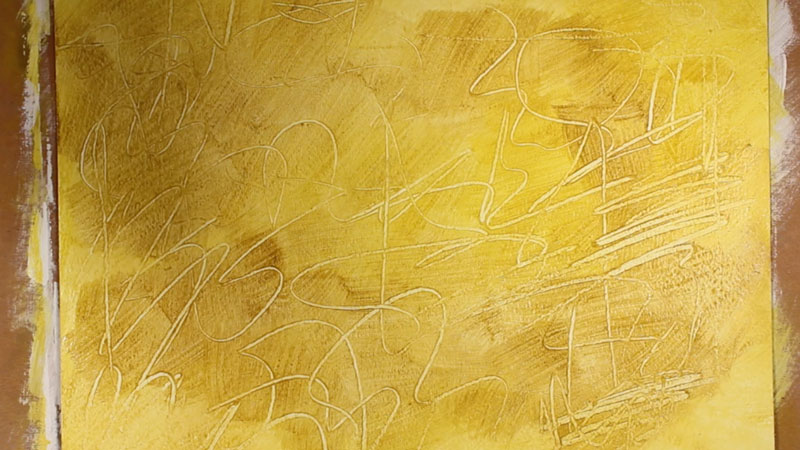
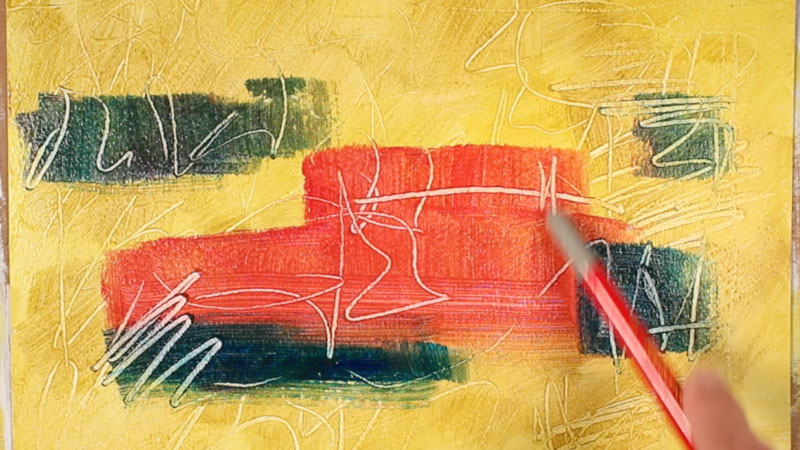
Additional applications of color are added and embellished with the handle of the brush.
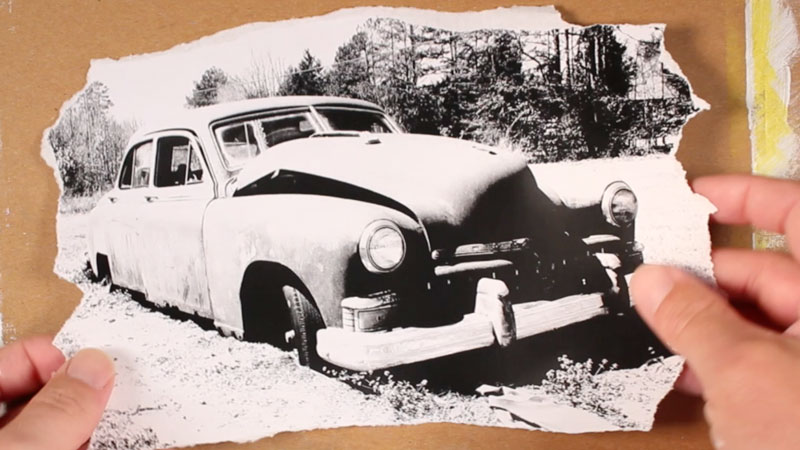
The applications of acrylic paint are allowed to dry completely before applying the gel medium. While waiting for the paint to dry, the photocopy can be prepared if so desired. In this case, I'll tear the edges to create a broken edge.
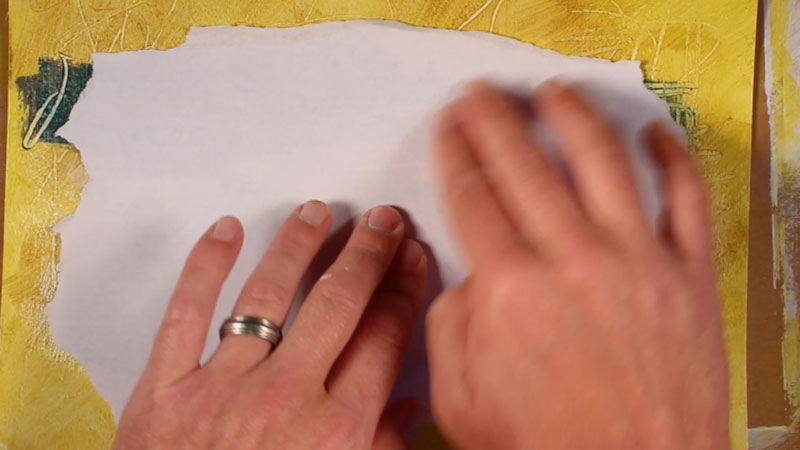
When the acrylic paint has dried, gel medium is brushed on using a generous application to areas in which the image will be transferred.
While the surface is still wet, the photocopy can be laid over the gel medium with the ink facing the surface. Pressure is applied to remove any air bubbles or wrinkles.
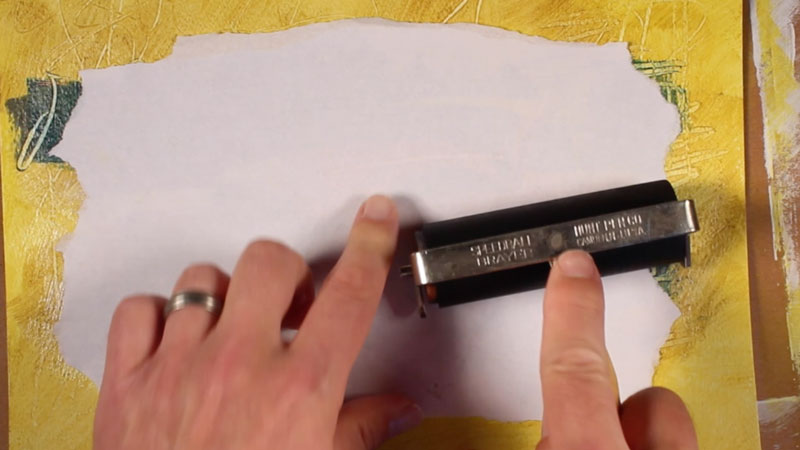
To ensure a good transfer, a brayer is used over the photocopy. If a brayer is not available, a wooden spoon will work just as well.
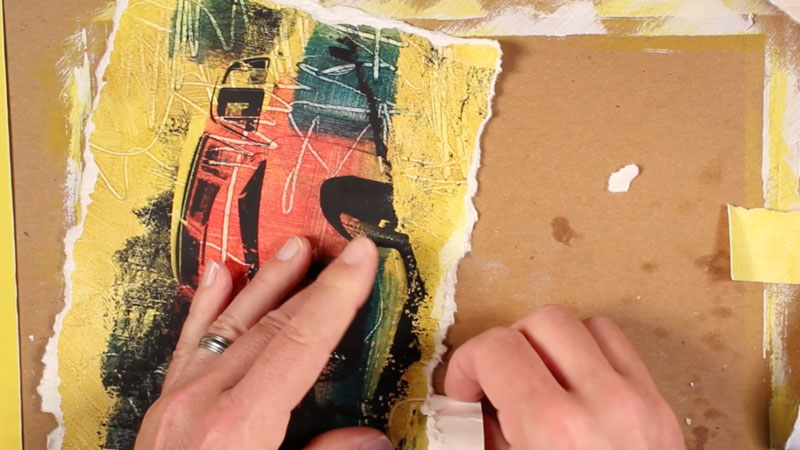
Let this area dry completely. It is suggested to let the transfer sit for at least an hour. You may use a heat gun or a hair dryer to speed up the drying time if you wish. When dry, the paper can be removed from the ink by spraying water on the surface and rubbing the wet paper with a wash cloth.
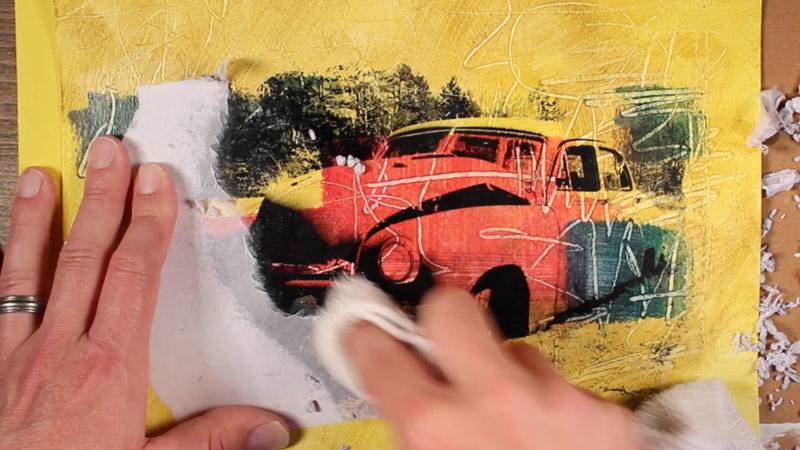
You may find that after the transfer has had a bit of time to dry, some white spots will appear where the paper was not removed completely. These areas are easily removed with a bit of water and additional scrubbing with the cloth.

In this example, I'll tear the edges of the finished work to create a broken edge.
The finished work can be "floated" within a frame so that the torn edges are visible.