by Matt Fussell
The process of painting with opaque mediums, such as acrylics or oils, can be approached in many different ways. Direct or indirect painting are the two most popular approaches chosen by artists to create a representational image.
Direct painting (also called "alla prima") involves applying colors and values in one step. A loose underpainting or sketch may be created underneath, but the development of the values and colors happen simultaneously.
In contrast, indirect painting involves creating a highly developed underpainting of values in one step. A second step of adding translucent glazes over the underpainting follows. This essentially breaks the painting down into two distinct processes - one that focuses on value and another that focuses on color.
The following video demonstrates the process of indirect painting. A monochromatic underpainting is developed first, followed by multiple applications of color glazes.
Both direct and indirect painting each have their own advantages and both can be used within the same painting.
With direct painting, the hue, value, and saturation of the color is mixed before it is applied to the canvas. The goal is to find the right color, the first time. This means more time may be spent mixing the color on the palette before it makes its way to the canvas. Considering the slower drying times of oil paints, this is rarely an issue since the paint on the canvas will still be wet when the next color is applied.
But with the much faster drying times of acrylics, time becomes a factor. Often by the time the next color is mixed, the paint on the canvas is already dry. The faster drying times of acrylic paints then becomes a hindrance.
With indirect painting, we can split the painting process into two distinct parts - one focused on values and another focused on color.
The first part of the process involves the creation of a fully-developed monochromatic underpainting of values. Instead of mixing several paints as we would with direct painting, we only have to be concerned with mixing two - black and white (or Umber and white). This simplified approach to mixing speeds up the process, but more importantly, allows us to focus closely on the values - perhaps the most important factor to "get right" in a painting.
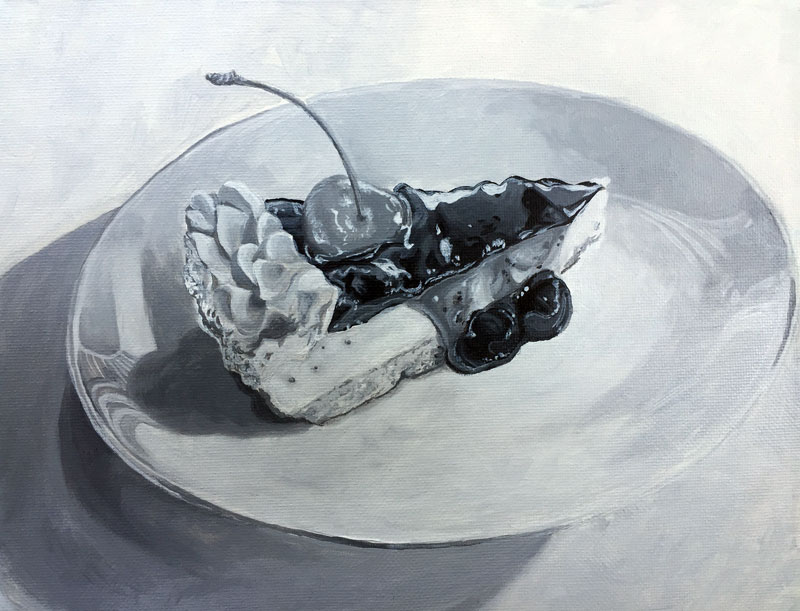
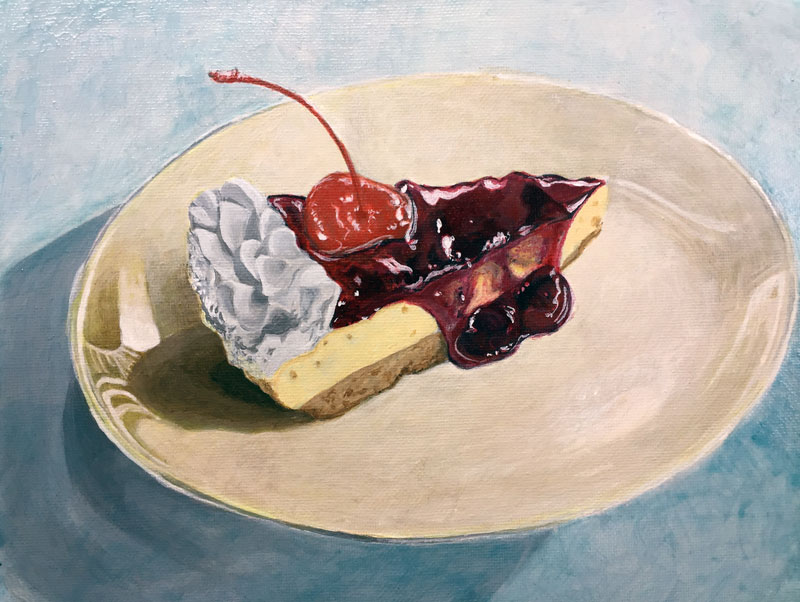
With indirect painting, the underpainting is fully developed in monochrome. In this example, the underpainting is created in "grisialle" - meaning in a scale of grays mixed by combining black and white.
An underpainting can also be created using browns such as Raw Umber to create a warmer tone. If cooler undertones are desired, then blues can be used.
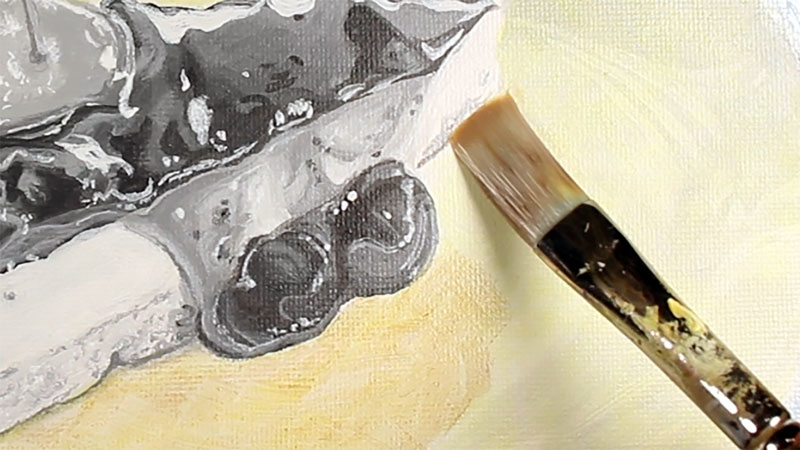
Translucent glazes can be applied directly over the monochromatic underpainting. The glazes of color that are applied essentially tint the tones underneath. Mostly, the values established during the underpainting are preserved as the glazes provide the color. However, glazes can also be used to alter the value if so desired.
Glazes are created by thinning the acrylic paint. The paint can be thinned using acrylic fluid or gel mediums. In most cases, acrylic mediums are too thick to create an effective glaze, so water is often added. Mediums are not required to create a glaze. Simply adding water to the paint often results in an effective glaze.
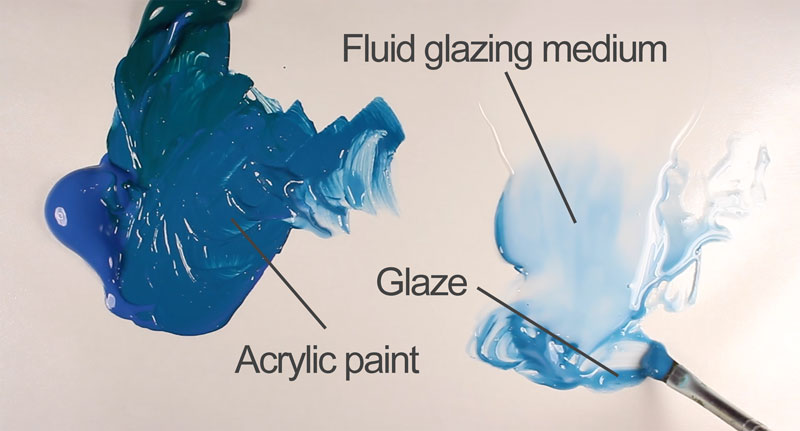
Glazes subtly change the color within the painting as they are applied. Each glaze intensifies the color slightly. For this reason, glazes are typically mixed with a heavy amount of medium/water and small amount of color. Be cautious when adding heavy amounts of water to the glaze or color. If too much water is added, the glaze may lose its ability to adhere to the canvas.

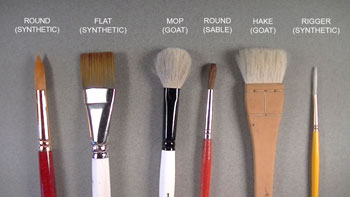
Glazes are applied using a soft brush in order to minimize brush strokes and streaks. In this example, soft nylon brushes are used. Harder bristles, such as hog bristle, will create unwanted streaks and visible lines.
The shape of the brush is up to the artist. Some artists prefer filberts, while others prefer flats. I prefer to use flats and brights for larger areas and rounds for smaller areas.
Each glaze should be allowed to dry completely before applying the next. If the glaze is not allowed to dry before applying the next layer, the pigment could be lifted resulting in an uneven appearance.
Since glazes are semi-transparent, physical light is allowed to pass through each layer. Each layer of color is then perceived together as one mixed application. This is considered optical color mixing since the colors appear to be mixed but actually exist on their own layer.
This allows the artist to build up complexities in the color through each applied glaze. For example, if a violet hue is desired, the artist may layer a glaze of red over blue to produce the color.
In the same way, areas within the painting can be "cooled" or "warmed" by simply glazing a cooler or warmer color over the section.
In this basic example, only a few layers of glaze are applied but there is no limit to the number of glazes that can be added. The complexity in color that you can achieve is therefore - limitless.
It takes a bit of practice to find the right consistency in the glaze that works best for your painting style. It is advisable to experiment with a practice painting so that you have a good idea how the brand of paint will behave with the glazes that you create. Smoother canvas, masonite, or watercolor paper will produce the best results. Canvas board and canvas paper is generally too coarse for effective glazing.