What is a Herbarium?
A herbarium is simply a collection of botanical specimens found in nature. These specimens are often collected and preserved in the pages of books or mounted on large sheets of paper. They are flattened and dried. As a result, they maintain their structure. In most cases, a herbarium is created for scientific study. As artists however, we can create them for reference and inspiration.
Chances are that at sometime in the past you gathered various leaves, flowers, cones, twigs, and other natural curiosities. Materials of this kind could be stacked in a box, like a precious treasure in a chest. Others might find their place in books – or under anything flat and heavy enough to create pressure.
Dried leaves fade in color but keep their shape. They become a silent reminder of seasons that were long gone. There is something nostalgic and magical about them in their frozen state.
Perhaps you still like gathering these wonderful gifts of nature and collecting them. In this post, I’ll show you the benefits of having a herbarium and how we can use those special “botanical treasure chests” to create ink drawings from nature.
We’ll transform your raw materials into drawings, which leads to new possibilities for your art.
So let’s find inspiration and create a drawing from nature!
Using a Herbarium for Nature Drawing
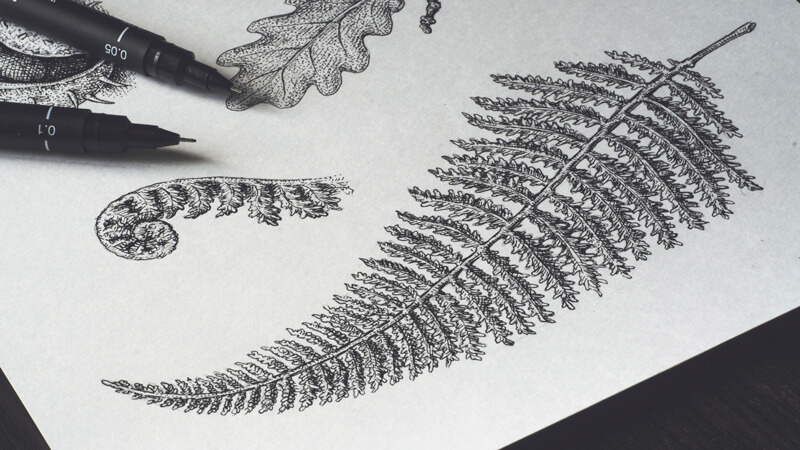
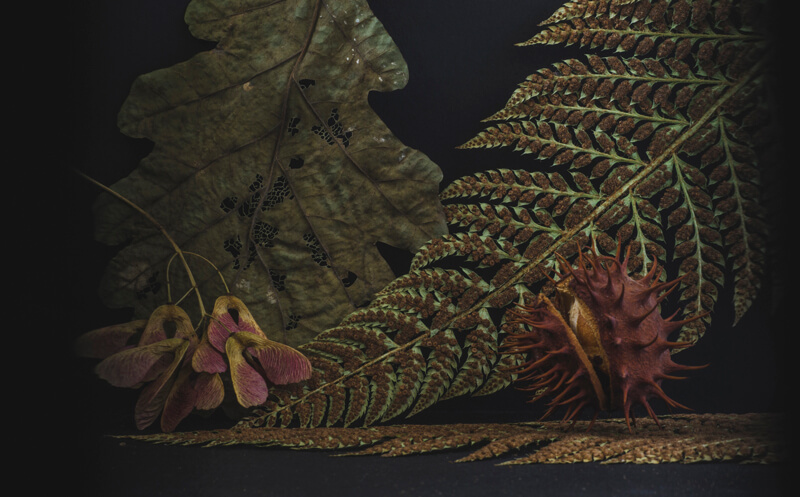
We’ll create a drawing of fern leaves, acorns, maple catkins, a chestnut, and small parts of coniferous twigs. The objects are quite varied, which makes this project more interesting.
I’m not striving for a precise representation of one specific leaf or chestnut. Professional botanical/scientific illustrators do this when they work on an illustration. Here we’re simply creating a drawing from nature where our concerns for aesthetics outweigh exact accuracy.
However, if you wish to make an exact copy of any subject, feel free to do so. You may also choose to deviate from the subjects that I demonstrate below. Perhaps you’ll prefer drawing a maple leaf instead of fern or a fir cone instead of acorns.
My goal is to capture the distinctive features of each specimen and translate my observations into a pen and ink drawing. I recommend collecting several specimens of the same kind so that you have a few to compare. If you don’t have access to any real materials, try finding several photos to work from.
The sketches that we create are aimed at broadening the artist’s visual library and gaining more confidence when creating new drawings. At the end of this post, I’ll share a couple of examples of drawings created from imagination. These drawings were created only after having some experience drawing from direct observation.
Pen and Ink Supplies for This Drawing
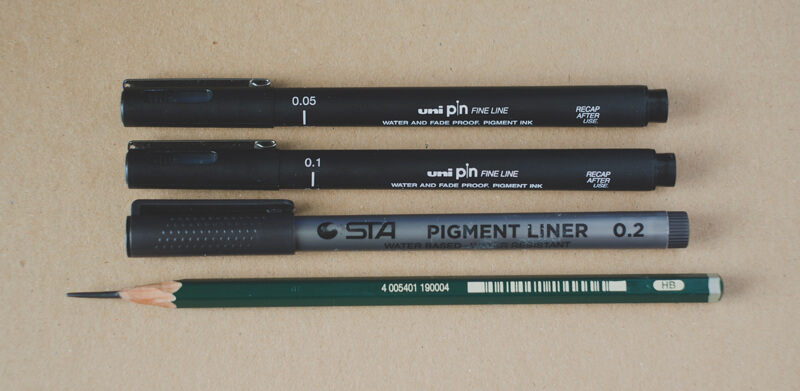
For this project, I’ll be using:
- Three ink liners; the width numbers are 0.05, 0.1 and 0.2.
- An HB graphite pencil;
- A sheet of thick paper (the standard A4 size).
Also, if you have a tendency to redraw your initial lines, which is completely fine, keeping an eraser at your disposal will be quite useful.
Any brand of the liners will work just fine. If you prefer a sketchier, looser approach, feel free to work with liners that provide wider lines – like 0.3 or even 0.5.
If you’re more comfortable with other tools or media like a nib pen or graphite pencils, please use them. For this project, the idea and principles are more important than the technical details of media application.
Sketching the Natural Subjects
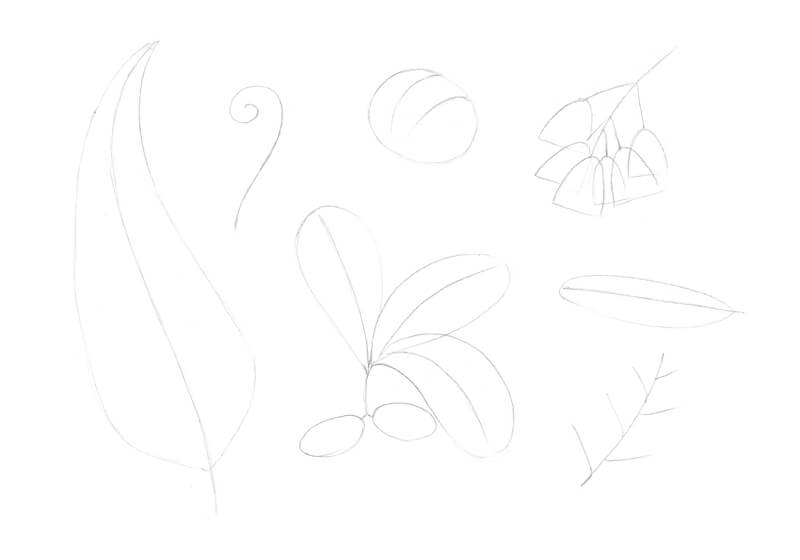
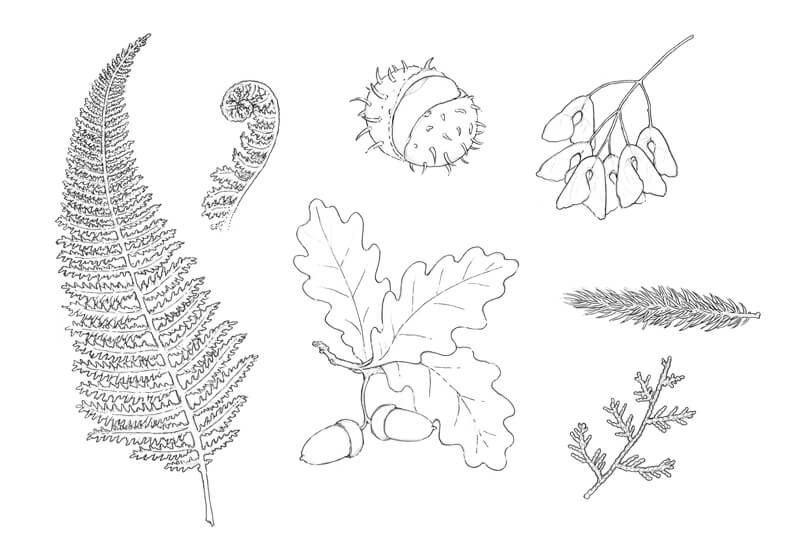
We’ll first arrange the subjects on a sheet of paper. It may be useful to create a mini version of the sketch, marking the borders of paper and blocking the areas where each object should be.
I decided to draw the main fern leaf a bit smaller than it is in reality, just to fit it into the composition.
With the graphite pencil, I create a rough outline, paying attention to the contour lines of our subjects. The contour line determines the character of an object and makes it more recognizable.
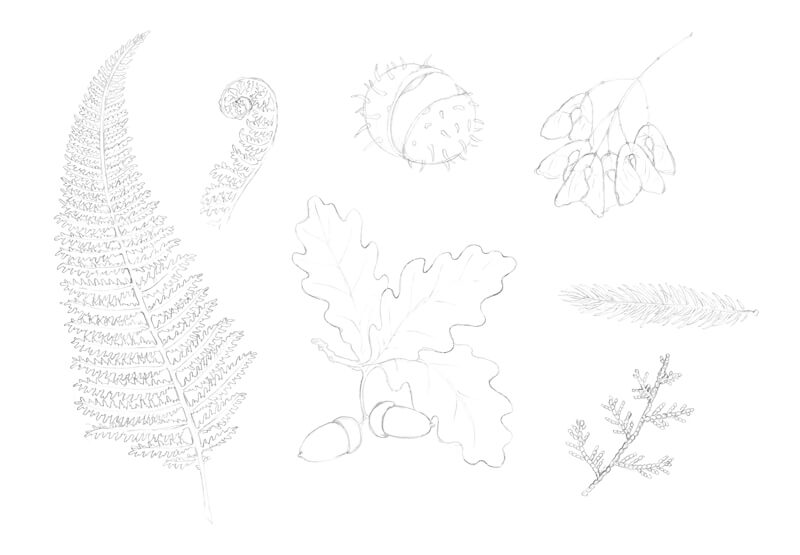
Drawing the fern leaves is time-consuming, so I use a spontaneous line to imitate the flow of their contours. I decided to add a fragment of another fern leaf – this time, a twisted one.
Note that many natural objects, such as fern or oak leaves, may have slightly asymmetrical features. Again, flora varies from region to region and from species to species.
For example, ferns can be found nearly worldwide. In fact, there are more than 10,000 species of them and there is a visual difference among each one of them! If your goal is to draw the exact species, having a several specimens or references is crucial.
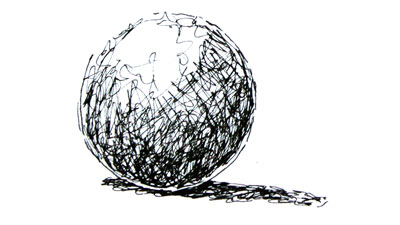
A chestnut fruit (also called “burr”) is basically a sphere. To draw the thorns, take a close look – you’ll notice how their pattern behaves. As thorns point towards the viewer, the become shortened. This is called foreshortening.
The maple catkins present a special challenge. It’s necessary to mark not only the top elements, but also the visible parts of those underneath.
The fir and thuja (it’s the one at the bottom) twigs are different in terms of shape. The first one is voluminous, with all the needles forming a cylinder. The second one is flat.
How you arrange the objects is completely up to you. For example, you could place objects that you find more interesting towards the front, allowing them to overlap the others.
Adding Ink to the Drawing
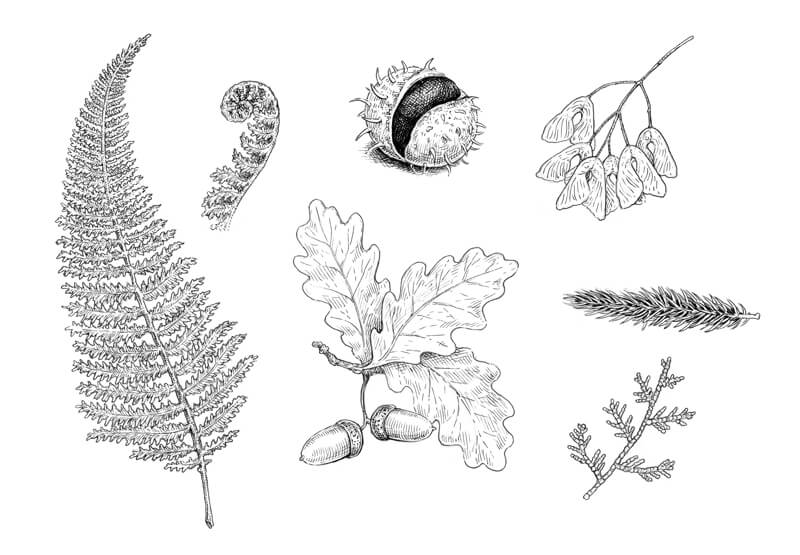
I outline the main contours, using the 0.2 ink liner. I’d recommend avoiding a continuous outline with no gaps – it will make your drawing too stylized, similar to that of a page from a coloring book. Using broken lines in areas makes the drawing more interesting and creates a bit of variety.
Feel free to change your drawing as you go – add new elements or ignore details that you don’t find important anymore.
Keeping a sheet of blank paper between your hand and the drawing is a good idea – this prevents any smearing of the graphite marks and the fresh ink lines.
With the 0.1 liner, I add some hatching to emphasize the darker values. The chestnut fruit is the darkest object in my drawing, so I cover it with layers of contour and cross contour hatching right away. Now I can use this object to develop the rest of the values in the scene. We can make comparisons between it and the other objects.
The direction of hatches is important because it can create the illusion of a three-dimensional form. The lines that we add should flow over the form of each object.
The fir twig is relatively dark. I pay special attention to the gaps between the needles, leaving the tops untouched.
The ‘cap’ and the ‘body’ of an acorn have a different texture. Dots are added to the top where the texture is coarse.
At this step, we can add important details. Veins are added to the leaves while small spots are added on the chestnut.
With 0.2 and 0.1 ink liners, I add some more hatching to the fern leaves. The leaves have both core shadows and cast shadows (cast by the upper objects).
To make the chestnut look more realistic, I add a cast shadow under it.
The ‘bodies’ of the acorns have a subtle pattern. I draw thin lengthwise lines with the 0.05 liner to develop this pattern.
I increase the contrast and develop the texture of the chestnut and the oak leaves, covering them with 0.1 stippling. The pattern of dots may have some gaps. The density of dots depends on the darkness or lightness of that area.

We’ll work on other elements (the maple catkins and the conifer needles) in the next step.
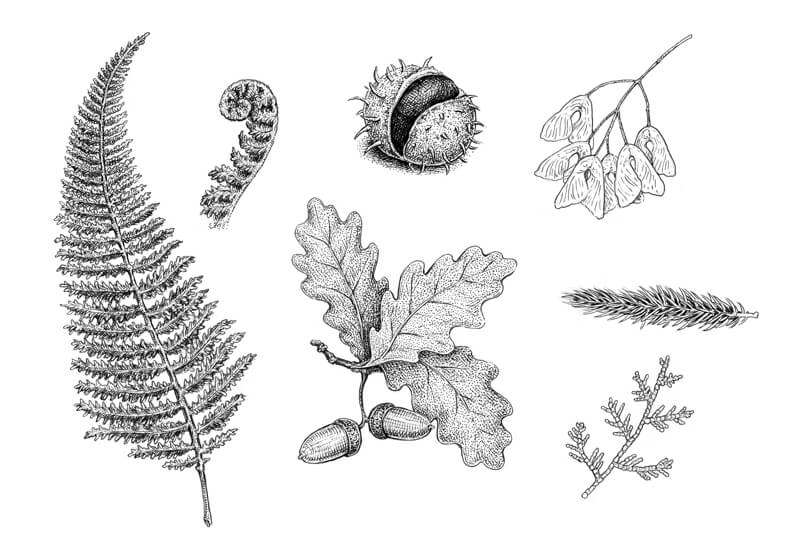
It’s time for some refined, delicate work. With a 0.05 ink liner, I add groups of hatch marks to darken the core shadows of the objects, especially on the leaves.
The maple catkins have a subtle relief. This illusion is created with short hatches that look like subtle folds from a distance.
The fir needles are slightly touched with fine hatching, too. This creates a smooth transition of value from dark to light. However, the tips should remain relatively light to create the illusion that the needles are spread apart.
The thuja twig is flat (as we noticed before) but its tiny segments have a subtle relief. I darken the periphery of each segment, then cover the whole twig with hatches.
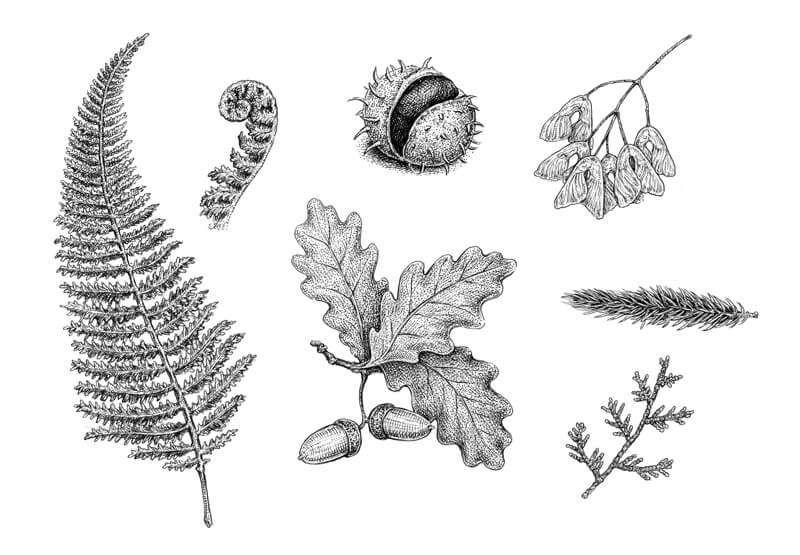
The drawing is complete!
Another Option for Your Sketches
Digitizing ink sketches and enhancing them in a graphics program is outside the scope of this tutorial, but I thought that showing you a transformed version might be interesting.
I removed the white pixels in Adobe Photoshop, added a tinted background with a grungy texture, and here it is – a stylized vintage drawing!
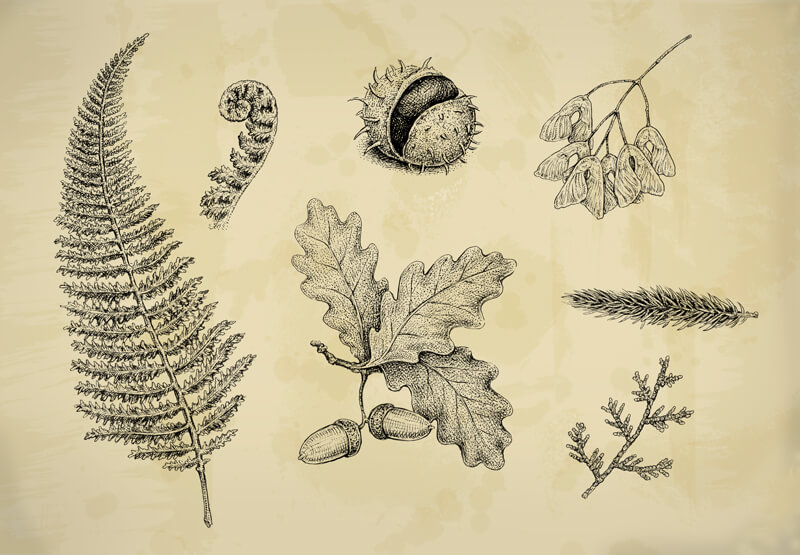
Which version do you prefer – a strict black and white or a warm brownish one?
To learn more about editing your drawings in Photoshop and making creative transformations, please check out this tutorial:
Draw a Fish: Pen and Ink Drawing with Digital Painting
Conclusion
I hope you enjoyed this creative journey! Just imagine the possibilities with real botanical elements that you may find.
Earlier, I promised to show you an example of how you can use your studies to enlarge your visual library and create new works.
Here are a couple of sketches. If you look at them closely, you’ll notice several objects from our tutorial. Can you tell what they are?
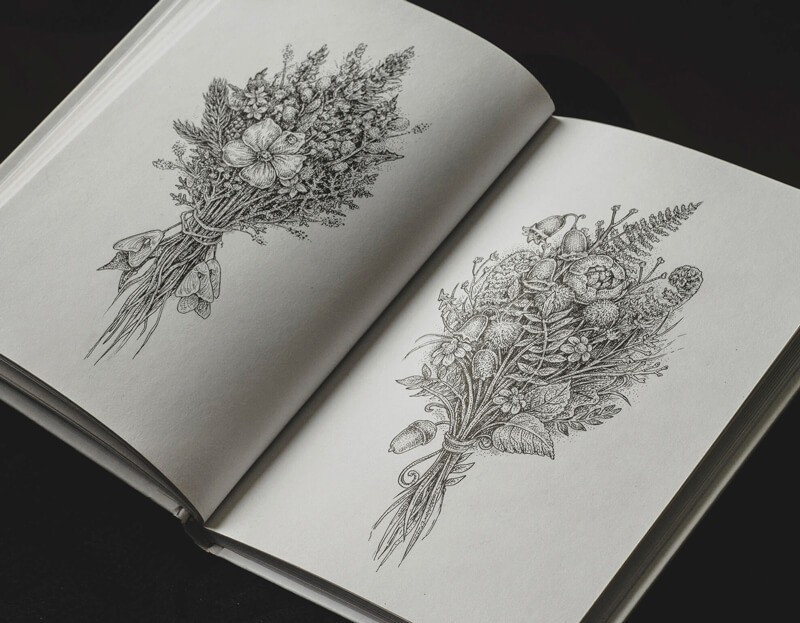
These sketches were drawn without using any reference material. I just imagined a bouquet and gradually transferred an image to the paper. It’s quite simple if you have dozens of flowers, leaves and other elements, stored away in your memory! But they’ll only be there if you take the time to practice drawing from observation first.
I wish you much fun and luck on your artistic journey!
If so, join over 36,000 others that receive our newsletter with new drawing and painting lessons. Plus, check out three of our course videos and ebooks for free.