
Old Barn with Watercolor

Lessons
About This Lesson Series...
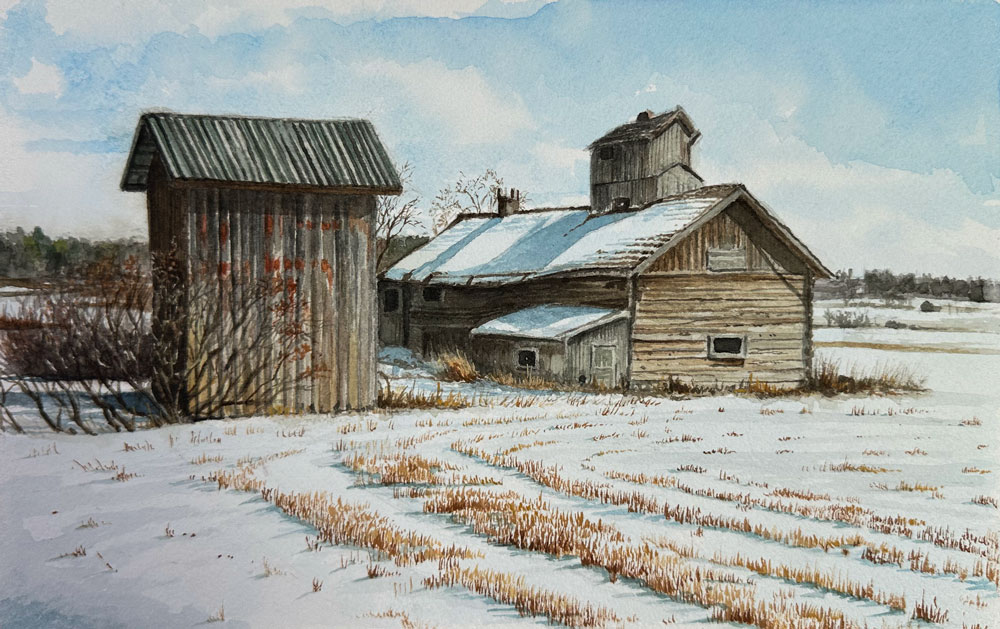
The Old Barn with Watercolor class is an in-depth, step-by-step lesson designed to help artists capture the rustic charm and atmospheric beauty of an aged barn using watercolor. This class focuses on combining observational skills, careful planning, and watercolor techniques to create a realistic yet expressive landscape painting. By the end of the lesson, you’ll have the tools and confidence to bring texture, depth, and light to your own watercolor landscapes.
Planning the Composition
The class begins with careful composition planning, emphasizing the importance of proportion, perspective, and placement within the scene. You’ll learn how to simplify complex elements such as the barn, roof, and surrounding landscape into basic shapes. Establishing a solid foundation ensures the painting remains balanced and harmonious as you progress through the layers of color and detail.
Creating the Initial Sketch
Before applying watercolor, the lesson demonstrates how to create a light, accurate sketch of the barn and its surroundings. This stage focuses on capturing the essential structural elements while maintaining flexibility for adjustments. Understanding the underlying form of the barn and landscape ensures that subsequent watercolor layers enhance, rather than obscure, the structure of the composition.
Blocking in Colors and Values
Once the sketch is complete, you’ll begin applying broad washes to establish the main colors and values. The class teaches how to work from general to specific, using light washes to suggest sky, foliage, and barn surfaces. Emphasis is placed on understanding how light interacts with the barn and landscape, and how to preserve highlights and lighter areas of the paper for added realism and depth.
Developing Texture and Detail
A major focus of the class is adding texture and fine details to bring the barn to life. You’ll learn techniques to suggest weathered wood, roof shingles, and surrounding grass using controlled brushwork, layering, and subtle variations in color. The instructor explains how to balance detailed areas with softer, more atmospheric sections to maintain a natural, cohesive look.
Enhancing Depth and Atmosphere
Depth and atmosphere are critical for creating a realistic landscape. The lesson demonstrates how to use color temperature, value contrast, and layered washes to push certain elements into the background while bringing others forward. Techniques such as softening edges, adjusting intensity, and layering glazes help create a sense of distance and environment around the barn.
Final Refinements
In the final stages, you’ll focus on refining the composition, enhancing contrast, and adding subtle highlights and shadows. The class shows how to make finishing touches that unify the painting while maintaining the freshness and vibrancy of watercolor. You’ll learn how to evaluate the work as a whole, ensuring balance and harmony in the completed piece.
A Complete Watercolor Landscape Experience
By the end of the Old Barn with Watercolor class, you’ll have a finished, expressive landscape painting that captures the character of a rustic barn and its surroundings. The lesson equips you with essential skills in observation, watercolor techniques, layering, and texture, providing a strong foundation for future landscape painting projects. This class is perfect for artists of all levels who want to improve their watercolor skills while creating a compelling, atmospheric scene.
Specific Lessons
Lesson 1 (17:17)
In lesson one, we discuss the materials and create our pencil sketch of the contours.
Lesson 2 (24:21)
In lesson two, we lightly wash the entire painting surface with watercolor developing an underpainting of faint color.
Lesson 3 (22:32)
In lesson three, we begin to develop contrast and depth in color by layering progressively darker applications.
Lesson 4 (17:45)
In lesson four, we continue the process of increasing contrast and depth in color.
Lesson 5 (19:24)
In lesson five, we begin developing details on the structures within the scene.
Lesson 6 (19:10)
In lesson six, we continue developing details by patiently layering progressively darker values and washes of color.
Lesson 7 (24:45)
In lesson seven, we complete the painting by addressing the details of the foreground with gouache applications.
Resources for this Lesson...
Distributing any content downloaded from this site is strictly prohibited and against the terms and conditions of use.
References
Here's what you'll need...
- Stonehenge Cold Press Watercolor Paper
- Winsor and Newton Professional Watercolors
- Winsor and Newton Designer's Gouache
- Grumbacher Goldenedge Round Brushes
- Graphite Pencil
- Kneaded Eraser
(Disclosure: Links to art materials are affiliate links which means we make a small commission if you purchase at no additional cost to you.)

Founder of The Virtual Instructor, artist and teacher. Matt makes learning art easy to understand and enjoyable.
hello Matt,
What a wonderful lesson. I look forward to learning more about watercolor when I attempt to do this project.
Thank you for creating it for all of us,
Greetings to your family,
Teri
Hello Matt,
When I explored this brand new course, you put a happy smile in my face. I just needed to sneak in right away and am so much looking forward to get out my water colors after finishing the current course I have been working on since this summer.
I do have a small set of Schmincke Horadam (great brand here in Germany) and a little set of W&N Cotman watercolor (I love them! As great as Horadam). What are the differences to the W&N Professional colors?
Thank you so much for the joy you are bringing into this world.
Buddy
I’m a colored pencil person and I learned my basics from you. I have found your fundamentals a major part of allowing me to really produce some beautiful artwork. Now I’m trying to learn more about watercolor and I want you guys to know that I really appreciate your new addition to the watercolor painting section.
do you do pencil sceching practice
Hi Theodore,
Yes, I practice sketching quite a bit. Drawing is fundamental to painting. These articles may be helpful…https://thevirtualinstructor.com/blog/want-to-learn-how-to-paint-better-learn-how-to-draw and https://thevirtualinstructor.com/blog/improve-your-drawing-by-developing-a-habit
i am experiencing numerous, annoying, interruptions in the audio and graphic lesson #2.
The image also shows a circular , revolving symbol ………. it’s like it’s intentional , as though I didn’t pay. Please advise.
Hi Gerald,
This is called buffering. It occurs when your internet connection cannot keep up with the data transfer. To fix this, scroll over the video and click on the gear icon. Change the quality setting to auto or a lesser quality.
Hi Gerald, in addition to what Matt already advised: Just in case you keep on having difficulties, it can be helpful to to rewind the video and start again fom an earlier minute. At least that’s what helping me out.
Buddy