
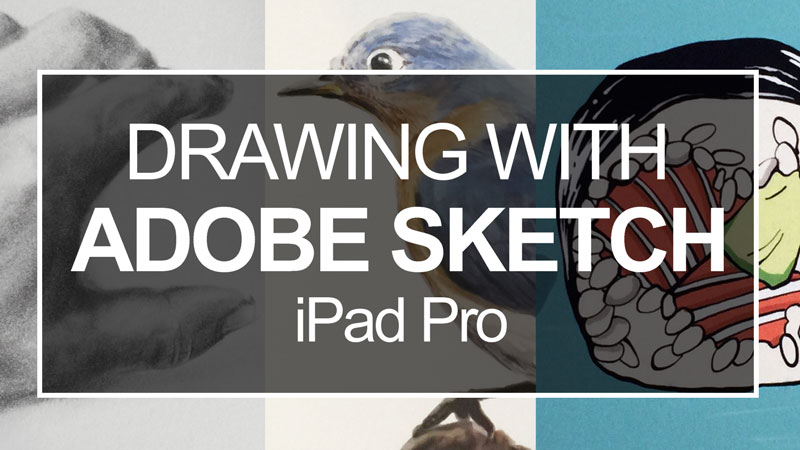
The Live Event
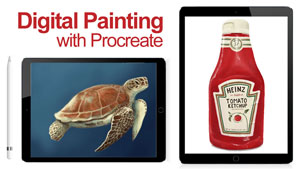
Last week, myself and three other artists were invited out to Adobe in San Francisco. Our challenge was to create a complete drawing every day within about 1 hour and 45 minutes on the iPad Pro using Adobe’s mobile apps for drawing. The entire process was streamed live on Adobe’s Twitch channel (twitch.tv/adobe). (The recorded videos from each day are found a little further down this page, so if you missed it, you can watch them now.)
The Artists
I was joined by three amazing artists. On day one and two, I was with Stan Prokopenko and Rob Generette III. On day three, I was with Alice Lee. We all have unique approaches to how we work, so it was great to see each of our processes in real time.
Rob works with the app Adobe Draw quite frequently, but for Stan and I, it was our first time drawing in this manner. We used Adobe Sketch to create our drawings and paintings.
The Drawing Apps
The apps that we used are exciting, allowing the artist to create digital drawings and paintings that actual resemble the real thing!
Working with these apps on the iPad Pro can definitely be compared to using a brand new medium. Although you can replicate a “graphite” drawing or a “watercolor” painting, the approach is definitely different. The “feel” of the iPad’s surface is smooth and you don’t get the feedback that you get when work on traditional surfaces, like paper.
The brushes and pencils that are available in the app are pressure sensitive. If you add more pressure with the Apple Pencil, the mark becomes wider. Less pressure results in a thinner line. Tilt the pencil on its side and you can create broad “shading strokes” with the graphite option.
Multiple layers, like we see with Photoshop, are part of the apps. This allows you to create a “sketch” layer and draw over the top on a new layer. You can change the opacity of each layer, or delete them completely when you no longer need it.
Both apps are currently free, but do require the iPad Pro and the Apple Pencil to use them as we did.
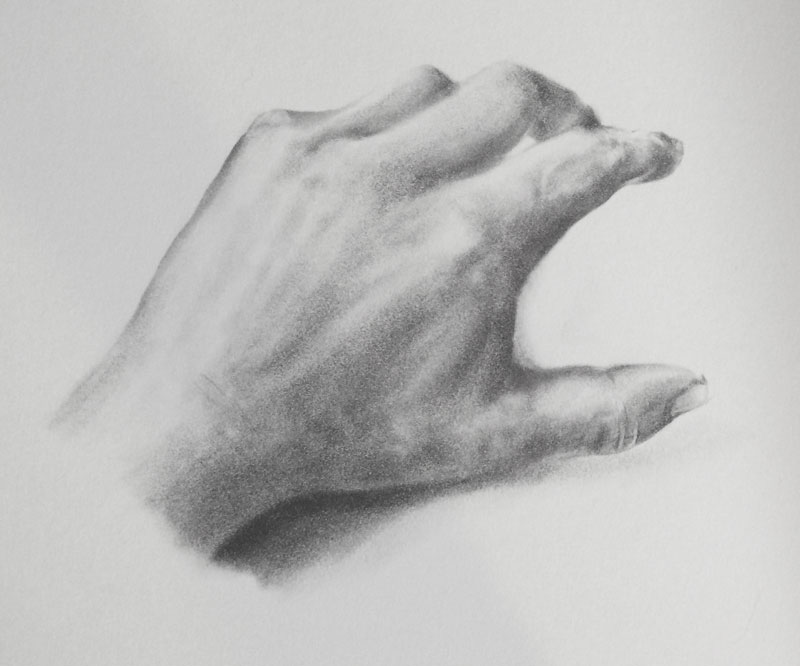
Day One – Drawing With “Graphite”
The first day I decided to test out how the app replicated graphite. After playing around with a few of the brush settings, I was able to create marks that resembled graphite.
I could adjust the value and color as well, so an endless range of “graphite pencils” were at my disposal. In the end, I stuck with a consistent tone and used layer transparencies and the eraser to adjust the values.
Tilting the side of the pencil produced an even application that closely resembled controlled shading.
Here’s a photograph of the print of the graphite drawing produced on day one…
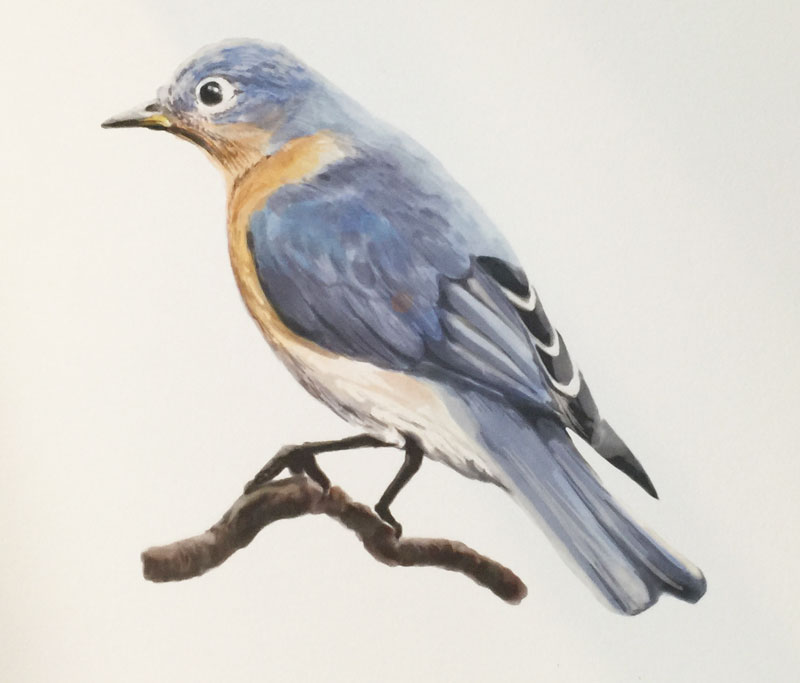
Day Two – Painting With “Watercolor”
On day two, I decided to go in a completely different direction, exploring the possibilities of the watercolor brush. There are several paint brushes included in the app, including a thick acrylic option, inks, markers, and the watercolor brush. Of these options, the watercolor brush intrigued me the most.
As color is applied, it bleeds and flows as the “paper” literally “drinks” the paint. As the color “bleeds”, surrounding colors become activated and slightly mix with the “wet” paint. A fan button can be tapped to stop the flow, holding the color in its place.
The texture of watercolor paper can be seen through the colors as well, adding to the illusion of actual watercolor.
Here’s a photograph of the print of the watercolor painting produced on day two…
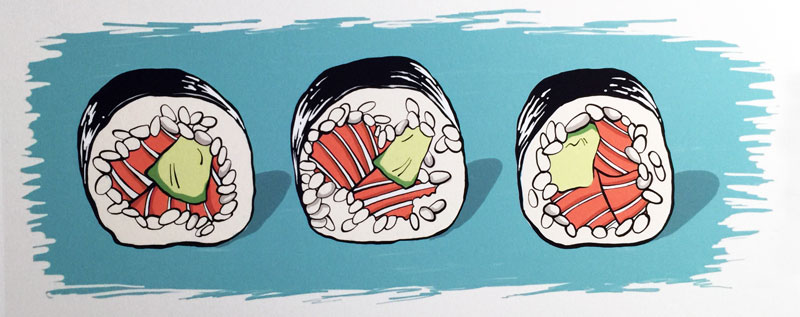
Day Three – Drawing With Ink
On day three, I wanted to create a crisp image with ink and solid fields of color. Although this approach was a bit more straight-forward than what I produced on the first two days, I found that I was pressed for time. I wanted to add a few more applications of color to develop the image a bit further.
The ink brush, like the other brushes, is also pressure sensitive allowing for a broad range of line quality. More pressure produces a wider mark, while less pressure results in a thinner one.
Like with the first two images, I started with a loose sketch using graphite on its own layer. “Inks” were applied over the top on their own layers. One layer was reserved for black ink, while another was used for the colored inks.
Here’s a photograph of the print of the ink drawing produced on day three…
I’m looking forward to spending some time with the apps and creating additional drawings and paintings in the future. It’s an exciting time to create with so many different mediums, both traditional and digital!
If so, join over 36,000 others that receive our newsletter with new drawing and painting lessons. Plus, check out three of our course videos and ebooks for free.

Lesson Discussion
Comments are closed.
Thanks for this Matt as I missed them 🙂 Wow amazing apps, I loved your bird but also loved the graphite hand, I didn’t expect t to maybe see a hand in graphite on these apps, looking pretty realistic as in drawn on paper.
You all did fab 🙂👍👍👍