
No other painting medium is quite as unique as watercolor. Watercolor paintings are unmistakable. Fluid colors dance on the surface as the water pulls the pigment, producing delicate paintings. If desired, colors can be layered, resulting in controlled complexity. Or colors can be applied boldly, with broad, loose strokes, implying the subject, rather than describing it completely.
This distinctive medium is not without its share of challenges. Many find watercolors difficult to control, and if your first experience with painting was with an opaque medium (oils, acrylics, or tempera), the process of watercolor painting can feel "backwards".
#1 - Use Quality Paints
Quality matters. The materials that you use greatly influence the results that you can expect. Many artists decide to purchase cheaper brands in order to "see if they like it", before committing a few more dollars to higher quality paints. While this is a good approach to some mediums, watercolor is different. There is a broad spectrum of quality.
Using lower quality materials inevitably leads to lower quality results. Lower quality results often lead to frustration. It is wise to spend a little more on the higher quality paints in order to give your experience with watercolor a "fair chance".
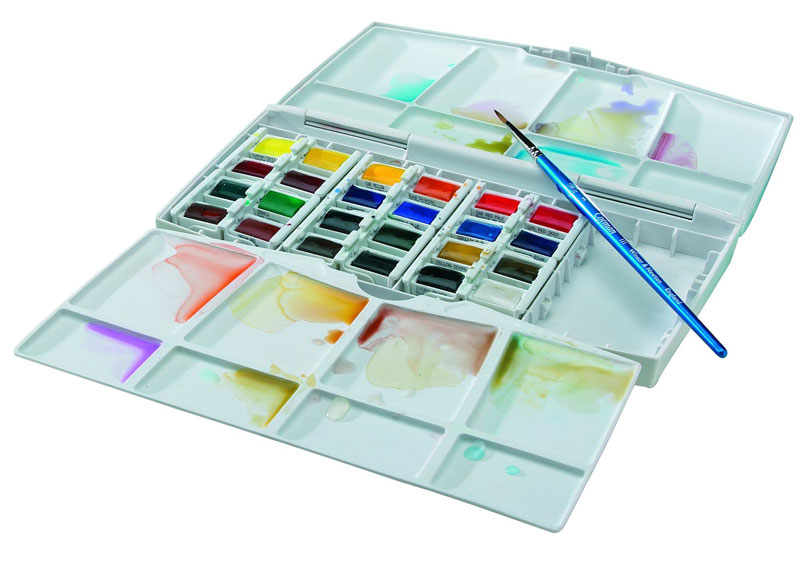
For beginners, I recommend Winsor & Newton Cotman Watercolors. They are available in cake (or pan) sets or as tube sets. Tube colors provide the artist with more color intensity, while cake sets are easier to travel with.
#2 - Use The Right Paper
The surface in which watercolor is applied is extremely important. Surfaces must be water-absorbent and capable of accepting multiple washes of color. This means that appropriate papers and surfaces are typically heavier.
The weight of the paper refers to the weight of one ream of paper (500 sheets). The heavier the paper, the better suited it is for watercolor applications. I recommend using paper that is at least 140 lb. (300 gms). You can usually find this information clearly labeled on the front page of a pad.
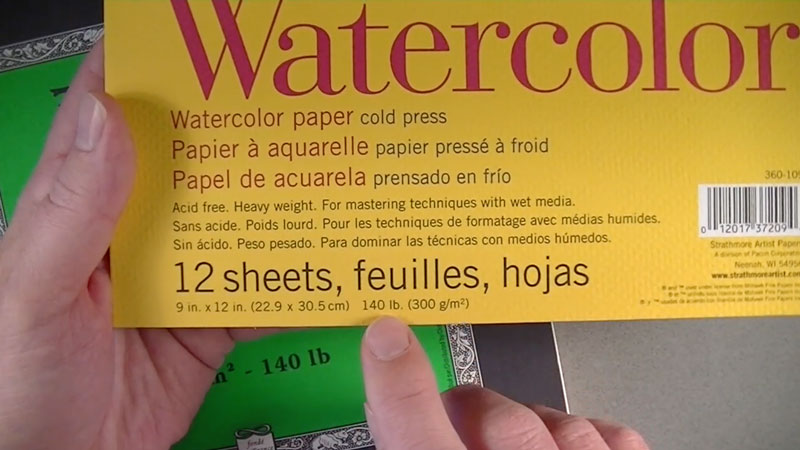
Individual sheets of paper are also available and are usually watermarked. While some argue which side of the paper is best for use, I have found that it really is a personal choice and either side will produce quality results.
Watercolor papers are produced as cold press, hot press, or rough. These designations refer to the process used to make the paper. Cold press papers are pressed on cold cylinders. Hot press papers are pressed on hot cylinders. Rough papers are pressed without the use of cylinders.
The texture or tooth of the paper is affected by the process. Hot press papers are smooth, while cold press papers have a well-defined tooth. Rough papers, as the name implies, feature the strongest texture.
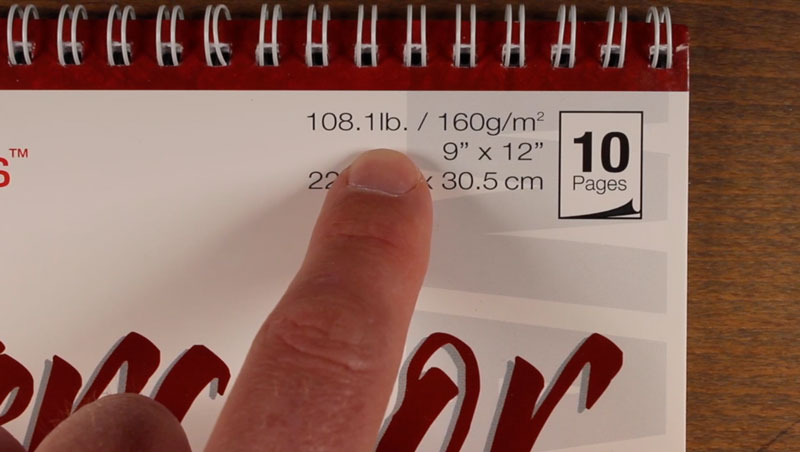
If the wrong paper is used, buckling can occur. While many manufacturers produce papers that are labeled as "watercolor paper", using this paper does not guarantee that the paper will not buckle. The best indicator is the weight of the paper. The paper pictured below is labeled as "watercolor paper", but will buckle when watercolor is applied. As you can see, the weight of the paper is only 108.1 lbs. (160 gms).
More on watercolor papers can be found here.
#3 - Stretch Your Watercolor Paper
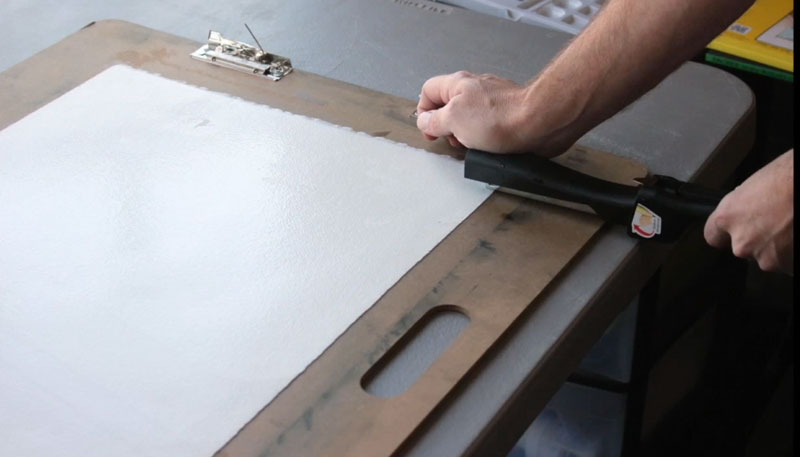
Watercolor paper can be stretched to better absorb washes of color. Stretching your paper ensures a taut surface. Larger papers can be soaked in a bath of water, and while damp, adhered to a hard board. Staples or heavy tape can be used to adhere the paper. As the paper dries, it slightly shrinks, producing a suitable surface for painting.
Smaller papers can be simply adhered to a board using masking or paper tape and then lightly washed with water.
#4 - Draw Lightly
It's common practice to sketch the composition before painting begins. While some artists do not mind seeing the graphite marks through the painting, others prefer to have them covered completely by the watercolor applications.
In order to ensure that graphite marks are hidden, sketch lightly with an "HB" pencil. Avoid shading and concentrate on developing the contour lines. Softer pencils (2B, 4B, etc.) will produce lines that may be too dark, while harder pencils (2H, 4H, etc.) may create grooves in the surface of the paper.
Graphite applications can be gently lifted with a kneaded eraser before painting begins. But once watercolor has been added, it is virtually impossible to remove graphite marks from the surface.
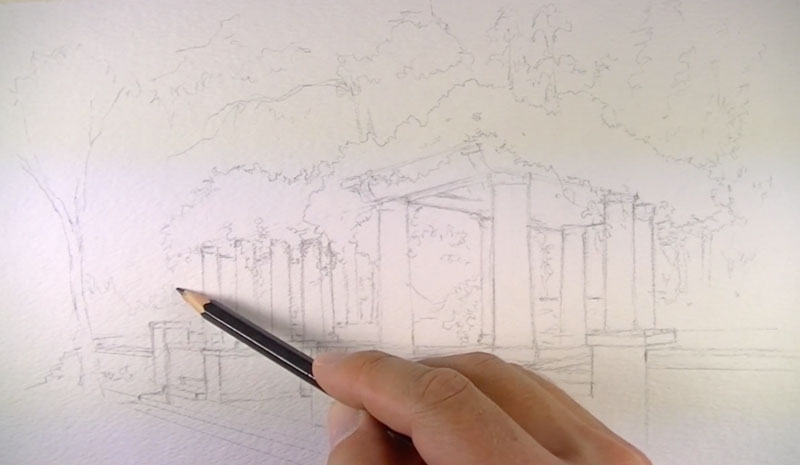
(Above image from "Watercolor Landscape Series")
#5 - Use the Right Brush
Brushes for watercolor panting are varied and there are no clear rules for which brush you should use. However, brushes with softer bristles are typically preferred. I prefer to use synthetic brushes that are soft, yet springy enough to provide control. My personal favorite are Grumbacher Golden Edge watercolor brushes.
Experimentation will often lead to finding the right brush that fits with your style, but synthetic brushes are good place to start. They are inexpensive compared to many natural hair brushes like sable.
Stiffer brushes, like hog bristle, are generally reserved for textural effects and are not used for general applications.
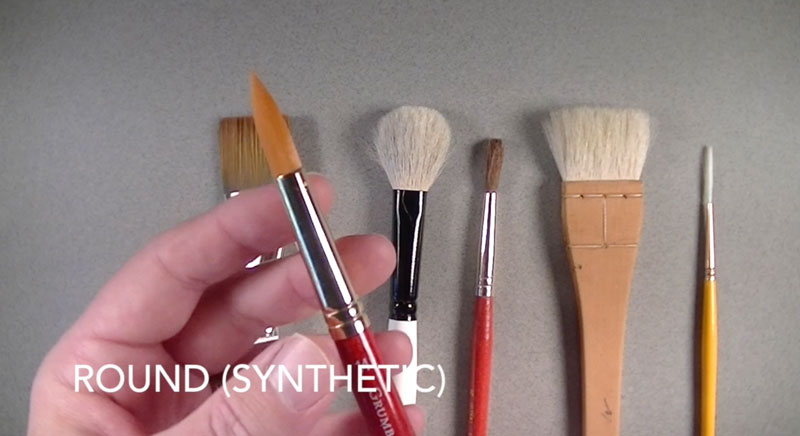
More on brushes can be found here.
#6 - Loosen Up
Because the vehicle for applying pigment is water, colors will naturally flow and form interesting shapes. It is often best not to fight this and instead exploit it. Subjects do not need to be described completely. Shapes of color and value can be loosely applied, implying the subject.
Allow the paint to "do what it wants" in areas and loosen up with your applications. While watercolor can be used with a great deal of control, it's often at its most attractive when used loosely.
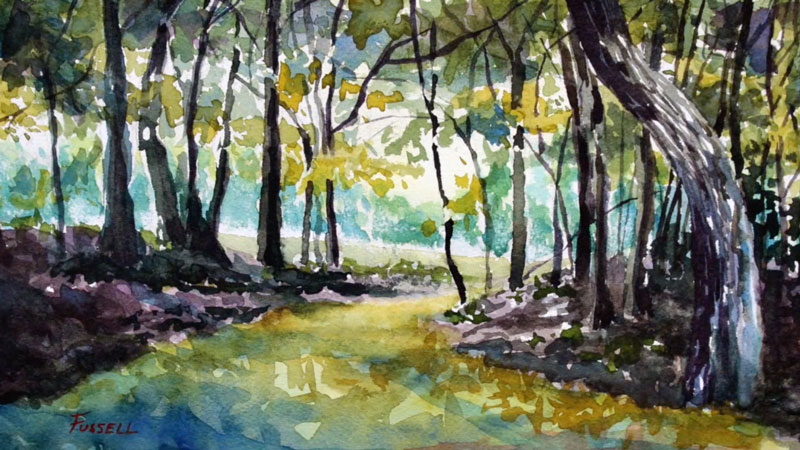
(Above image from Module 8 of "The Watercolor Workshop")
#7 - Limit Your Palette
As is the case with any painting, or drawing for that matter, color theory should be considered. While it may be tempting to use every color that is available to you, it's often best to limit your palette. Look for subjects that already have a defined color relationship (ie. complementary, analogous, etc.), or simplify the colors that are observed.
When your palette is simplified, the resulting painting is often harmonized and aesthetically successful.
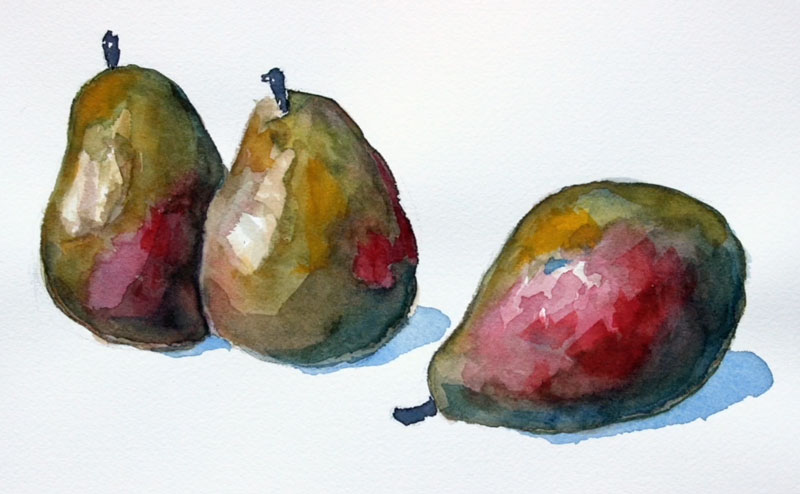
(Above image from Module 6 of "The Watercolor Workshop")
#8 - Layer Washes
With watercolor painting, darker values and progressively more intense colors can be developed through multiple applications of color. Allowing each layer of color to dry before applying additional washes produces a glazing effect. Since colors layered underneath still show though top applications, complexity in color is achieved.
Generally, darker values are developed further as the painting progresses. Lighter values are developed with minimal applications, since the white of the paper influences the resulting value.
While colors can be mixed on the palette before application, optical color mixing is also an option. One example is to layer a translucent application of blue over a translucent application of red. The resulting color would appear violet since the red and blue mix optically.

(Above image from Module 13 of "The Watercolor Workshop")
#9 - Use Masking Fluid
Masking fluid is a liquid material that is usually latex-based. It can be applied with a brush to protect areas in a painting from receiving washed applications. Since the white of the paper is so important in a watercolor painting, masking fluid becomes an important tool.
Once dry, masking fluid can be easily removed by rubbing with a finger or removing with an eraser. Masking fluid has a nasty habit of ruining brushes, so it is advisable to use an old brush when applying it to the surface.
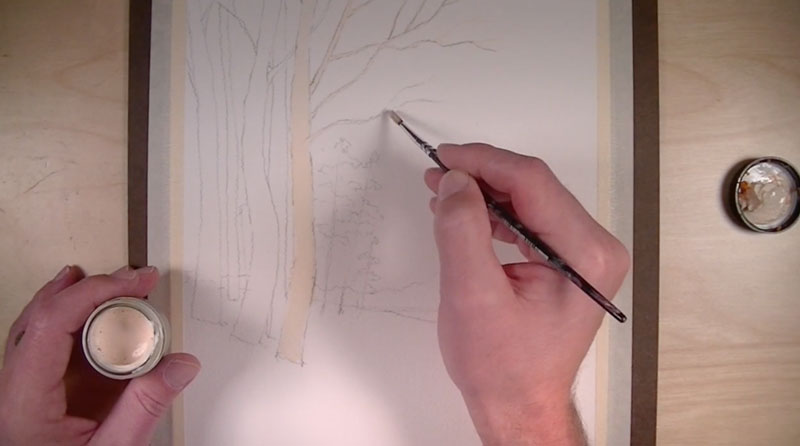
(Above image from Easy Watercolor Landscape)
#10 - Create a Full Range of Value
Value is perhaps the most important element of art. Value refers to the darkness or lightness of a color. It is how we see and understand light, form, and texture in a flat work.
Creating a full range of value means that we should include the full spectrum of darks and lights in a painting. With a color painting, this means that we should be sure to use darker values of colors as well as lighter versions.
A common mistake for beginning watercolorists is to paint lightly, without a full range of value. If this applies to you, be sure to push the darker side of the value scale to ensure that you are including the darkest values present on your subject or within the scene.
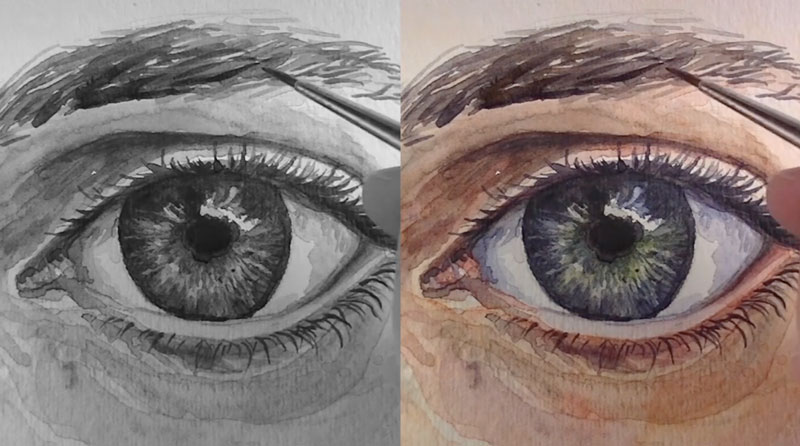
(Above image from How to Paint an Eye with Watercolor)
#11 - Know When To Stop
One of the greatest challenges that an artist faces is knowing when to stop. We often find ourselves in an "artistic flow", where creating is so fun that we don't want it to end. But if we work too much, the result can appear overworked.
Unfortunately, watercolor paintings are easy to overwork and knowing when to stop is especially important. Knowing when a work is finished is a delicate matter without an easy answer. However, if you find yourself asking "what more can I do?", then the painting is likely finished and it's time to put down the brush. Remember, every detail doesn't need to be spelled out for your viewer.
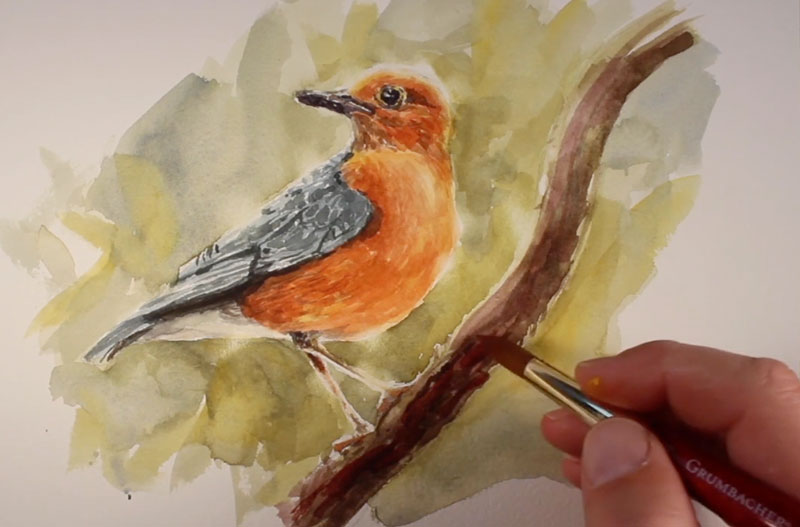
(Image above from How to Paint a Bird with Watercolor)
#12 - Practice, Practice, Practice
The development of skill requires practice. Painting is simply a skill that can be developed by anyone with the desire. It must be recognized that this means patient practice. Don't expect to be an expert with your first few attempts. With practice, you'll gradually start building your confidence, and confidence is one of the most important aspects of watercolor painting.
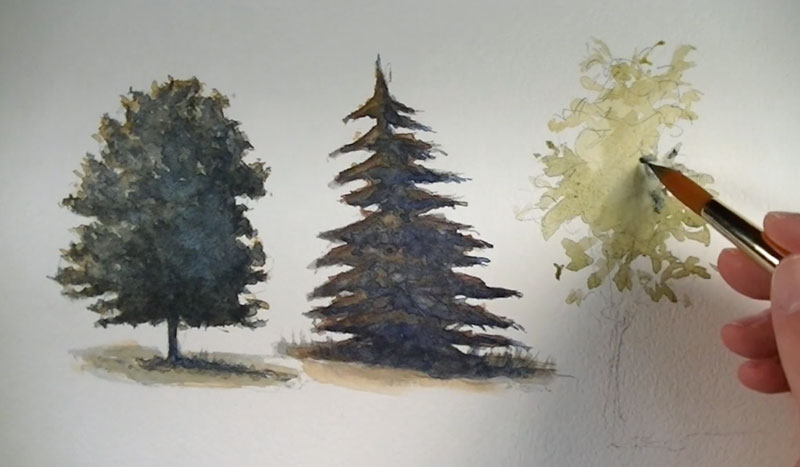
(Image above from How to Paint Trees with Watercolor)