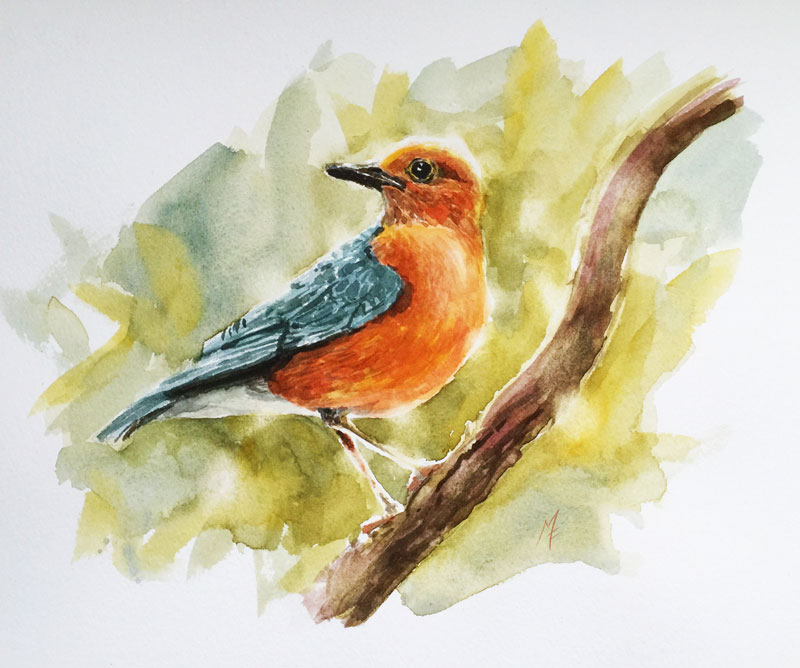
In this watercolor lesson, we'll take a look at creating a sketch of a bird. In this quick painting, we'll layer multiple applications of color to develop texture, light, and form within the scene. With each layer, we'll develop progressively darker values and slightly more intense applications of color.
With watercolor painting, the artist must find a balance between "control of the mark" and allowing the paint to "work its magic". Some control must be relinquished in order to allow the paint to reach its potential in the work. This means that in every watercolor painting, some experimentation is likely to happen.
Materials Used In This Lesson...
(Some of the following links are affiliate links which means we earn a small commission if you purchase at no additional cost to you.)
We'll begin by lightly sketching out the contours of the bird and the branch. An "HB" pencil is used. In this early stage, basic shapes are recorded, as details will be added during the painting process. Before painting, graphite is gently lifted from the surface with a kneaded eraser.

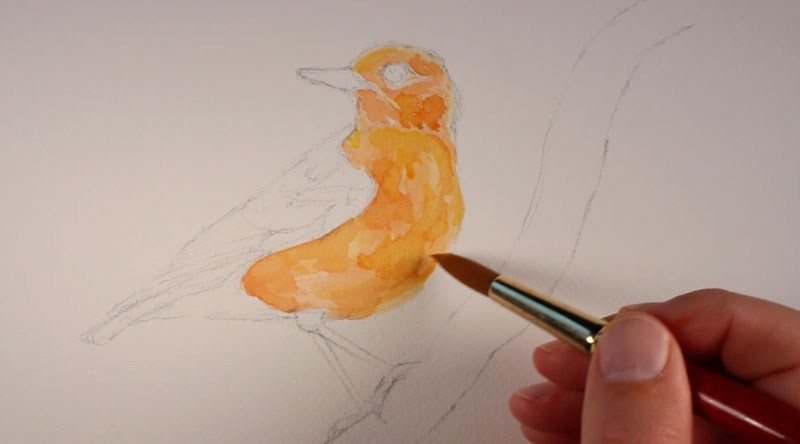
With the drawing complete, the process of painting begins. Variations of a mixture of Cadmium Red Pale Hue and Cadmium Yellow Hue are lightly layered. A larger brush is used to apply the color.
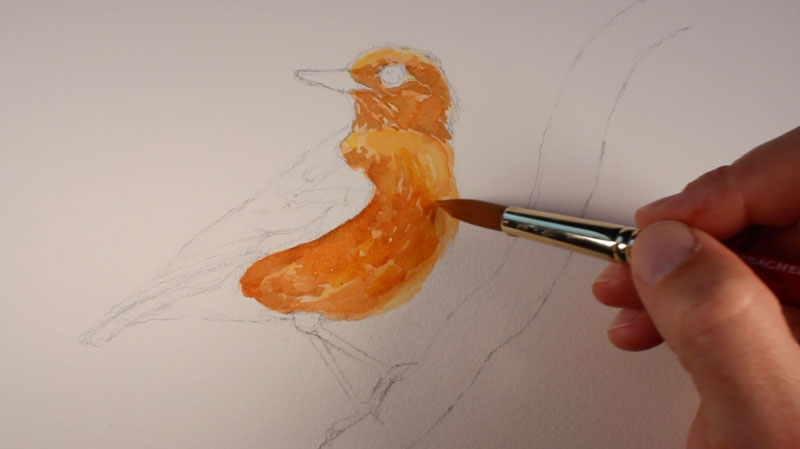
Values are progressively darkened with each layer. To darken the orange mixture, a bit of Burnt Umber is mixed in. The relationships between the darker and lighter values begin to communicate the form and texture of the head and breast of the bird. At this stage, layers are still fairly light and transparent.
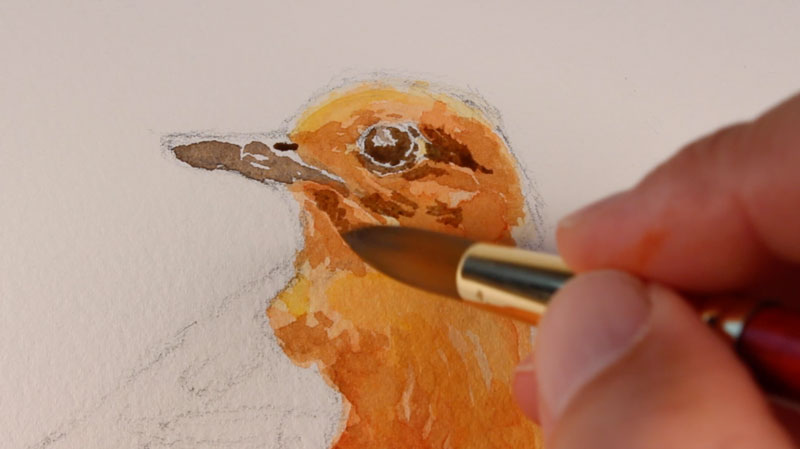
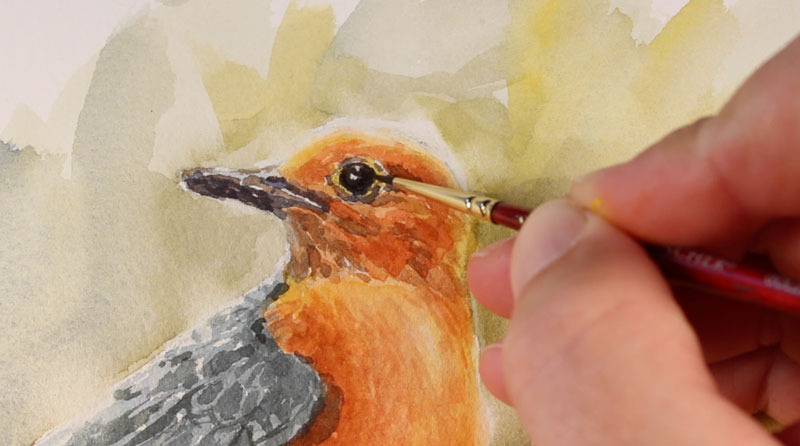
A dark mixture of Burnt Umber and Prussian Blue is applied to the bill and the eye, leaving areas of highlight in both sections. This initial application is dominated by Burnt Umber.
With the color still on the brush, a few of the shadows are darkened on the head.
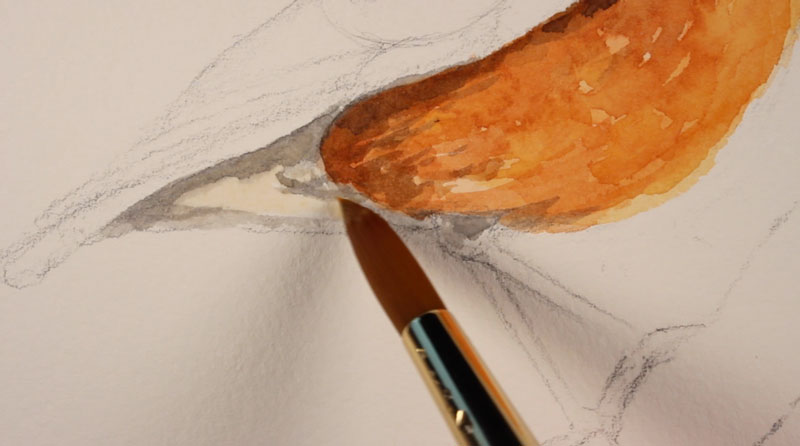
An additional application of a dark mixture of Burnt Umber and Prussian Blue is applied over the bill and the eye. This time, the mixture is more balanced. This color is thinned and applied under the rear portion of the bird to indicate a bit of shadow. Once dry, a light application of Gamboge Hue is applied over the top.
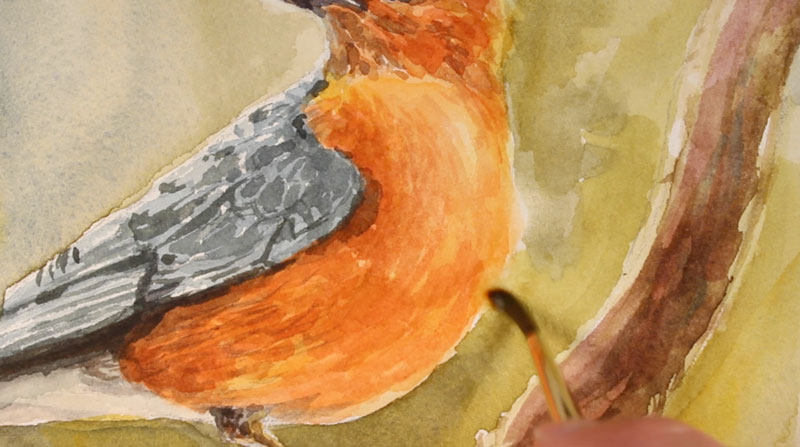
Work next begins on the wing of the bird. Phthalo Blue is mixed with a touch of Burnt Umber, thinned with water, and applied to this section. Highlights are preserved as strokes are added to mimic the physical texture of the wing.
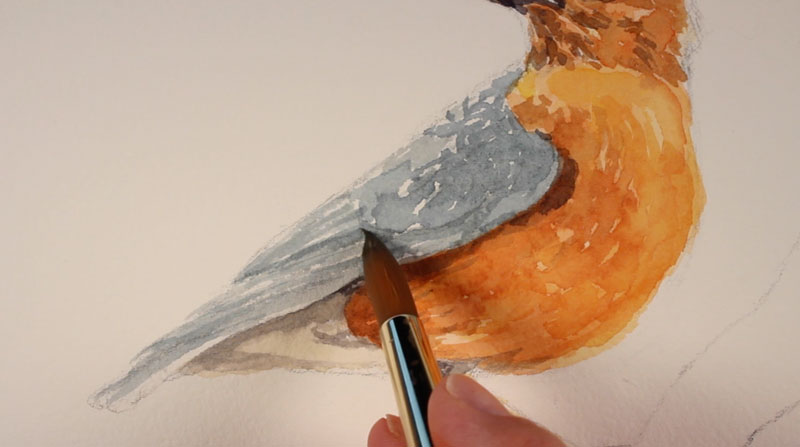
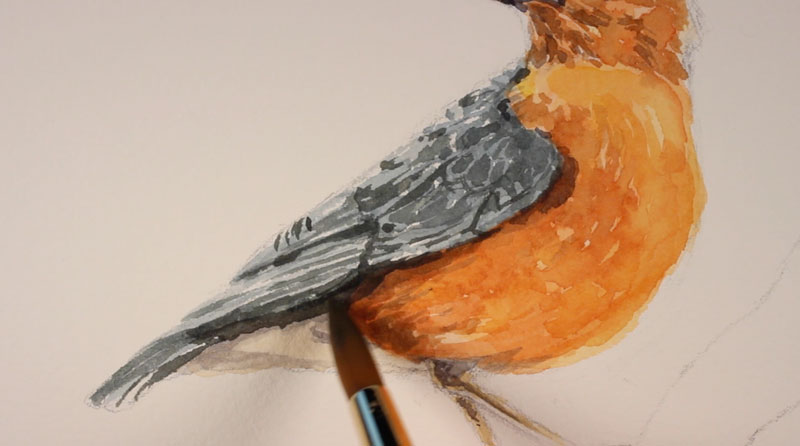
Values are darkened by adding additional applications with less water in the mix. Adding these darker values enhances the illusion of texture and further defines the light.

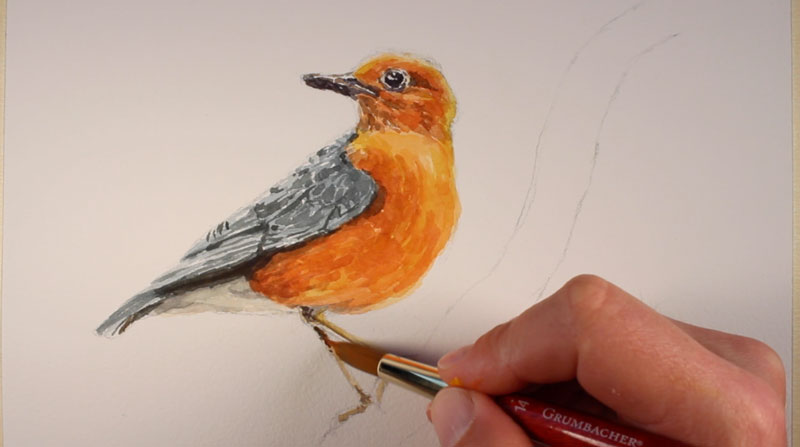
Values are darkened on the legs of the bird and a bit of stronger color (orange mixture of Cadmium Red Pale Hue and Cadmium Yellow Hue) is added. Highlights are preserved on both sides of the legs, leaving the paper untouched.
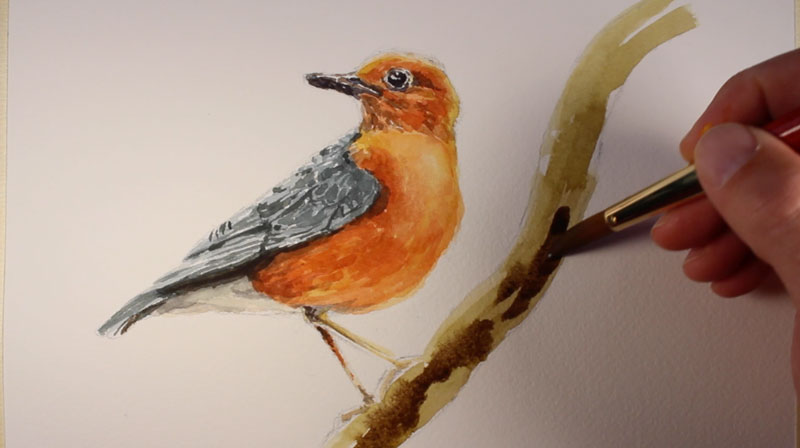
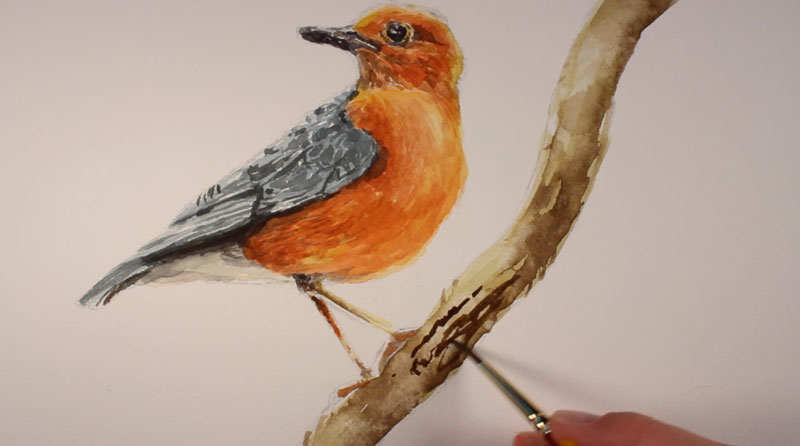
Color is added to the branch, initially with a mixture of Burnt Umber and Gamboge Hue. Strokes are pulled and layered to mimic the texture of the branch.
While the surface is still wet, a stronger application of Burnt Umber is applied and moved with the brush. Additional lines are pulled from the wet color.
Water is added to the branch in areas and lifted with a paper towel to create additional texture.
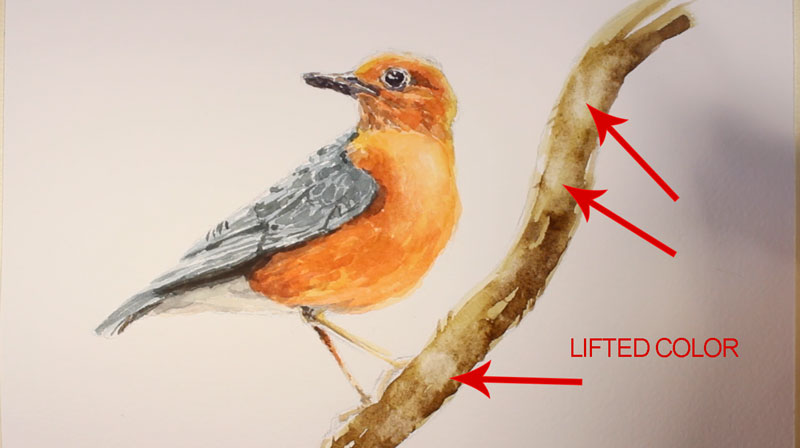
Using a heavily concentrated application of Burnt Umber, additional strokes are added to the underside of the branch with a smaller brush.
Loose, broad strokes are added to the background using various greens, created by mixing Cadmium Yellow Hue and Ultramarine. In some areas, the yellow is allowed to dominate the mixture, while in others, the blue is dominant. Strokes are pulled in various directions to subtly suggest leaves.
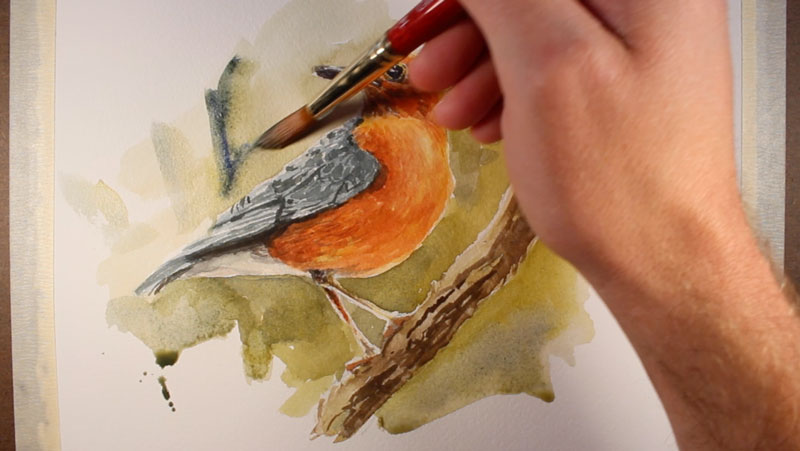
Next, we'll create the illusion of light filtering through the tree and behind the bird. To create this effect, we'll scrub a few areas in the background and around the body of the bird with water. While these areas are wet, we'll lift the color with a paper towel.
Lastly, the values in the eye and the bill of the bird are refined using a stronger and more concentrated mixture of Prussian Blue and Burnt Umber with a smaller brush.
The final sketch is light and airy. Light is subtly suggested behind the bird.