We'll take a look at two approaches to drawing lips and a mouth with colored pencils. The first demonstration results in a more realistic result, while the second is bit "sketchier" but quicker. In both examples, soft core Prismacolor Premiere colored pencils are used and both papers are slightly toned.

In the first example, we'll draw a simple smiling mouth and slowly build up colored pencil applications to develop the illusion of form and texture. A bit of gouache is used to strengthen the highlights after colored pencil applications have been made.
We'll first lightly draw a contour line drawing of the lips and teeth with a medium graphite pencil. An HB or H pencil is suitable. Avoid using a softer graphite pencil, such as 2B, or a harder pencil such as a 2H. Softer pencils will release too much of the graphite on the surface and could mix in with subsequent colored pencil applications.
A harder pencil may produce grooves in the surface of the paper that will show as light lines when the softer colored pencil applications are made. No shading is applied with the graphite - only the outlines are addressed.
Once the contour line drawing is in place, we can begin the process of developing the colors and values of the teeth. We'll start with the teeth and work our way outward. Since the lips overlap the teeth, we can clean up the edges when the lips are addressed.
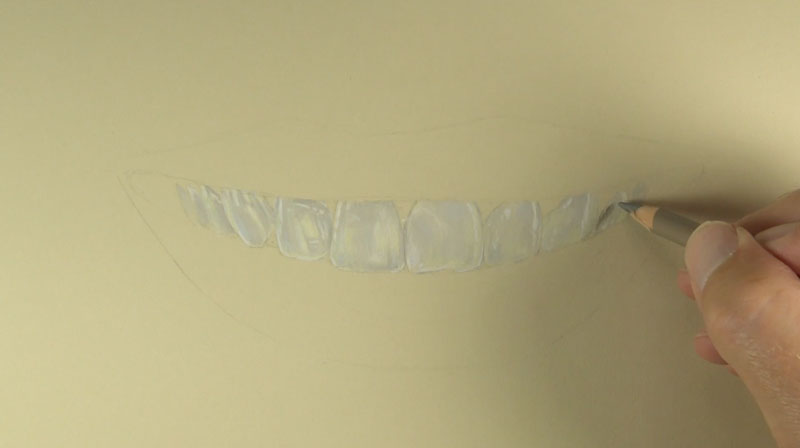
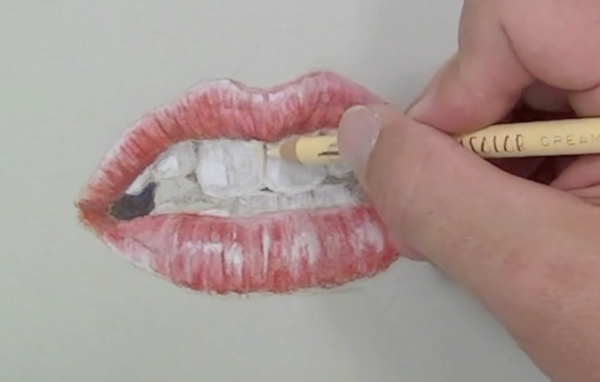
Teeth are not entirely white. In fact, the only areas on the teeth that should be "white" are the strongest highlights. Depending on the light within the scene, a variety of colors can be found on the teeth. In this case, we'll start with 20% Cool Grey, addressing the middle values while leaving a bit of space for the stronger highlights.
We can then apply white in the highlighted areas and over portions of the Cool Grey applications. A few cooler highlights exist and are addressed with a light application of Cloud Blue. For a more "natural" look, Cream is used. 20% French Grey is used to add a bit of variety to the color, while 70% French Grey is applied to darken some of the values and begin the process of developing some of the shadows.
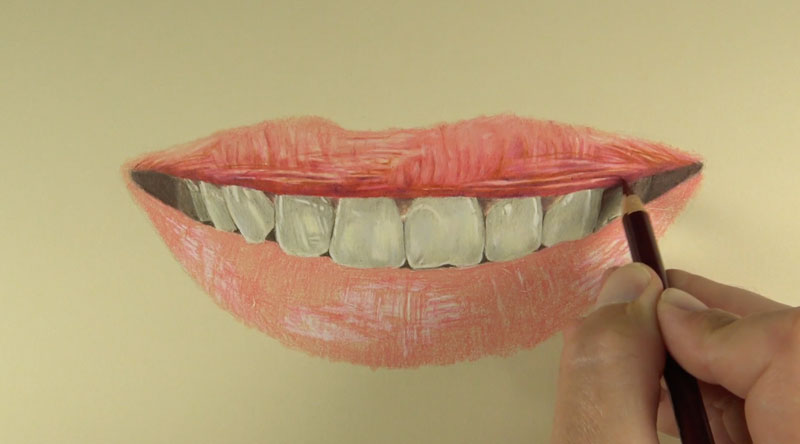
Next, we'll begin increasing the contrast in the drawing. We'll continue to apply the 70% French Grey to locations of darkest value around each tooth. We'll also darken the values at either end of the mouth. A few of the subtle shadows on the teeth are darkened as well, extending the range of value and forcing the highlights to appear lighter. A colorless blender is used to smooth and mix the applications, resulting in a more natural texture.
Over the top of the darker areas within the gums, Tuscan Red is applied. In the lighter areas - a bit of Peach.
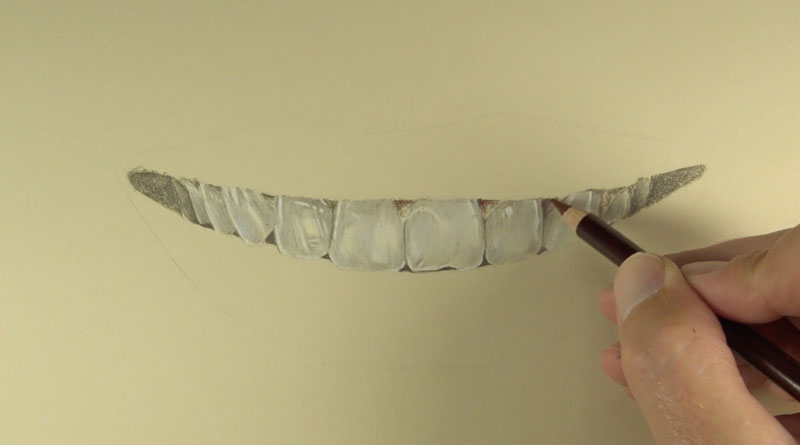
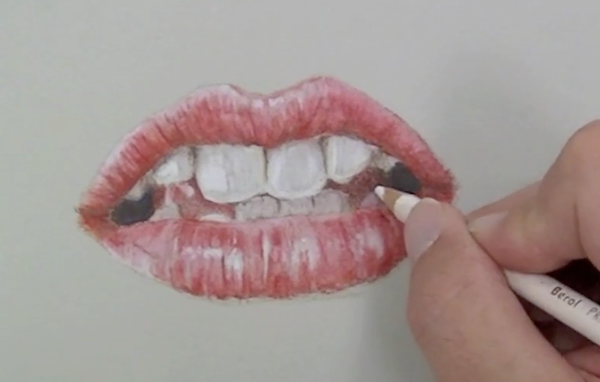
The corners of the mouth are darkened further with Dark Brown and applications are burnished with the colorless blender before work continues on the lips.

The lips, much like the teeth, are made up of a mixture of colors. One color alone will not lead to a representational result.
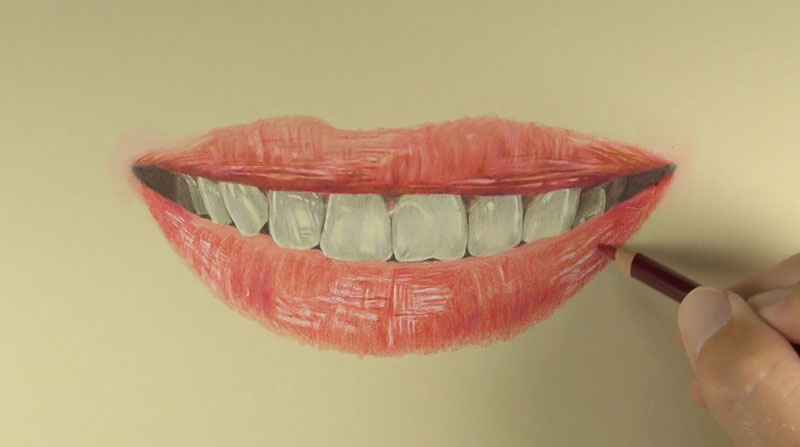
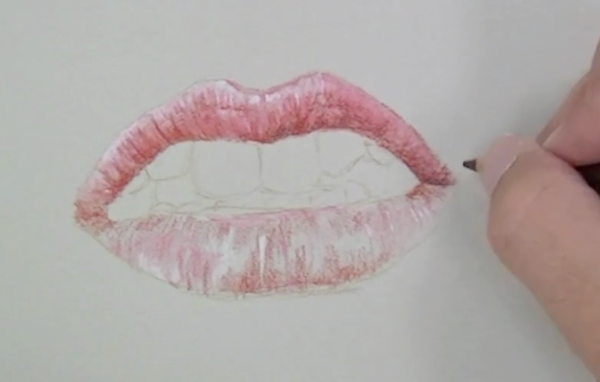
We'll start with an application of Carmine Red. As the color is applied, strokes are made so that they follow the cross contours of the form of the lips. Some of the these lines are horizontal, while others are vertical. In many cases, the top lip will consist of more horizontal lines, while the bottom lip will have more vertical ones. Here again, space is preserved for strong highlights.
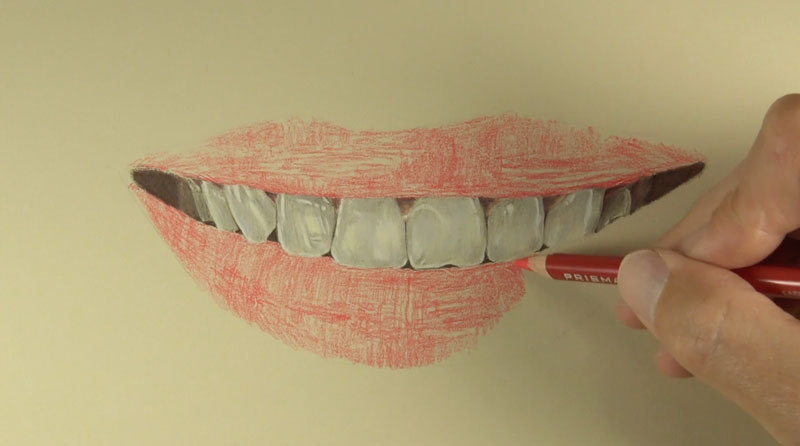
White is applied in the areas of strongest highlight on both the top and bottom lips. A slighter darker, Crimson Red, is used to increase the contrast and add a bit more to the color. Light Peach is also used to lighten the tone, burnish the colors, and add a bit more of a "fleshy" appearance. A touch of purple is added with the color, Mulberry.
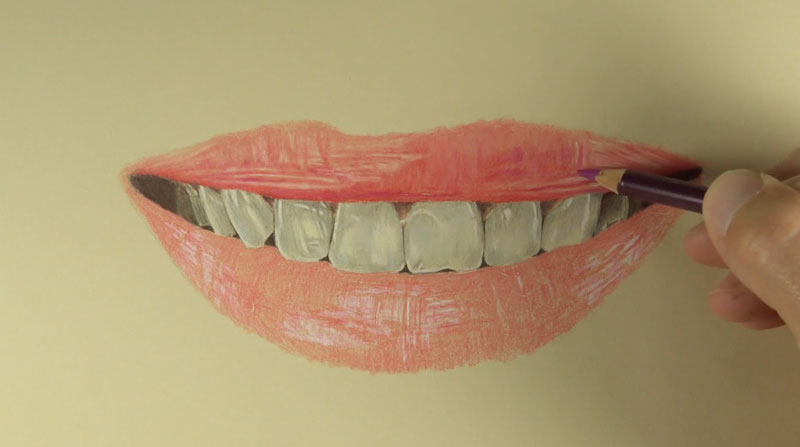
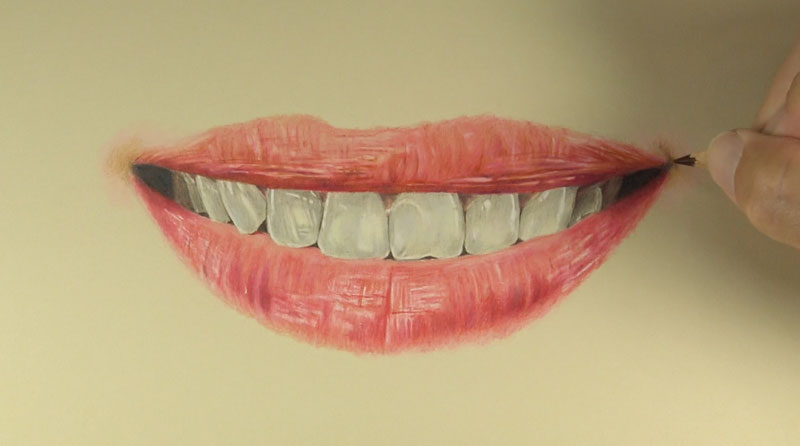
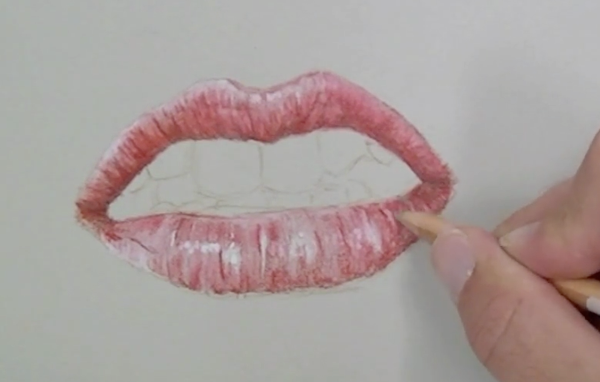
The illusion of texture is largely dependent on the contrast of value. We'll continue to increase the contrast in order to develop the texture. Tuscan Red is used as well as a variety of other colors including Light Peach, Terra Cotta, Dark Purple and even Dark Brown. As each color is added, we'll continue to consider the directional strokes made with the pencil. Each stroke should mimic the texture and the form of the lips.
The process of layering colors continues on the bottom lip. The same colors are applied. Tuscan Red, Mulberry, Light Peach, Peach, Tuscan Red, and a bit of Dark Brown are all patiently layered to build up depth in color and the impression of texture.
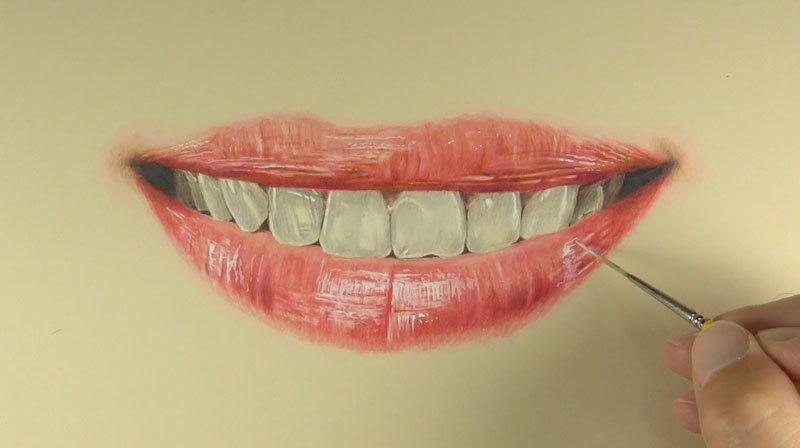
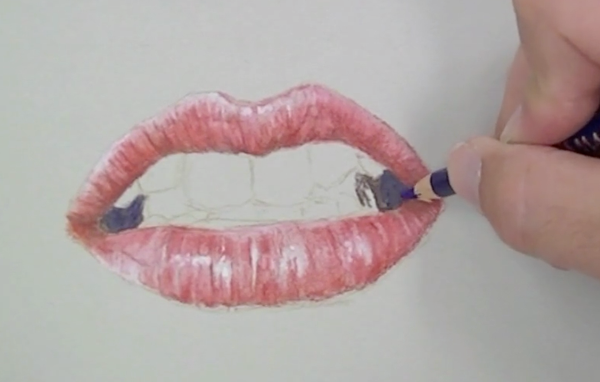
After applying Light Peach to skin areas outside of either corner of the mouth, a subtle shadow is developed to strengthen the illusion of a smile. Raw Umber is applied first before Dark Brown and then burnished with a colorless blender. The inside corners of the mouth are also darkened with an additional layer of Indigo Blue.
Highlights are then strengthened with gouache (opaque watercolor). The goauche is applied with a script liner (or rigger) brush using very little water. Here again, the cross contours are considered.
It's easy to become impatient during the process of layering colors. Keep in mind that success with colored pencils requires a bit of patience. Allow the drawing time to develop. Often, multiple layers of applications are required to bring a colored pencil drawing to a level of realism.
Here's a look at the finished drawing...
Our second lesson features a looser and quicker approach to drawing lips with colored pencils. This approach takes a different route in that the lips are developed first before the teeth.
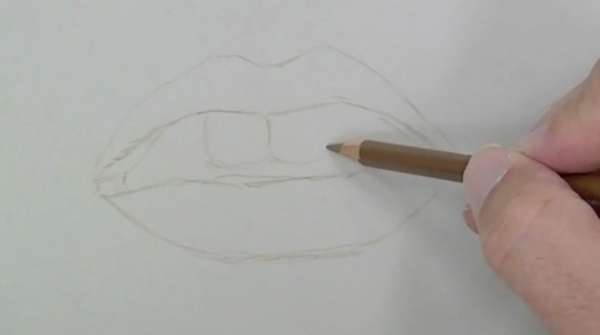
We'll begin by drawing the inside portion of the upper lip first using a light brown colored pencil. (No graphite is used at all.) We'll do the same for the bottom portion of the of the lip and continue some of the outlines or contour lines of the teeth. In the early stages of the drawing, the marks should be light. The light brown is used to define the basic shapes of the mouth.
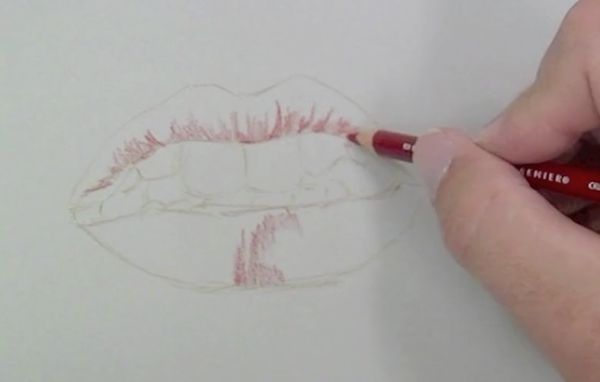
Once the mouth and the teeth are defined with contour lines, some of the local color can begin to be added. In this case, the color is red and is added by following the cross contour lines of the lips. In other words, the lines that are added with the pencil will follow the form of the lips.
There should be a slight curve in the marks that you make. More pressure is put on the pencil to deliver more material in areas where the value is a bit darker. This happens in the corners of the mouth and in a few areas on the lips.
It will also happen more frequently on the upper lip because typically, the upper lip is darker in value overall. This is because light usually originates from above, creating core shadow on the upper lip.
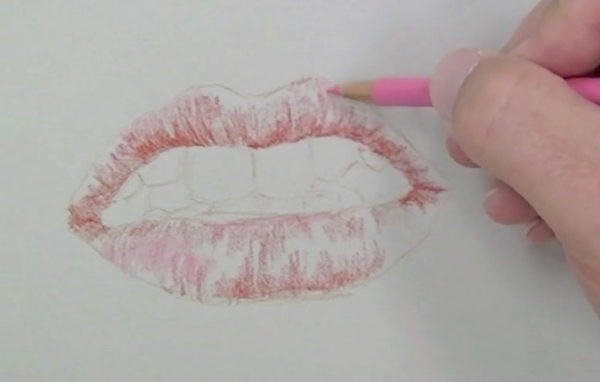
Once a good amount of red is added, other related values can be added. Pink is added next in areas where the lips are lighter in value.
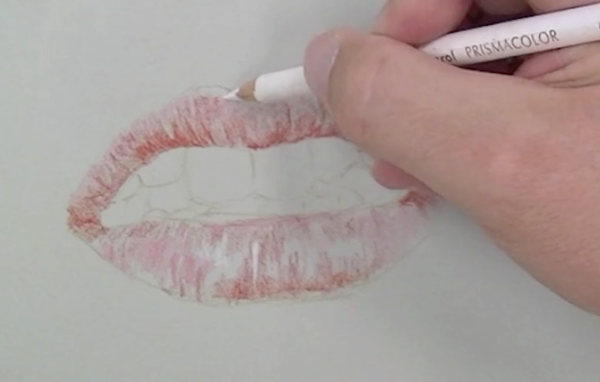
Before the entire surface is covered with colored pencil, white highlights are added with a white pencil. These areas should be intense with a heavy application in order to make strong highlights.
Now that the highlights have been initially addressed, the original red can be revisited. As layers are developed, the colored pencil material becomes richer and easier to move around on the surface.
The material can be blended and worked together, which is a technique called burnishing. The material is worked by adding layers of red over whites and pink until the color is rich and realistic.

A dark brown is used to darken the value of the lips in areas. Brown is chosen over black because black is such a strong color.
Blues and browns will be used to make more natural-looking "blacks" in this drawing. For "blacks" with a warm tone, more brown is used and for "blacks" with a cooler tonality, more blue is used.
Since the bottom lip is lighter in value, more whites and pinks are used, but the layering process is the same.

To smooth out some of the lines that are created, a colorless blender is used to burnish the surface further.
Dark areas inside of the mouth are defined next using alternating applications of brown and blue to create "black"
Shadows are created on the teeth by lightly applying brown. These areas are balanced out by adding white over the brown, resulting in realistic shadows. An application of cream in areas adds to the realism.
The tongue is addressed last by layering reds, brown, and white.