 by Matt Fussell
Graphite is probably the most common drawing medium that there is. Graphite most commonly comes in the form of a pencil and is what most of us simply refer to as "pencil". Therefore, a lot of graphite drawings are simply called pencil drawings, even though calling them graphite drawings would be more accurate.
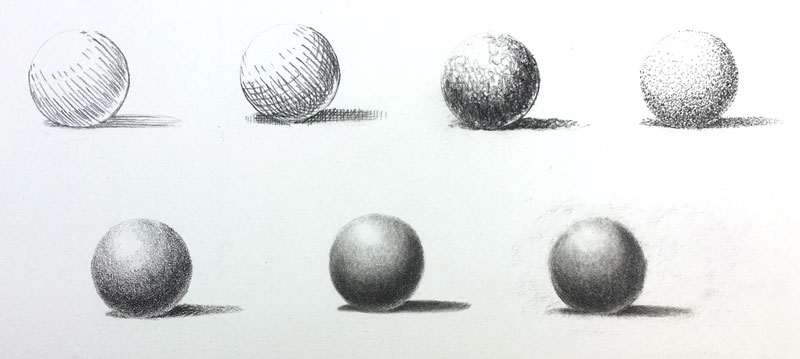
Graphite drawing techniques are virtually endless. Any method that you choose to use will produce some form of results. But as artists, we want to ensure that the techniques we use produce the best results for the subject.
That's why it's important to know all of the techniques at our disposal and how to use them to create textures, values, and gradations of tone in our drawings.
The first two graphite drawing techniques we'll discuss is "hatching and crosshatching". These techniques can be used with a variety of drawing media besides graphite. Hatching and crosshatching is achieved by drawing lines to create value. These lines may cross over each other. The more the lines cross over each other, the darker the value. By varying the frequency of marks, a range of value can be achieved. This range of value leads to the illusion of form.
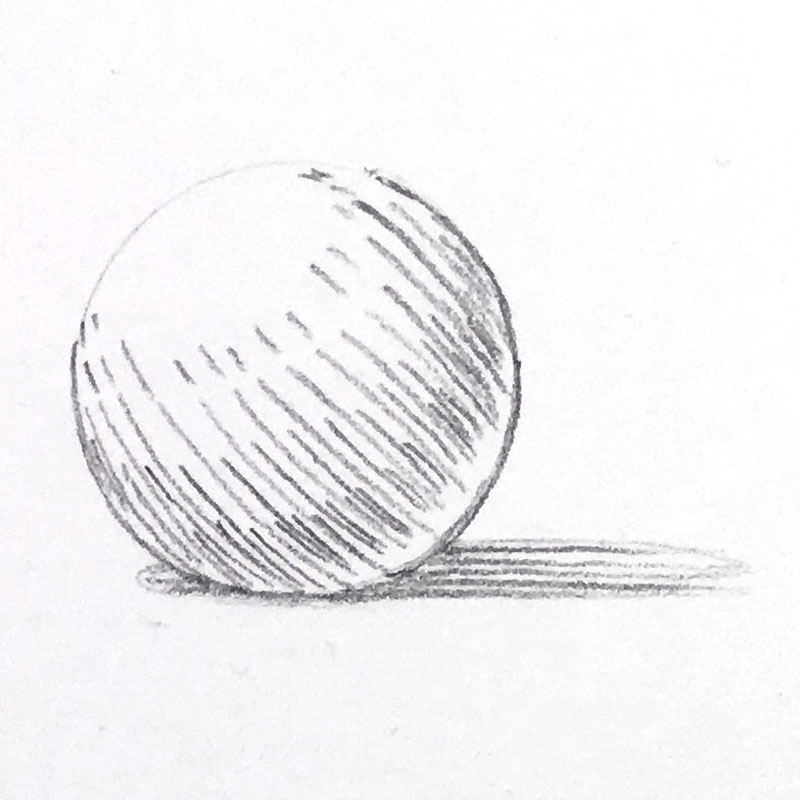
Hatching is the process of drawing lines that do not cross over each other. The closer that these lines are placed to each other, the darker the value. This assumes that you're working on white paper with a dark drawing medium.
Since the directional strokes that we make can influence the illusion of form, we should be mindful of the direction of the stroke. In the sphere pictured below, you'll notice that the lines curve slightly around the form. This means that the lines that we add not only produce the shading, but also communicate a bit of information regarding the form.
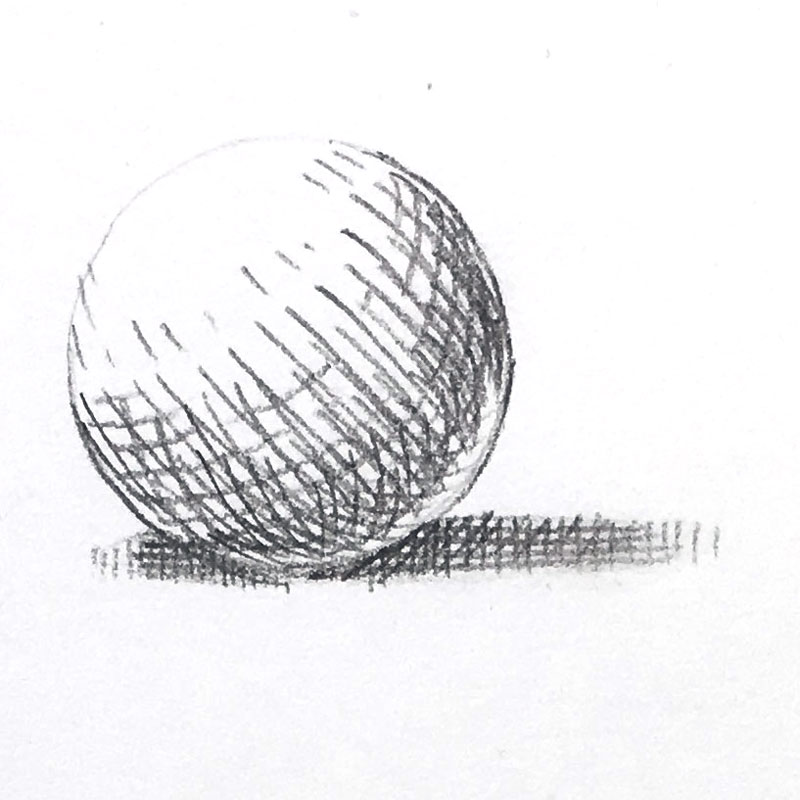
Like hatching, cross hatching relies on the concentration of lines to produce the required value. With cross hatching, the lines do cross over each other. This allows the artist a bit more flexibility. But like with hatching, we should consider the form of the subject when applying the lines. The lines should flow over the form of the subject. Notice in the image below how the lines are curved slightly as they flow over the form of the sphere.
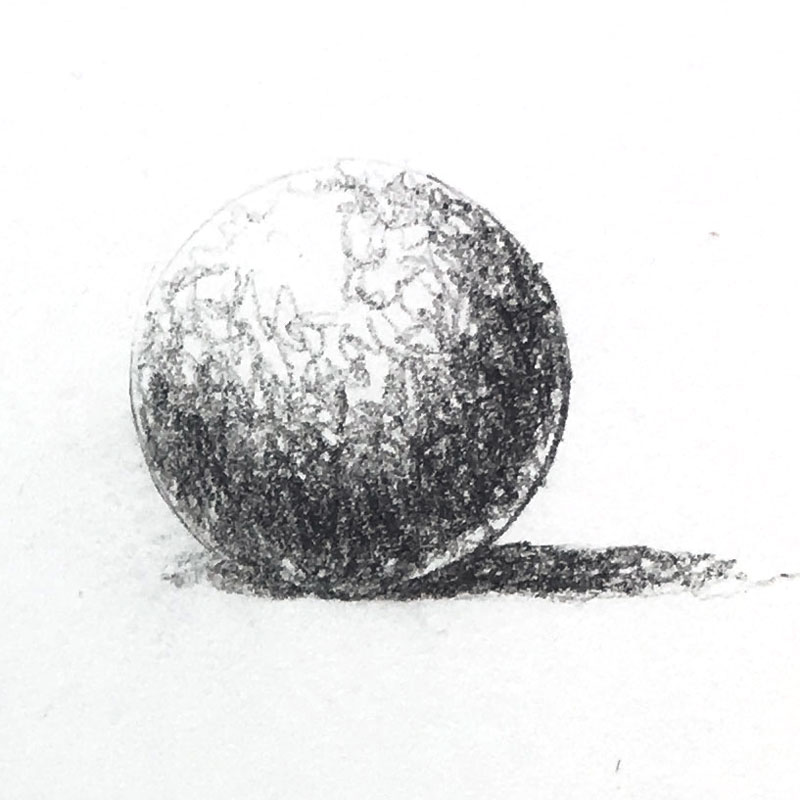
If speed is what you're after, then using random or squiggly lines may be the technique that you choose. Value is achieved with this method by applying random lines. Just like with hatching and crosshatching, the frequency of crossing lines affects the values created. This technique is great for quick sketching and for creating interesting textures.
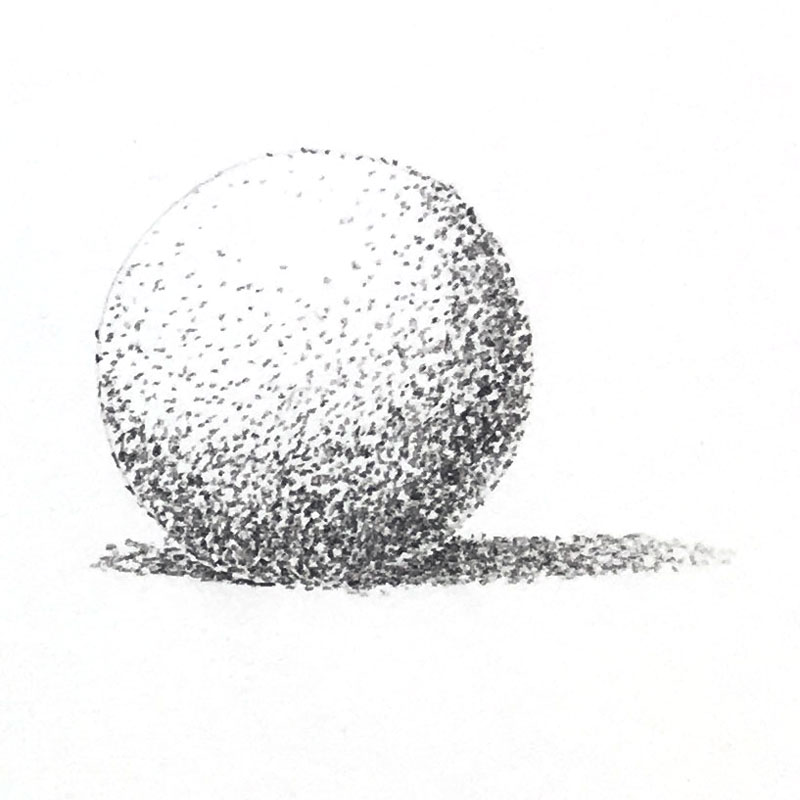
Stippling is the process of applying countless dots to develop the value. The closer that the dots are placed to each other, the darker the value. Stippling is most commonly used with pen and ink, although it can also be used with other drawing and painting media. If used in a pencil drawing, it's advised to use a softer and darker graphite pencil so that the dots are dark enough to be visible.
Stippling is the most time-consuming technique, but it provides a high level of control over the value produced.
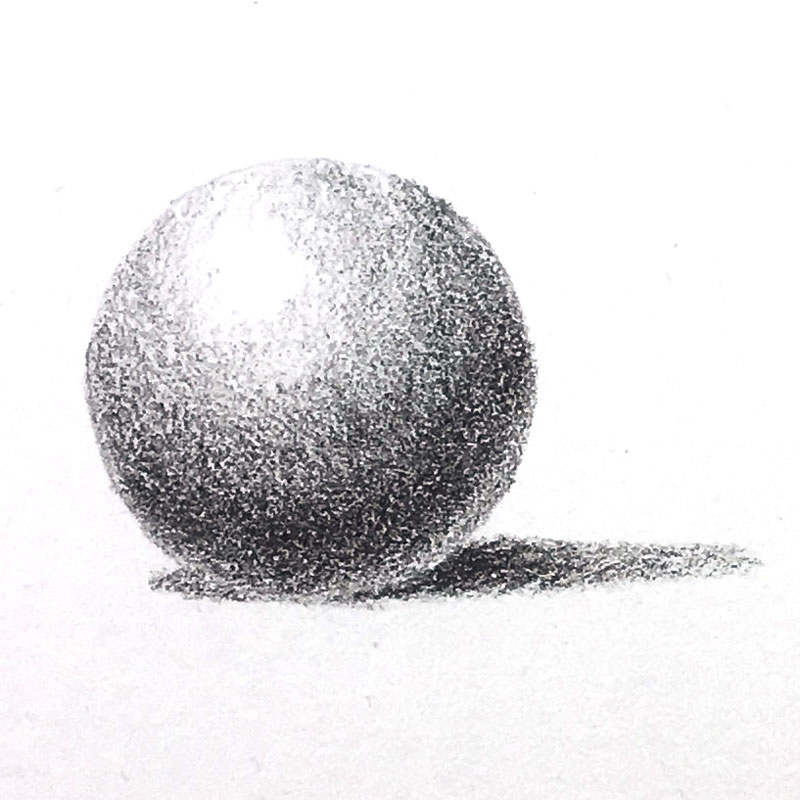
We can control the tone produced by simply adjusting the amount of pressure placed on the pencil. To create smooth transitions of value and control the texture produced, we can make small circular strokes with the pencil. I like to call this technique "circling". It's important to note that you shouldn't make small circles with visible lines. Instead, move the pencil in a circular motion when adding pressure. A duller pencil works best for this approach.
As you can see in the image below, the texture, or tooth, of the paper plays a role in the resulting image. The texture of the paper will be visible when this technique is used. If you want a smoother appearance, then choose a smoother paper.
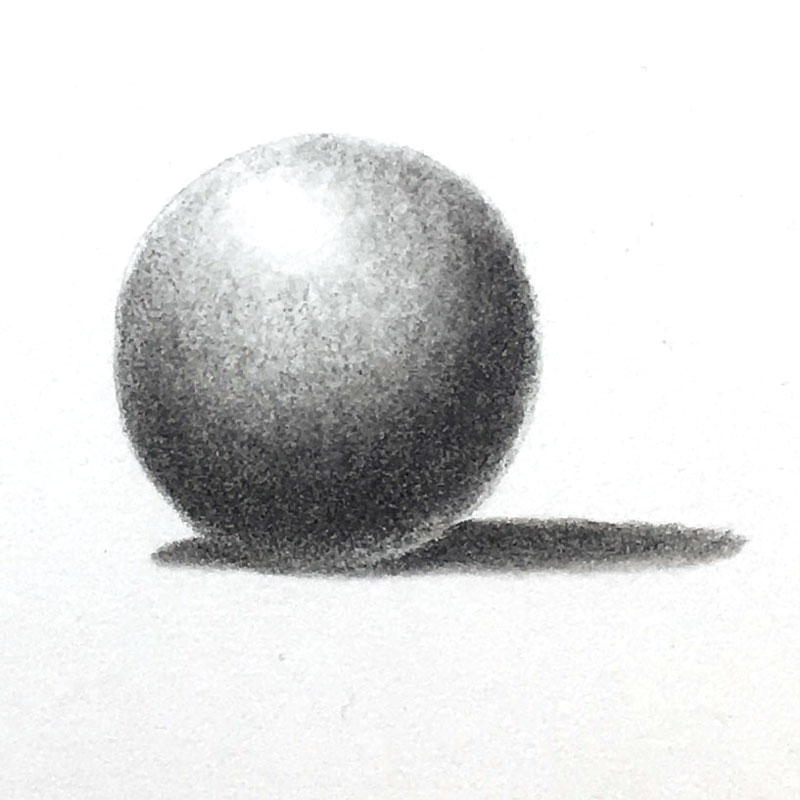
The process of blending can take on many forms. Some artists simply prefer to vary the amount of pressure put on the pencil to change the amount of material applied, as we see with "circling". Some artists use their fingers to blend the graphite after it is applied to the surface although I highly discourage this technique. You have more control with the pencil that you do with your fingers. Also, your fingers add oils to the graphite, which usually results in a mess.
A better approach is to use a blending tool, like a blending stump or tortillion. These tools allow you to smoothly blend the graphite, while keeping full control over the medium.

Another drawing technique is "rendering". Rendering occurs when you use an eraser to draw. This usually means that the artist applies graphite to the surface and then removes some of it to create lighter values and highlights. It is a process of both addition and subtraction. An eraser is used, but additional graphite is added to create darker tones. Rendering usually results in a "smokey", atmospheric look.
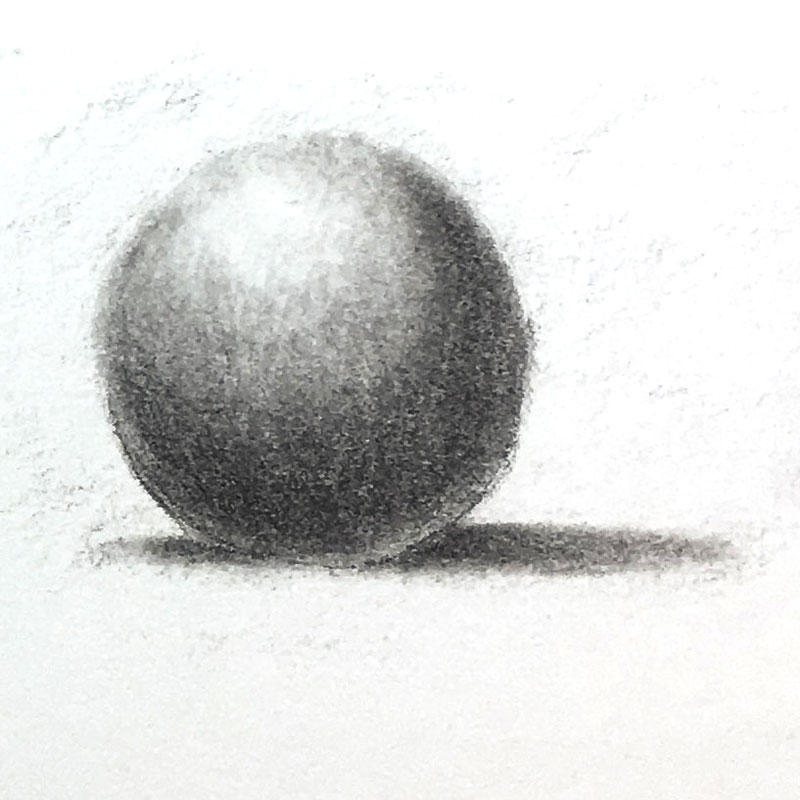
It's quite obvious that we should consider directional stroking with the linear techniques of hatching and cross hatching. But for blending, circling, and rendering, directional stroking should also be considered. Although it is subtle, the directional strokes made with either the pencil or blending stump can also help to create the illusion of form in a drawing.
We should consider adding strokes that flow along with the cross contours of the form of the subject as we develop the shading. Understanding the concept of cross contour lines can help you create better drawings and paintings and is an important concept to understand. If you need a refresher on the concept of cross contour lines, you may find this lesson helpful... Improve Your Drawings and Paintings with Cross Contour Lines.