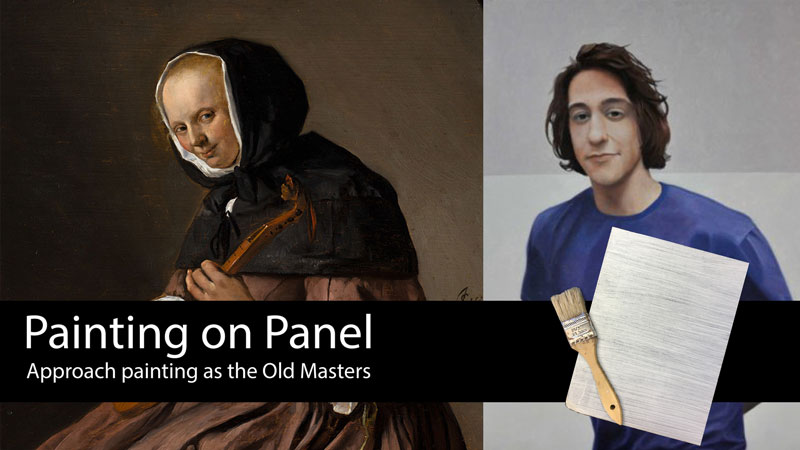
With any art making process, the surface plays an important role. It seems that many times, we get so obsessed with the process or the medium that we overlook the importance of the surface.
When it comes to painting, canvas stretched tightly over a light wooden frame is the most popular material, but it is not the only option. Wooden panels, common during both the Middle Ages and the Renaissance, are experiencing a resurgence.
A few years ago, I embarked on a personal quest – to paint like the “old masters”. At the time, I was painting on stretched canvas with heavy, impasto strokes in an impressionistic style. On my journey, I embraced Renaissance and Late Middle Ages techniques which included painting on wooden panels with smooth, thin layers of paint. I haven’t looked back since.
In the beginning, I purchased wood from hardware stores and prepared it for painting over the course of a few hours (most of that time is spent waiting for layers of primer to dry). After a couple of years preparing panels this way I started seeing factory-made wooden panels for sale at both the “big box” art supply stores and online distributors. As it happens, many of us were looking for an alternative to canvas and the market responded. These ready-made panels offer most of the same benefits as self-made panels.
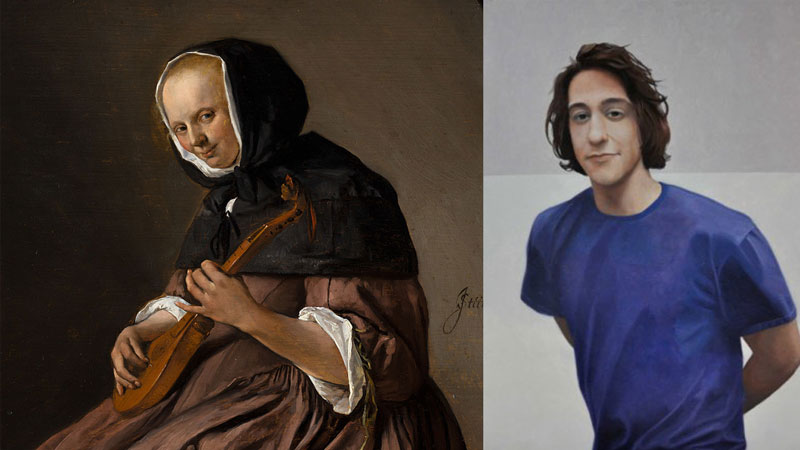
Let’s take a look at both the benefits and drawbacks of painting on a wooden panel.
Painting on Panel vs. Canvas
A wooden panel is heavier that a stretched canvas. Masonite is a brand of hard board – a composite wood product. Masonite is thinner than other wood products making the weight of a panel less problematic than in the past but a canvas is still much lighter. When painting large scale or on location, the weight of a panel may be cumbersome to some.
On the plus side, however, with that extra weight comes durability. (I happen to own a nice painting on canvas that has an unfortunate hole in it.) Canvas is more easily damaged than a panel. The same careless mistake that damaged my nice painting on canvas would have barely left a mark, had my painting been on a panel.
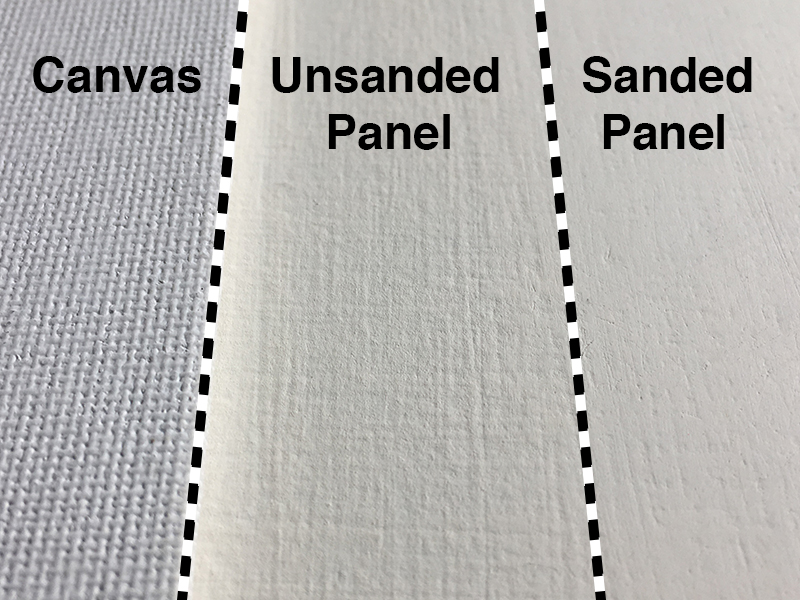
A panel also has another advantage over canvas – surface customization. The panel has no visible texture prior to priming. A canvas, on the other hand, has a visible woven texture. Unless heavy layers of paint are used, that woven texture is a part of the artwork, like it or not.
Using a panel, the artist can create any surface texture he/she wants. During the priming stage (discussed below) a variety of surfaces are attainable. This flexibility gives the artist more control over the final product and another opportunity for expression.
Related: See our Painting Lessons
Canvas currently enjoys an advantage over panels in the marketplace. Canvas is available from more retailers and in a wider variety of options – rectangles, squares, circles, ovals, gallery wrapped, fine weave, coarse weave, primed, unprimed, by the roll, etc. Panels are closing the options gap quickly, but most art suppliers limit the sizes of the panels they offer to less than three feet in any one dimension.
Preparing A Panel for Painting
Reasons to make a panel instead of buying one
- It is cheaper to make panels than to buy either prefabricated panels or canvases. Like cooking at home vs. eating out, tackling the preparation ourselves saves on labor costs that are built into the price.
- Quality assurance. If you make your own panel, you can be certain of the quality of materials used.
- Total surface control from start to finish. Like store-bought stretched canvas, most prefabricated panels options have a homogenous surface. Artist-made panels have a unique surface.
- Most importantly, it’s fun!
Materials for Painting on Panel
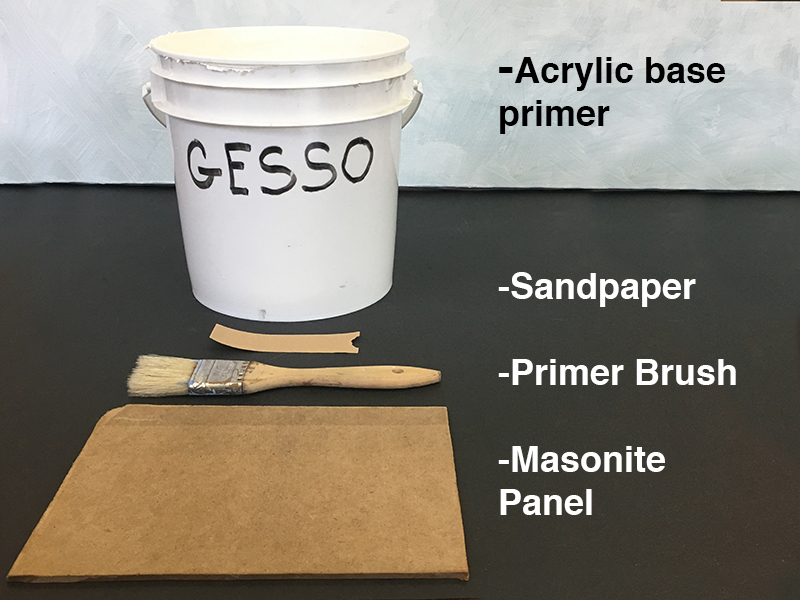
- Wood – As mentioned before, Masonite is a popular choice and is the substrate featured herein. Plywood with a birch or maple veneer is also a nice option but will be heavier and more coarse. 1/8th inch Masonite is suitable for artwork fewer that 24 inches across. For paintings above 24 inches I recommend using 1/4th inch Masonite.
- Gesso – Gesso is a thick, nonporous acrylic primer used to prepare any surface for acrylic or oil paintings.
- Gesso Brush – 1 ½ inch or larger, depending on the overall size of your panel.
- Sandpaper – 220 and 400 grit sandpapers are appropriate for sanding the brush strokes out of gesso. Any grit rating lower that 220 is too course and will make grooves in the gesso.
Procedure for Preparing Panel for Painting
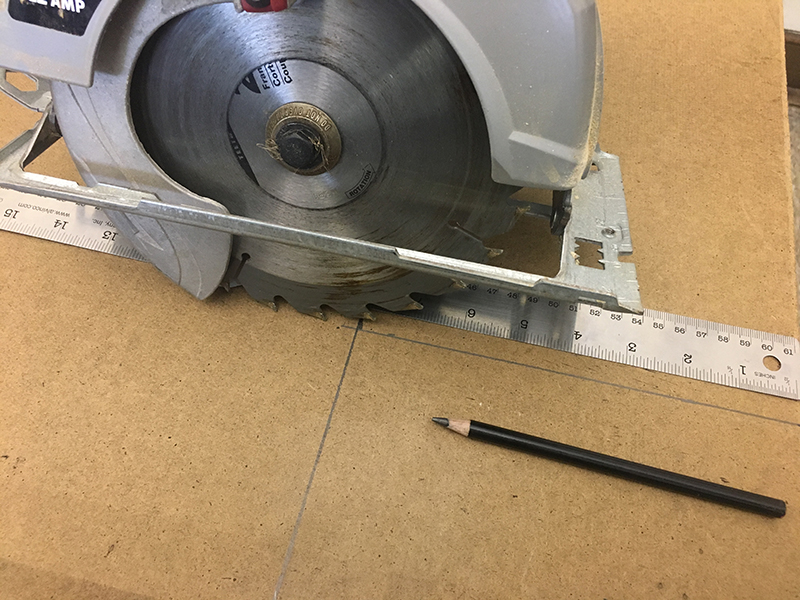
1. Cut Masonite or other wood panel to the desired dimensions. A circular saw is perfect for this. Hardware stores sell Masonite in 2×2, 2×4 and 4×8 foot sheets. Lowe’s, Home Depot and other hardware stores will cut those sheets into different sizes, sometimes at no charge.
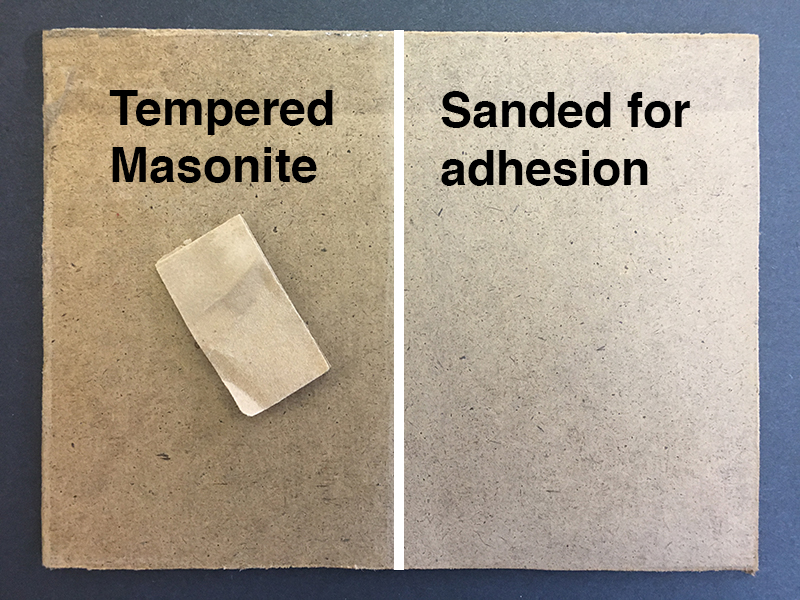
2. Sand for better adhesion. If the Masonite (hardboard) is ultra-smooth with a sheen then it is tempered and should be lightly sanded before applying gesso. If it is light in color and not shiny then it is not tempered and sanding is not necessary.
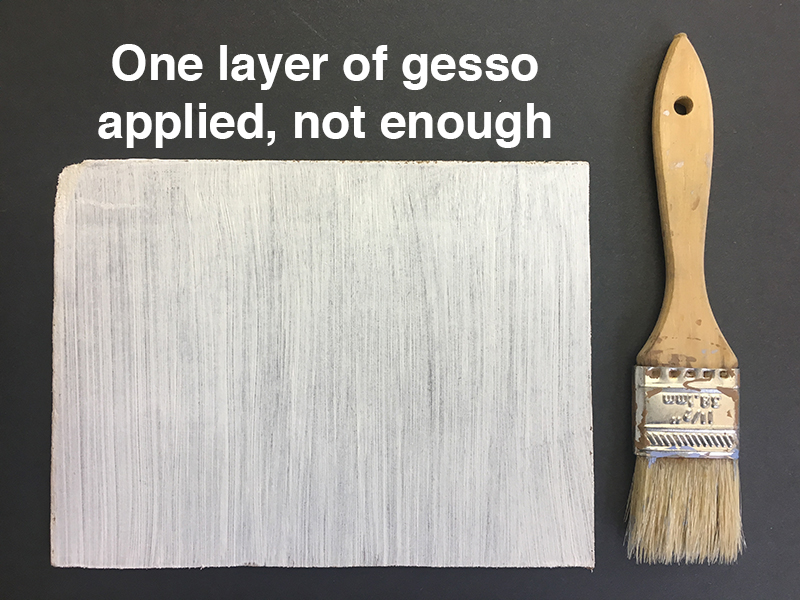
3. Apply gesso. Do not attempt to completely cover a panel with only one coat of gesso. It should take two or more coats of gesso to properly cover your panel. Make strokes in one direction.
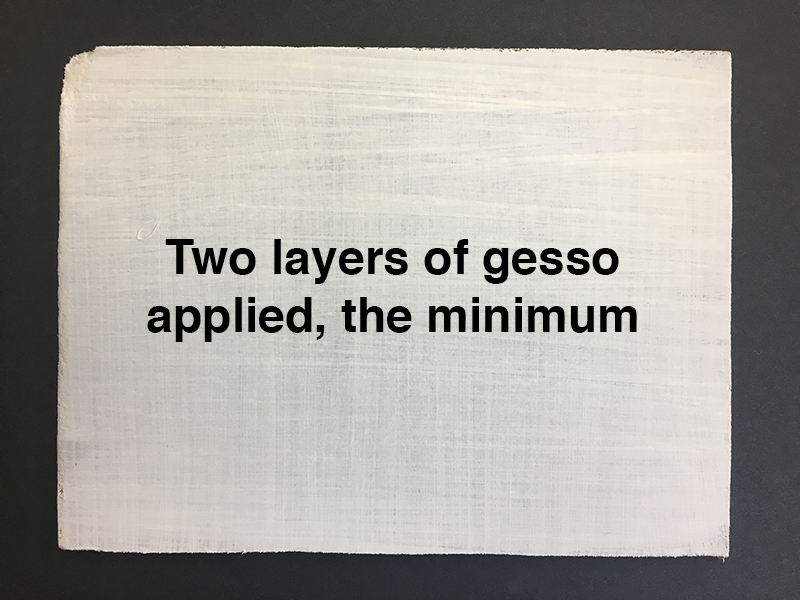
Once dry, apply a second coat of gesso in a direction perpendicular to the first. Doing so will ensure an even application of gesso. At this point, the panel is ready for painting.
If a rough, unique surface is desired then mix other materials (sawdust, dirt, grass, seed beads, etc.) into the gesso prior to priming. If, however, an ultra-smooth surface is preferable then apply 2-4 more coats of gesso in various directions and move on to the next step.
Pro Tip #1 – After the first coat has dried, make an “X” on the back of the panel with gesso to counter any subtle warping that might occur due to the drying (and shrinkage) of the gesso layers. This is not necessary on panels less than 10 inches.
Pro Tip #2 – A hair drier will speed up the drying time between layers.
4. Using a circular motion, remove some or all of the brush strokes with sand paper for a smooth surface. A dust mask is recommended when sanding. Before painting, be sure to remove any excess gesso dust with a damp cloth.
The Panel Experience
The weave of the canvas creates friction that pulls paint from the brush. A smoother surface like sanded Masonite creates less friction between the brush and the painting surface. Your paint will spread farther and more easily on a smooth panel. Oil painters typically use course bristle brushes to apply paint. Long-handled synthetic brushes (instead of bristle brushes) are softer but may adequately spread paint on an ultra-smooth Masonite panel.
Also, painting on hard surfaces like panels give some artists a strong feeling of control when compared to using stretched canvas. Brushes are flexible (even floppy) and a stretched canvas is somewhat flexible as well. When pushed on with a brush, stretched canvas gives some. A panel does not react to pressure from a brush.
The hard surface of a panel offers control in another way as well. The artist can rest his/her hand right on the surface for detail work. Doing so with stretched canvas may warp the surface and is not advised.
Conclusion
Whether store bought or hand-made, painting on a panel is a different experience than painting on canvas and worth exploration. If you’ve never painted on panel, you may try in your next work. You may find the control and finished look that you’ve been looking for.
If so, join over 36,000 others that receive our newsletter with new drawing and painting lessons. Plus, check out three of our course videos and ebooks for free.
Lesson Discussion
Comments are closed.



Thank you for mentioning that painting on a panel is better than using a canvass since it is a lot more durable and so correcting mistakes will be a lot easier. That sounds like a material that is friendly for beginners. Aside from that, I do think that it will be reusable in case I ever want to use it for another painting as I can easily cover the old one. Either way, I will consider using that since I am planning to enroll in a workshop, and I need something that is good for starters.
Thank you – very clear instructions and It has certainly helped me