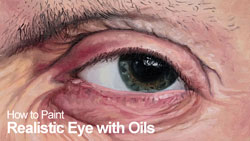
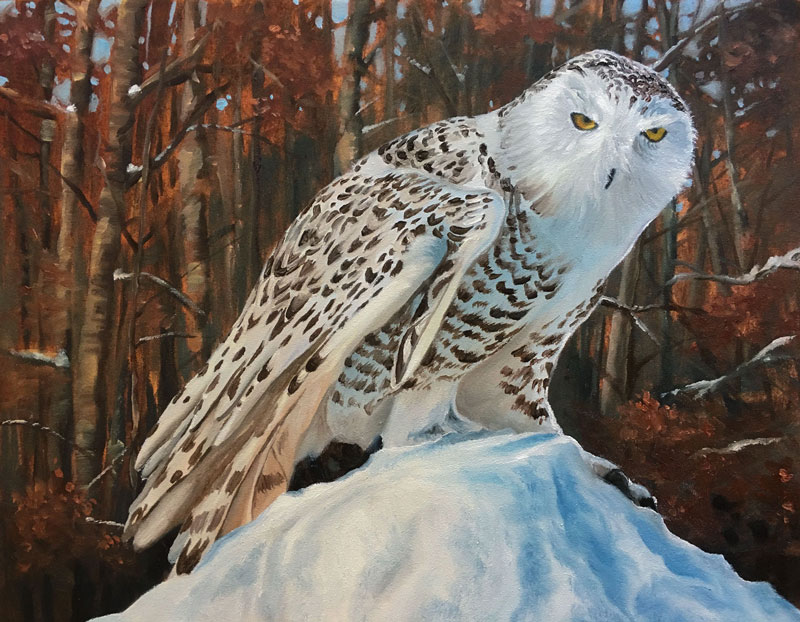
In this oil painting lesson, we'll create an image of a majestic snowy owl. We'll work on a panel that has been prepared with gesso that also features a coarse texture. To avoid the harsh fumes of working with traditional oils and to make clean up a little easier, we'll create this painting with water-mixable oils.
Water mixable oils are oil paints that can be thinned and cleaned up with water. Even though water can be used with these paints, they are still wholly oil paints. This means that traditional oil painting mediums such as linseed oil can be used to apply the medium.
(Some of the following links are affiliate links which means we earn a small commission if you purchase at no additional cost to you.)
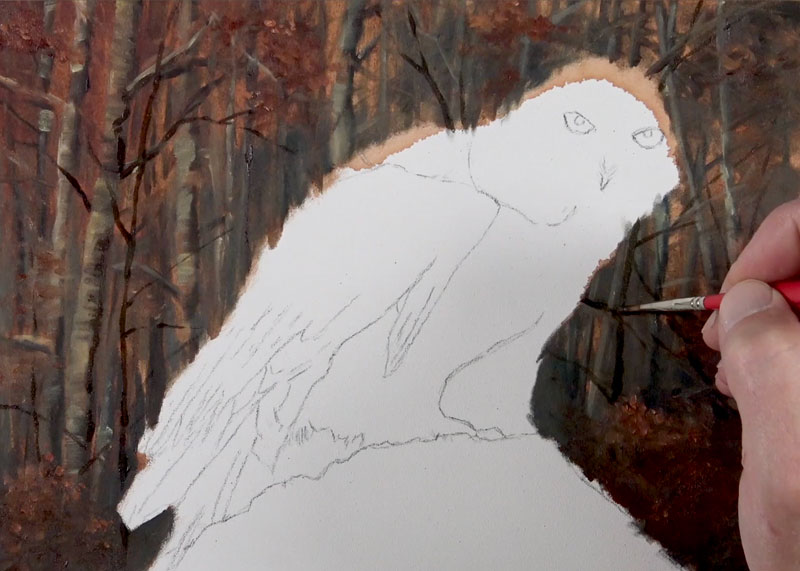
We'll begin with a simple contour sketch on the panel. You may begin your sketch directly with oils if you prefer. For this demonstration, I began with a light sketch with an H graphite pencil. Be careful if you take this approach. Use only a minimal amount of graphite for the sketch since some of the material may mix with your subsequent oil applications.
We'll start with a thinned application of a mixture of Burnt Umber and Burnt Sienna. Since we want the oranges and blues to be a little stronger we'll rely on warmness the Burnt Sienna to produce the natural oranges in the painting.
We can gradually begin to add a few loose tree trunks with a slightly darker mixture of Burnt Umber and Prussian Blue. As our trees began to emerge from the background, we can add highlights on the left side of the trunks with a mixture of Titanium White and Yellow Ochre.
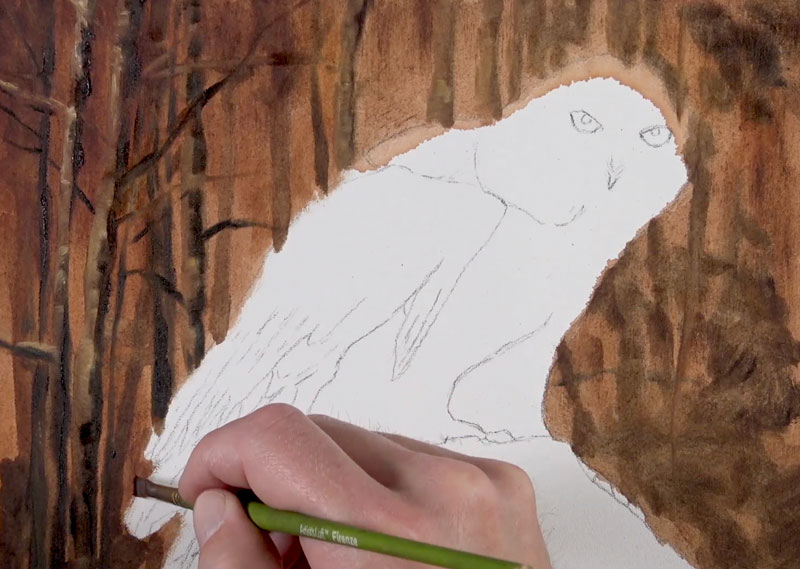
We'll continue layering additional tree trunks and branches over the background, gradually becoming slightly darker with the applications. Darker trees produce additional contrast which makes them appear a little closer to the viewer. Since we want the background of the painting to appear further away from the owl, we'll leave out some of the details and focus mainly on color and value relationships to give the impression of distant trees rather than describing them completely.
We can then add a bits of snow that is resting on the branches. A touch of Cerulean Blue is mixed with Titanium White in order to cool the color. The snow is concentrated in locations where the branches meet the tree trunks.
Bits of the sky is visible through the canopy of trees. A mixture of Prussian Blue and Titanium White is used to address these areas. As this color is added, the shape of the forest begins to make more sense and the branches of the distant trees become visible.
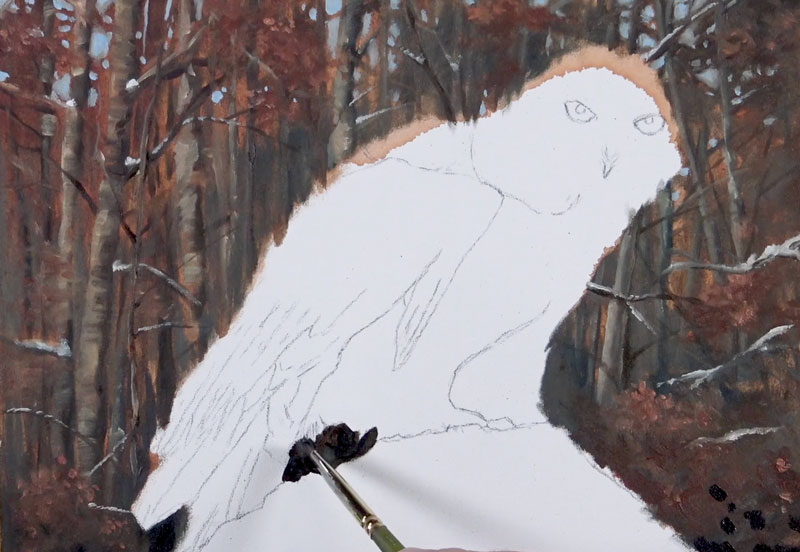

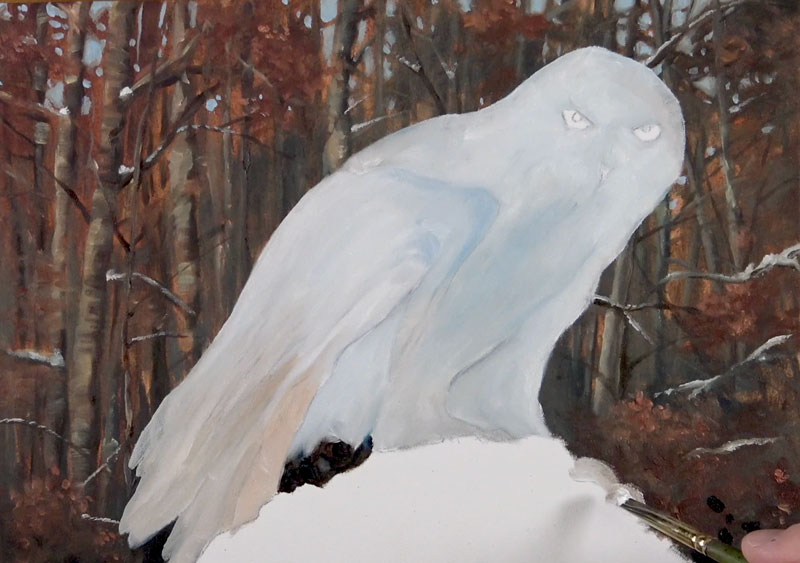
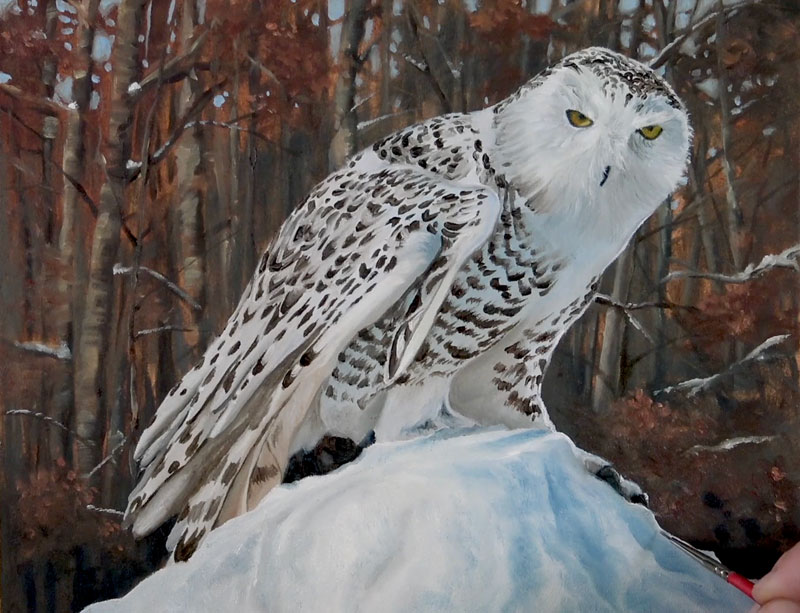
With the background complete, we can move on to addressing the middle ground and foreground. We'll start with the body of the owl. Before addressing the details, we'll model the form by adding warmer and cooler tones. Since the light source originates from the left side in this image, we'll develop the majority of the warmer tones on the left side of the body. Most of the cooler tones exist on the right side, in the locations of shadow. Since we want to accentuate the relationship of oranges and blues, we'll exaggerate this relationship.
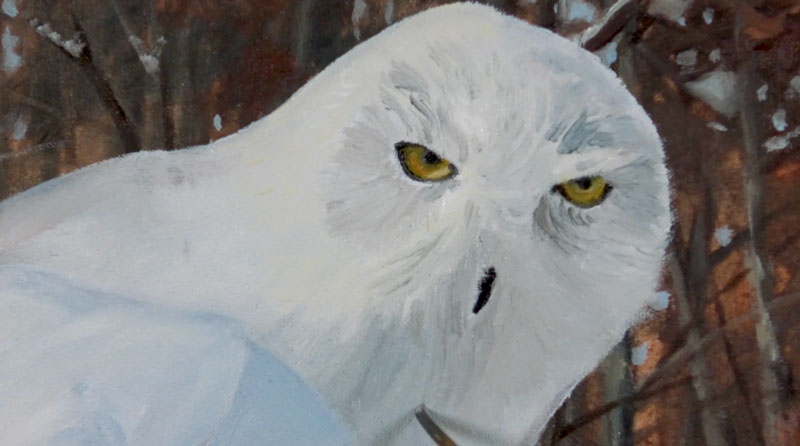
With a base of color on the body, we can begin to develop the details of the face. A mixture of Prussian Blue and Burnt Umber is used for the darkest applications on the beak, the pupils and around the eyes. A mixture of Yellow Ochre, Cadmium Yellow Pale Hue, Cadmium Red and Titanium White is applied in the iris.
We can continue to model the face with slightly darker and cooler tones for the shadows on the face. A touch of Cadmium Yellow Pale Hue is added to Titanium White on the highlighted portions.
Once we have some of the details defined on the face, we can begin to add the distinctive pattern on the bird. These darker tones are mixed with Burnt Umber and Burnt Sienna and then darkened with a bit of Prussian Blue.
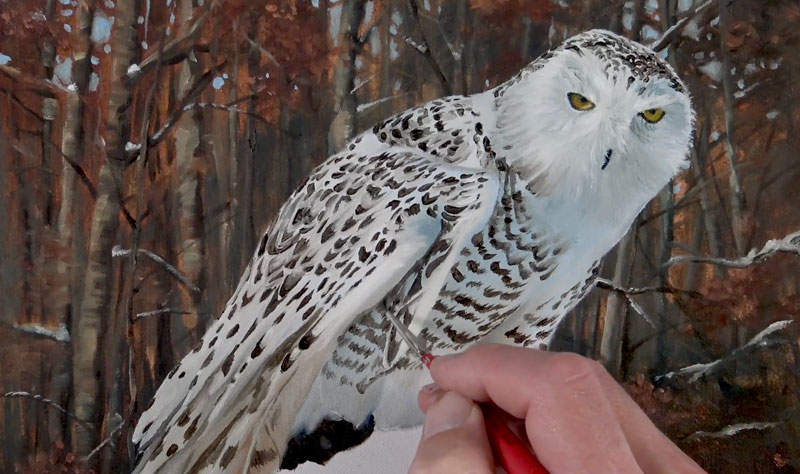
Once the pattern has been added, we can soften up some of the edges by filling in some of the spaces in between with a bit of Titanium White and a touch of Burnt Umber. We can also add additional shadows and highlights to make the form appear a bit more three-dimensional.
With the body of the owl complete, we can begin work on the mound of snow. A warmer mixture of Titanium White and Cadmium Yellow Pale Hue is applied to the bulk of the shape before adding cooler shadows on the right side. Slightly warmer, subtle shadows are added on the left side closer to the light source.
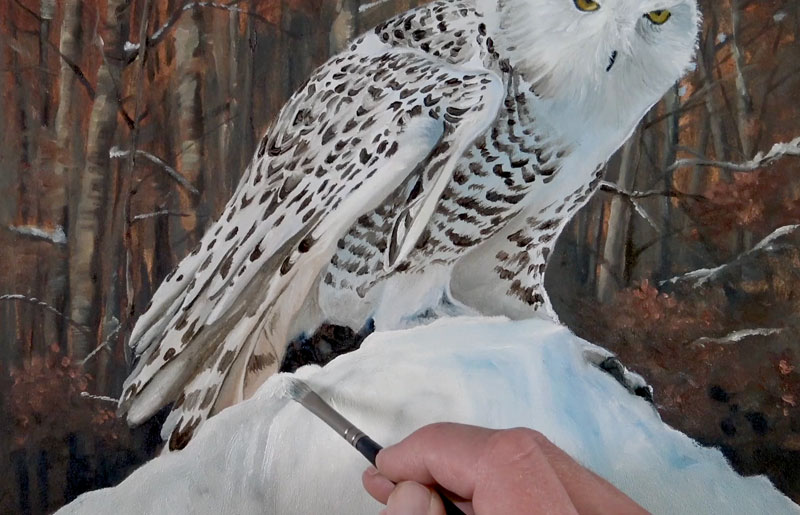
The cooler shadows are strengthened with additional applications of Prussian Blue. Using the tip of the stiff bristle brush, a bit of texture is implied. Along the right edge of the mound of snow, a strong highlight is added with Titanium White.
Our completed painting exploits a contrasting relationship of warmer and cooler colors with natural oranges and blues.