As artists, we should always be improving ourselves. Whether it be improving our technique, mastery of the medium, or artistic voice - we should always be improving. Personally, one of the things I have always struggled with is including too many details in my works. This often leads to works that are static and appear overworked.
One way to improve upon this is to limit yourself and set a time frame to develop an image. This forces you to work quickly and not become overwhelmed with all of the details that you see on the subject. Often what results is a work that is much looser and many times - more interesting.
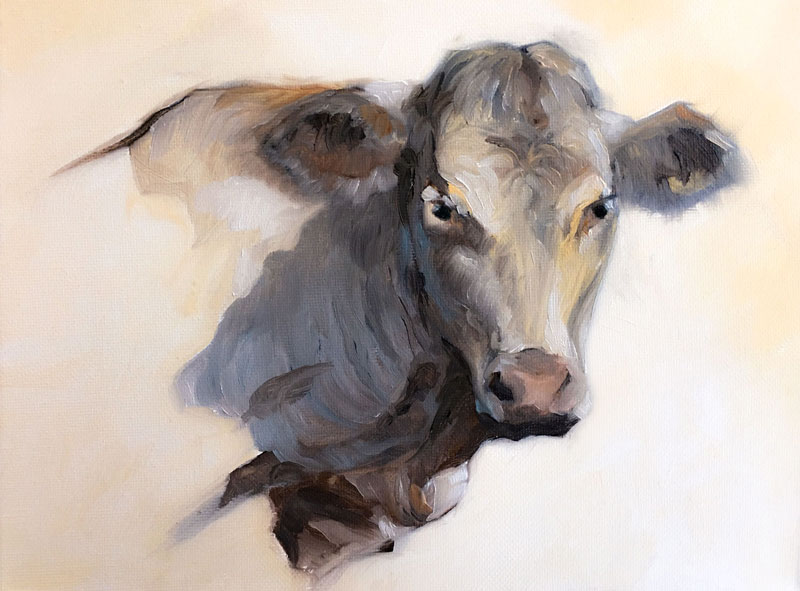
This is the approach I took in this painting of a white cow. I limited myself to just one hour from start to finish and worked with water-mixable oil paints to avoid the harsh fumes of traditional oils.
The following video demonstrates the process of painting a quick sketch of a white cow with water-mixable oil paints. A step by step breakdown, listing of materials, and more on this lesson follows further down the page...
Traditional oil paints are thinned with chemicals that can be quite harsh. Even odorless paint thinners can leave you light-headed after hours of work. An alternative is to use water-mixable oils which are thinned by adding water. These paints are still oils and behave in the manner that you would expect. They blend, mix nicely, and stay wet for long periods of time, allowing you time to work areas within the painting. Even though they stay wet, they dry faster than traditional oils - so waiting for a painting to dry completely is reduced from weeks to days.
Recommended Materials for This Tutorial
(Some of the following links are affiliate links which means we earn a small commission if you purchase at no additional cost to you.)
Synthetic Bristle Brushes
Stretched CanvasWe'll start by addressing the contour lines on a small stretched canvas measuring just 10" by 8". Payne's gray is used for the initial applications while a bit of Burnt Umber is added for some warmth. These colors will affect the colors that are added later, so in this case, they are important. The warmer and cooler colors will create additional contrast in the finished painting.
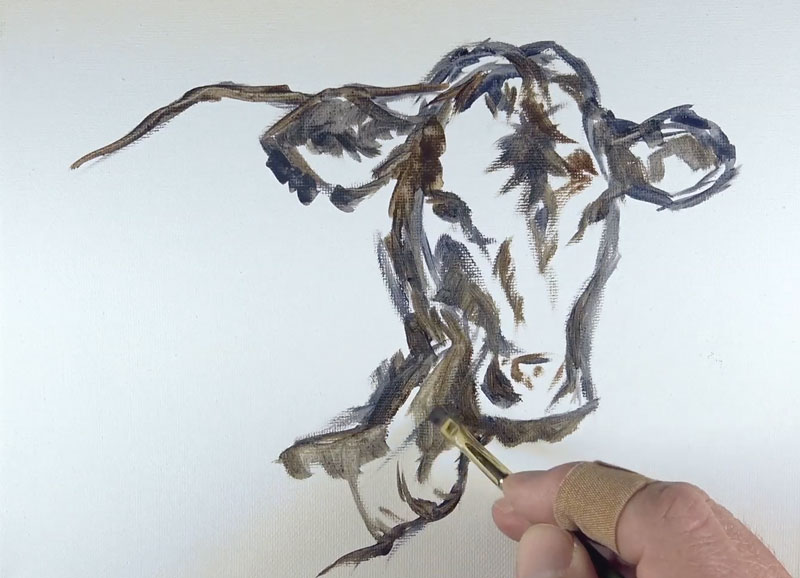
With the contours in place, some of the shapes of shadows are developed. A large cool shadow is placed behind the head on the body of the cow while warmer shadows are created on the left side and underneath the head.
Once these loose shadows are in place, we can begin adding the local color. A cream color is mixed with Titanium White and Yellow Ochre and applied over the sketch. Some of the Payne's Gray and Burnt Umber mixes with this color creating a variety of tones.
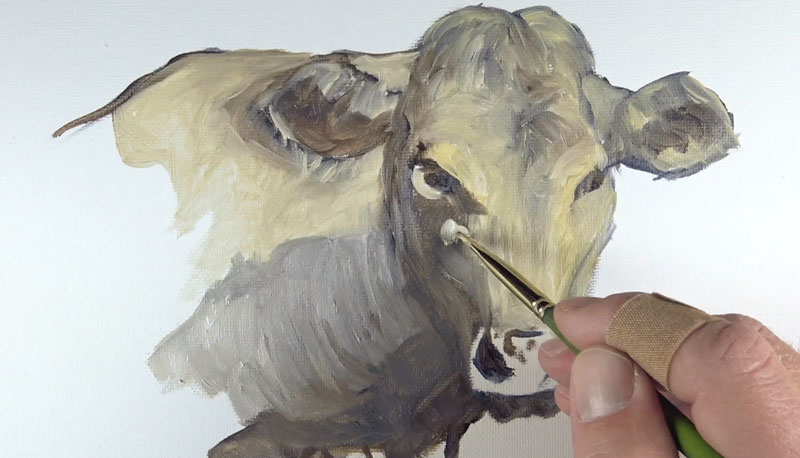
The shape of the shadow on the back, behind the head, is lifted with a mixture of Payne's Gray and Titanium White. The shadows and highlights on the lower portion of the body are developed, pushing the contrast between the Burnt Umber and lighter cream colors. The end of the snout is also addressed with a mixture of Flesh and a touch of Titanium White. The Burnt Umber undertones mute this color slightly, making it appear more natural.
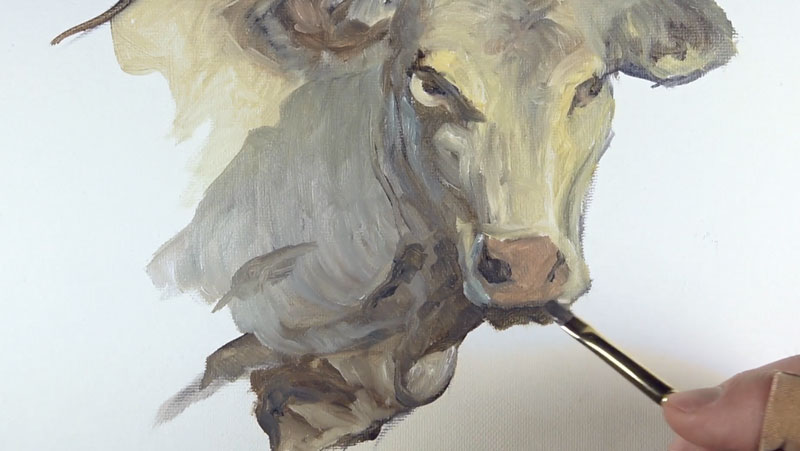

The process of increasing contrast continues with additional applications of the lighter cream in locations of highlight and Payne's Gray and Burnt Umber in the areas of shadow. To add a bit more color, Cobalt Blue is added to a couple of locations of shadow - on the left side of the head and within the cast shadow behind it. A touch of Burnt Sienna is added to the upper portion of the back as well. The edges of the ear are pulled outward with the brush to soften the edge a bit.
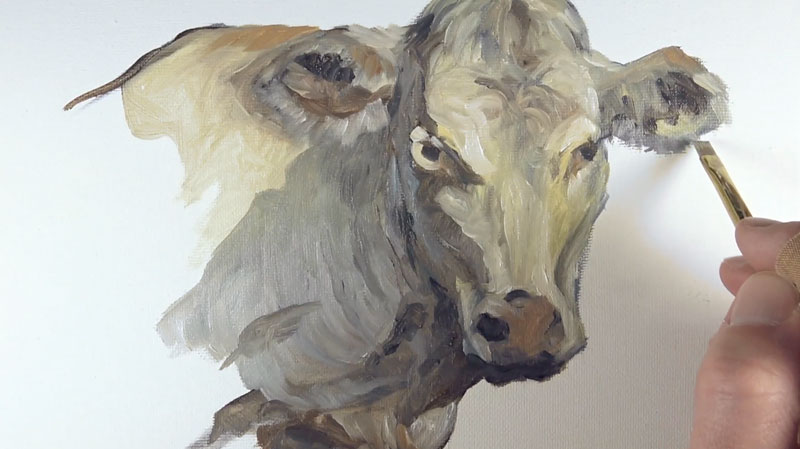
The shape of the nostrils are refined with additional applications of a mixture of Flesh and Titanium White while darker values are strengthened within the eyes. The background color, mixed by combining Titanium White and Yellow Ochre, is filled in around the body with a larger brush. The edge of the ear is softened with the smaller brush, but strengthened along the side of the face and underneath the head.
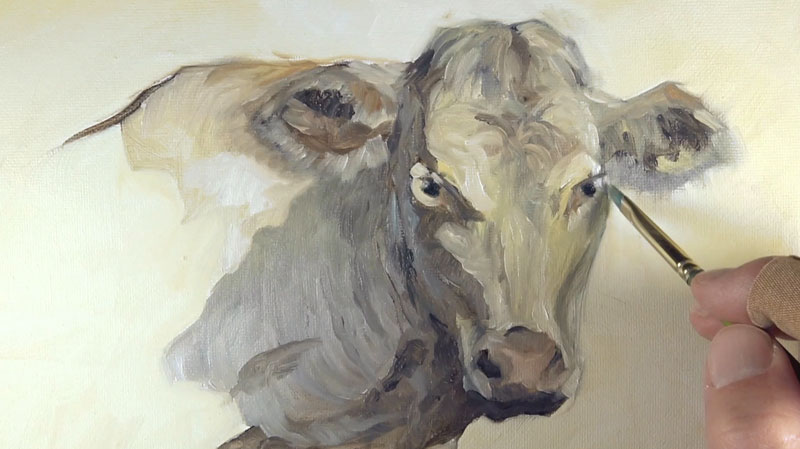
Additional applications of a much lighter cream mixture are applied to strengthen the highlights, increasing the contrast in value even further. Values and colors on the side of the head are gently blended with the brush.

After the last finishing touches are added, the hour is complete and so is the oil sketch. The finished result is loose with interesting brush strokes, but the subject is still clearly communicated.
So if you're looking to loosen up a little and if you find the details of your subject to be a little overwhelming, try timing yourself. You might be surprised what you can create and how this exercise can lead to improvement in your art.