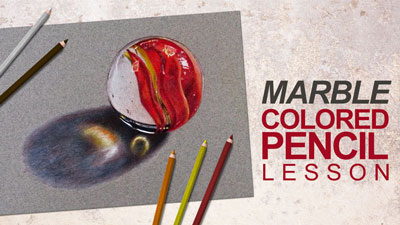
In this colored pencil drawing lesson, we'll use alcohol-based markers to develop an underpainting of values and colors before layering colored pencil applications over the top. The markers provide a quick base of color while the colored pencils provide detail and contrast.
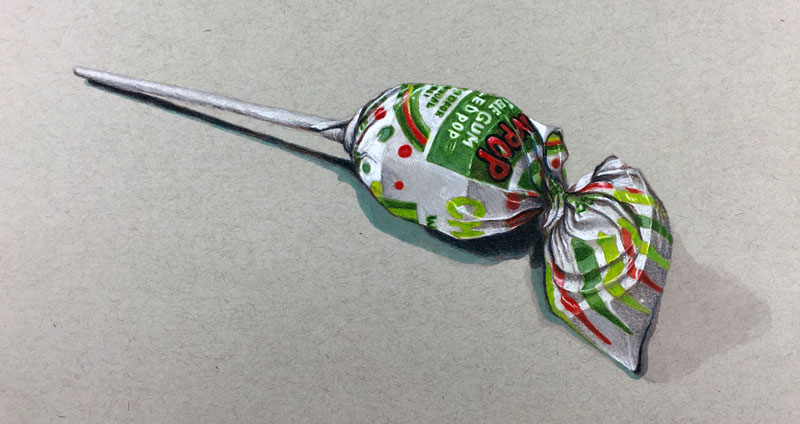
This lesson exploits the best characteristics of alcohol-based markers and colored pencils. Unlike many water-based markers, alcohol-based markers can be applied with semi-transparent applications. This allows us to slowly build up the intensity of the color, much like a watercolor painting. For this reason, it is highly recommended to use alcohol-based markers over water-based.

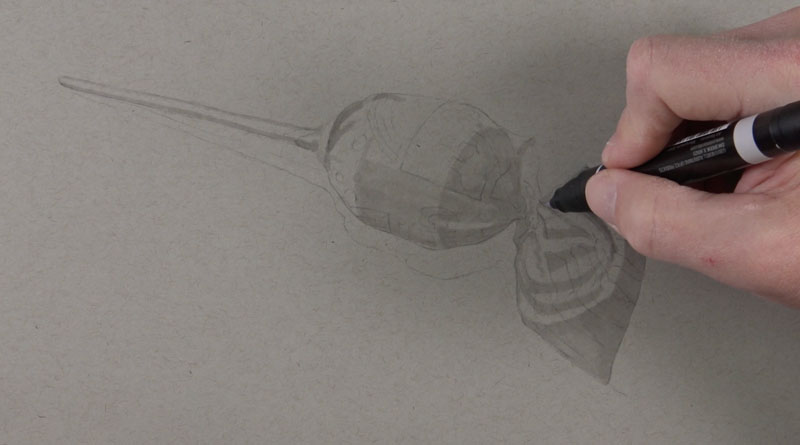
We'll start with a light graphite sketch of the contours of the subject. No value or shading is added since the markers and colored pencils will handle this later in the process.
Before marker applications are made, the light sketch is gently lifted with a kneaded eraser, leaving a very light line drawing.
Next, we begin the initial applications of the markers. We'll start by adding 20% Warm Gray in the locations of darkest value and shadow on the body of the candy. Since the light source originates from the upper left, most of the these darker values will exist on the right side of the body of the wrapper.
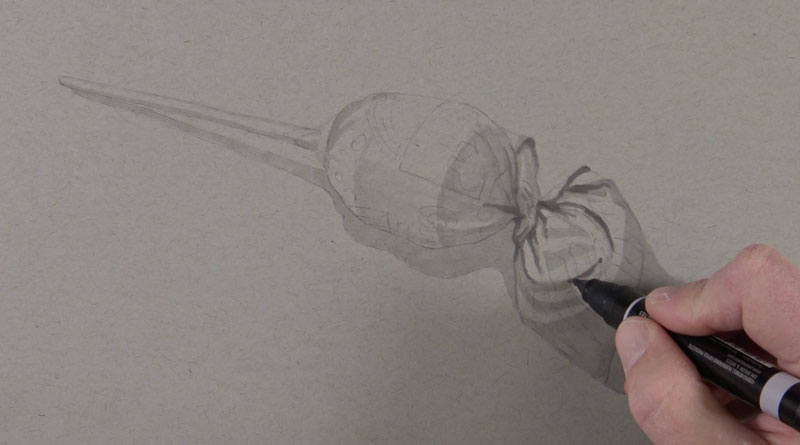
We'll continue applying marker applications to build up an underpainting of neutral tones. Continuing with the 20% Warm Gray, we can go over areas to push the values slightly darker. The shape of the cast shadow underneath and behind the wrapper is also addressed.
To push the values even darker, an additional application of 50% Warm Gray is applied in selected areas of especially dark value.
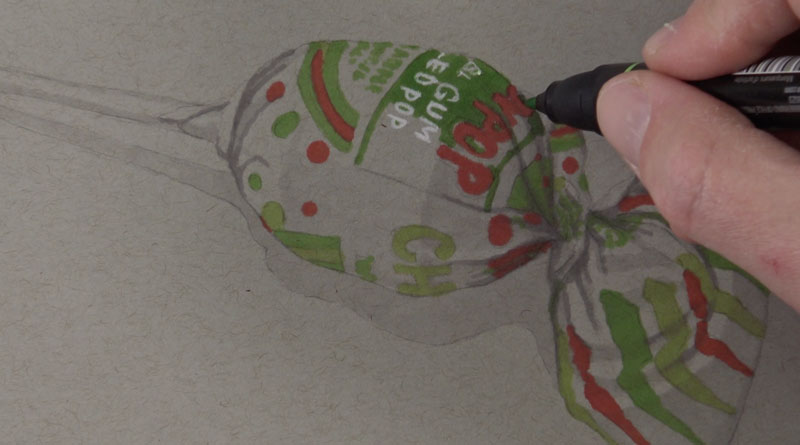
With our underpainting of grays in place, we can begin adding some of the color. Locations of red on the wrapper are addressed with Poppy Red, while the lighter yellow-green sections receive an application of Chartreuse. For the darker greens, Apple Green is applied.
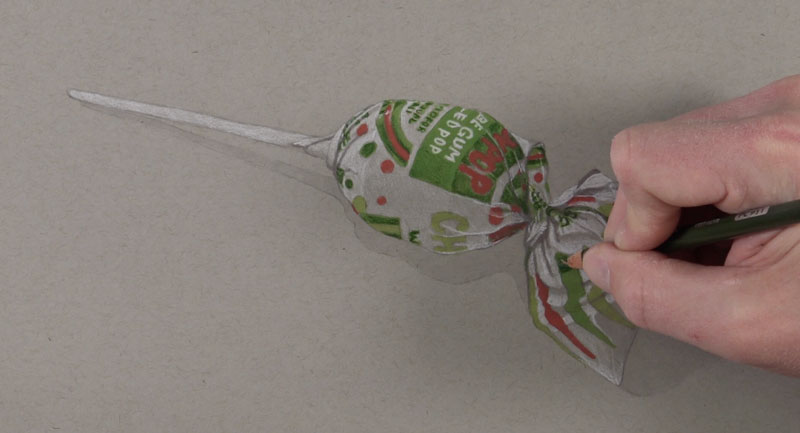
The lettering on the center portion of the wrapper is important. Before applying the Apple Green in this location, the letters are quickly reserved using a white colored pencil. With the colored pencil letters in place, we go back in around them with the Apple Green marker.
After all of the marker applications are in place, we can begin adding the colored pencil applications over the top. These applications will intensify the colors and increase the contrast. We can also sharpen the details because of the added control that comes with using a pencil.
White is added to the body of the wrapper and the stick of the pop. As these applications are made, the light source is considered. Heavier pressure is applied to the colored pencil on the side of the wrapper that is closer to the light source.
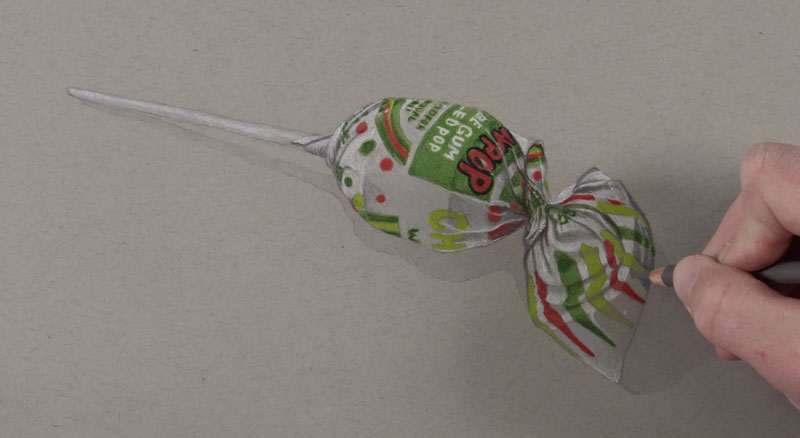
The darker green sections of the wrapper are addressed using an Olive Green, while the lighter green sections are addressed with Chartreuse.
The red sections on the wrapper are addressed with an application of Crimson Red. Around the red letters, a combination of Indigo Blue and Dark Umber is applied to create a more natural "black".
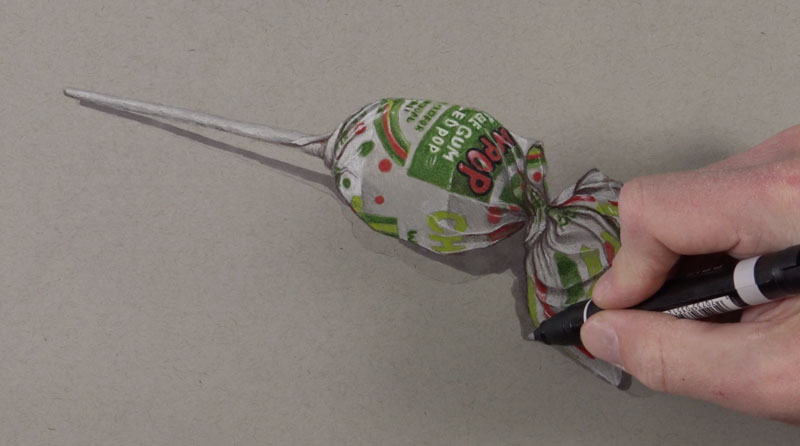
Midtone values are addressed with a bit of 20% Warm Gray, while darker shadows receive an application of 50% Warm Gray. As the colors are intensified with the colored pencil applications, the contrast in the drawing increases and the details begin to stand out.
We'll continue adding bits of highlight with the white colored pencil as we go. Shadows are intensified with a bit of Dark Umber, keeping the temperature warm.
At this point, we're ready to address the cast shadow and darken it with a marker application of 50% Warm Gray.
Since we've used mostly warmer colors to describe the shadows on the candy, we'll a bit of coolness to the shadow to increase the contrast even further. A Jade Green marker is used to accomplish this.
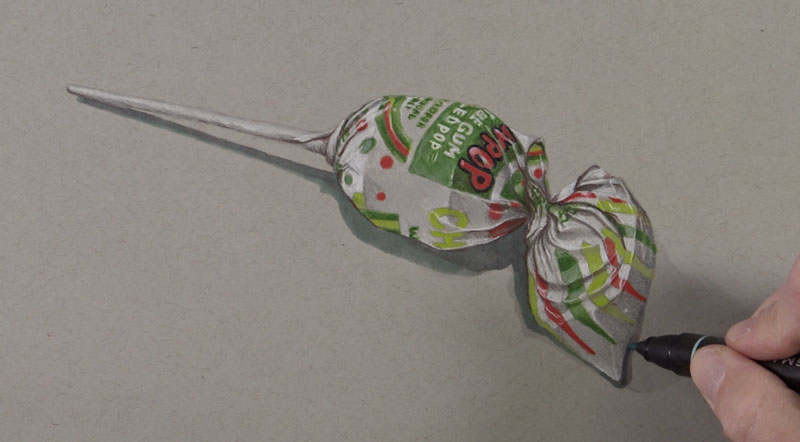
Lastly, we'll increase the contrast in the cast shadow even further with colored pencils. To do this, we'll layer Dark Umber and Indigo Blue to create a strong, rich shadow.
We'll also pull a bit of the Indigo Blue into the strongest shadows on the wrapper making the darks a little stronger.