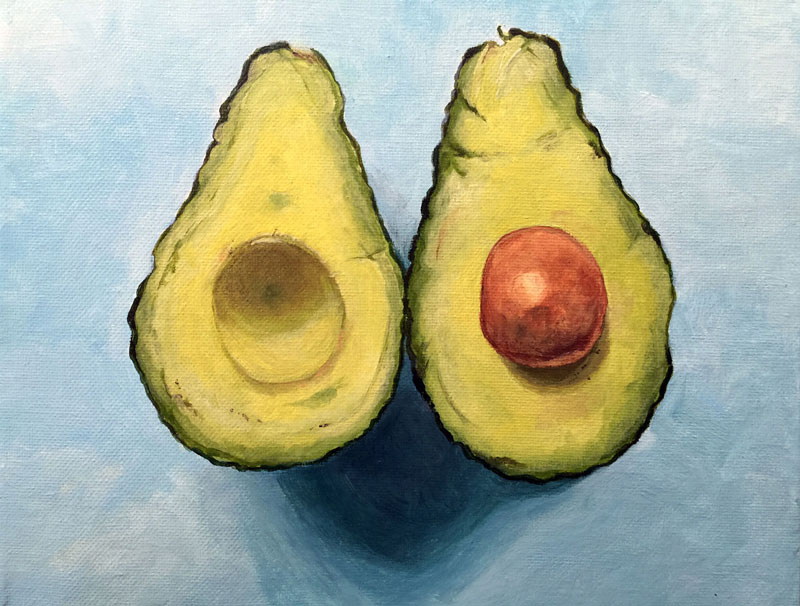
In this lesson, we'll take a look at creating a small still life of a split avocado with acrylics. We'll use a "straight forward" approach of applying colors and values as they are observed in the subject. This approach to painting is typically referred to as "direct painting".
However, since we will be glazing a few applications, it is not direct painting in its truest form. Direct painting, or alla prima, traditionally involves applying color while wet, manipulating values and colors before they are completely dry. Since acrylics dry very quickly and medium to slow drying times is not used, some colors and values are manipulated through semi-transparent glazes.
Direct painting, as the name implies, is a direct approach to applying color. It's how most of us first approach painting. We see a color or value in the subject, recognize the shape it makes, and then apply the color to the surface.
Direct painting differs from another process called "indirect painting". With indirect painting, the values are addressed first. Usually this is accomplished by creating an underpainting with monochromatic tones. If the underpainting is created using a grayscale of values, this is referred to as "grisaille".

Grisaille paintings can stand on their own as finished works, but often transparent glazes are applied over the top. The glazes of color that are applied over the underpainting affect the perceived color without changing the value much. This approach allows the artist to separate the painting into two distinct processes. One in which the values are addressed and a second in which the colors are addressed.
The painting completed in this lesson is relatively small, measuring just 10" by 8" on stretched canvas. Mostly, Golden's Open Acrylics are used for most of the applications, although Golden's Heavy Body Acrylics are also used. Open acrylics feature a slightly slower drying time, allowing for a bit more blending and mixing before the paint becomes dry.
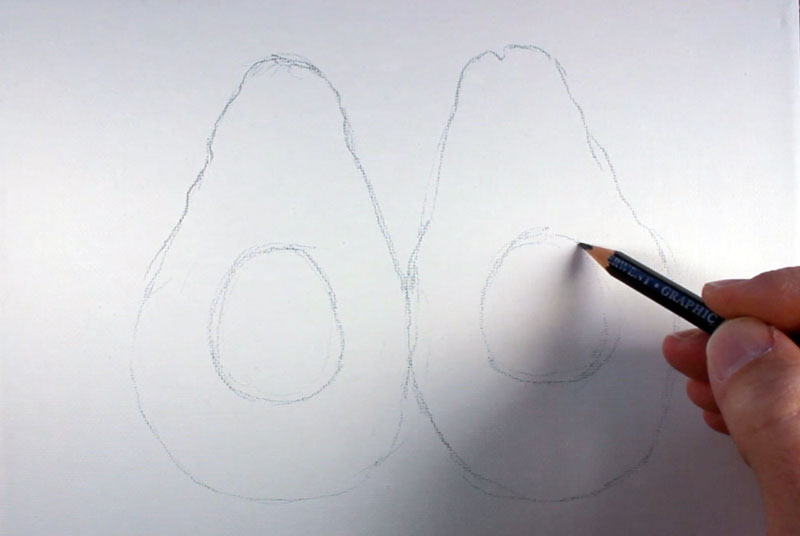
We begin by creating a light sketch of the contours of the avocados. No shading or value is added. An "HB" pencil is used for the initial sketch. This graphite is dark enough to be visible but will easily be covered by acrylic applications.
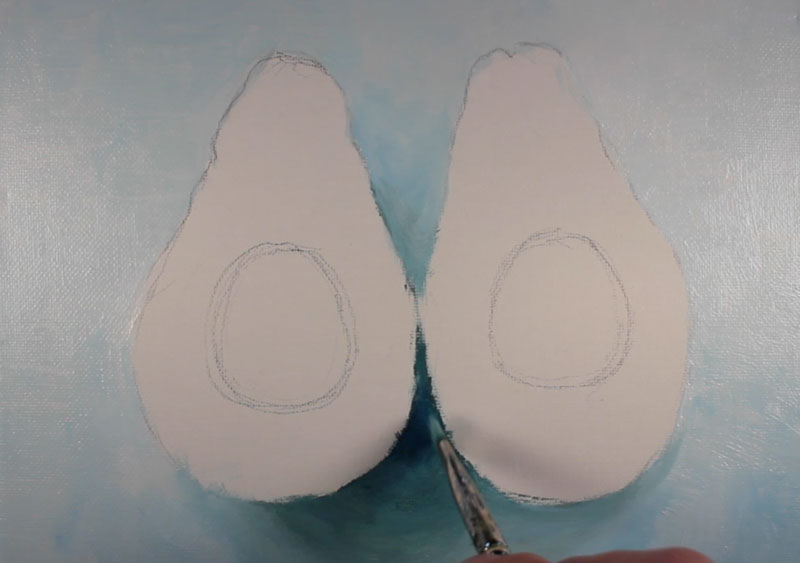
The background is addressed first in this case since we can layer color over it, easily defining the edges of the avocados later in the process. However, as you'll see, once color has been applied and we can make comparisons, the background will be revisited.
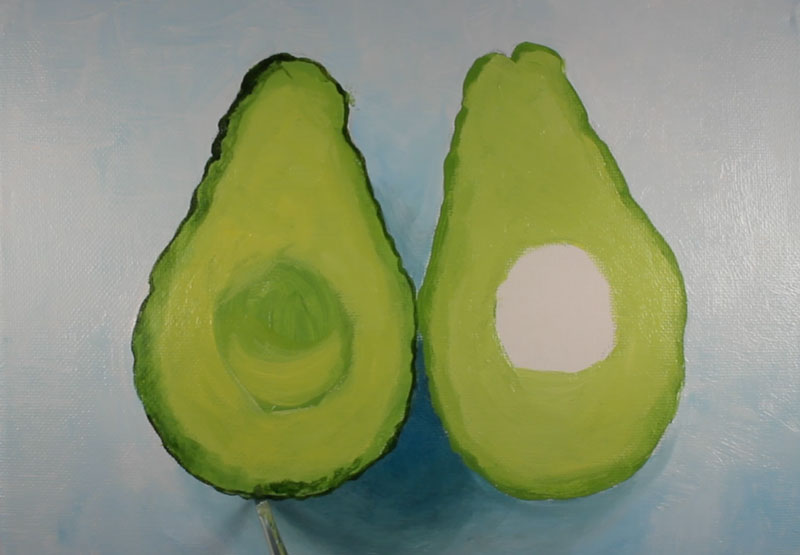
A light blue, created by mixing Titanium White and Phthalo Blue , is applied to the surface. The cast shadow underneath the avocados is mixed by adding a bit of Raw Umber to the mixture. The transition of value is developed by overlapping light and dark applications while the paint is still wet.
Next, the local color of the inside of the avocados is mixed using Titanium White, Sap Green, and a good bit of Hansa Yellow. This color is applied to both shapes and then layered over with progressively lighter versions closer to the center of each avocado half.
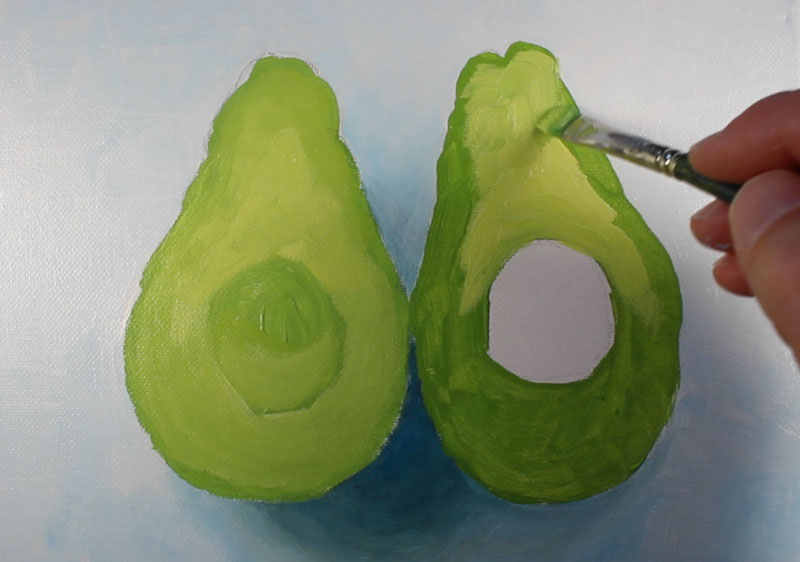
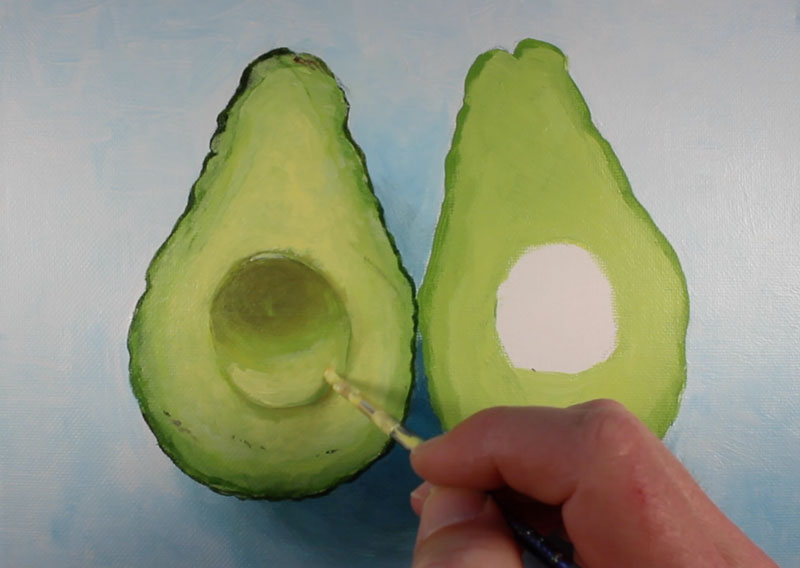
With a darker color, mixed by combining Sap Green and Raw Umber, the edge of the first avocado half is defined. A smaller flat brush is used. A transition area is also defined just inside of the edge, bringing the darker green into the flesh a bit.
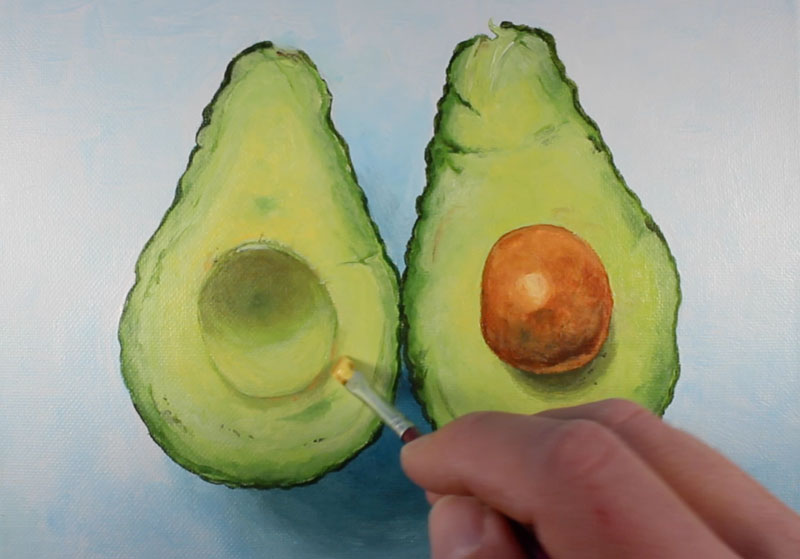
We'll continue to work the light and dark value relationships within the flesh of the first avocado using variations of the yellow-green mixture. The shadow inside of the pit is developed with a bit more Raw Umber in the mixture.
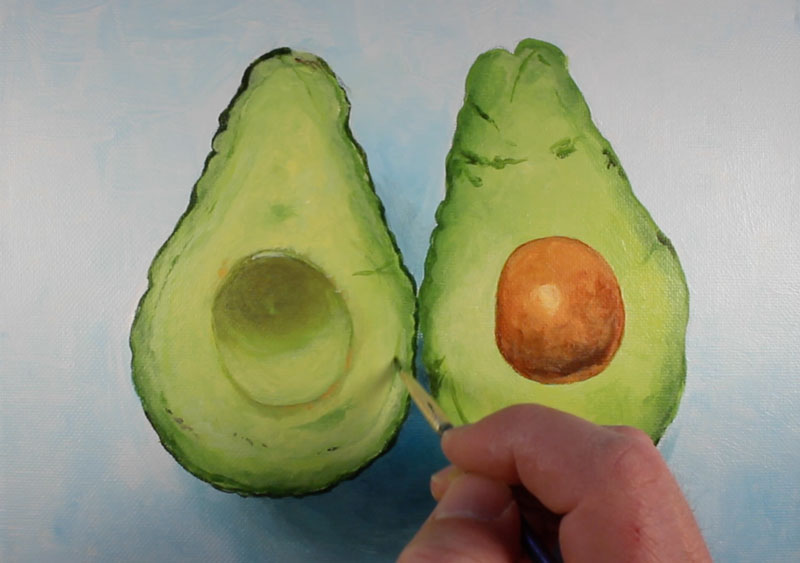
We'll now begin to work on the second half by defining the seed. Burnt Sienna is applied and then "sculpted" with lighter and darker versions of the color. A highlight is defined as well as an area of core shadow.

Just as we did with the first half, we'll develop areas of darker and lighter value to define a few of the details. As we do so, we'll also add a few marks to the first avocado in order to remain consistent with our values and color.
In this image, our light source is originating from the top portion of the picture plane. This is producing not only a cast shadow underneath the avocados, but also a cast shadow behind and underneath the seed. This shadow is addressed with a darker mixture of our yellow-green mixture, created by adding a bit of Raw Umber.
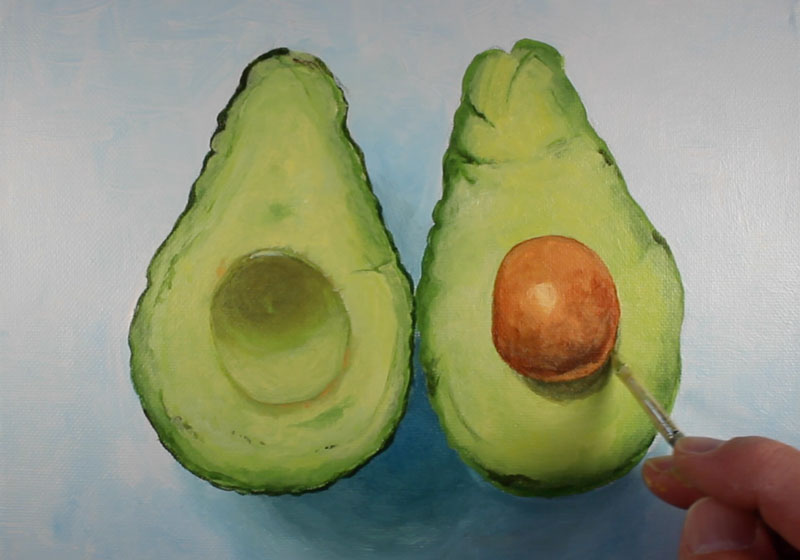
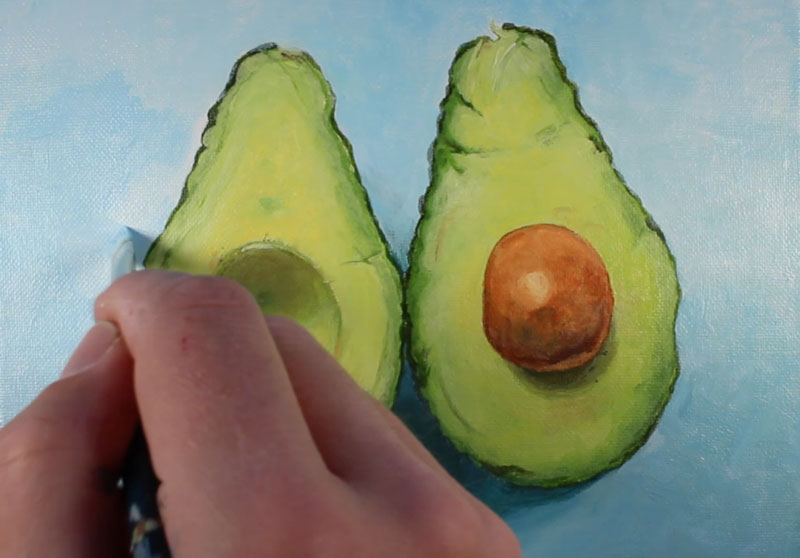
The color of the flesh is altered slightly using a glaze of Hansa Yellow. This glaze is created by mixing the color with a liberal amount of glazing medium.
With the colors and values in place on the avocado, it becomes clear that the color of the background is not strong enough to produce the desired contrast. Another application of Titanium White and Phthalo Blue is applied to strengthen the color. The shadow is also adjusted and strengthened.
The completed painting...