by Matt Fussell
Oil pastels are a unique drawing/painting medium for creating color art. Because of their unique characteristics, many artists choose to use them over other color media.
Oil pastels behave in a similar fashion to traditional soft pastels, but they also possess characteristics that are similar to that of crayons.
There are two types of pastels - oil and soft (or chalk). Although some of the techniques used to draw with both types of pastels are similar, oil pastels and soft pastels are uniquely different.
Oil pastels are made up of a pigment that is held together by linseed oil. Oil Pastels have an oily consistency that produces a painterly effect. The nature of oil pastels allows the artist to work them in a similar way to painting. Thus, a finished oil pastel drawing has many of the characteristics of a finished painting. Many people consider pastel a painting medium, even though the process of applying the medium is clearly drawing.
Because oil pastels consist of an oil binder, they are less powdery than soft pastels. As a result, oil pastels are more difficult to blend with a finger or a blending stump. Oil pastels can be layered like soft pastels, but only to a certain degree. This has to be taken into consideration when using oil pastels. If too much material is applied to the surface, colors can become muddied.
Another side effect comes when the pastels take up or "pull up" previous applications. Care should be taken to avoid this by planning out the layers of colors that are to be added.
Oil pastels can behave like wax-based crayons when they are initially laid on the drawing surface. Typically, the desired end result for the artist is not a "crayon-esque" drawing however. Luckily, as layers are added, the medium becomes more buttery and behaves in a similar fashion to paint.
Interestingly, techniques for oil pastels are very similar to those of colored pencils. Here's a look at what I suggest when using oil pastels...
1. Create an Underpainting - It may be a good idea to create a loose underpainting of values and layer local colors on top.
2. Layer colors - colors should be layered to achieve depth in color and value.
3. Slowly Build Up Applications - Adding large quantities of pastel too quickly can lead to muddied colors.
4. Clean Up the Edges with a Background - You can define the edges of your subject by drawing in the background and cleaning up the edges.
Here's a look at the entire process...

(Some of the following links are affiliate links which means we earn a small commission if you purchase at no additional cost to you.)
Artists may chose to work on a variety of surfaces including paper, canvas, cardboard, or masonite. Most commonly, paper is used. The tooth or texture of the paper also affects the finished image. A heavier tooth or rougher texture of the paper can produce a grainy image while a smoother texture creates a sharper image. Most pastel artists choose to work on surfaces with a substantial tooth because multiple applications of pastel can be applied. Multiple, layered applications of color often leads to more depth in the image. Smoother surfaces can still accept multiple applications, but to a lesser degree.
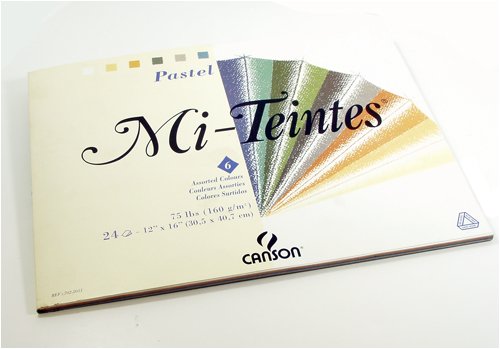
The surface used in this demonstration is Canson Mi-Teintes paper (affiliate link). This paper is specially designed to accept applications of pastel. Featuring a medium tooth, the paper allows for multiple applications of both soft pastels and oil pastels.
Most artists will find that starting with a toned paper will help in creating a full range of value in the drawing. Starting with a middle value allows the artist to "push" values lighter or darker. The artist can also allow the color of the paper to show through pastel applications in areas to add interest.
Oil pastels are relatively inexpensive compared to other art media. Sets are widely available and quality can be had without much investment. For most beginners, it is suggested to start with a higher quality oil pastel since the difference in price is minimal.

My favorite oil pastels are the Expressionist Oil Pastels (affiliate link) by Sakura. The pigmentation is rich and the consistency of the binder is buttery. Colors can be easily layered and blended with multiple applications.
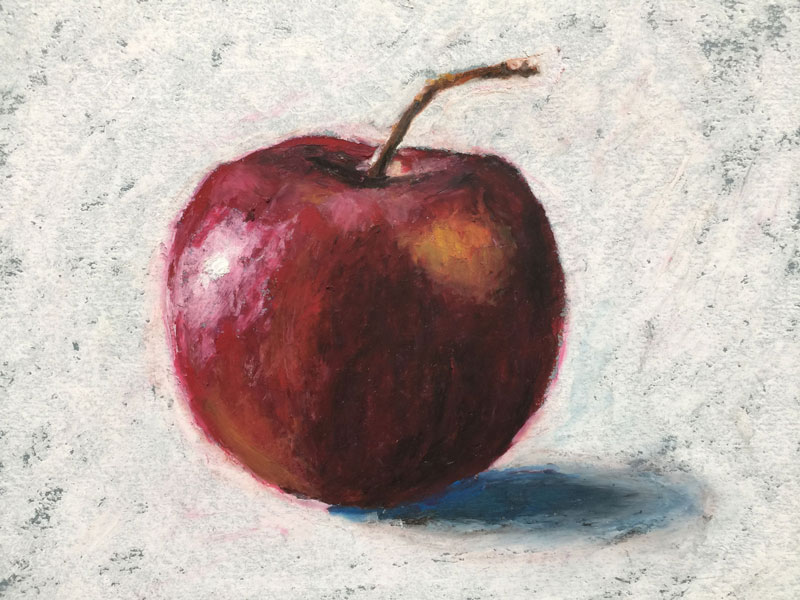
In this simple lesson, we take a look at drawing an apple with oil pastels. A step by step breakdown of the process can be found further down this page.
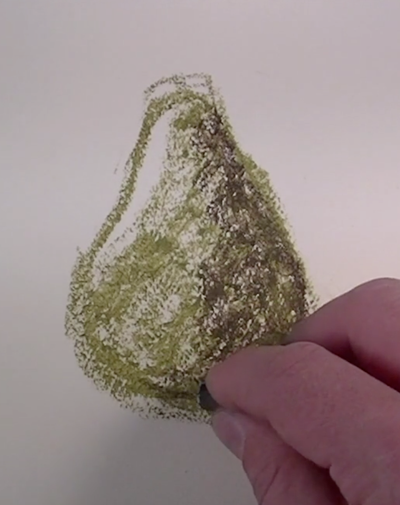
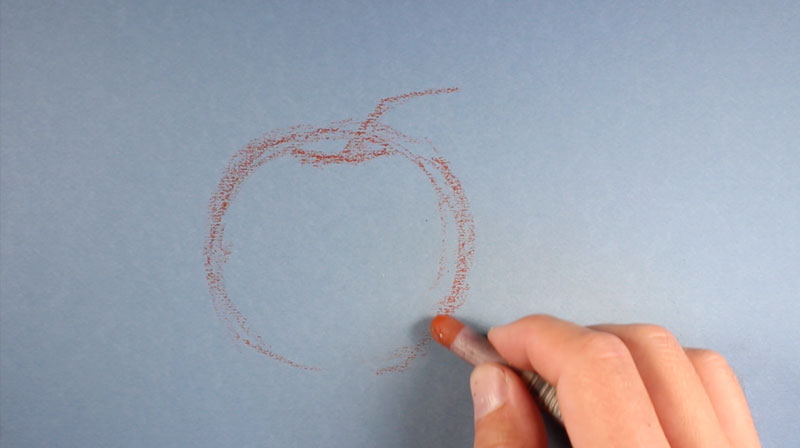
We'll begin the drawing by lightly drawing the shape of the apple with a brown pastel. Marks are loose in the beginning stages.
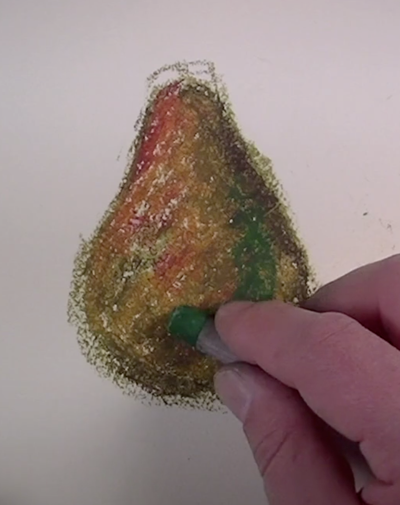
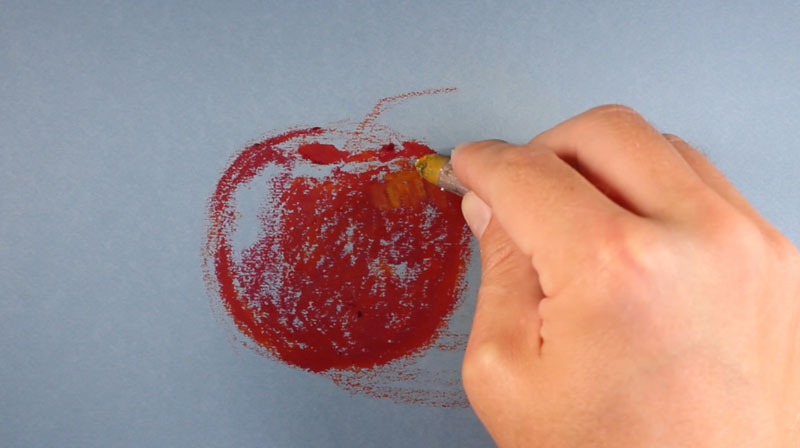
Next, we can begin to establish a bit of color and value. The locations of darker value are addressed first. A variety of colors are applied including Dark Rose, Rose Gray, and a bit of Yellow Ochre.
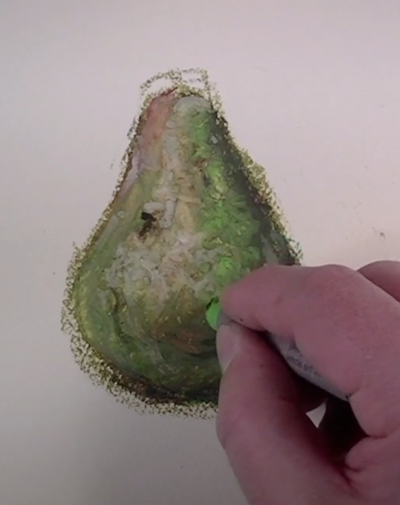
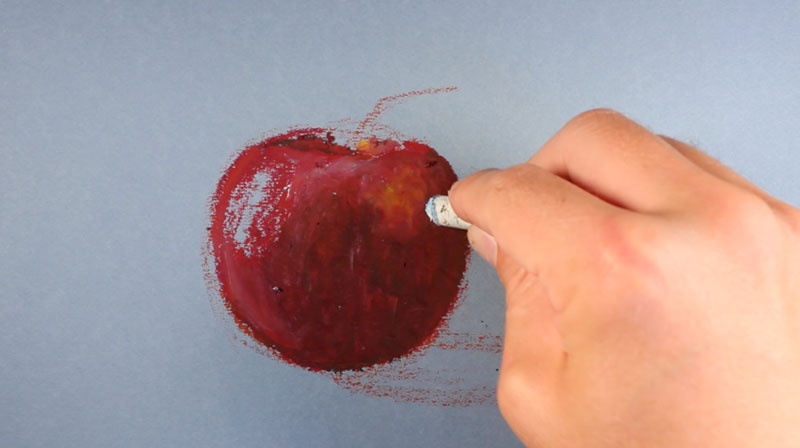
To make the shadows a bit darker, a dark brown is applied. This is followed by an application of the colorless blender, which features the binder of the oil pastel but no pigmentation. Colors mix together, creating a smoother transition between colors and values.
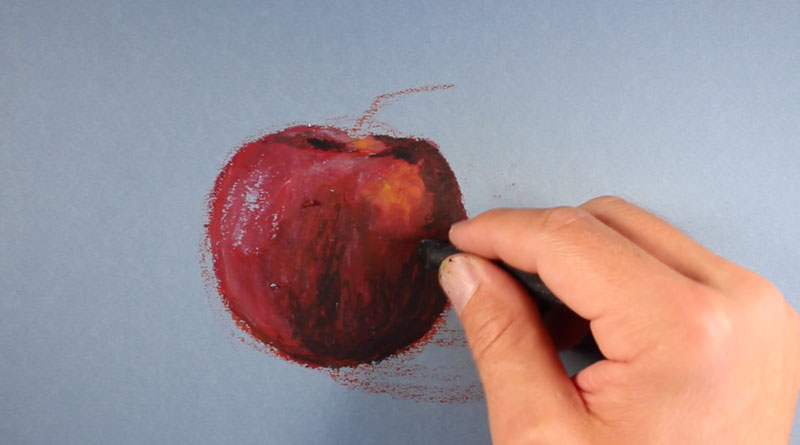
The dark brown application makes the values a bit darker, but black pushes them even further. Black is applied in the locations of shadow with a "light touch". This application is worked into the surface by layering a dark red (Dark Rose) and then mixing it with the colorless blender.
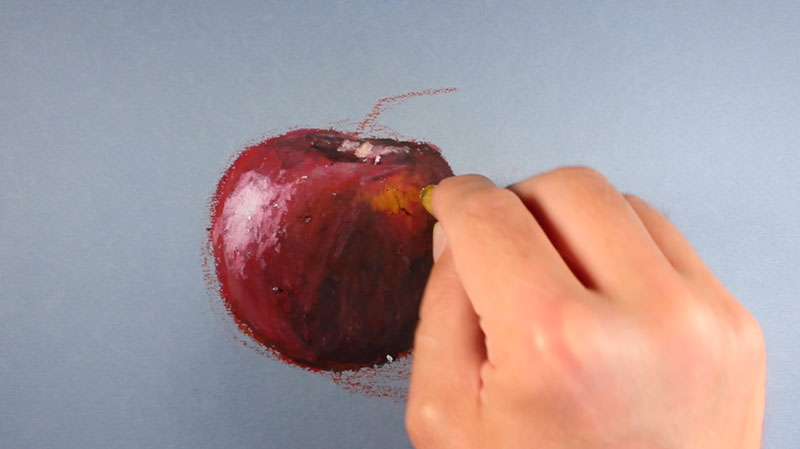
Now work can begin on the lighter values. White is applied to create the highlights on the apple. Yellow Ochre is again applied to strengthen intensity.
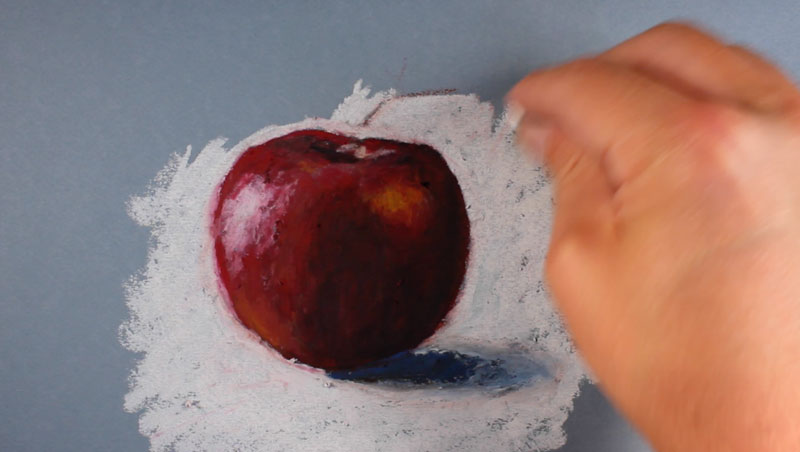
For the cast shadow, a layered application of dark brown and bright blue is applied. To create a "cooler" shadow, the blue is allowed to dominate the mixture.

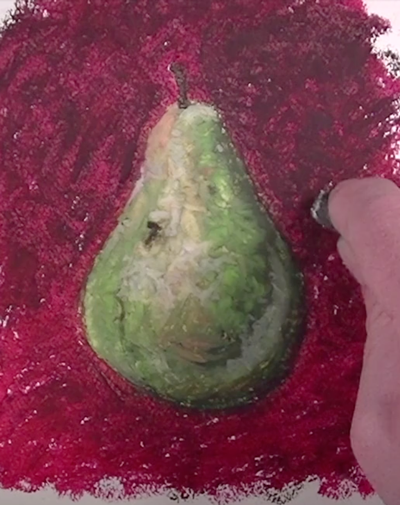
White is applied to clean up the edges of the apple.
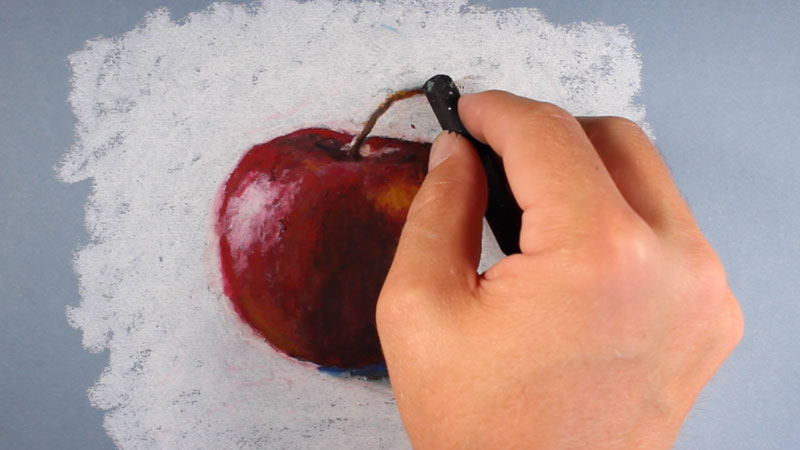
The stem of the apple is addressed by layering applications of Burnt Sienna, dark brown, white, and a touch of black.
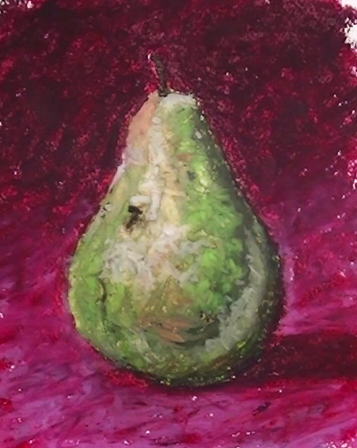
With a few highlights added to the upper portion of the apple, the drawing is complete.
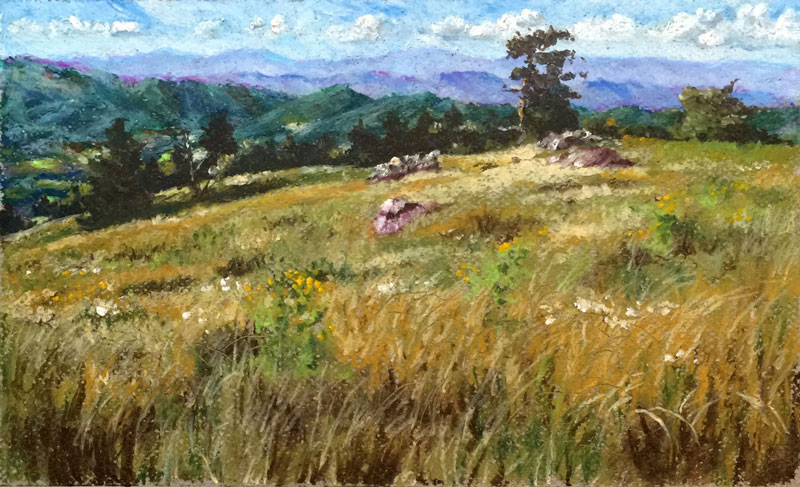
Painterly landscpes are easily created with oil pastels. Because we can layer colors quickly, we can block in areas in a short period of time. These areas can be reworked throughout the process to build up additional depth in the color.
We can chose to use colors that were slightly different from those in the reference photo. By doing so, we were able to create a work of art that was more interesting than the reference photo. This is something that you should always strive to do in your own drawings and paintings. We're artists after all, not cameras.
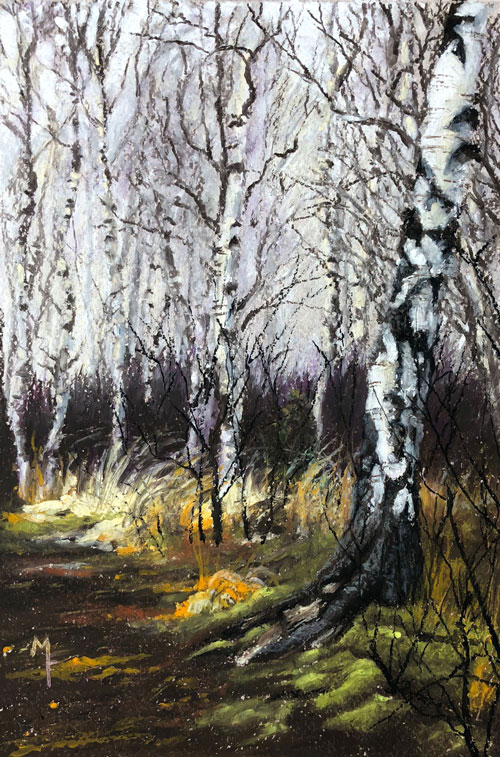
Here's another approach to landscape drawing with oil pastels. In this lesson series, we took a more Impressionist approach. We still altered the colors slightly to create a more interesting piece of art...
VIEW ENTIRE SERIESAnd here's a look at this landscape drawing completed with oil pastels...