Before we look at Graphitint Pencils, we must first define "graphite". Graphite is a naturally occurring mineral that consists mostly of carbon. Often, the graphite material found in standard pencils is mistakenly referred to as "lead". The word "graphite" literally means "writing stone". Graphite that is found in drawing pencils consists of a pulverized version of the material that is molded with clay constituents, making it soft enough to make marks and be sharpened. Softer graphite produces darker marks, while harder graphite makes lighter marks.
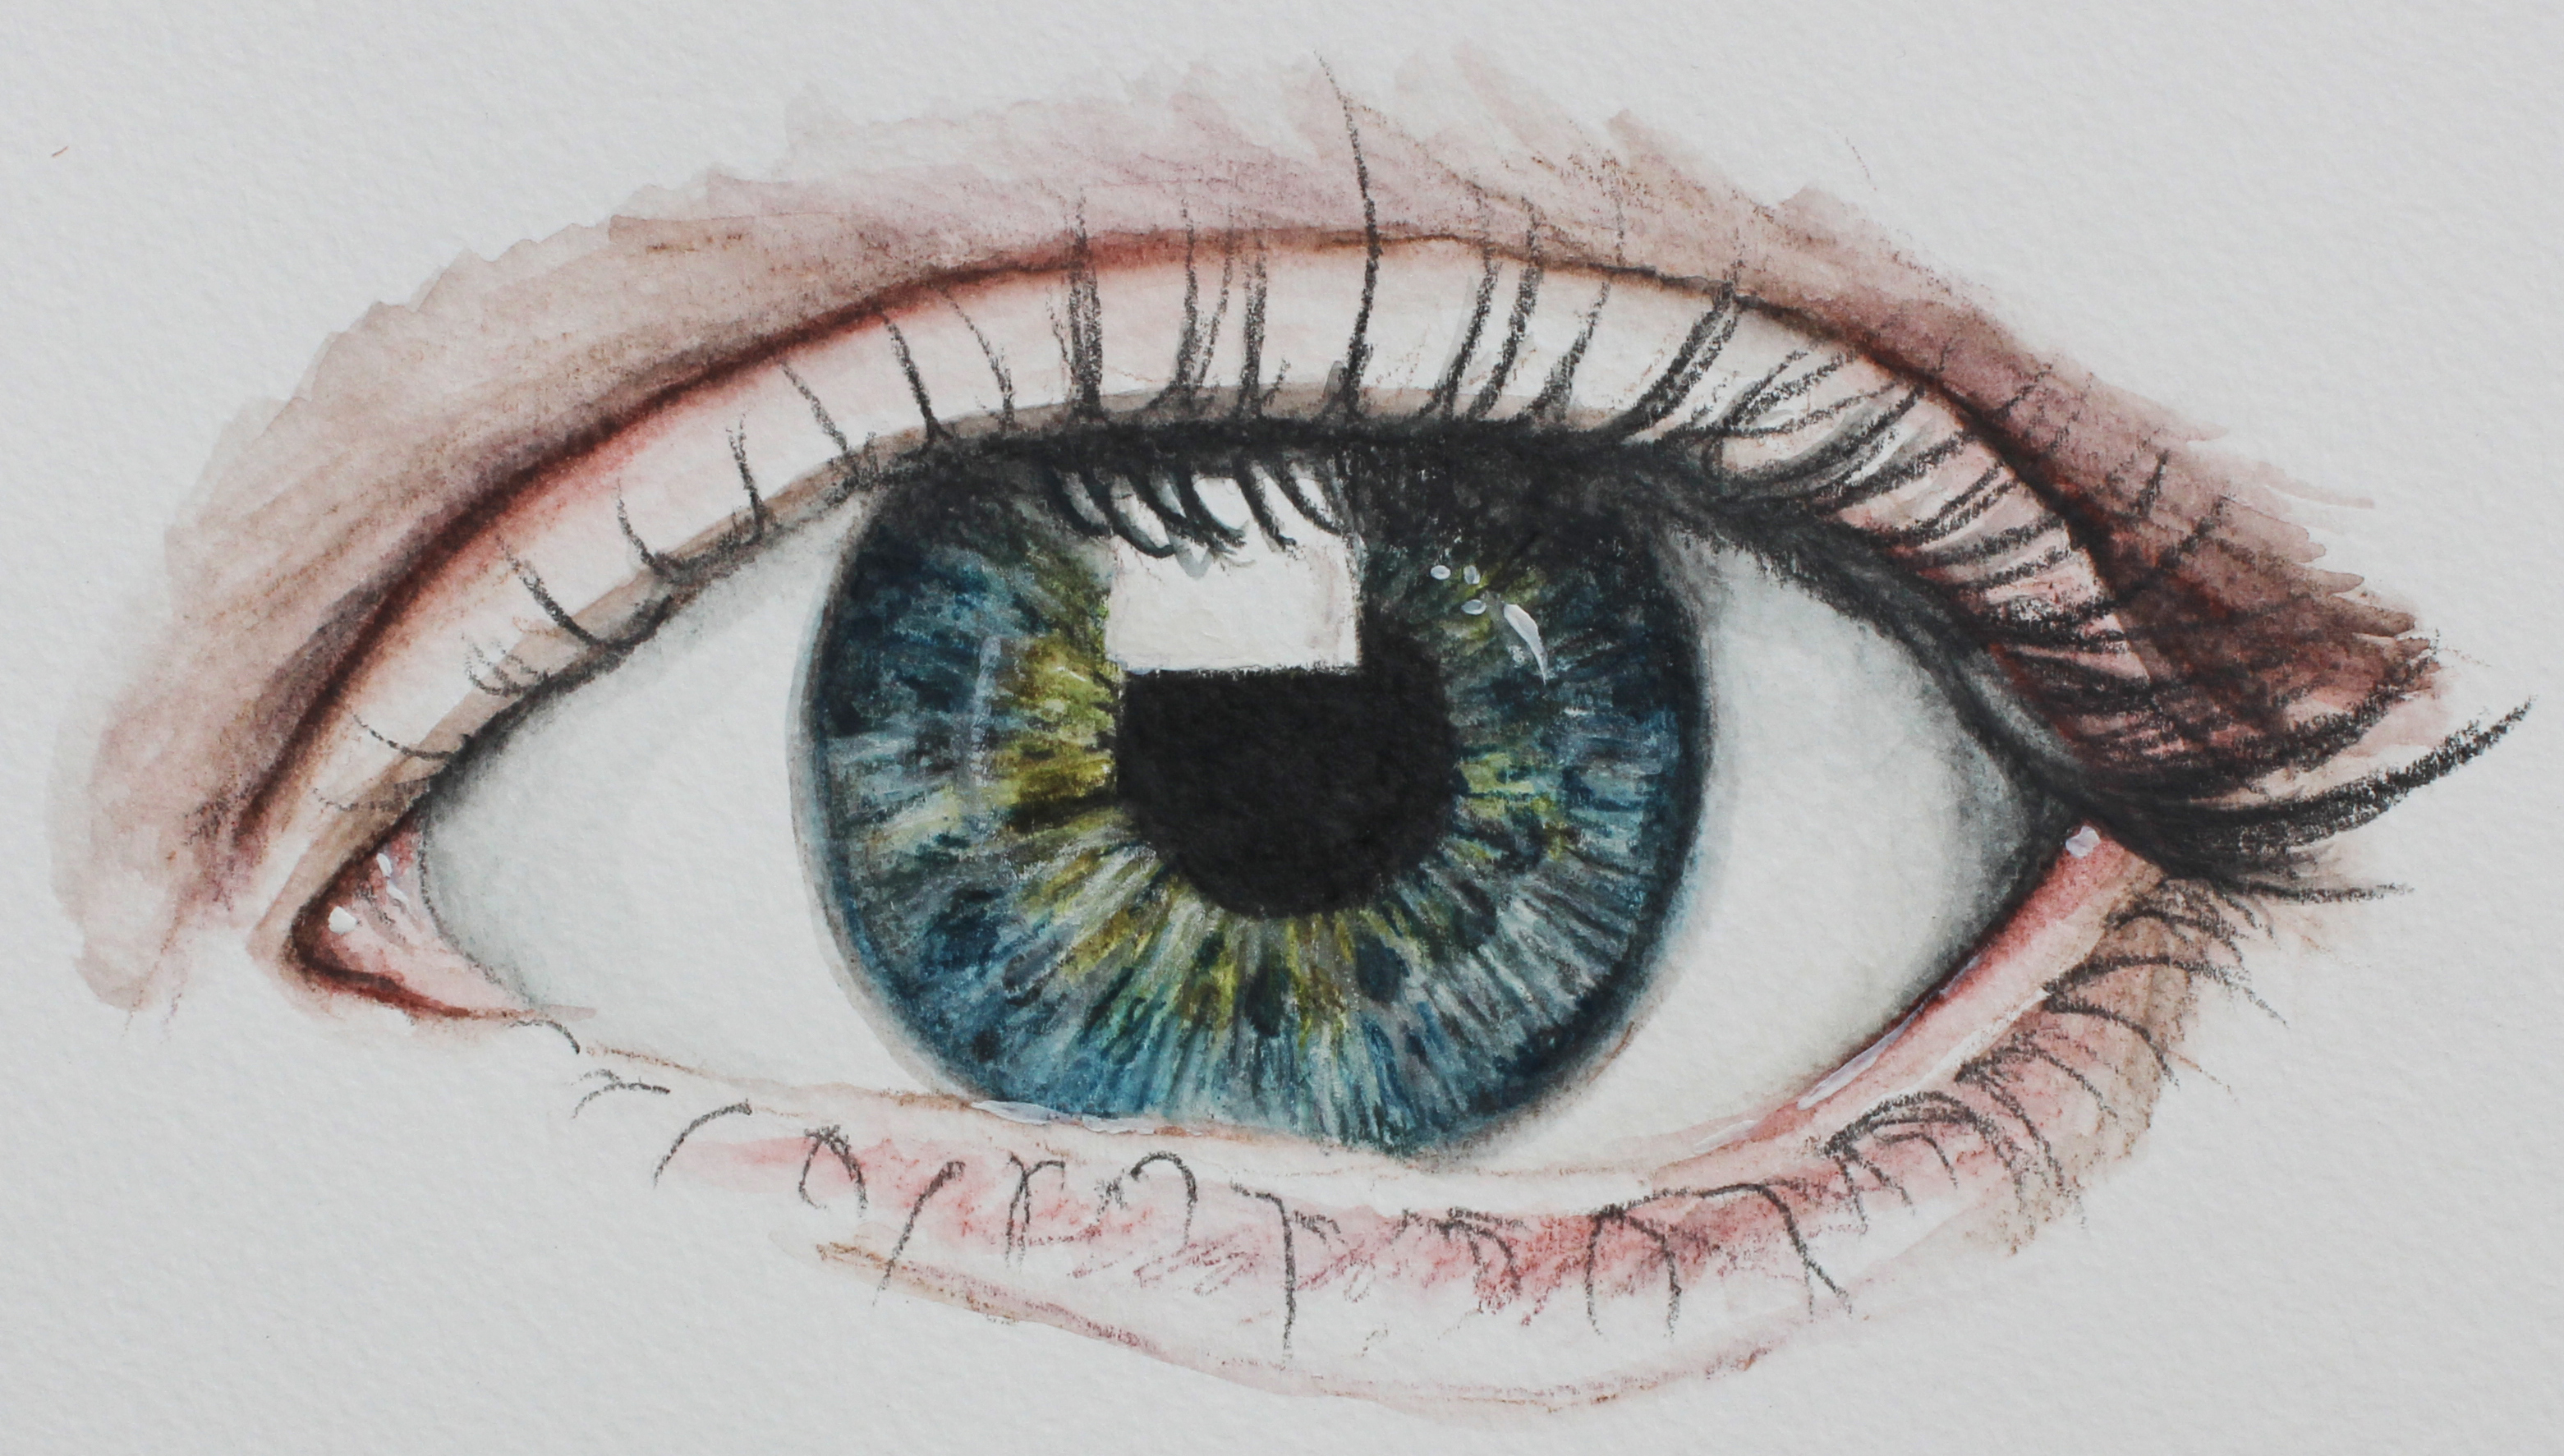
Graphitint pencils are made by Derwent and are simply pigmented graphite pencils. They can quickly be described as a mix between colored pencils, watercolor pencils, and graphite drawing pencils.
I am working with a 24 pencil set in the video, and the first thing that I noticed when I opened the set was a lack of bright colors. Yellow and any bright reds are missing. The colors are muted which make perfect sense, considering that when gray is mixed with a color, it changes its intensity. (Graphite is naturally gray in color.) This may seem like a limitation, but I noticed that colors become more intense when activated - more on that in moment.
There are lots of grays, browns, and greens to work with, making them an excellent choice for natural subjects. Landscapes and animals come to mind as potential subjects for this medium.
There is a black in the set, named "Midnight Black", which is anything but midnight black. It is really a dark gray. This again makes sense, since graphite is gray - not black. I happen to like the fact that it is dark gray opposed to black. The color reads very naturally on the surface because of this.
The pencils are all very soft. The softness is similar to that of a 6B or 7B graphite pencil. As a result of the softness, the pencils require frequent sharpening. Curiously, the mark is not as heavy as you might expect from such a soft pencil. Perhaps this is due to the pigmentation in the pencil.
Like watercolor pencils, Graphitint pencils become activated when water is added to them. This makes the duller color applied with the pencil "come to life". The colors become a bit more intense. Unlike with watercolor pencils, the color is still somewhat muted.
It is suggested to use a nylon brush to activate the color, however a soft natural hair brush with produce similar results.
Like with water-soluble graphite, once the color is activated, it is nearly impossible to erase. Colors can be layered over the top, but removing the color can only be achieved by re-activating the area with water and dabbing with a paper towel.
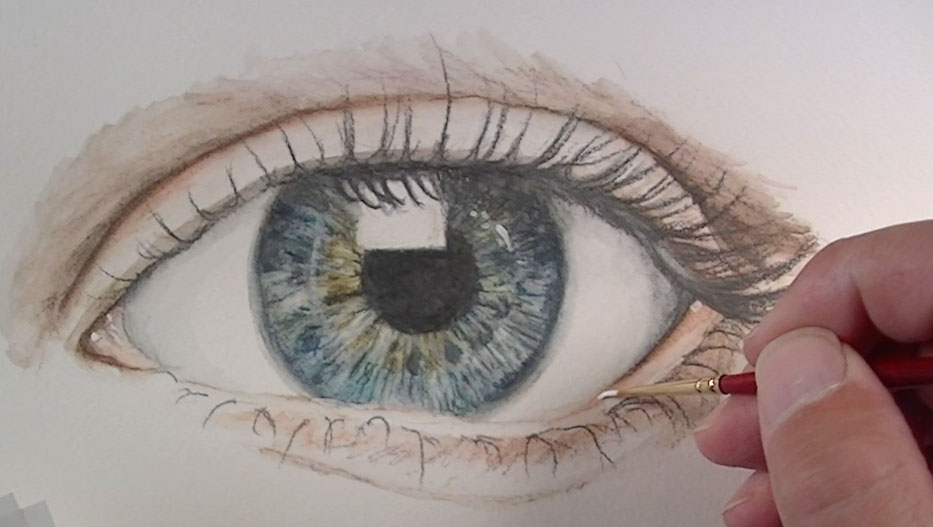
Here's a step by step breakdown of the process that was used in the video...
The general contours of the eye are drawn first using a dark brown pencil, followed by an application of dark blue and midnight black.
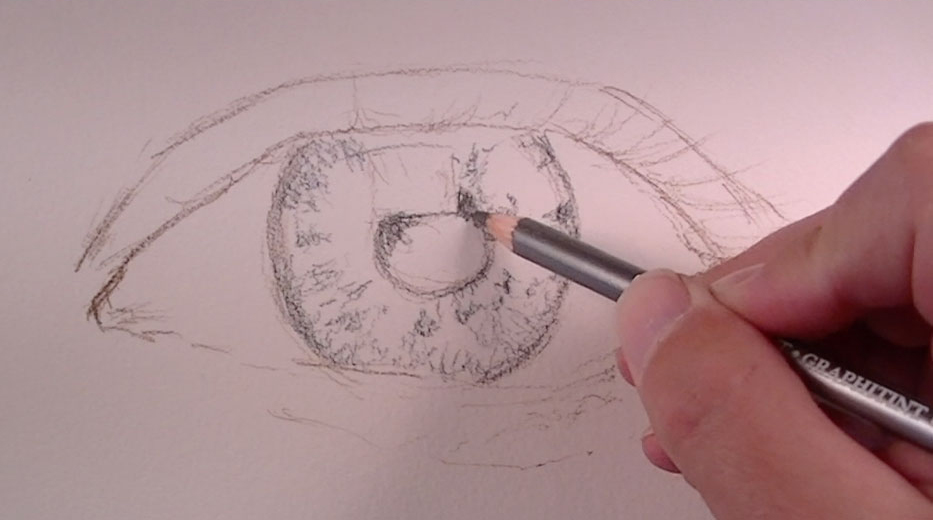
Additional observed colors are added around the iris. These colors are then activated using a nylon brush loaded with just a bit of water.
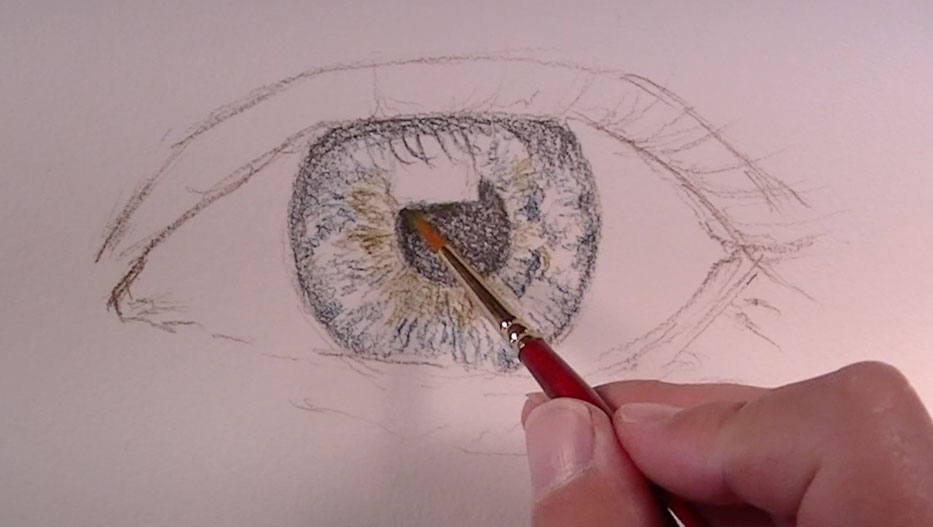
After the activated sections are allowed to dry, additional layers of observed colors are added to the drawing.
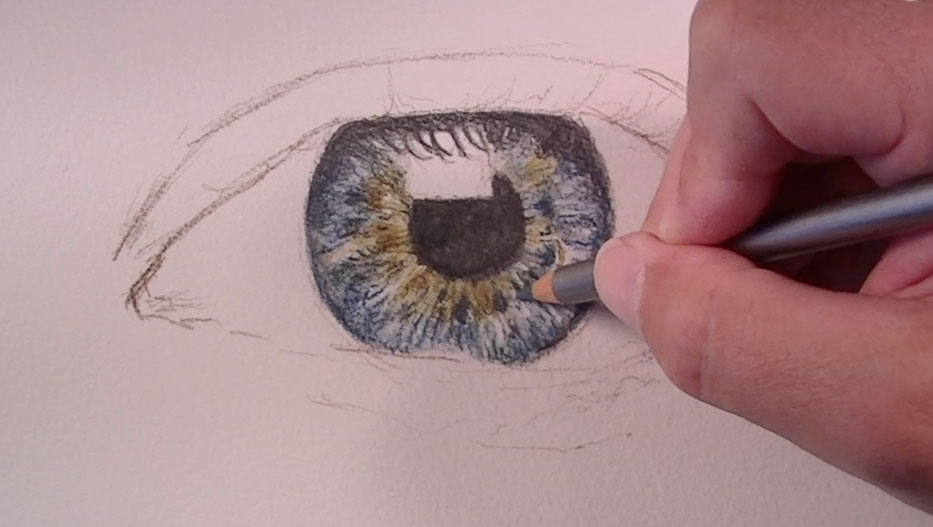
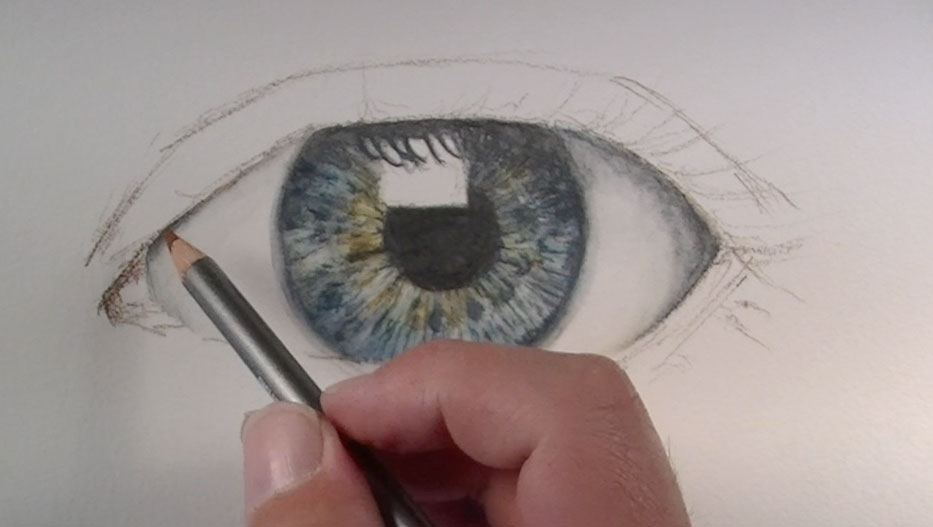
The alternating pattern of applying colors and activating them continues to build up the depth and realism in the drawing.
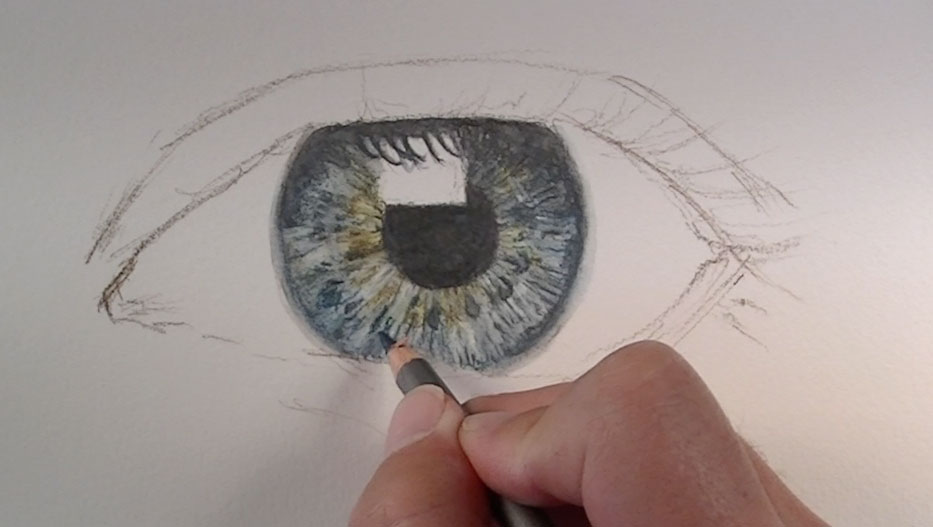
Work continues on other portions of the eye. Here again, colors are layered and then activated.
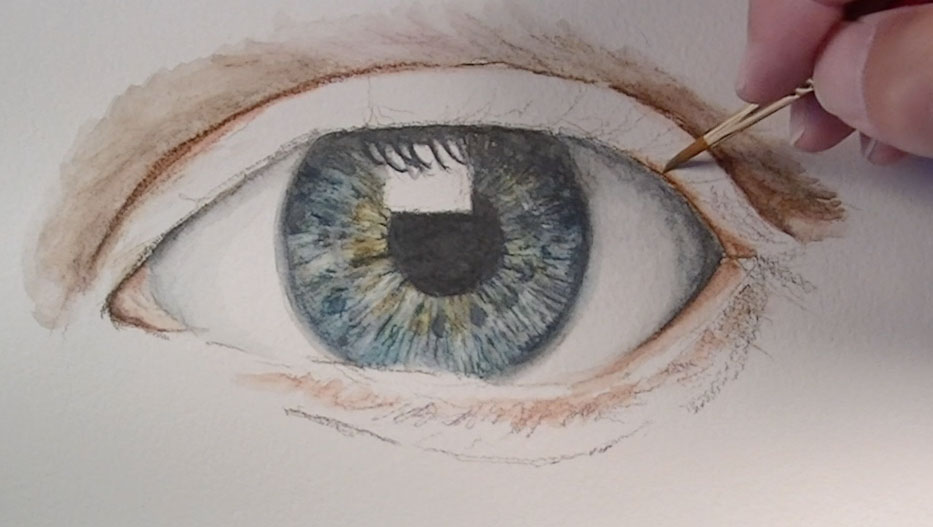
A combination of browns are used around the eye to mimic the skin tones.
Eyelashes are added using a sharpened "Midnight Black".
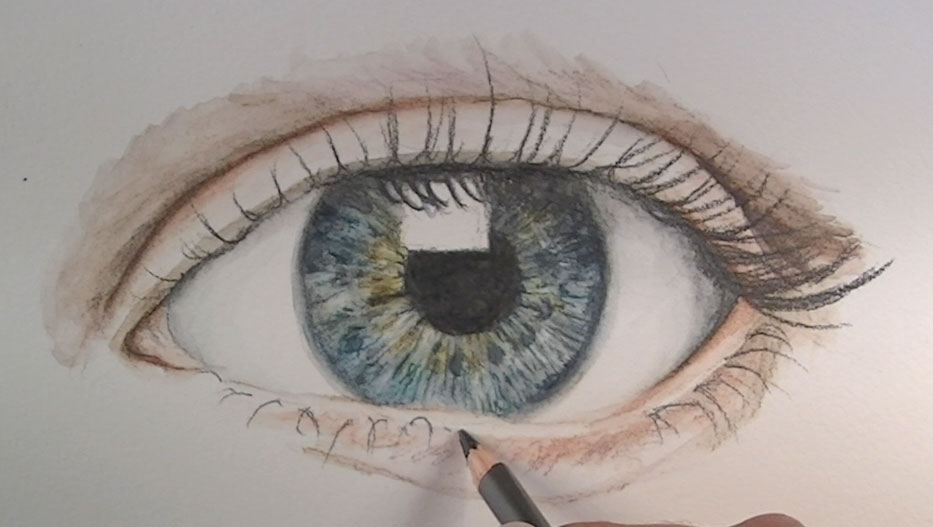
Opaque guoache is applied to create highlights over the top of dried applications.
The completed image...
