Watercolor is one of the most unique mediums for creating art. It's unpredictability and unique mark-making characteristics attract many artists, designers, and illustrators. The transparency of the color produces luminous - almost glowing, colors. Its properties are unmatched by any other painting medium.
For the beginner, watercolor can be a "tough beast" to tame. For the same reasons it is attractive to many, it can tough to use. Especially if you prefer to have full control over the mark and the behavior of the medium. With watercolor, you have to learn to "let go" to a certain degree, and let the watercolor do what it wants to do.
With most painting media, "mistakes" can be easily corrected by layering over the previous application. With watercolor, it's not quite so simple. While "mistakes" can be lifted with water and dabbed away with a paper towel, the mark cannot be completed eradicated.
The unforgiving nature of watercolor causes some to be apprehensive. This feeling can carry over to the mark and lead to "less successful" works. Confidence is important in creating a successful watercolor painting and confidence is built upon experiences of success.
I wanted to share with you a simple approach to watercolor to help build your confidence. This approach is simple, uses only a few colors, and can be accomplished by just about anyone. Only a few layers of applications are used. Watercolor painting is about anticipating how the paint will react, rather than reacting to how it behaves.
Recommended Materials for This Tutorial
(Some of the following links are affiliate links which means we earn a small commission if you purchase at no additional cost to you.)
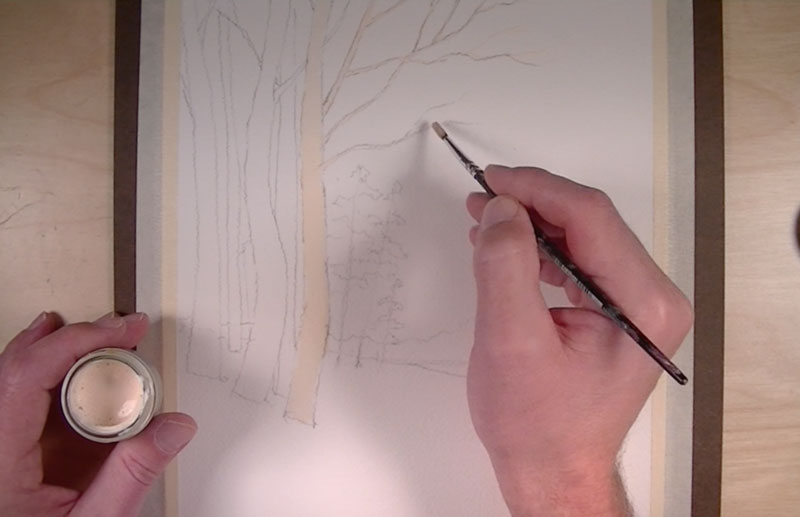
First, a contour line drawing of the composition is created on 140 lb watercolor paper using an "HB" pencil. Liquid masking fluid is used to mask the shapes of the birch trees in the foreground. It is recommended to use an old brush for this application since the masking fluid can ruin the brush if the material is allowed to dry.
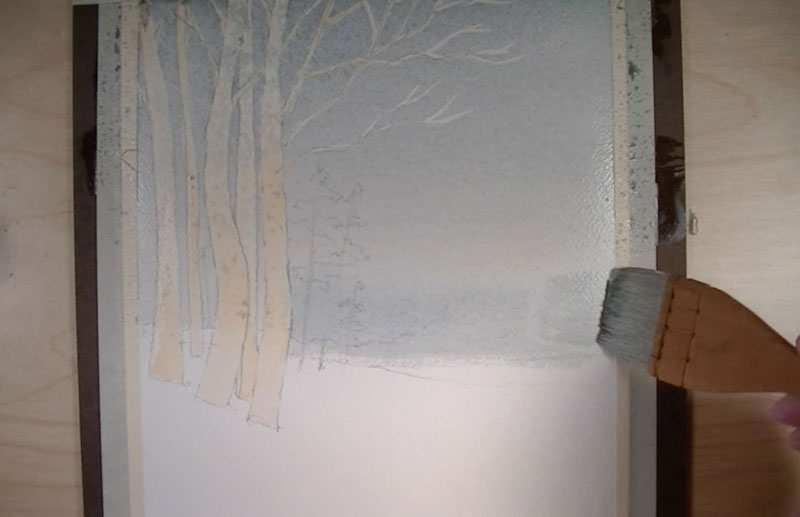
Once the masking fluid has had ample time to dry completely, a light wash of cool gray is applied to the background. This mixture is the result of combining Ultramarine, Alizarin Crimson, and Gamboge Hue. A heavier concentration of Ultramarine is present in the mix to give the color a blue appearance.
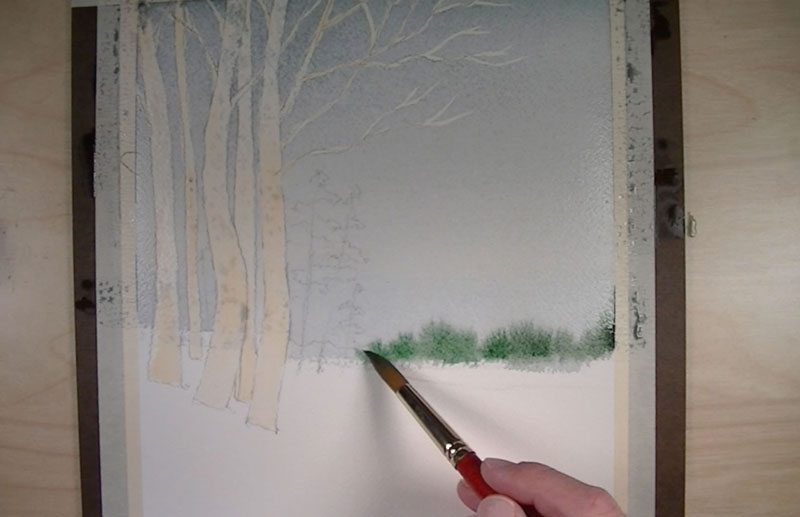
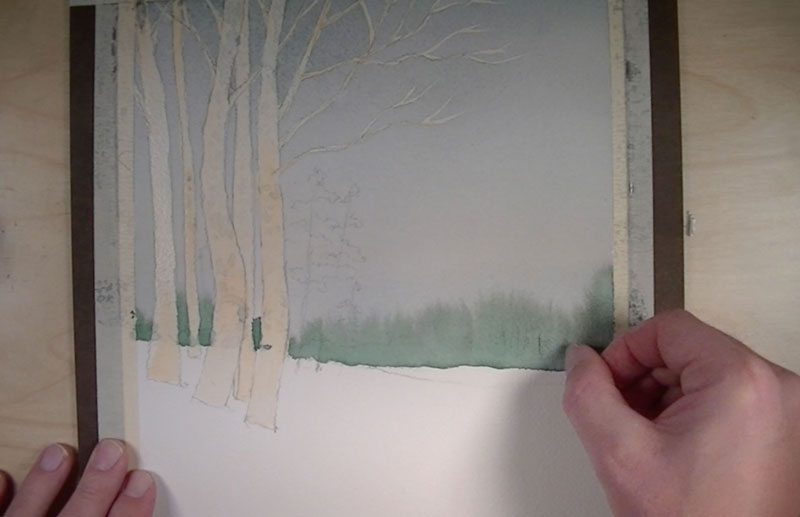
While the background is still wet, the color for the distant tree line is added. This color is produced by mixing Prussian Blue, Ultramarine, and Gamboge Hue. Since the surface is still heavily saturated, the color will bleed into the background, creating a shape and texture similar to that of distant trees.
While this area is still damp, a fingernail is used to scratch lines that will eventually translate as tree trunks.
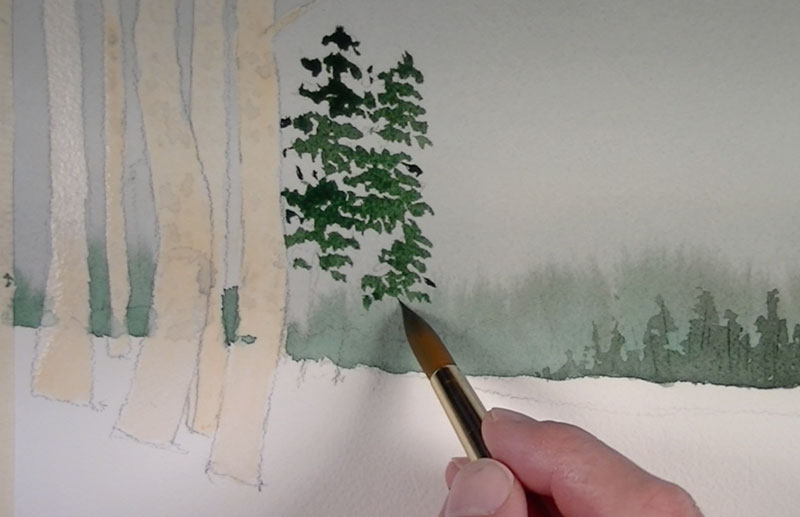
A heavier concentration of dark green is applied to create a bit of depth to the distant trees. This color is also applied to the pine trees in the middle ground.

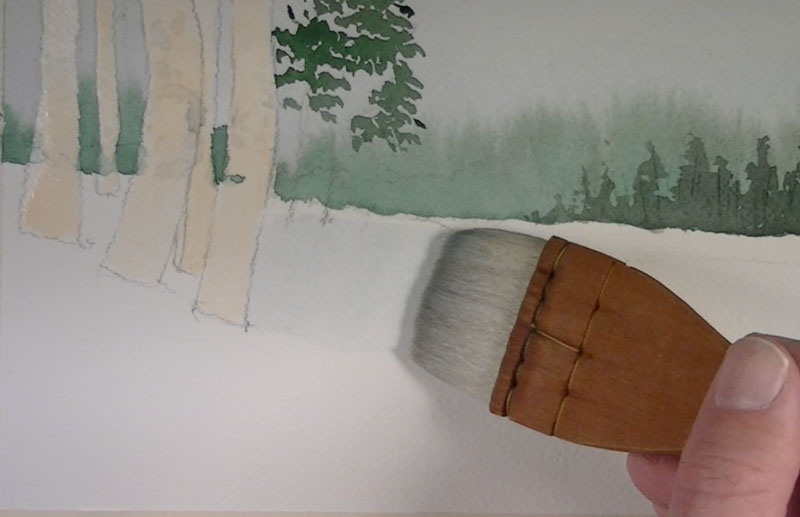
A light wash is applied using the same cool gray used for the background over the areas of snow in the foreground.
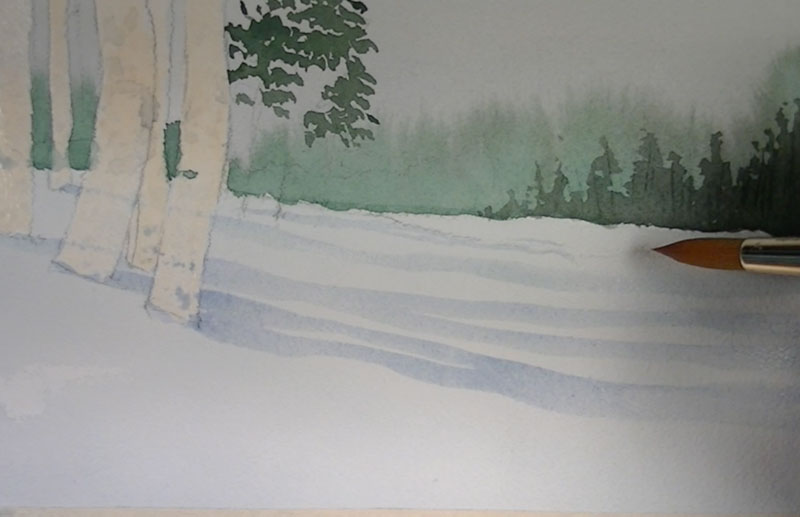
A light wash of Ultramarine is pulled out from the base of the birch and pine trees to create long cast shadows on the snow.
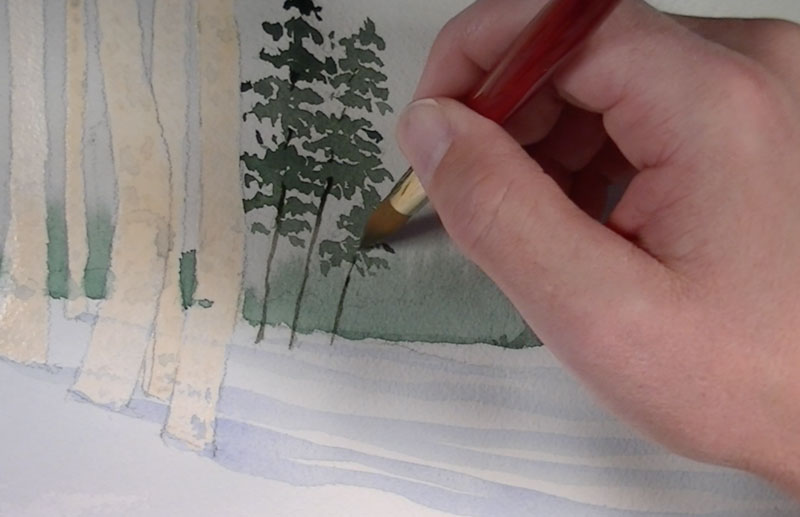
A dark mixture of Ultramarine and Burnt Umber is used to pull up tree trunks for the pines. This line is allowed to break in areas as it disappears behind groupings of the pines.
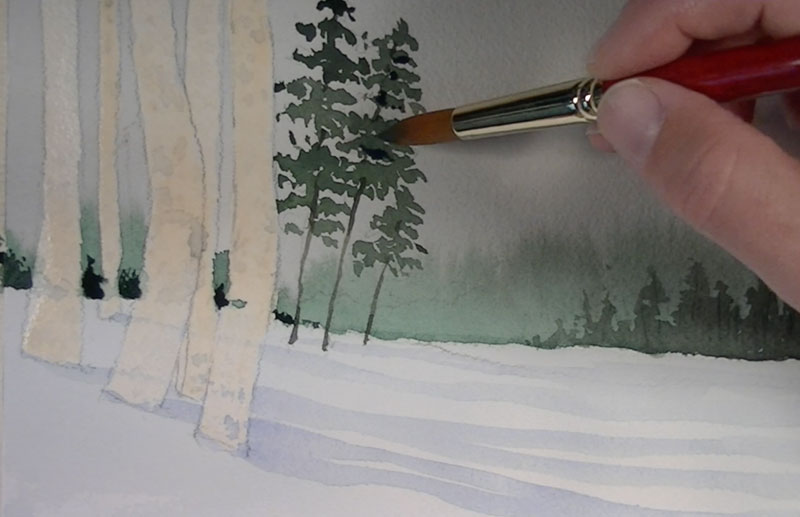
A heavier amount of Ultramarine is added to our green and painted in behind the birch trunks for an additional line of trees. This color is also added in areas of shadow on the pine trees.
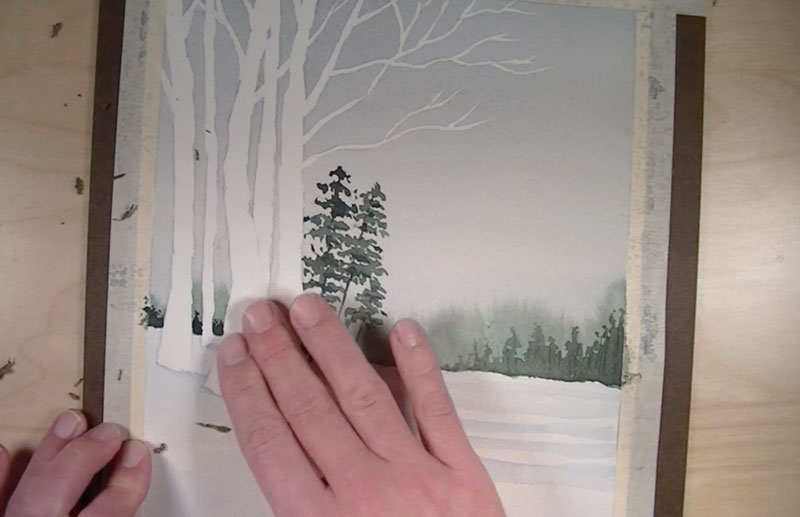
The surface completely dry, the liquid mask can be removed by rubbing with a finger, revealing clean, white shapes for the birch trees.
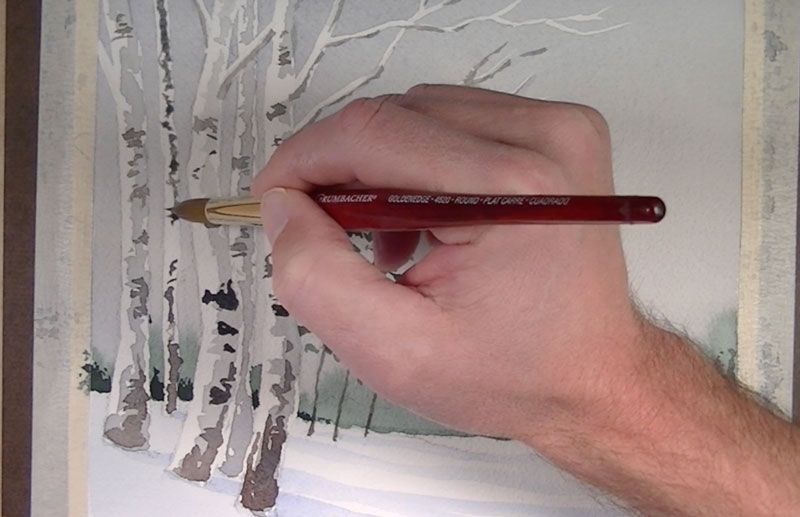
Areas of core shadow are first lightly applied using our gray mixture.

Progressively, darker shapes and lines are added to build up the detail on the trunks of the birch trees.
Shadows are also added to the undersides of the branches.
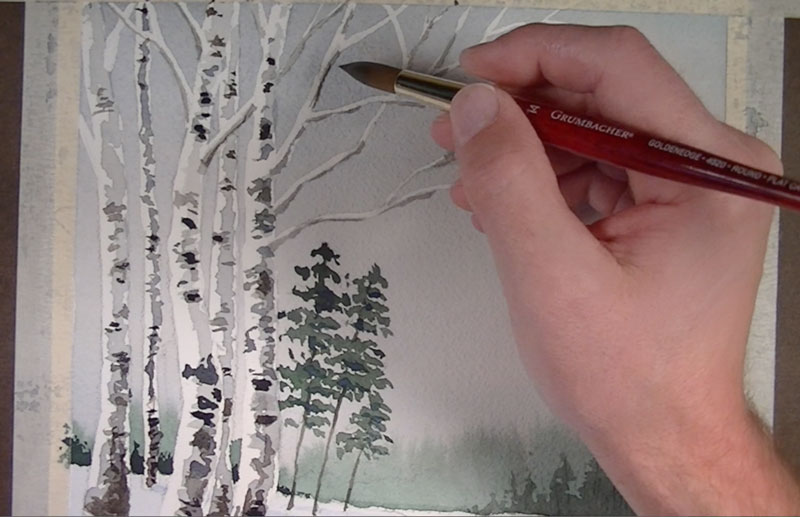
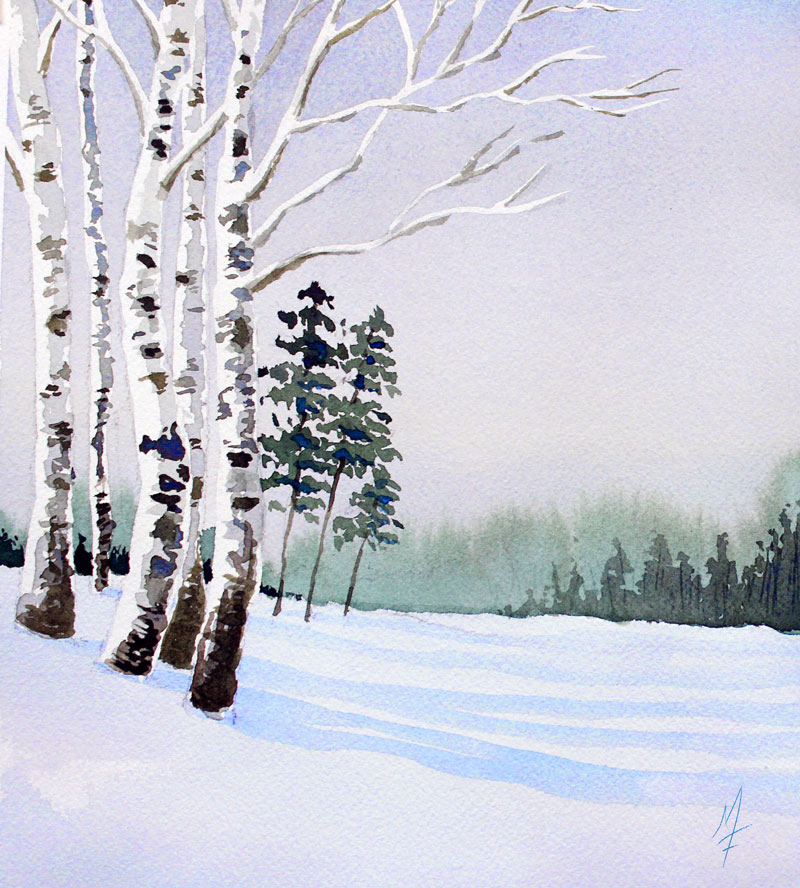
The finished painting...