by Matt Fussell
Using strong contrast in drawings is a great way to create a dynamic image. One effective way of creating strong contrast is by using white material or media on dark or black surfaces. Any white media will work. Ink, charcoal, oil pastels, chalk pastels, and colored pencils are all types of white media that could be used. Combine this white media with a stark, black background and you've got instant contrast.
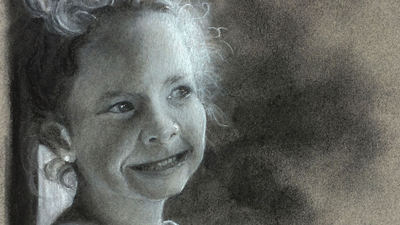
In this lesson, we'll take a look at applying white charcoal to black drawing paper to create a portrait. Precise and direct lighting plays a role in this image since only a few portions of the face are lit.
Drawing with white material on black paper may require a bit of practice. Most of us are accustomed to drawing with dark material on white or lightly colored paper. This thinking has ingrained in us the impulse to add dark values and leave the lighter values. When we reverse this thinking by drawing with white material on black paper, the process is the opposite.
We now must train our minds to deal with the lighter values and leave the darker values to the tone of the surface. This reversal can be challenging, but important in our development as artists. It forces us to recognize the importance of tints (lighter values) and their relationships with shades (darker values). With practice, our understanding of value improves.
While you are nearly unlimited when choosing a medium to work with, if you are doing this exercise for the first time, I would recommend starting with a drawing medium. Drawing mediums that work best for a "reverse drawing" include compressed white charcoal, conté, oil pastel, and colored pencils. Work with a medium that you are already comfortable with so you can concentrate on the thought process involved in working with the lighter values.
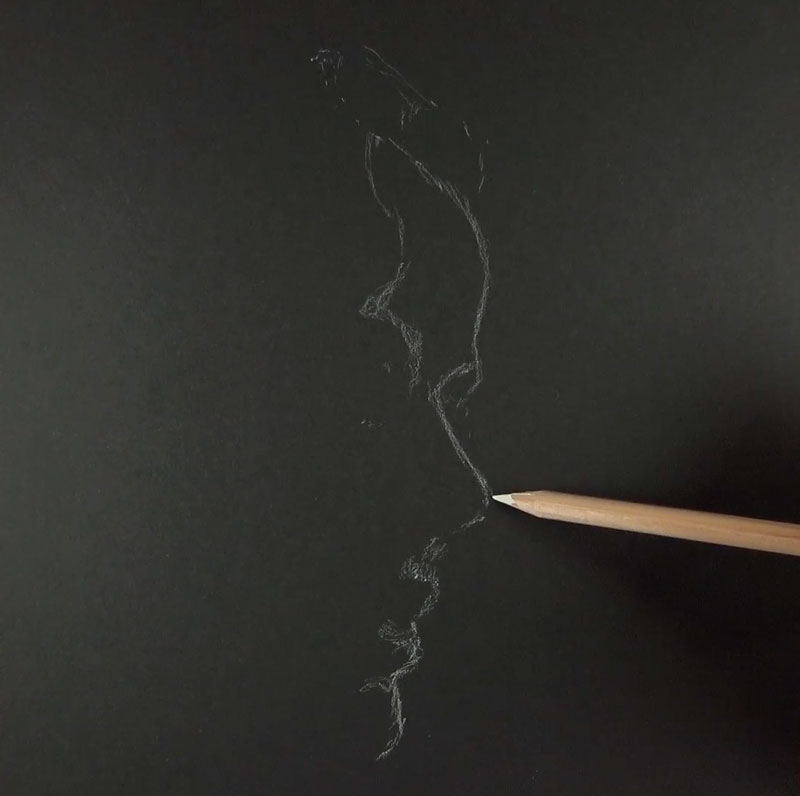
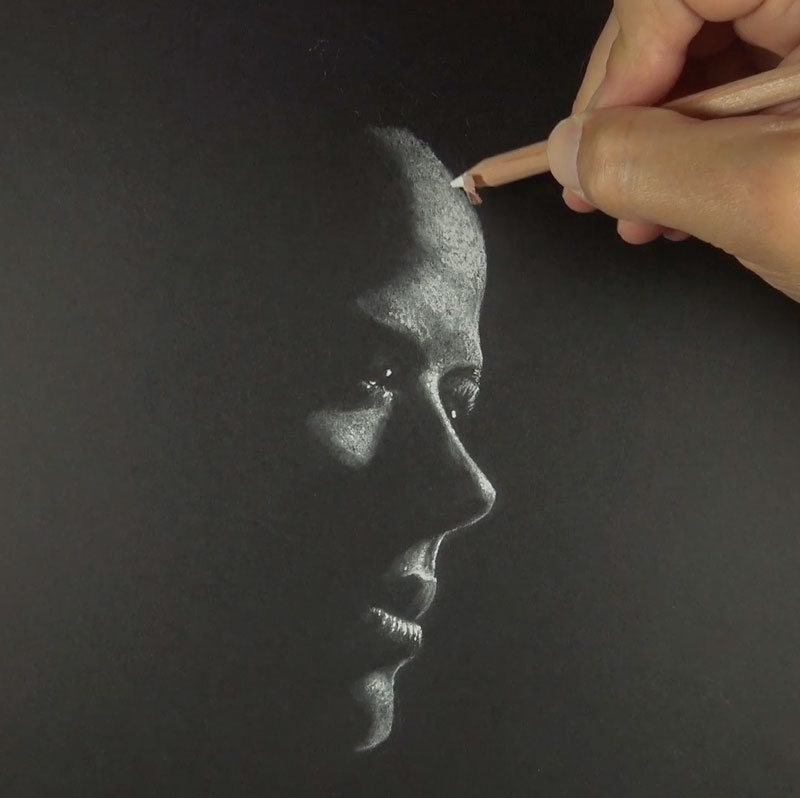
The process begins with a light sketch, mapping out the shapes of lighter value. This process is largely dependent on recognizing the relationships between the light and dark shapes, so this is where we should start. Even with light pressure, the white charcoal makes strong marks, so some control and precision is required even at this early stage.
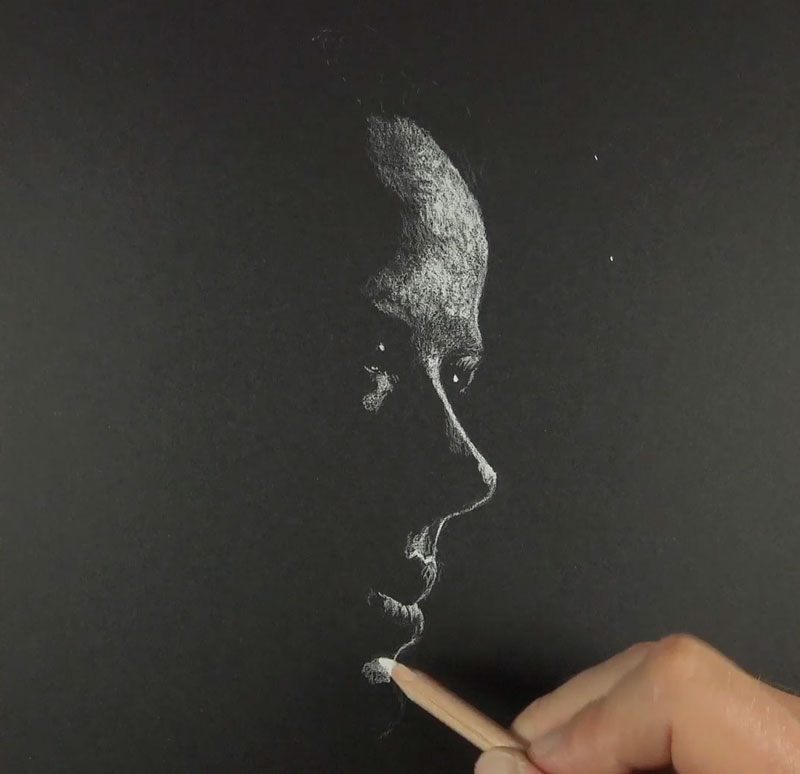
Once the the shapes of lighter value are established on the drawing surface, we can begin the process of adding white charcoal to fill in the shapes. We'll begin in the locations where the light is strongest, adjusting pressure placed on the pencil according to the intensity of the light. Small circular strokes are made with the charcoal pencil in order to produce even gradations of tone and value.
A blending stump is used to blend the material, producing a smoother texture that is similar to that of skin. Adjustments to the shapes of value can be made with an eraser. A kneaded eraser works well to lift the charcoal from the surface in larger areas, while an eraser pencil is better suited for areas that require more precision.
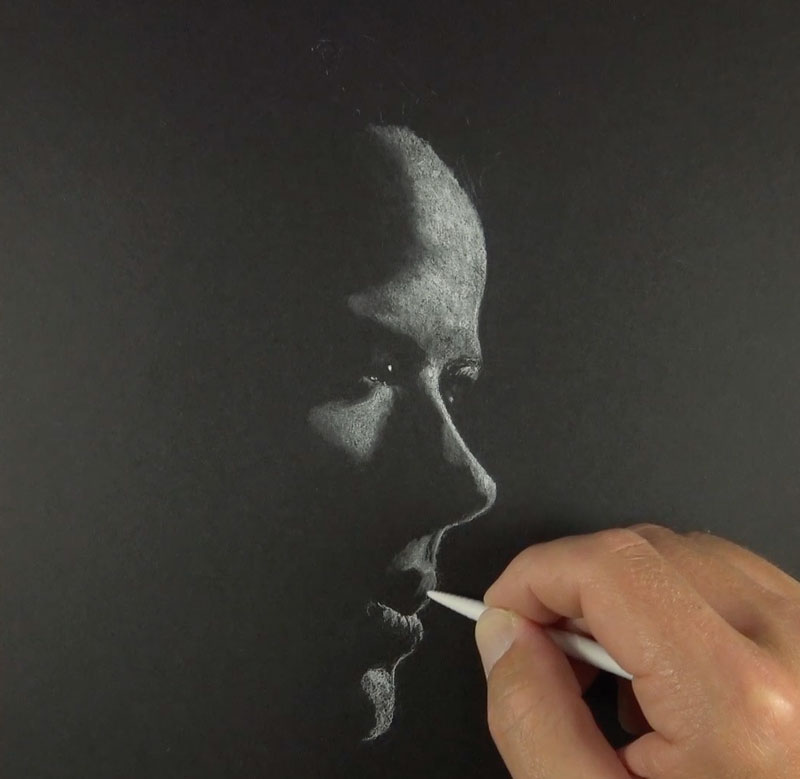
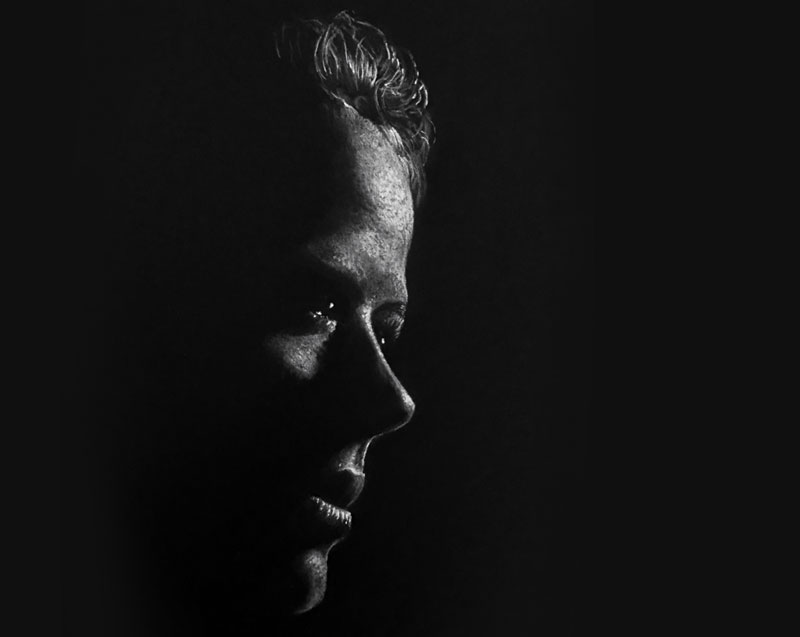
The blending stump mutes the intensity of the lighter tones and slightly darkens the value. This gives us the opportunity to add bits of stronger intensity within the areas of lighter value with the white charcoal pencil. Most of these locations are closest to the light source, but also exist on the areas of the face that protrude - the cheek, the nose, the forehead, the bottom lip and the chin.
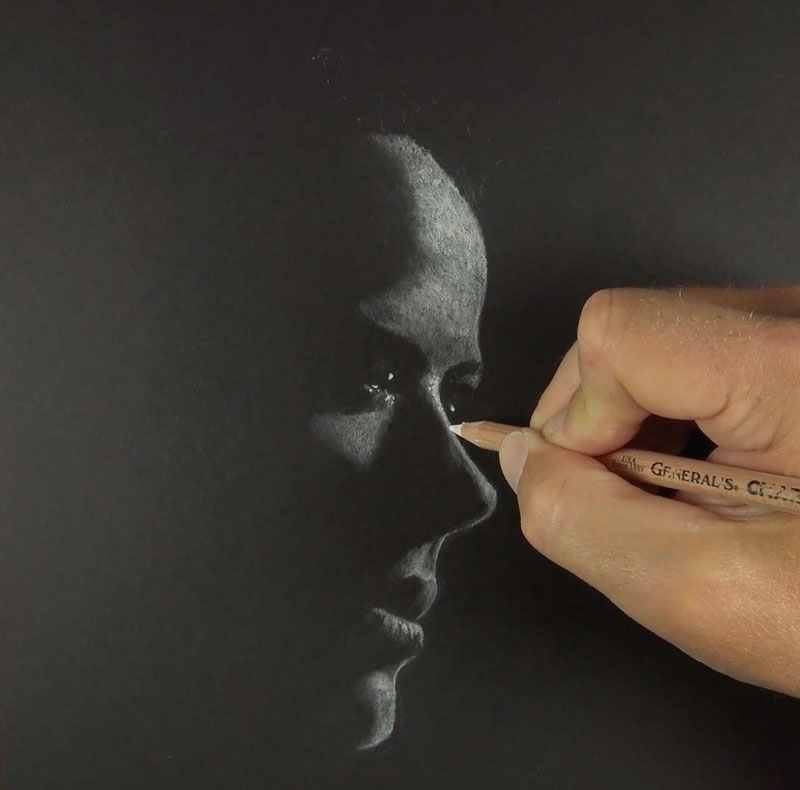

As we add stronger highlights with the charcoal pencil, we can further develop the texture of skin. The texture of skin is not entirely smooth. Instead, small variations in the texture exist. We can create this illusion by adding small circular marks of stronger intensity over the blended applications.
Lastly, the hair is addressed. Strokes are pulled outward from the top of the head with the charcoal pencil, mimicking the direction that the hair grows. Care is taken to leave areas of shadow in between. If too much of the charcoal is applied, shadows can be erased out with a kneaded eraser or an eraser pencil.
A blending stump is used to mute the initial applications of white charcoal so that a broader range of value can be developed. Stronger highlights are added over the blended applications in areas to develop a bit more variety.

The completed drawing is dynamic and high in contrast. This drawing process is much quicker than other approaches that may produce a similar result, but presents a different set of challenges. We must focus on adding lighter values instead of adding darker ones. Although this approach may be challenging for some, it is well worth the exercise.