
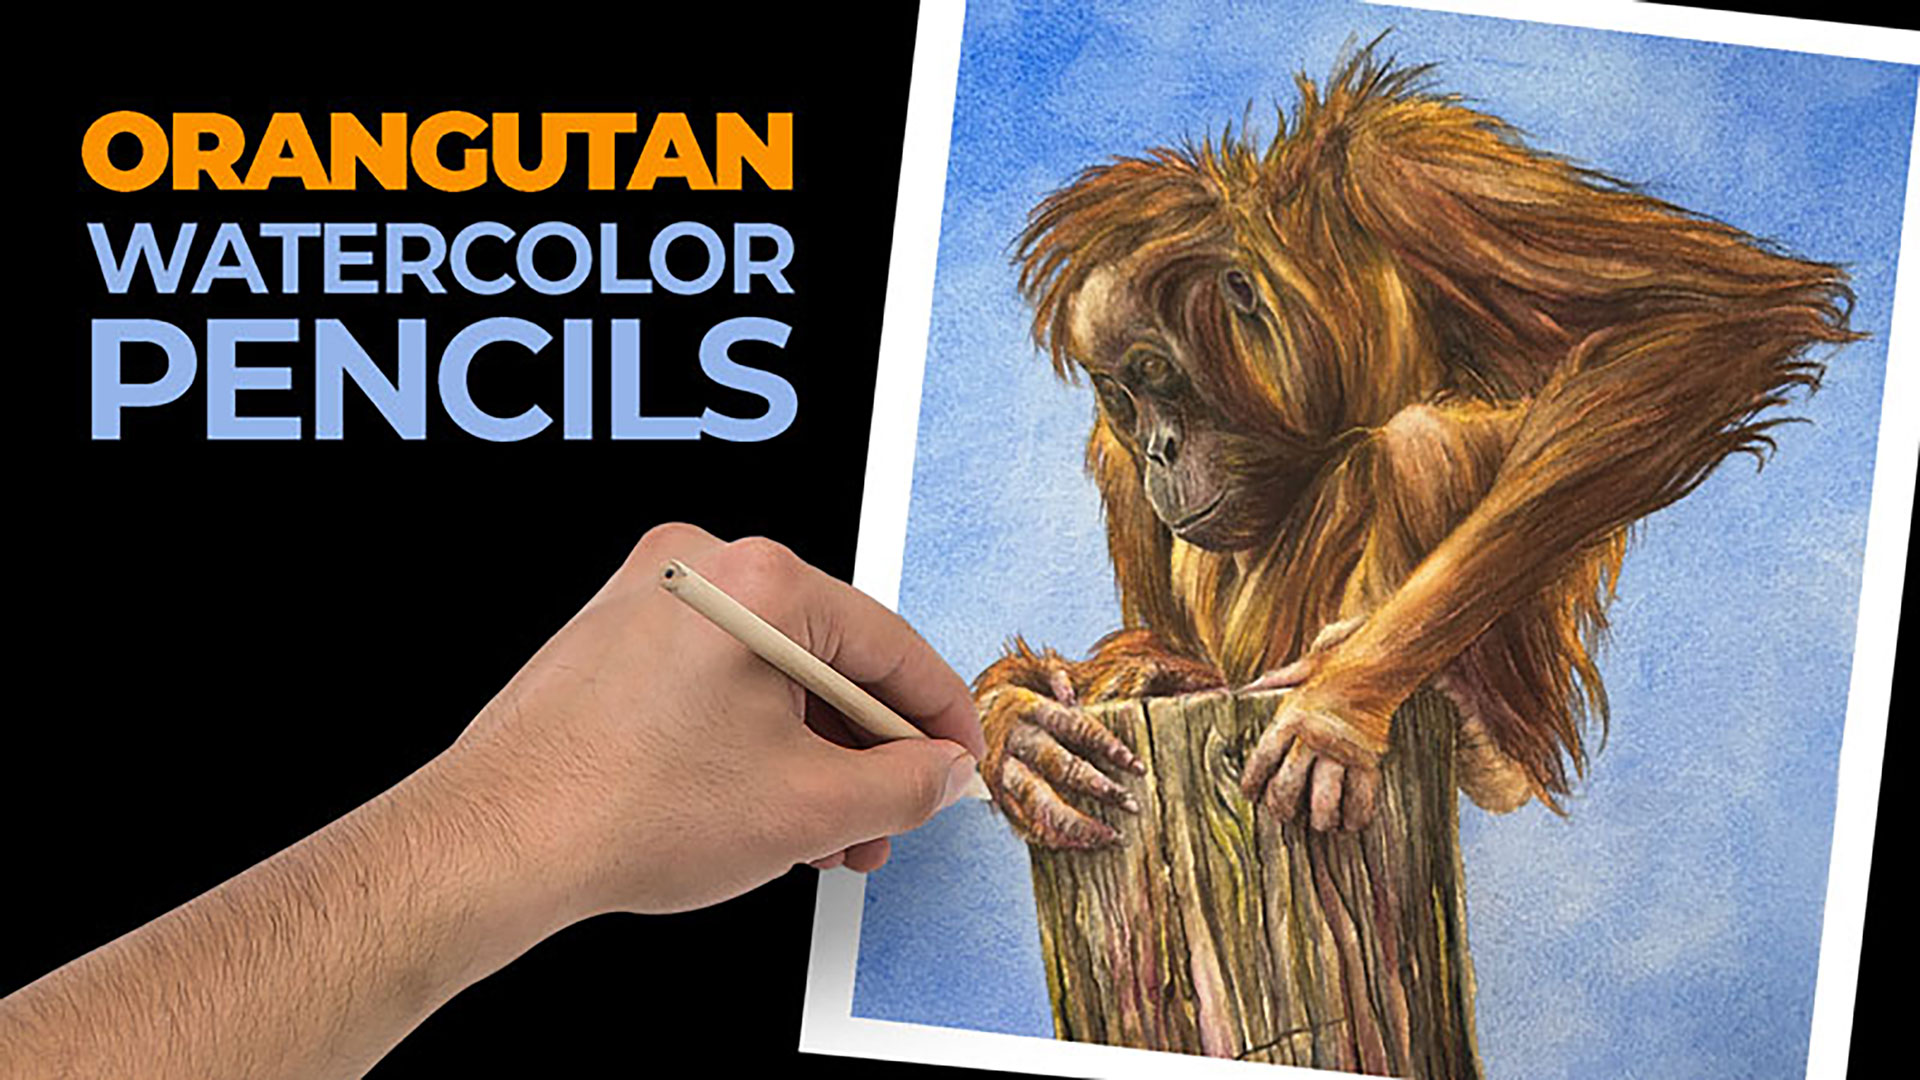
Orangutan with Watercolor Pencils

Lessons
About This Lesson Series...
The Orangutan with Watercolor Pencils class is a detailed, start-to-finish demonstration that explores the expressive potential of watercolor pencils. In this lesson, you’ll learn how to combine drawing and painting techniques to create a realistic and engaging animal portrait. The class focuses on careful observation, thoughtful layering, and controlled activation of pigment to achieve depth, texture, and lifelike color.
Planning the Drawing
The lesson begins with establishing an accurate drawing of the orangutan. You’ll learn how to simplify complex forms, capture correct proportions, and place key features with confidence. Emphasis is placed on building a strong foundation, ensuring the structure and expression of the subject are clearly defined before adding color.
Applying Watercolor Pencils
Once the drawing is complete, you’ll begin applying watercolor pencil pigment. The class demonstrates how to layer color gradually, starting with light applications and building intensity over time. You’ll learn how to control pressure and direction to suggest the flow and texture of fur while maintaining clean, organized color placement.
Activating Color with Water
A key focus of the lesson is activating the pencil marks with water. You’ll see how a damp brush transforms dry pigment into smooth watercolor washes, allowing colors to blend naturally. The instructor explains how to control water to preserve details in important areas while softening transitions where needed.
Creating Fur Texture and Depth
Rendering believable fur is central to this class. You’ll learn how to build layers that create depth and volume without overworking the surface. Directional strokes, value changes, and selective detail are used to suggest fur texture, helping the orangutan feel three-dimensional and lifelike.
Refining Features and Expression
As the painting develops, attention turns to refining facial features such as the eyes, nose, and mouth. The lesson demonstrates how subtle value and color adjustments can dramatically enhance expression and realism. You’ll learn how to sharpen edges and add contrast in focal areas while keeping supporting areas softer.
Unifying the Artwork
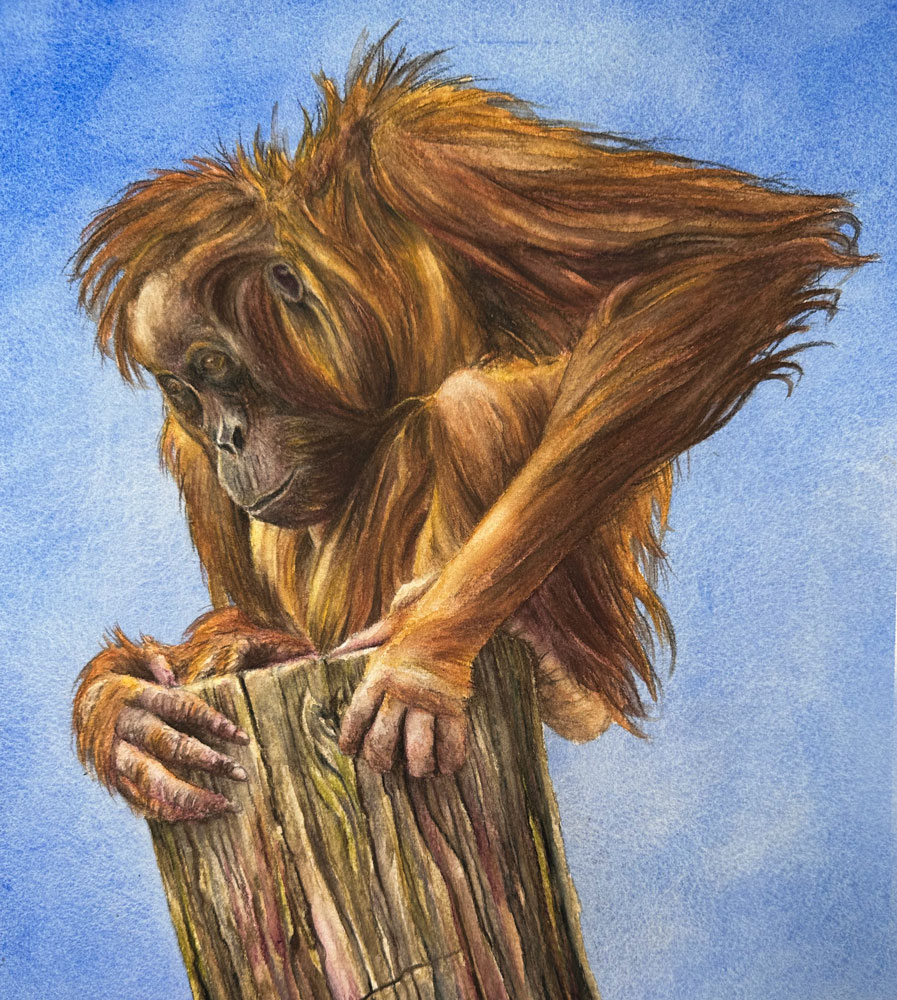
In the final stages, you’ll focus on unifying colors and values to create a cohesive finished piece. The instructor explains how to make final touches that strengthen form and balance without overworking the artwork. By the end of the Orangutan with Watercolor Pencils class, you’ll have completed a finished animal portrait while gaining practical skills that can be applied to a wide range of watercolor pencil projects.
Specific Lessons
Lesson 1 (1:07:54)
In lesson one, we sketch out the contours of the Orangutan with a graphite pencil using the grid technique.
Lesson 2 (1:10:45)
In lesson two, we discuss watercolor pencil techniques, apply liquid friskit and paint the background with watercolor.
Lesson 3 (58:34)
In lesson three, we begin with applications of watercolor pencils on the head of the animal.
Lesson 4 (1:04:05)
In lesson four, we increase the contrast in the face and add more color before expanding outward to the surrounding fur.
Lesson 5 (1:01:09)
In lesson five, we work to the right side of the body, increasing contrast and laying the base applications for the arm.
Lesson 6 (1:02:10)
In lesson six, we continue work on the arm and right side of the body.
Lesson 7 (1:03:08)
In lesson seven, we harmonize the work thus far and continue increasing contrast on the ride side of the body.
Lesson 8 (1:08:36)
In lesson eight, we complete the hands.
Lesson 9 (1:18:01)
In lesson nine, we begin work on the wooden stump.
Lesson 10 (1:11:26)
In lesson ten, we complete the artwork.
Resources for this Lesson...
Distributing any content downloaded from this site is strictly prohibited and against the terms and conditions of use.
References
Here's what you'll need...
(Disclosure: Links to art materials are affiliate links which means we make a small commission if you purchase at no additional cost to you.)

Founder of The Virtual Instructor, artist and teacher. Matt makes learning art easy to understand and enjoyable.
When will lesson 2 be posted? I need to catch up as I missed part of beginning and end of the live lesson. Thanks, much appreciated.
All the lessons are up there 😁
Sorry I didn’t realize this post was in May doh !!!!
When will lesson 3 be posted? I missed it last week and wanted to catch up.
Wanted to post a follow up to the frisket ripping the paper. I tried the monkey again.. for a 3rd time and used Canson 140lb cold press paper. The frisket didn’t rip the paper, and in general the paint spreads and flows considerably better than using the Seth cole 140lb cold press paper.
Hello. I’m new at this and have a simple question. What is rough paper? 300# watercolor paper? Any way I can find 300# watercolor paper but not any thing called rough paper.
Thank you for the lessons I have found them to be VERY helpful and fun. Tks
Clyde
Hello again. Sorry, I should have watched lesson 3 before I made my other comment. I now know that rough watercolor paper is 300# watercolor paper. Tks again
What happened on 8\6\23? No lesson 6
Hi Anthony,
Lesson 6 happened live last night. The recorded version is usually posted within a few days of the original broadcast.
This is my first time using this medium. I find that when I go back in on a dry sheet, there is a sheen that does not let me add pencil work. I have I pushed it too far?
Really enjoying this series and think I might start over again.
Thank you
I really am excited that you will do a watercolor course. I’ve tried learning to paint using watercolor through books, YouTube videos, etc. and it has been really challenging. Of course, I’ve viewed the various videos you have on The Virtual Instructor, and I really hope you’ll do a deeper dive into painting with watercolor in the new course. Because of this Live Lesson, I’m experimenting with mixing watercolor paints and watercolor pencils and enjoying the process.
The new camera angles really add visual interest to the videos. Wow!
lets spend as much time on the log as necessary to get the best detail ..//We came this far with great detail why stop now and this is a learning great learning opportunity.
tomee
Hello Matt and Ashley,
I’m about to start the orangutan painting. Getting ready to trace it I tried a “masking fluid marker” which also says “drawing gum” on the marker’s barril, on a small area of scrap arches watercolor 140 lb paper (masking fluid mentioned on lesson 2) Well, I could not remove it from the arches paper for the life of me. I tried removing it by scratching it off with my nails, toothpick, kneaded eraser, and rubber eraser with no success. Damaged the little area after I scratched really hard to remove it.
I’ve TRIED it before on bristol smooth paper where it was easy to just lift it and pull it off…with some tiny, barely noticeable spots of paper coming off. So per my personal experience, it doesn’t work on watercolor paper at all.
I will make a run to the store to get the orange flisket you’re using to hopefully catch up with orangutan painting by next live session!
Matt and Ashley,
First of all, I thoroughly enjoy The Virtual Instructor experience. Soooo much amazing content, soooo much to learn from!! It makes me smile every time I follow your super easy to follow lessons.
I can’t wait to the next live lesson! 😃
Dont remove old lessons please. I am still working thru them and always learning new things.
Can’t get the live session to work. Just blinks, am I doing something wrong? It’s supposed to on now.
Hello Matt,
Still working on Fran Stan the oragutan. Was rewatching the stump as it is all I have left to finish.
I just realized I have the same hair dryer!! Lol Does that say something about my age?
Artsycrochet
Matt and Ashley,
Can the masking medium be used on an area that has already been painted without damaging it? David
Hi David,
I would caution against using masking fluid over finished areas. There is a chance that the masking fluid will pull up the pigment or damage the paper.