 by Matt Fussell
Circles - They’re everywhere.
Circles allow us to do all kinds of things. They allow us to travel quickly and efficiently. We use them to signify life-long commitments. We use them for play.
Without them our most basic machines wouldn’t function.
Circles pre-date recorded history and are one of the most fundamental and powerful natural shapes in existence. Over the centuries, we’ve developed complex mathematical formulas to learn more about them.
Every discovered planet in the galaxy has been molded by gravity into a sphere - a 3-dimensional form of a circle.
Circles are part of our everyday life and we’re all very familiar with them.
Circles, along with rectangles and triangles are some of the most important basic shapes when it comes to drawing. We use these basic shapes when sketching out our subjects, piecing them together to develop more complex shapes.
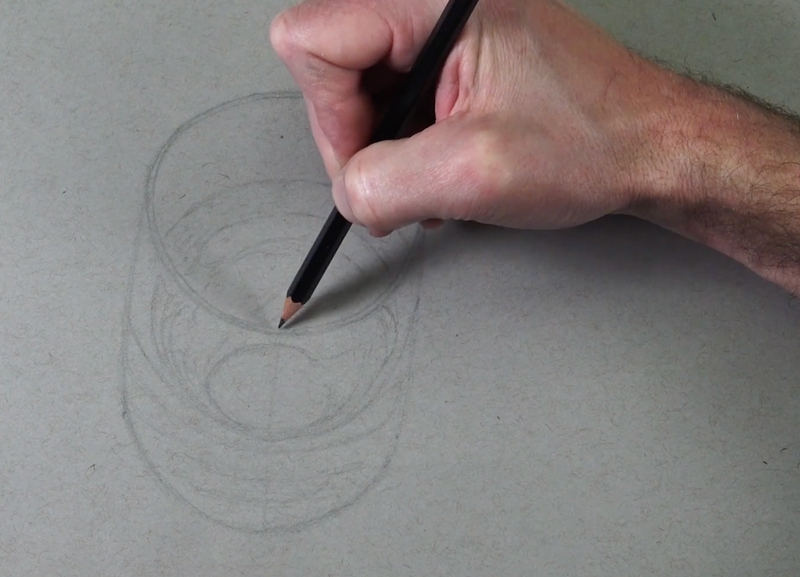
So as artists, the circle is very important. And it’s fundamental to know how to draw one.
Of course, we can always use devices or tools to draw a near perfect circle.
The most obvious tool is a compass. But this tool has its limitations and isn’t really practical when it comes to art creation.
We can always find circular objects and trace them to create near perfect circles. But of course, this also has its limitations and isn’t very practical.
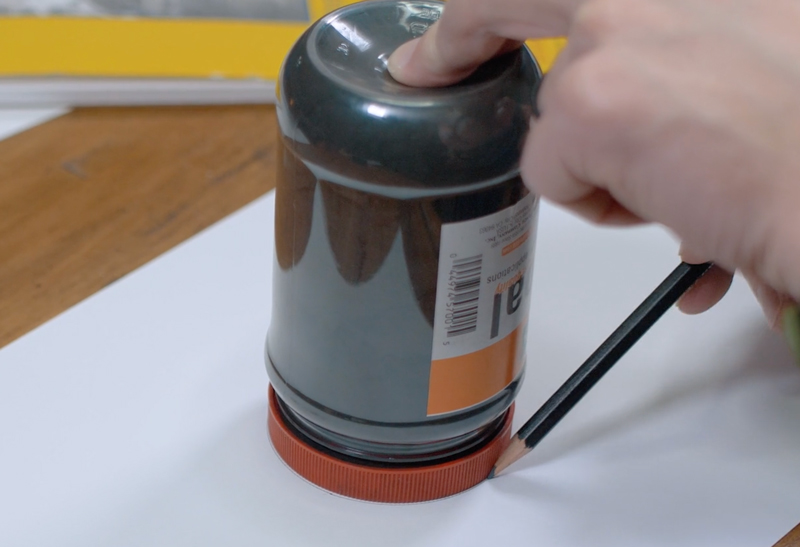
Then there’s the templates that we can use. Clearly we’re limited here as well.
It’s just not very practical to use these tools to draw a circle. The best approach is to simply learn how to draw a circle and it’s easier than you may think. It’s all about mechanics and how to leverage your body’s natural range of motion.
When most of us try to draw a circle, we use our wrist. The result is usually an oval - not a circle.
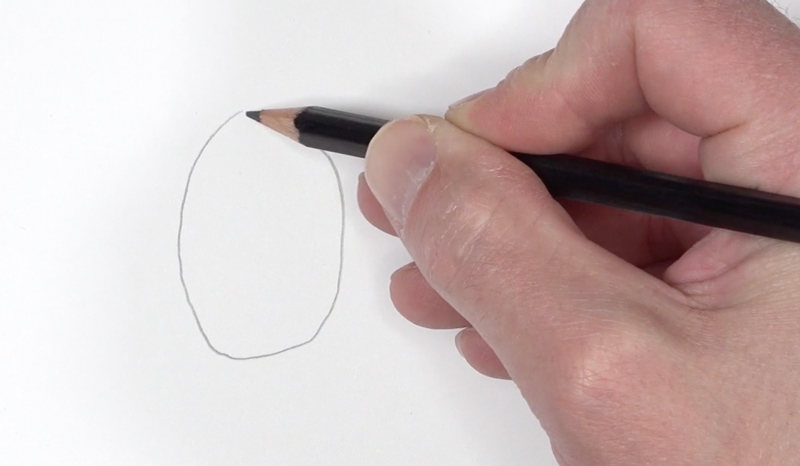
Why is this?
Well, your wrist has a limited range of motion. You can only make your wrist move so far in a circular motion before your control is sacrificed.
So therefore, we know that a near perfect circle cannot be achieved by just using our wrist.
So, let’s move a little higher up on the arm to our next joint - the elbow.
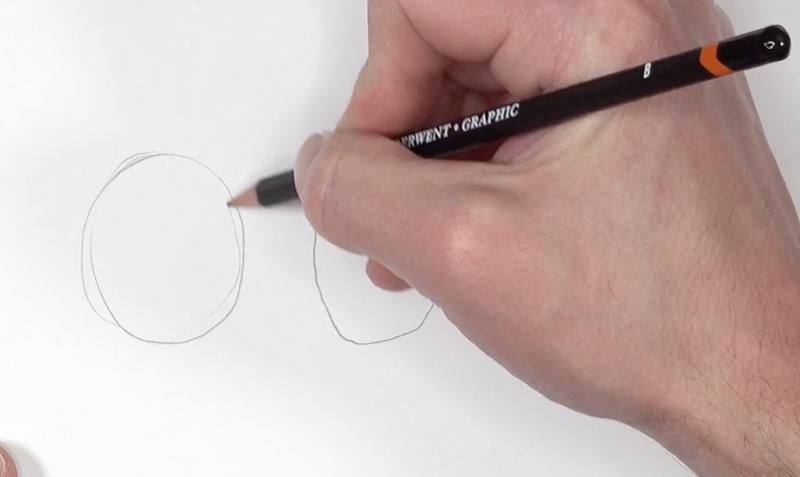
Our elbow provides a little more flexibility when we use it in conjunction with our wrist. But we’re still too limited to draw circle.

We have to move all the way up to the shoulder to see the range of movement required to draw a circle.
The shoulder is a ball in socket joint. This type of connection allows for a broader range of movement. It’s this joint where we find the range of motion required to draw the elusive circle.
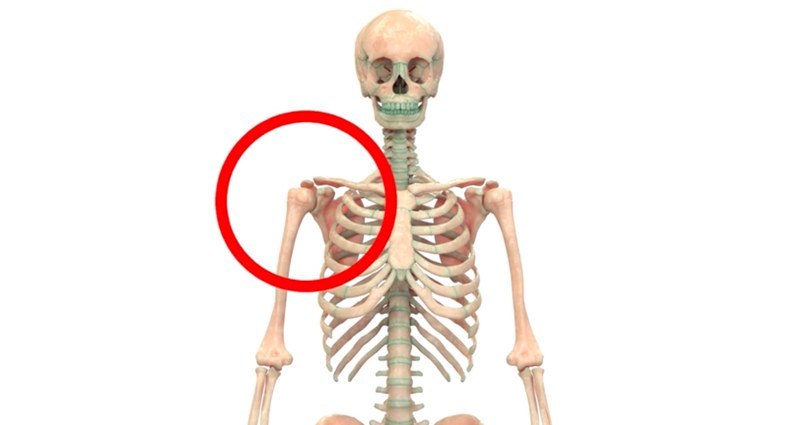
So although it may seems strange, we should draw our circles with our shoulder instead of our wrist or elbow.
In fact, we should try to lock our wrist and use our elbow only minimally. The majority of motion should come from our shoulder.
And even with your shoulder involved, you may find it difficult to draw a great circle with just one mark.
Imagine throwing darts at dart board. Imagine that you had just one dart and you had to hit the bullseye with one attempt. Your chances of success would be pretty low.
But what if you had lots of darts and only one of them had to hit the bullseye. Your chances of success are now much greater.
So, instead of drawing just one line to create a circle, why not draw several and then pull out your circle from the collection of lines you create.
You may start with your pencil in hand hovering over the surface of the paper. Begin slowly moving your shoulder in circular motion without your pencil touching the surface. Your elbow may move slightly, but try to keep your wrist locked in place.
Slowly lower your arm to the surface while continuing to move your shoulder in a circular motion.
Allow your pencil to make contact with the surface of the paper while your arm and shoulder continues to move. Make several light circular strokes on the drawing paper. Don’t worry if they’re not perfect.
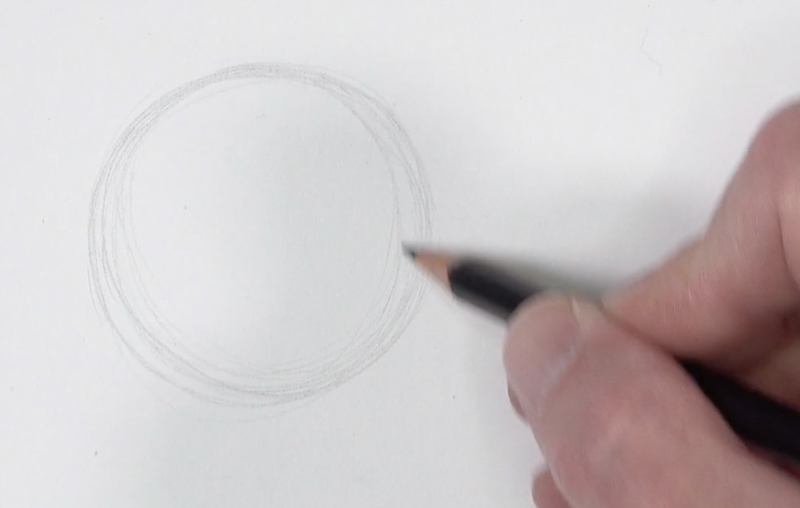
Now we have a collection of light circles. We’ll simply pull out a more refined circle from this collection.
With a little more pressure placed on the pencil, we can draw a circle using the light lines as a guide.
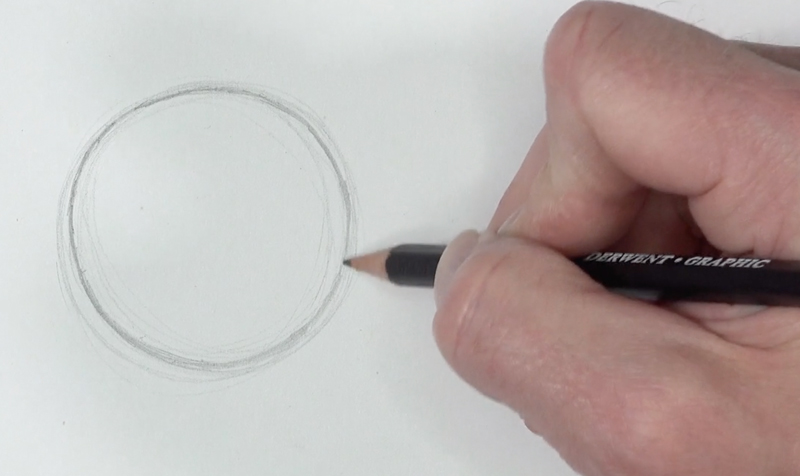
If you wish, you can use an eraser to clean up the extra lines after you’ve drawn the circle.
Now, this approach does require a little practice to perfect. The more that you practice drawing circles in this way, the better you’ll get at it. It just may take a little time to train your shoulder to work this way.
But once you’ve got it down, you can draw circles whenever you need to and of whatever size you want them to be.