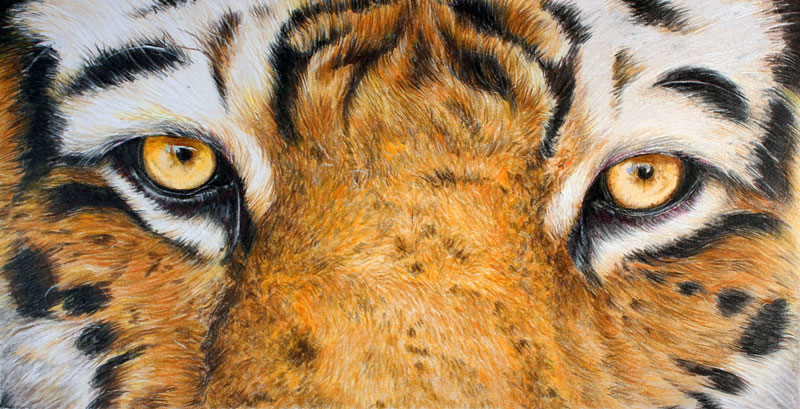
In this colored pencil lesson, we'll take a look at drawing a tiger with Polychromos pencils. Instead of drawing the entire body, we'll concentrate on drawing the eyes of the tiger and the surrounding fur.
When most of use think of colored pencils, we likely consider wax-based pencils which are widely available and are by far, the most used colored pencil in the world. However, oil-based pencils are also available and differ from their wax-based counterparts. Like wax-based pencils, success with oil-based pencils is dependent on layering, mixing, and of course - practicing patience.
Polychromos pencils are colored pencils by Faber-Castell. A colored pencil consists of a shaft of pigment held together by a binder which is enclosed within a wooden pencil. The binder of a Polychromos pencil is oil-based as opposed to wax-based. This binder affects how the pencil behaves on the surface and the approach that is taken by the artist.
Oil-based pencils produce marks that are a bit weaker in intensity compared to other pencils. For some this may be a hindrance, but for others - they may see it as an advantage. Because the marks are less intense, additional layering is possible and building depth in color is easier. Intensity in color is achieved by making progressively heavier marks as layers are developed.
Another advantage to oil-based pencils is the lack of wax-bloom which sometimes occurs with wax-based pencils.
The drawing begins with a light sketch of the contour lines with a graphite pencil on Stonhenge paper. Stonehenge paper is is rigid, but because the paper is 100% cotton, the tooth is soft. For this reason, care is taken not to create indentations with the graphite drawing. Before applying colored pencil applications, the light sketch is gently lifted with a kneaded eraser. This prevents subsequent colored pencil applications from mixing with graphite.
(Some of the following links are affiliate links which means we earn a small commission if you purchase at no additional cost to you.)
Specific Colors Used in This Lesson:
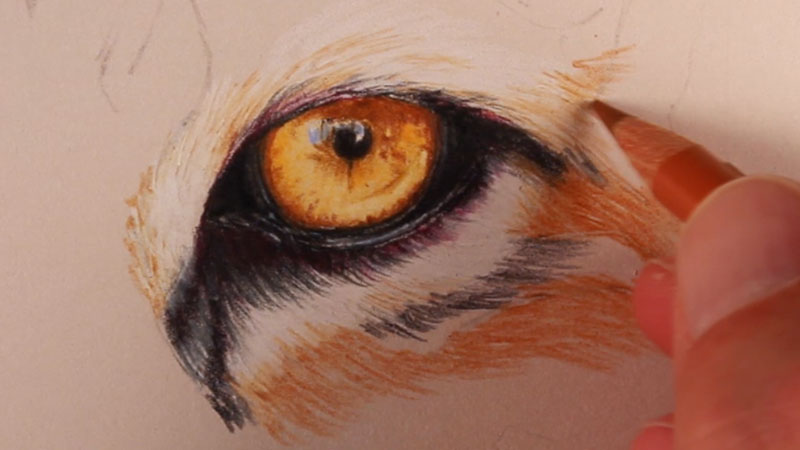
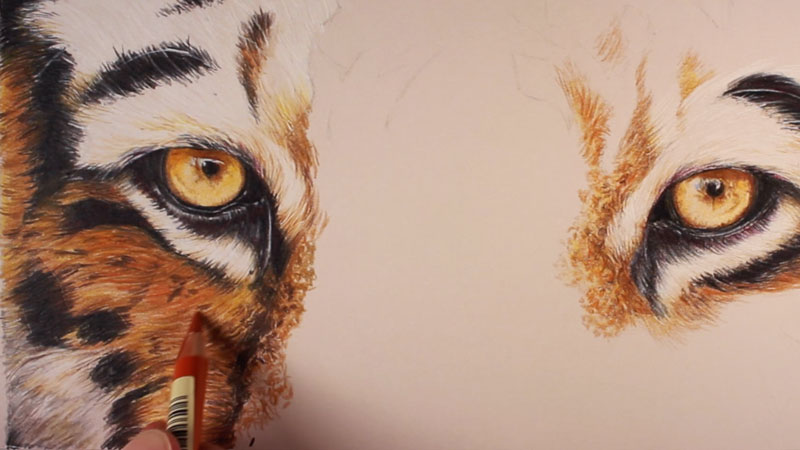
Colored pencil applications begin with the eyes. The eyes naturally are a focal point, so this is a good place to begin. The iris is addressed initially with an application of Dark Cadmium Yellow. Highlights are added with White and Sky Blue. Darker values within the iris are developed with Burnt Sienna and Raw Umber, while the pupils and black areas around the eye are addressed with Black. Black areas around the eyes receive a layer of Red-Violet over the top, making the dark tones appear more natural.
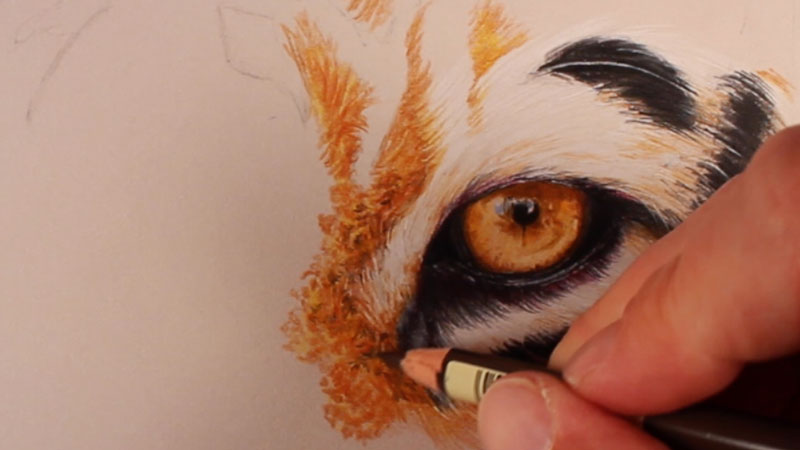
The texture of the fur around the eye is addressed with White, Black, and Burnt Ochre. Strokes made with the pencil are pulled in the direction that the fur grows.
Additional textural strokes are made to the left of the eye. The texture changes here so the marks are shorter and circular in nature. Burnt Ochre is applied first, followed by Dark Cadmium Yellow. Darker values are added with Walnut Brown.
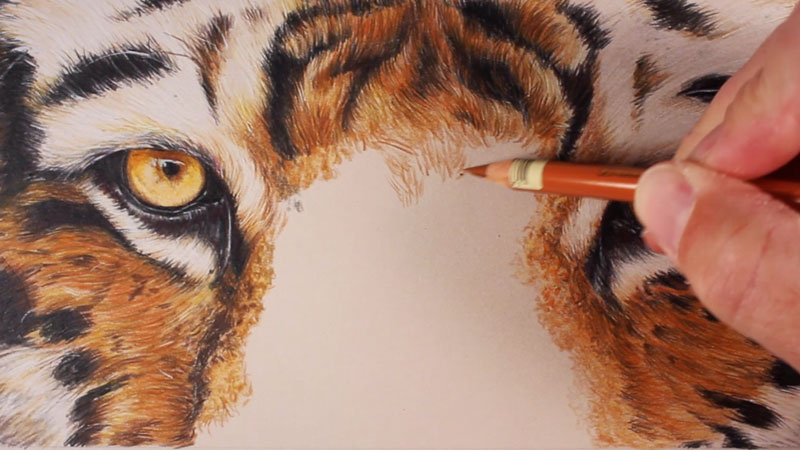
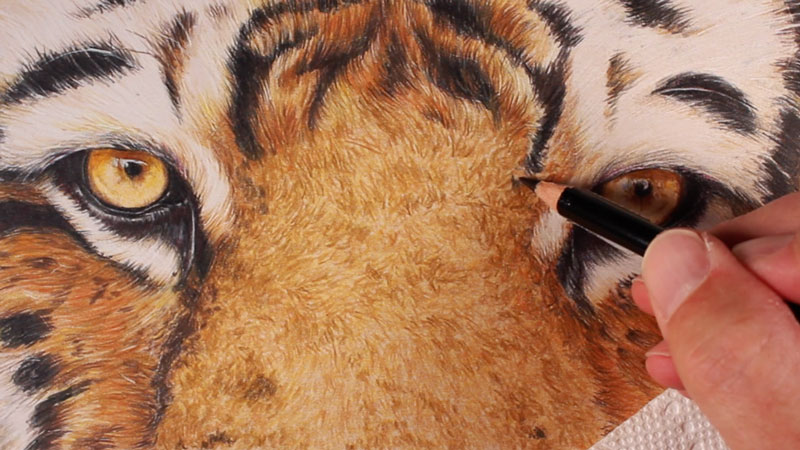
With the first eye and surrounding areas complete, we'll turn our attention to the second eye. This eye is addressed in the same manner as the first, following the same progression of colors.
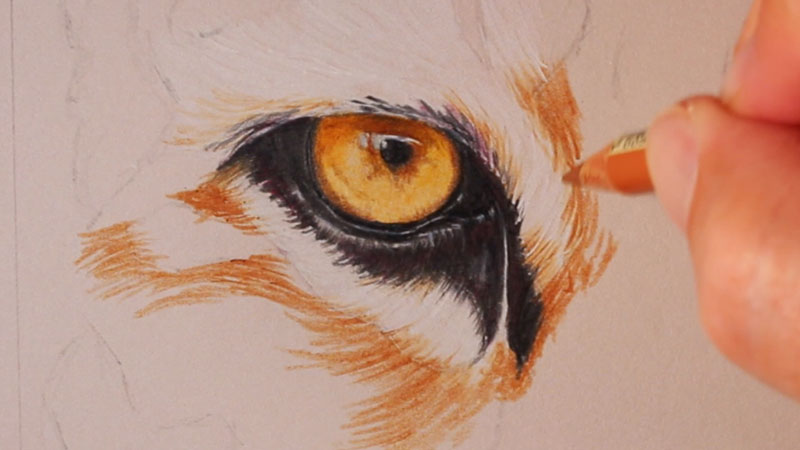
We'll continue developing the texture and colors of the fur. Burnt Ochre, Black and White are added in their respective locations. Light applications of Burnt Ochre are applied over the White areas to add a bit of depth. Cold Grey IV is added for shadow in a few of the white sections.
The orange portions of the pattern are developed with Burnt Ochre, Dark Cadmium Yellow, and Raw Umber. To make the orange a bit more vibrant, Terracotta is added as well. Darker areas within the orange sections are addressed with Walnut Brown and light applications of Black. Here again, the direction of the stroke made with the pencil is dictated by the direction in which the fur grows. Bits of White can be applied over the top to create the illusion of a few hairs.

The remaining portions of the face, except for the center portion, is addressed in the same manner. The same progression of colors are applied, changing the direction of the stroke in order to mimic the texture of the fur.
The texture of the fur changes on the snout. Instead of longer tapered strokes, shorter circular strokes are made. Here again, the progression of colors added remain the same. Burnt Ochre is applied first before a light application of Dark Cadmium Yellow. Dark areas are addressed with Raw Umber, Walnut Brown, and Black. The orange is intensified in areas with Terracotta, and this time - a bit of Cadmium Orange.
To finish the drawing, a sharpened White pencil is used to create a few hairs over the top and to lighten the value slightly in areas.
Colored pencil drawing, no matter the type of colored pencil, requires multiple layered applications of color to create depth. This is a patient process, but a rewarding one. Take your time, layer colors, and be patient. If you do these three things, you are likely to be successful.