Skip to content
Courses
Lessons
Drawing
Painting
Live Lessons
Lesson Plans
Community
Forum
Critique
Blog
Log In
Dashboard
Join
Drawing
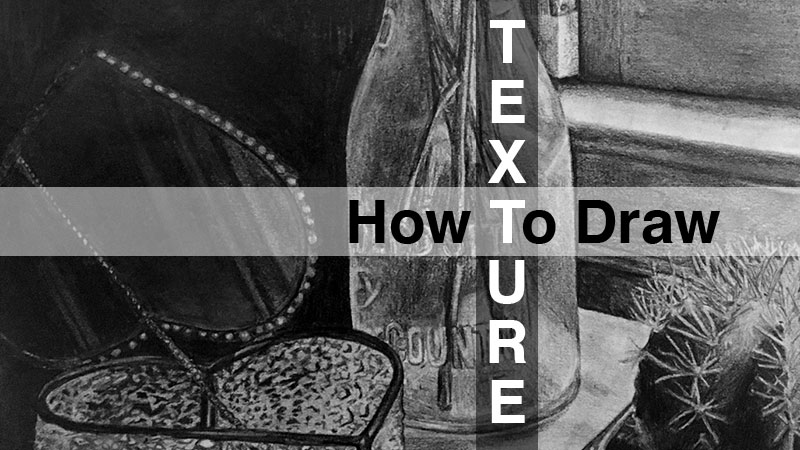
How To Draw Texture
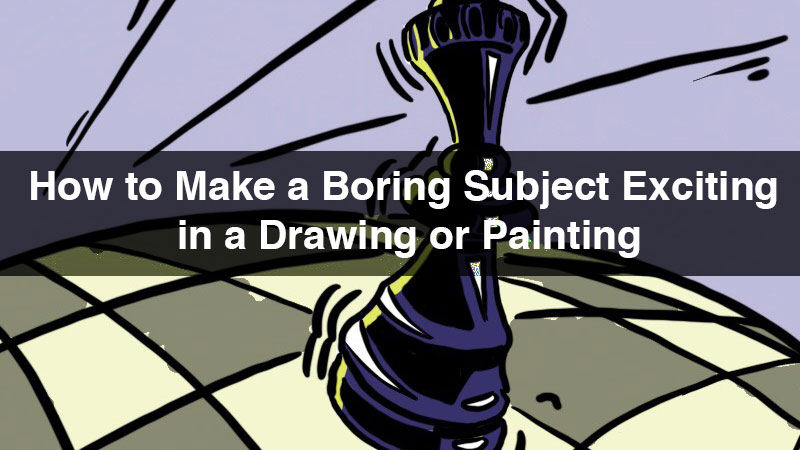
How To Make A Boring Subject Exciting In A Drawing or Painting
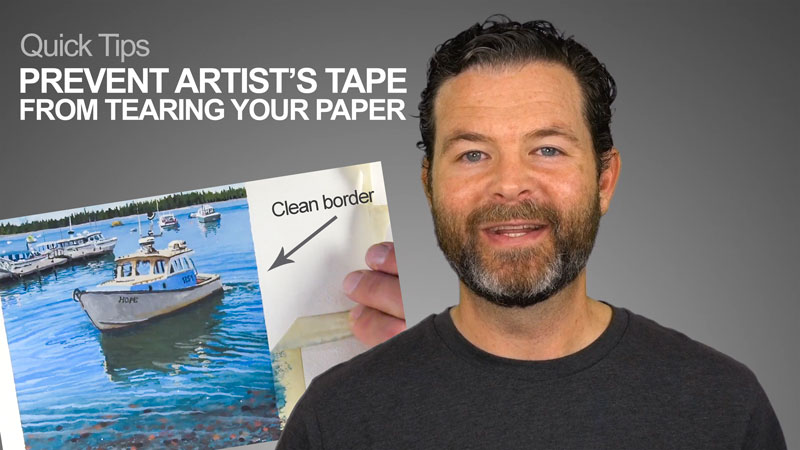
How to Prevent Artist’s Tape From Damaging Your Paper
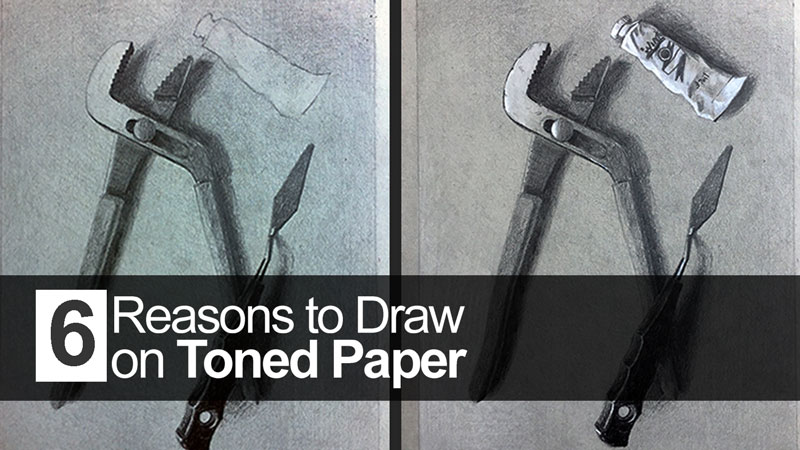
Six Reasons to Draw On Toned Paper
The New Blue – YInMn – A Brilliant Primary is Born
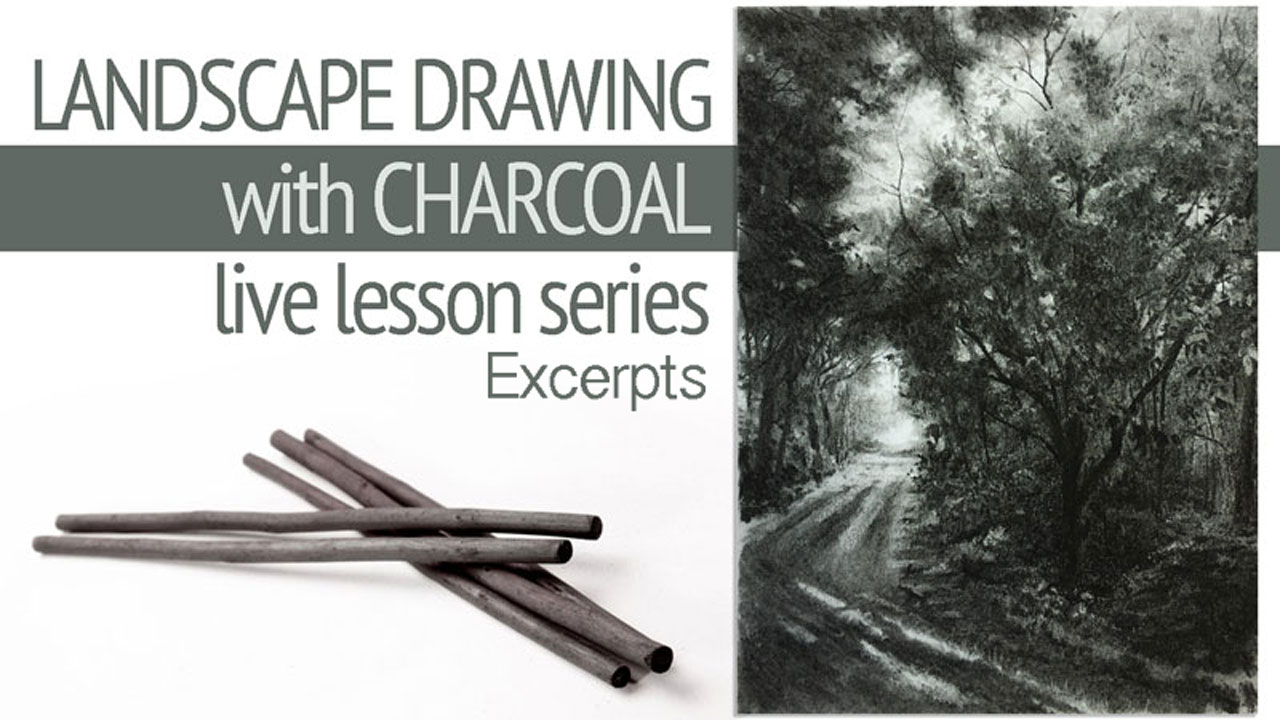
Charcoal Landscape Live Lesson Excerpts
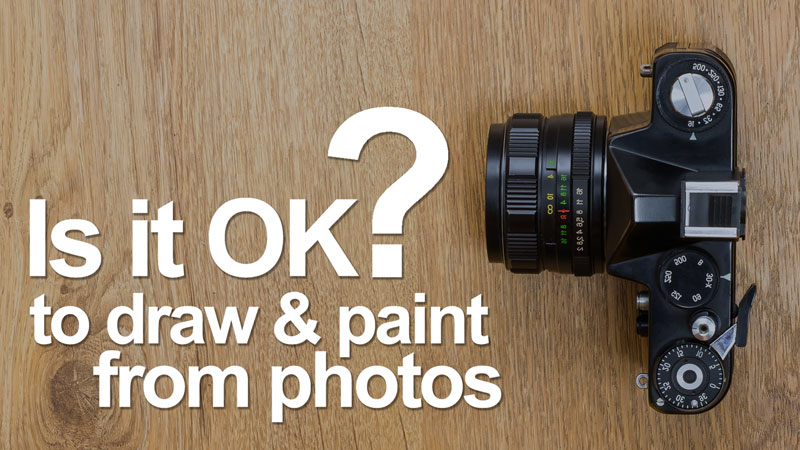
Is It OK to Draw and Paint From Photos?
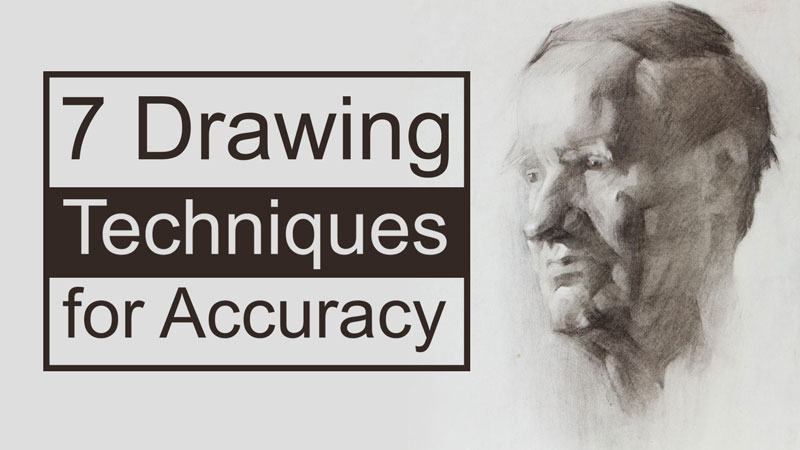
7 Drawing Techniques For Accuracy
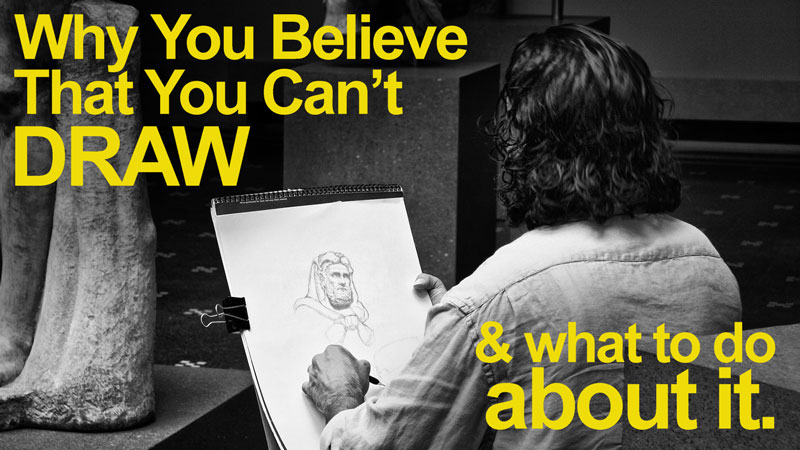
Why You Believe You Can’t Draw and What To Do About It
Drawing on a Flat Or Tilted Surface – Which is Best?
How To Build a Photo Box
Oil-Based VS. Wax-Based Colored Pencils
1
2
→