As artists, one of the most important tools we have at our disposal is our camera. Often, a quality drawing or painting starts with a quality photo.
While photos are everywhere, it’s always best to shoot your own. We can control the light, the subject matter, the arrangement or composition, and the image is completely our own.
But for most of us, we simply don’t have access to high-end studio equipment to create professional-looking photos – or do we?
What is a Photo Box?
A photo box is simply a box that allows light to enter in a controlled manner. Subjects can be placed and arranged in the box and photographed. Since the light is controlled, we have greater control over the highlights and shadows and how they are recorded by the camera.
The light is diffused or dispersed evenly resulting in softer shadows and highlights. As a result, the light is typically more appealing.
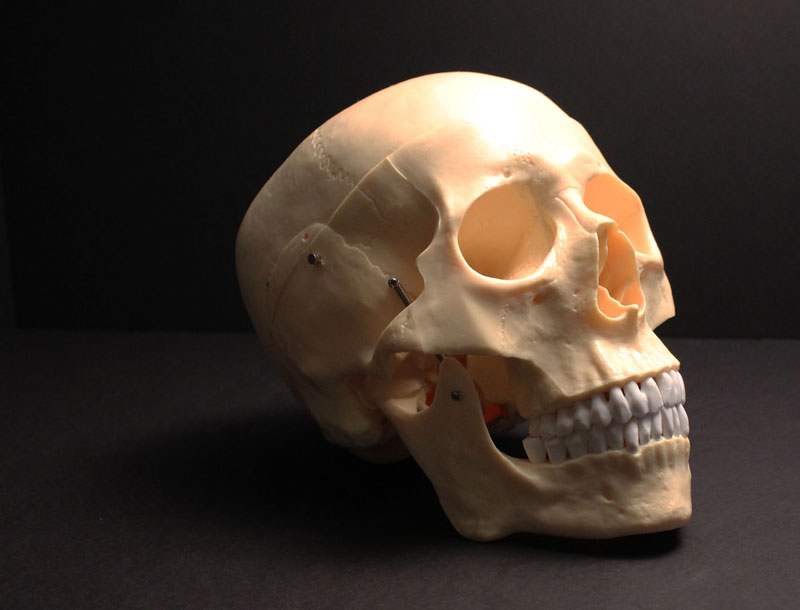
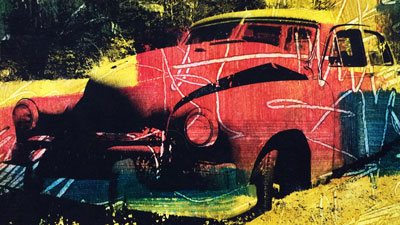
A photo box can be used to photograph still life subjects, but it can also be used to photograph small sculptures or jewelry.
Building The Box Without Glue
I built this photo box to be reconfigurable so I could have the light originating from the left or right. This meant that I needed to make it without glue or adhesives. I also liked the idea of being able to take it apart and store it away in the studio until I needed it. I came up with a design that would result in a sturdy box, but also met my requirements.
Materials
The materials for this build are very inexpensive and easy to find at any art or craft store.
Here’s what you’ll need…
- A sharp craft knife
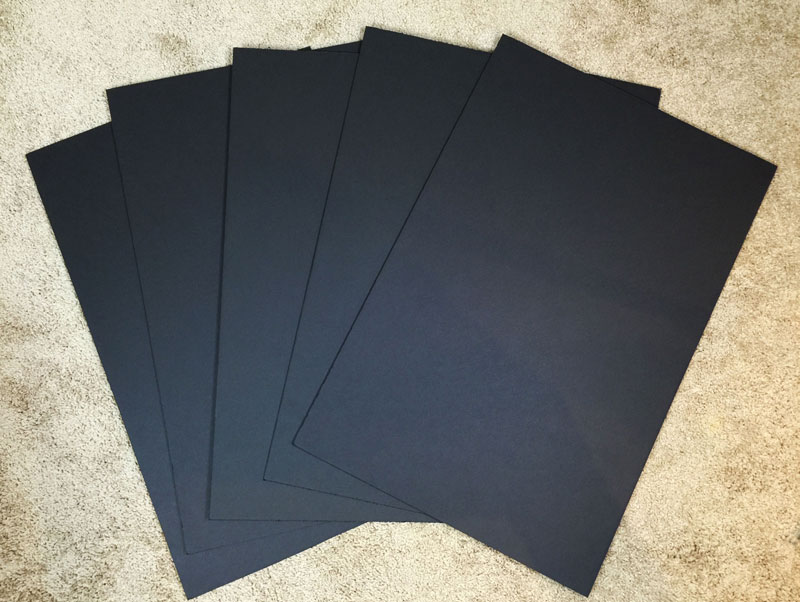
- 5 sheets of black or white foam board (20″ by 30″)
- Masking tape
- Tissue paper
- Yard stick or meter stick
- Pen or pencil
Preparing the Foam Board
Since no glue is used, we’ll cut grooves into the pieces of the foam board so that we can fit the box together allowing it stand on its own. We’ll make all of our cuts first and then simply assemble the pieces.
We’ll start with the bottom piece. The length and the width of the board is left intact. Grooves are cut along the sides and the bottom. The grooves that are cut are thickness of the foam core, so be sure to measure the thickness first and dig out the grooves so that a tight fit will result. The bottom of the foam core is left, be careful not to cut all the way through the board!
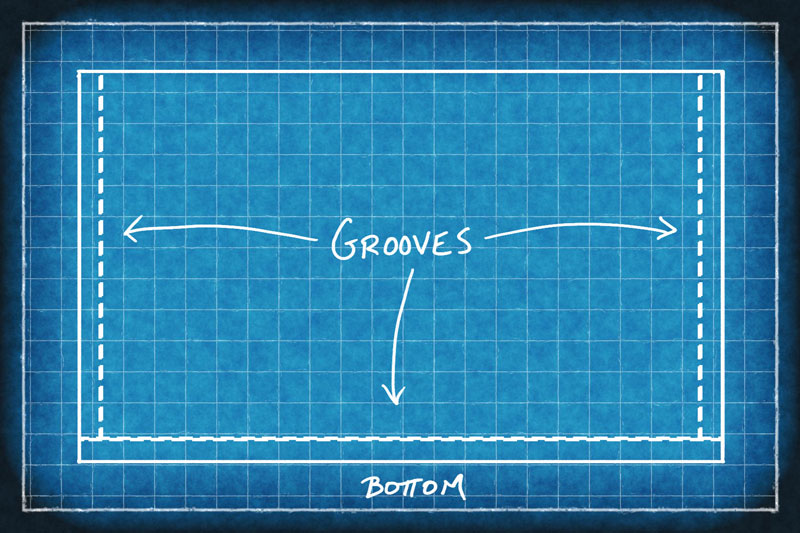
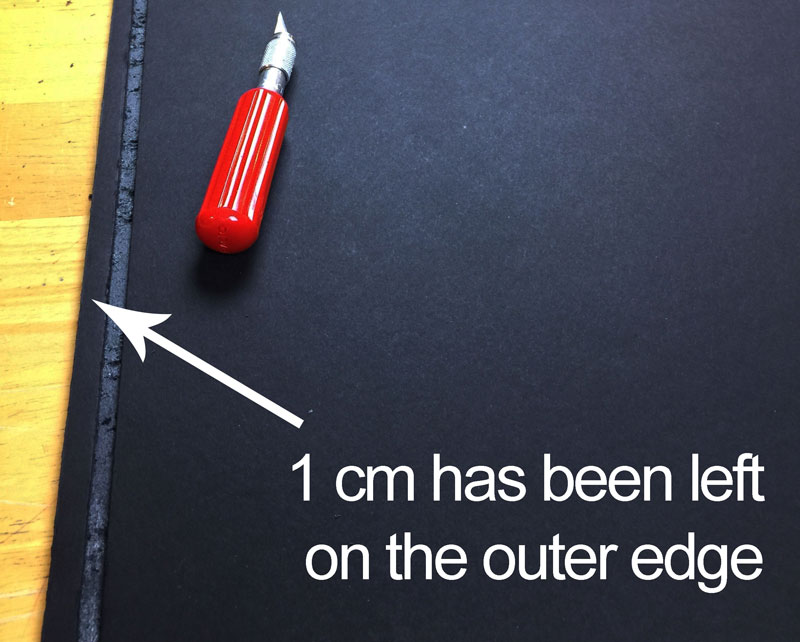
Each groove is placed a centimeter away from the edges. This centimeter adds stability and strength.
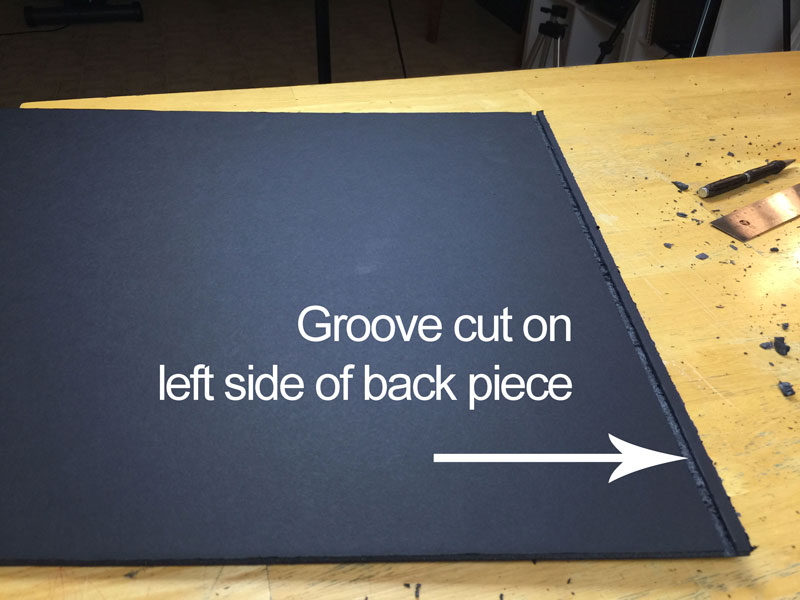
Grooves are next cut in the back piece. Instead of three grooves, as we cut with the bottom piece, we’ll only need to cut two into the back piece. We’ll again leave the foam board’s length and width intact and cut grooves in both ends of the piece. Remeber, the grooves should match the thickness of the foam board.
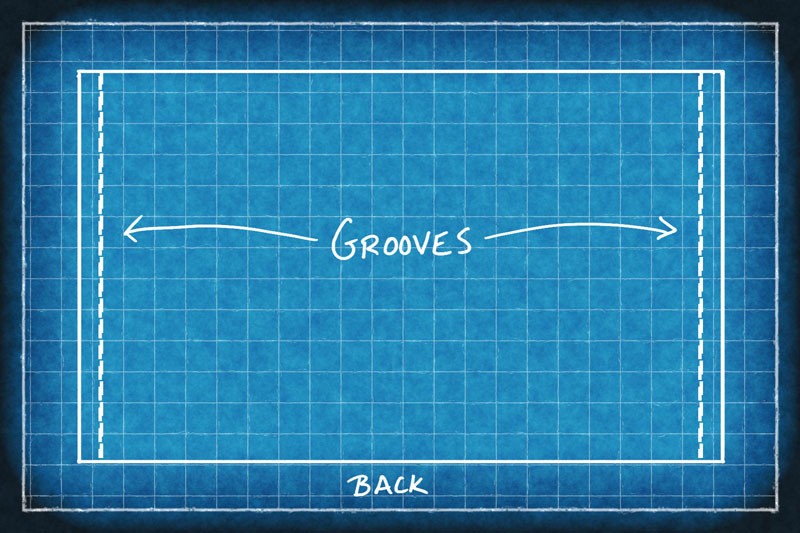
Again, we can leave a centimeter from the edge for added stability, but this time the grooves extend the entire length of the board.
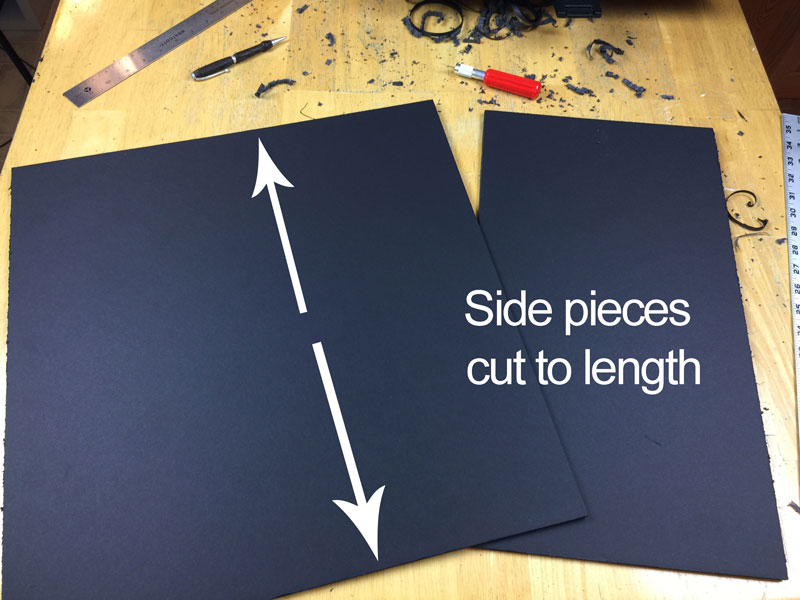
With the bottom and back pieces prepared, we can cut the side pieces. Since the side pieces fit into the grooves that we have cut in the bottom and back pieces, we’ll cut them down so that they will not extend over the front edge of the box.
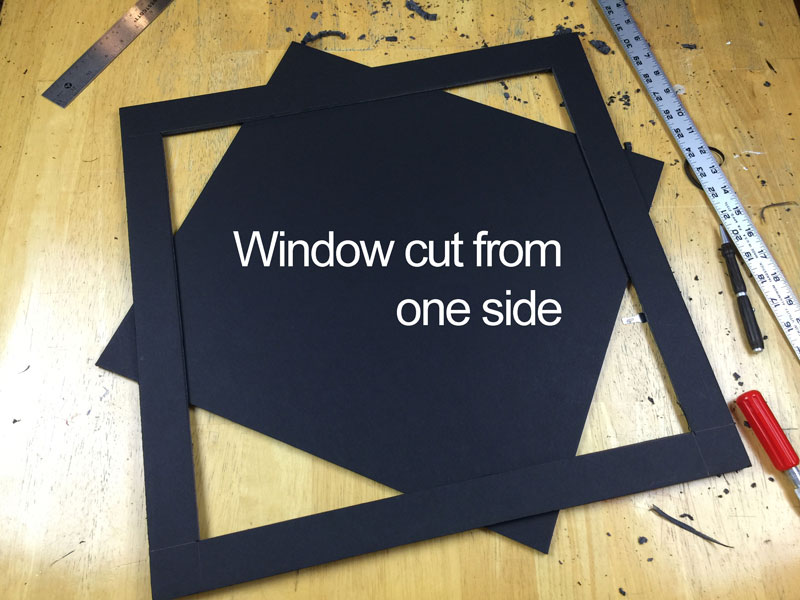
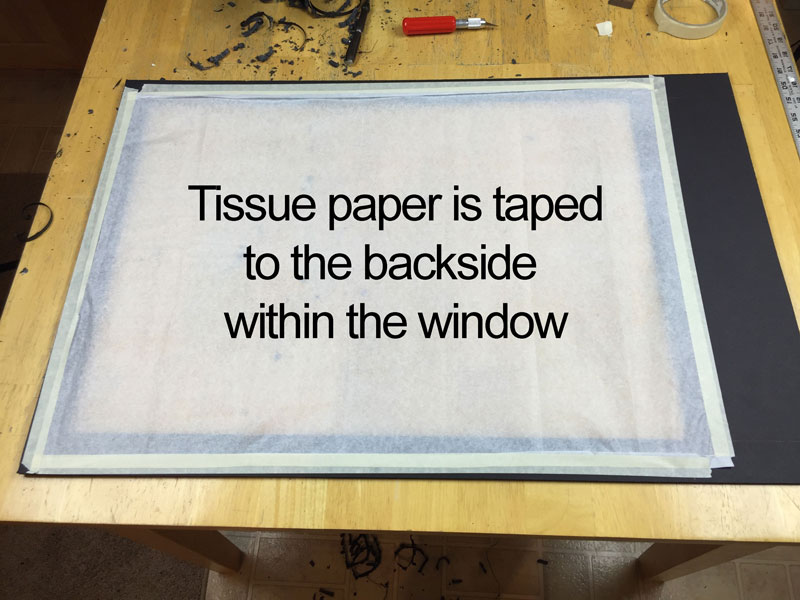
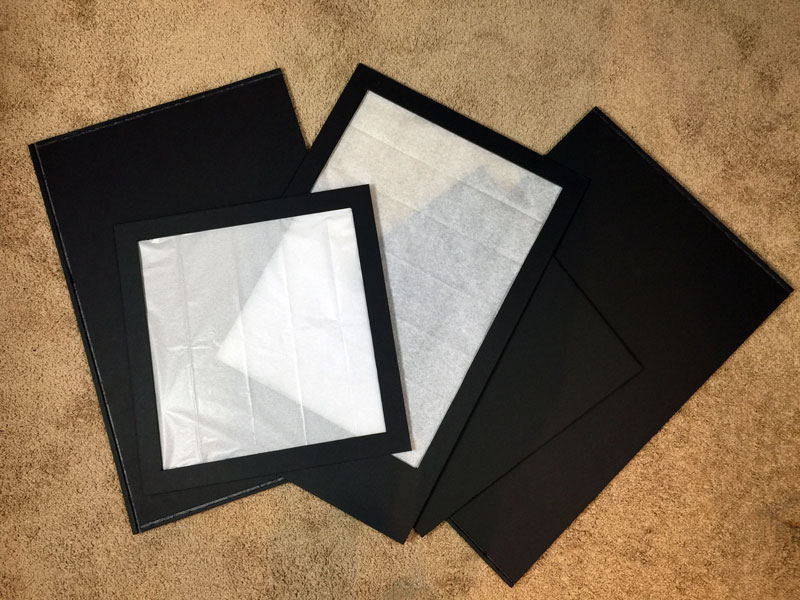
For one of the side pieces, a window is cut out to allow light to enter. (If you want to create a photo box that allows for two light sources, you cut a window in both side pieces.)
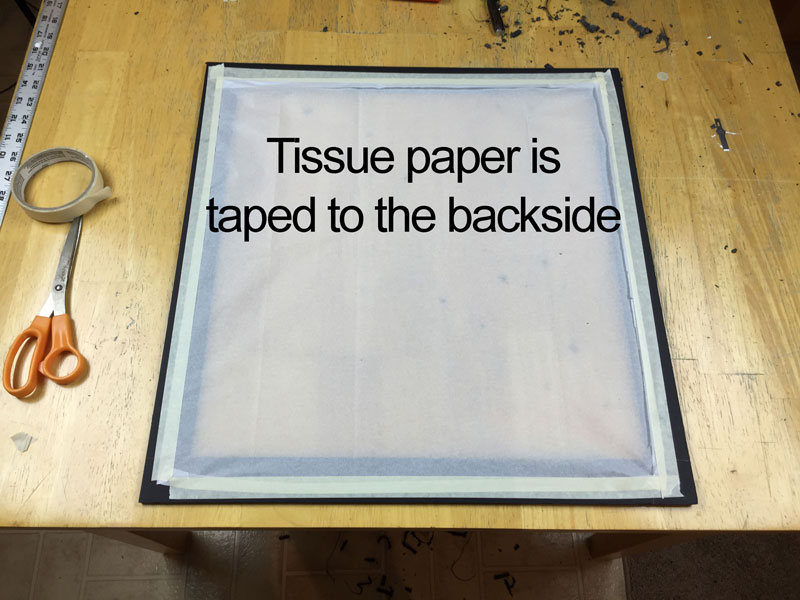
Tissue paper is folded into place and pulled tight on the back side of the window. It is adhered in place with masking tape.
Next, we can cut a window from the top piece. The length and the width of the top piece is kept intact. No grooves are cut into this piece since it can simply rest on top of the structure.
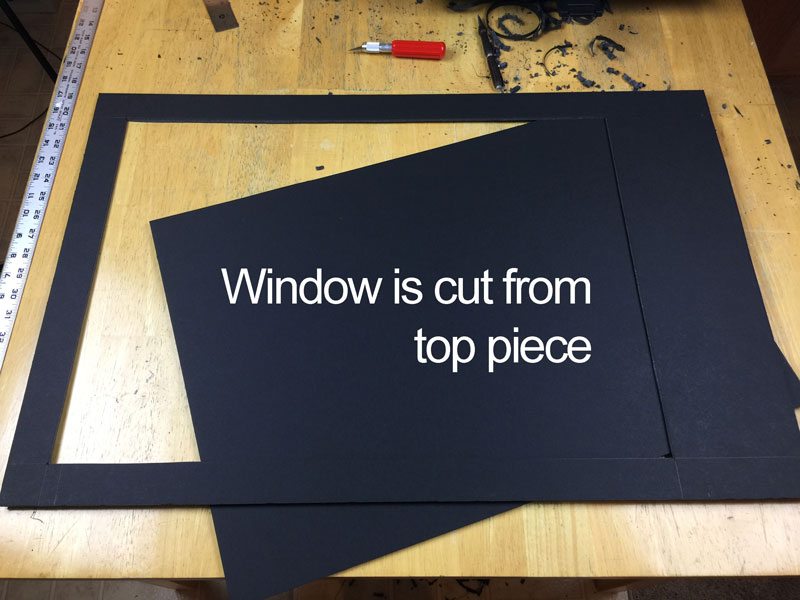
Tissue paper is cut, folded, and adhered in place over the window with masking tape.
Now that the pieces have all been prepared, we can assemble them together as a photo box.

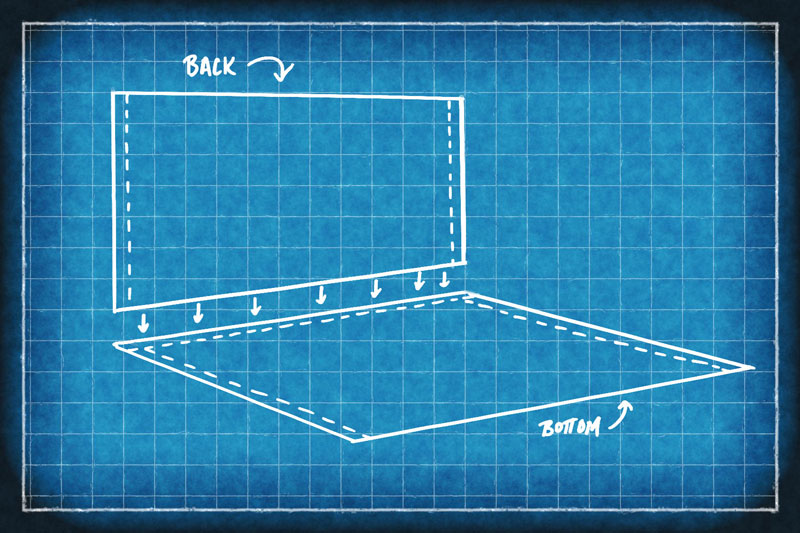
The bottom piece is laid on a flat surface with the grooves facing upward. The back piece is fit within the back groove of the bottom piece.
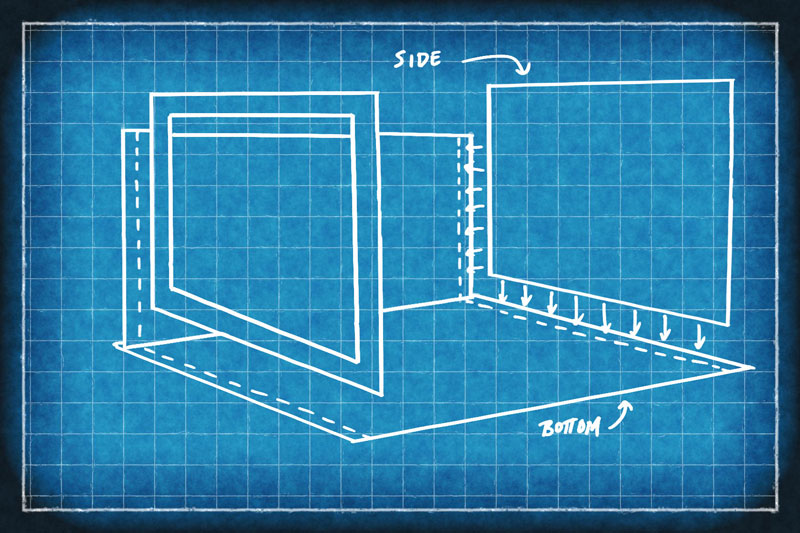
The side pieces fit into the grooves of the bottom piece on each side.
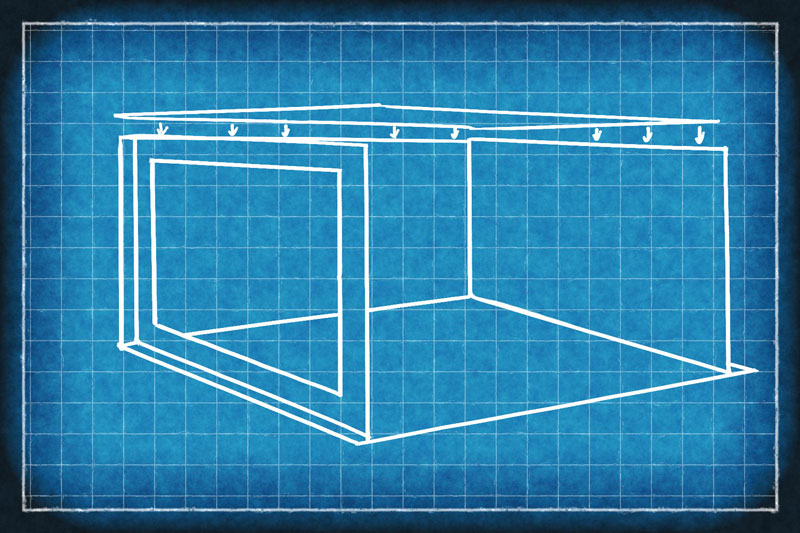
The top piece simply rests on the top of the structure.
With our photo box complete, we’re ready to start taking awesome photos. The construction is reconfigurable, so we can set our box with the light originating from the left or the right.
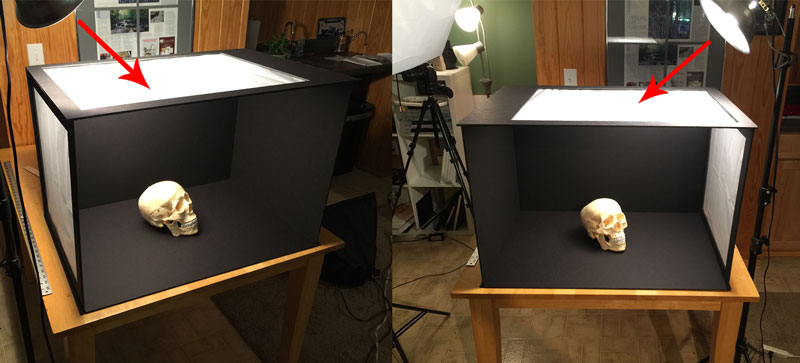
And when we’re finished with our shoot, we can simply break down the photo box and store it away until next time.
If so, join over 36,000 others that receive our newsletter with new drawing and painting lessons. Plus, check out three of our course videos and ebooks for free.