Oil Paint Changed The Art World.
Every so often a technological advancement trusts humanity into a new age. In the last few decades, the computer has changed how we work. Centuries earlier the printing press brought reading to millions and around that same time, the development of oil paints brought pictures to life – like never before.
Almost six hundred years later, galleries and contemporary art museums are still filled with fresh oil paintings. Many art supplies have come into being since artists first spread oil paints across their wooden panels. Acrylic paint has been in use for half a century, but has not replaced oil paint in the way oil paint replaced egg tempera. So if you haven’t worked with oil paint, I encourage you to do so.
Knowledge Is Half The Battle
When I was thirteen years old I found myself in an two-week long summer enrichment art program. Somehow, I was in an intermediate level oil painting class having never painted before. In our studio, a huge table of supplies were provided from which to choose. The instructor would respond to our questions but did not guide us through the painting process. With my limited experience, I didn’t even know what questions to ask. I was in the wrong class. My paintings were total “failures”.
It was frustrating. I felt like giving up, but thankfully, I didn’t. My problem wasn’t a lack of desire or talent. It was a lack of basic knowledge. The information in this article is not definitive, but it helped me to become a better painter and it may help you as well.
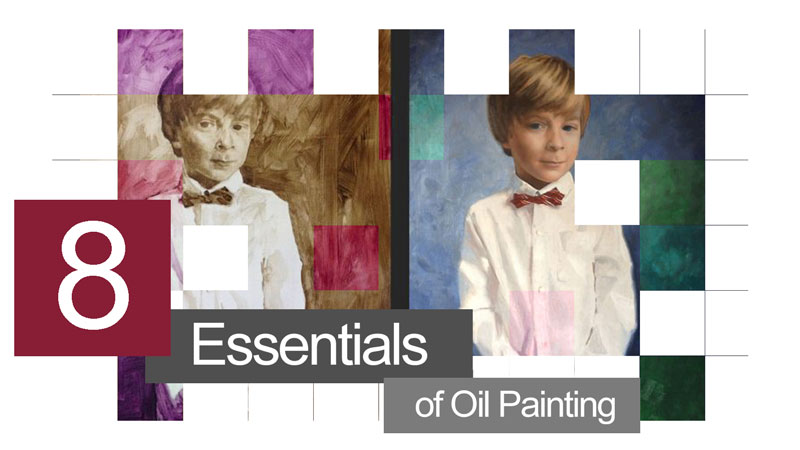
Creating a successful painting begins with solid material choices. It ends with a methodical approach to building a painting. The following oil painting essentials address both of these broad topics. Now, on to the eight essentials…
1. Choose the right support.
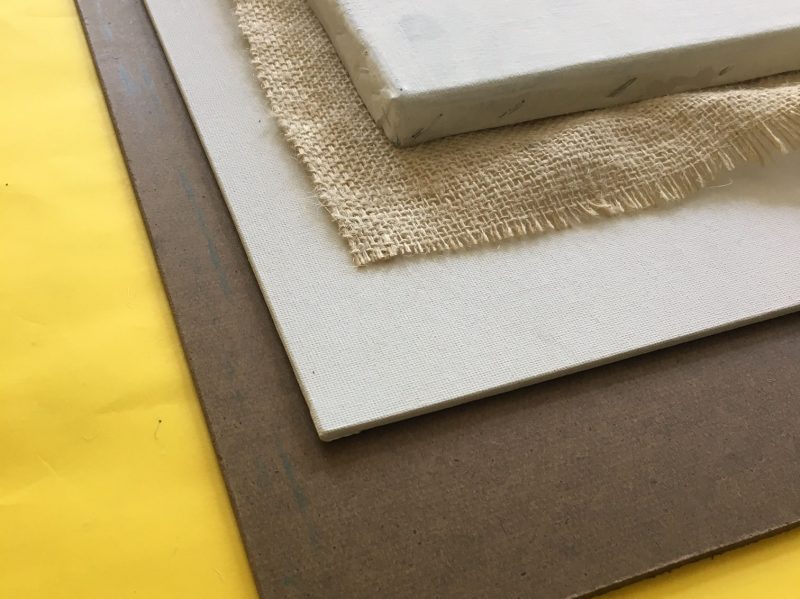
In terms of art, a “support” is the actual surface you paint upon. The most popular support for oil painting is a stretched canvas. Consider a stretched canvas as a medium textured surface, suitable for most paintings.
For a smoother surface, choose oil-primed linen or wood (my favorite). Masonite works well. These smoother surfaces are employed by artists that like to paint thinly with little to no visible brushwork. Fine detail is always easier to achieve on a smoother surface.
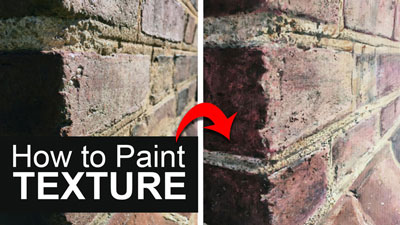
Conversely, to cover a rough support such as burlap, thick brush strokes are required and the physical texture of the cloth is likely to become a part of the artwork. The level of achievable detail is reduced, but the artwork will feel looser and more painterly by default.
Of course, all supports must be primed before using oil paint on them. Supports are typically primed with Gesso – a thick, white, acrylic paint.

2. Choose Proper Brushes.
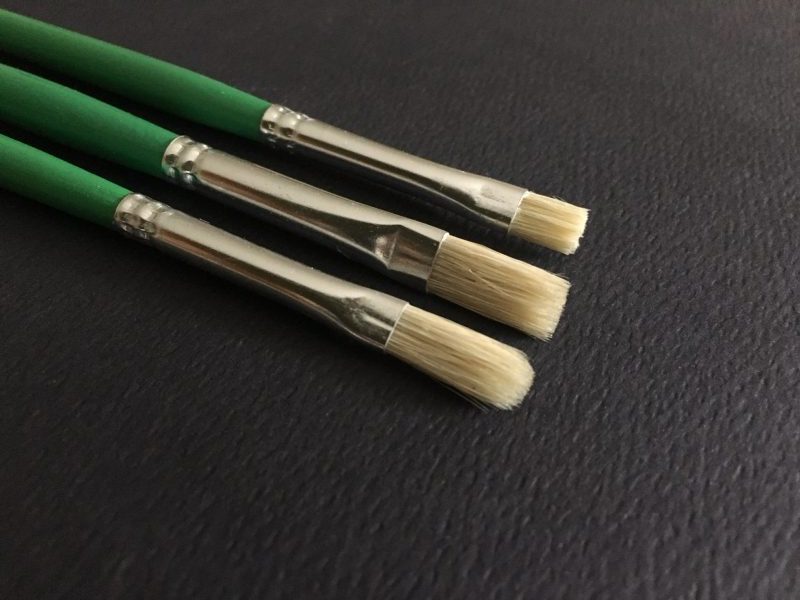
Oil paint is thick and heavy. Stiff brushes called ‘hog bristle brushes’ are recommended in most circumstances.
Beside the bristles, you must also choose between brush shapes. My advice is to experiment with the four main brush shapes – flat, bright, round and filbert. Find out which give you the marks that you desire. I personally favor the filbert. It is somewhere between a flat and a round, making it a versatile choice.
Want More Information on Brushes?
Check the ultimate brush guide…How to choose the right paint brush.
3. Use Medium
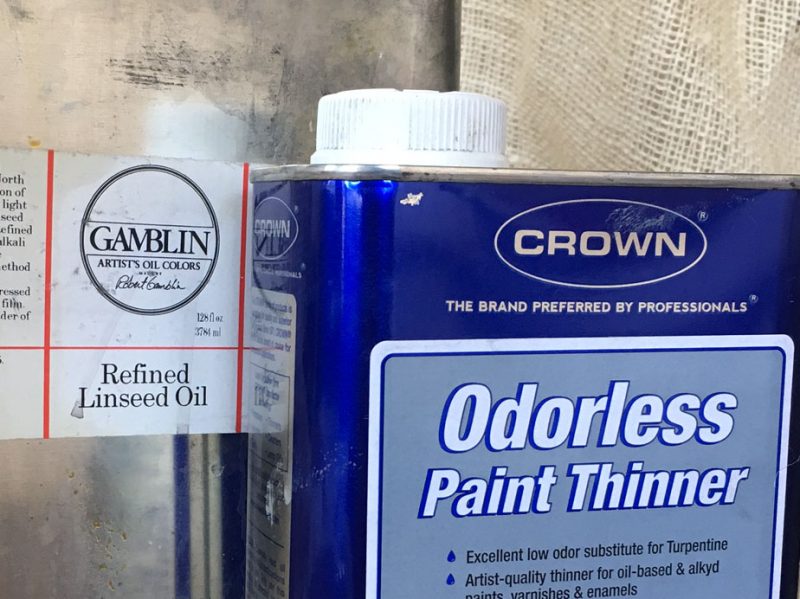
Medium is basically translucent, nearly colorless, thin oil paint. It is translucent because it has no pigment and it is thin because it is a mixture of both linseed oil and a solvent which increases viscosity. The purpose of medium is to improve “flow” so that you can easily spread your paint over an area or make long brush strokes.
Make your own medium by mixing 50% linseed oil with 50% turpentine OR mineral spirits OR paint thinner. You can also purchase pre-formulated mediums with special properties such as fast-drying or special finishes such as “high-gloss”.
4. Make a low frustration palette.
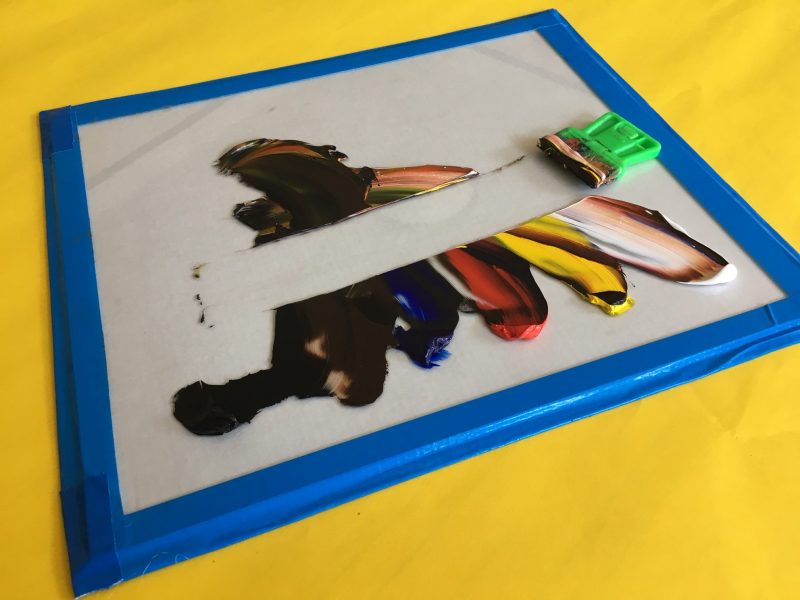
A palette is more that what you squeeze your paint onto. It is a work station and needs to be organized. I arrange my palette with white and black on opposite ends with a spectrum of colors between them. For neutrals such as brown – I put at the end, just before the black.
Wooden palettes have been popular since the dawn of painting but they are dark and stain easily. Dry paint is hard to remove from the porous surface. For these reasons, I am a believer in white, glass palettes.
The white surface makes it easy to judge your color mixtures and because it is glass, you can scrape away any dried paint with a razor blade (preferably one in a handle for safety). Your palette will look new for years if it’s made of glass.
Make a Glass Palette
Learn how to create a glass palette like this one in Oil Painting Master Series.
5. Beat the fumes
I’ve known a few artists to switch from oils to acrylics simply because of the fumes. This is unfortunate because there are ways around the fumes associated with oil painting. The paint itself smells mildly musty but the solvents used in the medium and during clean-up, give oil paint it’s smelly reputation.
The solution is two-fold. First, instead of making medium, purchase a medium with less odor. I recommend Liquin. Made by Winsor-Newton, it speeds drying time to about a day and has a comparatively weak smell.
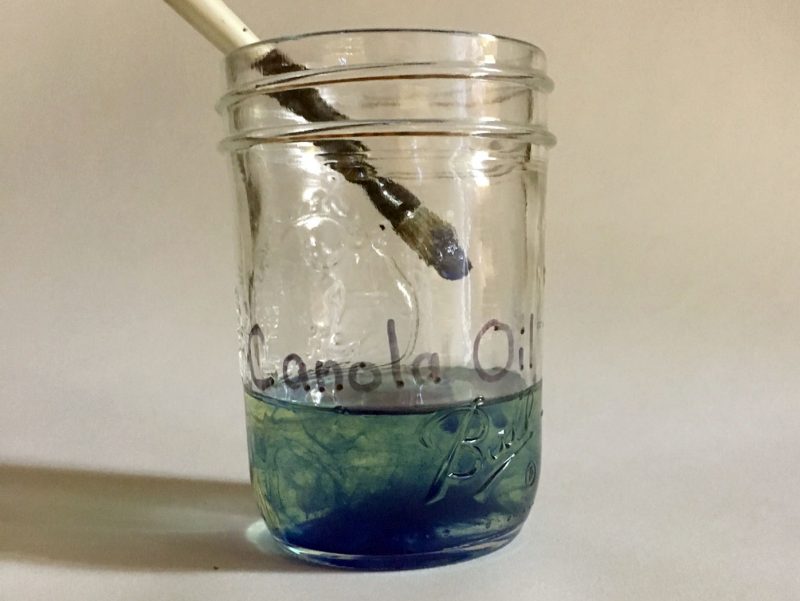
Second, use a cooking oil to clean your brushes when you are finished painting. Cooking oils such as canola or safflower are cheaper than solvents and, surprisingly – they work. After using cooking oil to remove the paint in your brushes, regular hand soap will wash out the oil and keep your bristles in good shape (and make them smell nice).
6. Simplify your pigments

Too often I see hobby painters with dozens of paint tubes in their paint box. Instead of purchasing every color you observe in nature, choose a few versatile pigments and learn to mix your colors.
The best advice I can give beginning painters is to keep a simple palette. Start with one red (Cadmium), one yellow (Cadmium) and one blue (Ultramarine) – plus black and white. All colors cannot be mixed from this particular set of primaries, but by limiting your pigments, you’ll create harmony between your mixtures. You will have made every color in your painting from a small set so they will share a commonality, much like a family is related by a common ancestor. This quality unifies a painting.
An Example of a Beginner’s Palette…
- Cadmium Red
- Cadmium Yellow
- Ultramarine
- Ivory Black
- Titanium White
Eventually you can add an additional red, yellow, and blue, giving you enough variety to mix almost any color you observe. Stay away from buying secondary colors (orange, purple, and green) since doing so will discourage color mixing. The exception here is for landscape painters who might want a tube of either Hookers Green or Sap Green.
An Example of an Intermediate/Advanced Palette…
- Cadmium Red
- Alizarin Crimson
- Cadmium Yellow
- Lemon Yellow
- Yellow Ochre
- Ultramarine
- Phthalo Blue
- Burnt Umber
- Burnt Sienna
- Ivory Black
- Titanium White
7. Start With An Underpainting
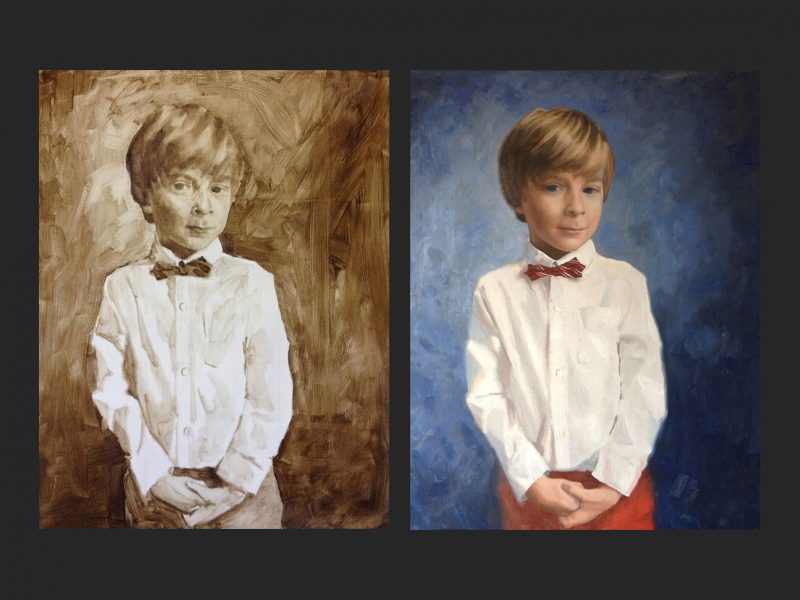
An underpainting (usually monochromatic or grey-scale) is an initial layer of paint. You might think of the underpainting as a rough draft. Whether it is loose and sketchy or refined, it’s purpose is to establish the general proportions and values of your subject without the complications of mixing and matching color.
Once the underpainting is dry, you can paint on top of it in full color. If you make a mistake in terms of color or value, just wipe away the mistake and try again. Starting this way allows you to concentrate completely on color choices during the final layer since the correct values and proportions are already established.
8. 90% of Quality Painting is Quality Drawing
I would be remiss if I failed to advise you to regularly practice your drawing skills in addition to pursuing painting. Much like an underpainting lays the foundation for a successful oil painting – drawing is at the heart of painting. In fact, color is flexible and interpretive but value is rigid and unforgiving. You can paint a person’s skin blue, but if your values are accurate, your portrait will still look just like them.
Better yet, make a drawing of your subject in pencil or charcoal, then create your painting. You’ll more fully understand your subject and make a better painting because of it.
If so, join over 36,000 others that receive our newsletter with new drawing and painting lessons. Plus, check out three of our course videos and ebooks for free.