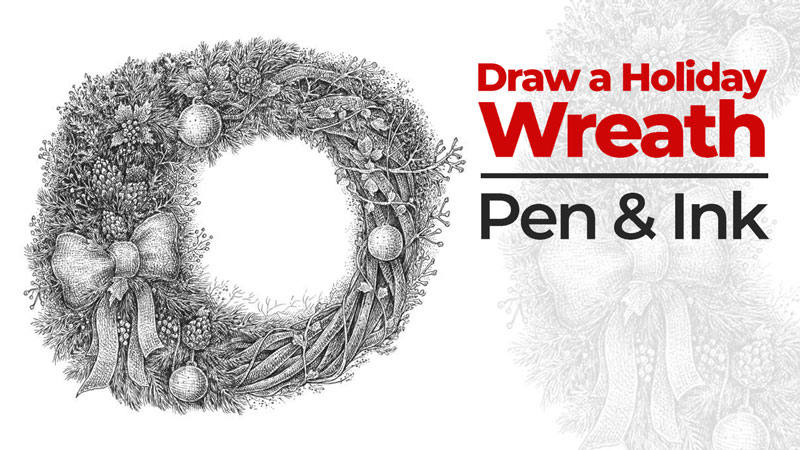
The complete artwork will resemble an illustration from a vintage book. This style is charming, regardless of the time of year.
Looking ahead, it is worth mentioning that drawings of this kind are quite versatile. For example, you can decorate a greeting card with your art and share it with your friends and family! A gift that was created with love is always sincere and warm.
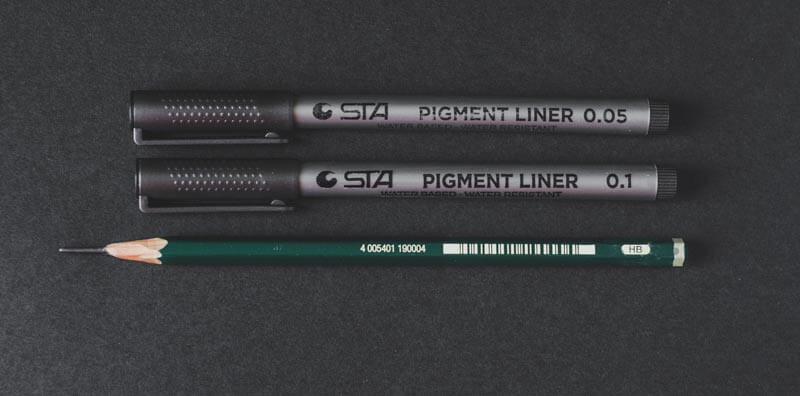
The Materials You’ll Need
For this project, I’ll be using an ordinary HB graphite pencil and two ink liners (0.1 and 0.05). Also, you’ll likely need a soft eraser to remove the unnecessary graphite marks.
The approximate size of the paper is relatively small, 21×20 cm (8.2 × 7.9 inches).
If you prefer a looser, more spontaneous approach to drawing with ink, feel free to use liners that create a wider line (for example, 0.3).
Choosing Your Christmas Subject
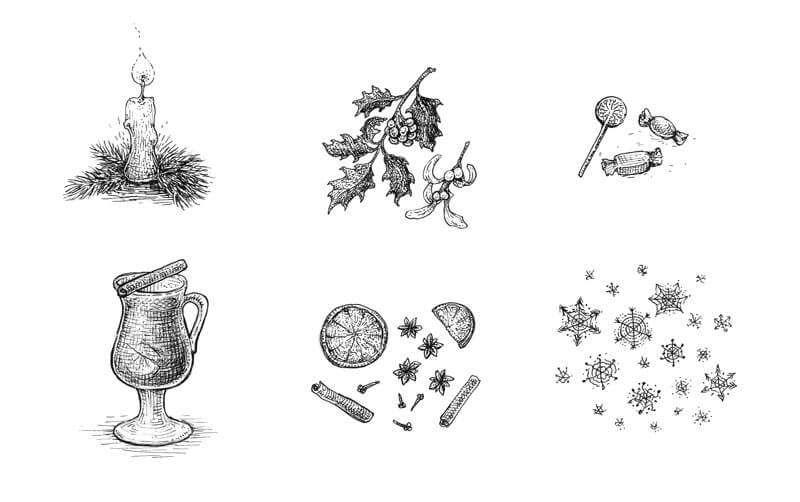
We have a lot of choices here. We can easily develop a long list of various objects and characters that are associated with winter holidays. Here are a few ideas…
- A decorated Christmas tree
- Candles
- Candies, chocolate, and sweets
- A gingerbread man
- Mulled wine
- Gift boxes with various patterns, bows, and other decorations
- Spices like cinnamon or cloves
- Tangerines and other citrus fruits
- Garlands
- Mistletoe, winterberry, and other Christmas plants
- Bells
- Snowflakes
- A Christmas deer
- A snowman
Of course, there are many more things we could add. Perhaps you could include something that is specific to the culture of your country or some local traditions. The more individual your concept is, the more interesting your drawing will be!
I have decided to draw a wreath, so the next task is to imagine its components.
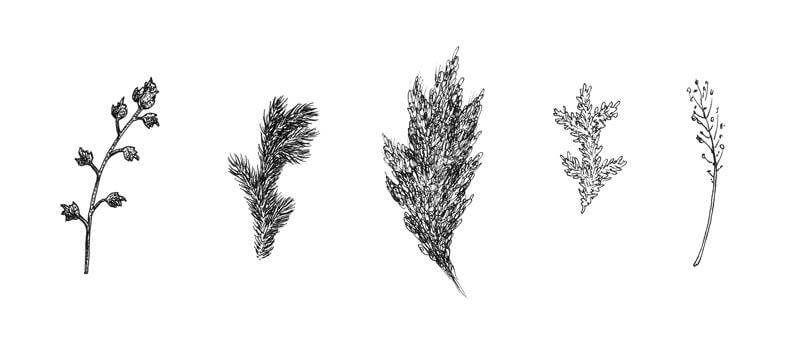
The floral elements are a significant part of this subject since they make the wreath recognizable. In preparation, I draw several examples of plants. They may be quite stylized and small in size. This sketch is only for your reference.
You may choose to draw these floral elements as you see them or you may choose to add a bit of imagination.
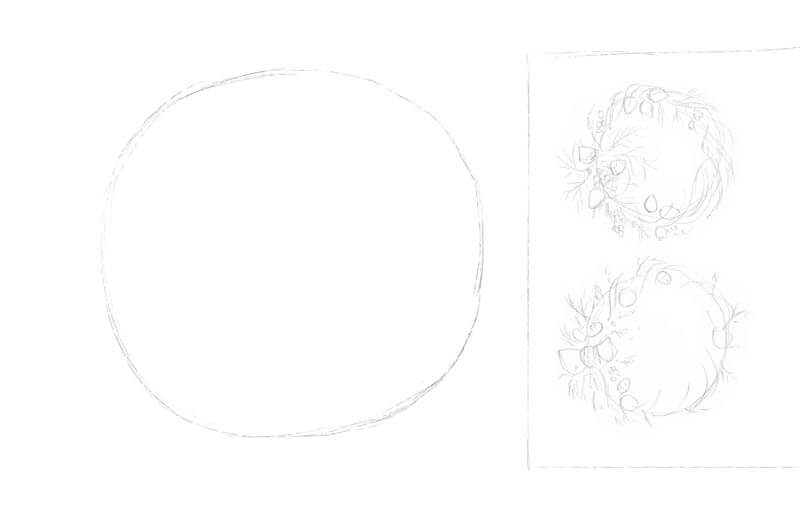
If you aren’t sure how to ‘adorn’ your wreath, a quick Pinterest or Google search will help (there are so many options). I prefer creating a couple of miniature sketches, just to put my ideas in order. At this stage, I decide to make my wreath slightly asymmetrical – the left side will be wider, more massive.
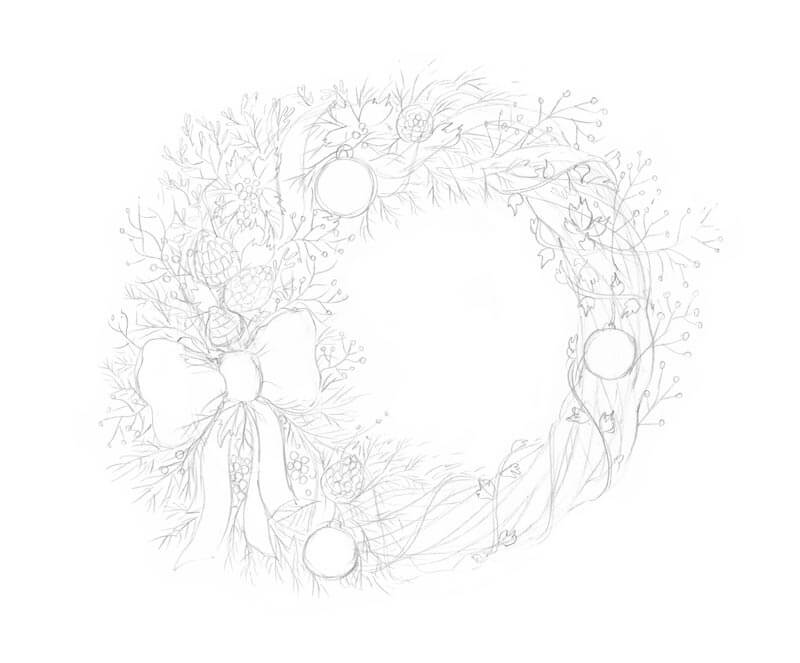
A graphite underdrawing is the starting point for our finished artwork. First, I draw a circle with light lines. It’s fine if it’s slightly uneven. This circle will be the core line of our wreath.
Be sure to leave enough space on the periphery of the circle if your plans include creating a larger wreath with lots of prominent elements.
I block out several areas where the groups of larger objects (like cones and other decorations) should be, according to my idea.
My lines are quite heavy in the image below, just for demonstration purposes. It’s better to keep your pencil marks light.

I fill the general shape of the wreath with the elements I wish to include – the cones, winterberries, various twigs with leaves, and small decorative balls.
The conifer branches fill the space around the ‘islets’ of the objects. The botanical elements add to the drawing and create additional interesting details!
A big bow at the left side is the largest element. Its function here is to attract the viewer’s attention. The wreath looks voluminous, yet still balanced.
Drawing the Christmas Wreath with Ink Liners
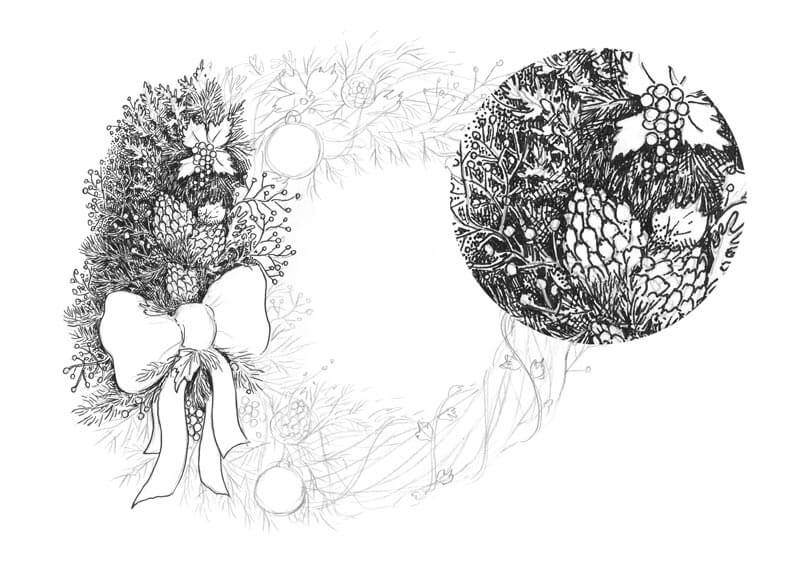
I start the inking with the 0.1 ink liner, marking the main contours and developing the areas of darker value. These areas add depth to the drawing and increase the contrast.
Be aware of the highlights and areas of lighter value. These areas will look like fir needles from a distance. Hopefully, the close-up fragment in the image below helps to illustrate this concept.
This part of the wreath will be our reference point in terms of values and details. We could work gradually by first outlining the contours and then add some hatching to accentuate the shadows and reveal the texture. There is nothing wrong with this method! In this case, however, I decided to complete the areas one by one. It’s completely up to you as to how you decide to complete the drawing.
With the 0.1 and 0.05 ink liners, I continue inking the wreath. Don’t be afraid to change your initial pencil sketch or erase the unnecessary graphite marks as you go. However, you may also choose to leave the pencil drawing to remain in place. If you choose to do this, it will add subtle gray areas to the image.

A line is a powerful tool! With short lines, I create a sense of direction and even a slight illusion of movement for the conifer branches. Some spots are basically patches of dense ink hatching but we understand them as areas filled with fir needles.
The key to an attractive result is finding a balance between careful detailing and spontaneous mark making. It’s important not to overthink the artwork. Let the process guide you and your decision making along the way.
I also add dots to create an illusion of soft blur near the inner edge of the wreath. The holly leaves and the bow have a smoother texture, so I use stippling to create the desired effect here as well.
Then, I outline the twigs in the bottom part of the wreath.
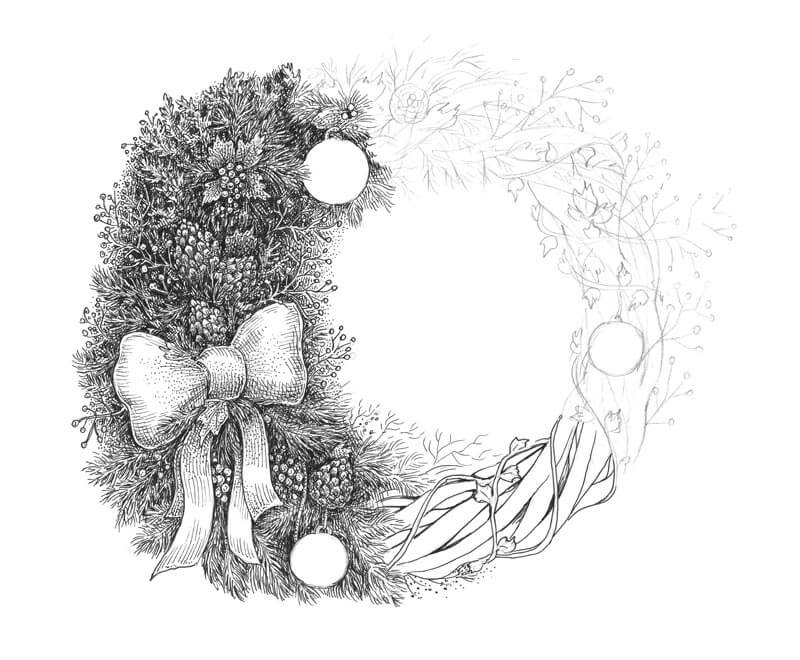
I continue outlining the contours, using the 0.1 ink liner. I imagine that the twigs have an interesting rough texture, so I add dots and small circles to reveal it. The groups of hatches accentuate the direction and shape of the twigs.
At this stage, the contours are almost complete. We’ll use them as a basis for developing the value with hatching and cross hatching.
With the 0.1 liner, I accent the shape of the objects by varying the direction and character of the hatches. Contour and cross-contour hatching is a great method of creating the illusion of volume, especially in the case of rounded objects.
See also: Hatching and Cross Hatching
To make the texture of the balls more interesting, I add a pattern of small circles to their surface.
I apply thin hatches to the twigs, accenting their subtle relief. Then, I fill the areas around them with dense hatching. The climbing ivy is on top of the wreath, intertwined with the twisted twigs, so we need to create an indication of subtle cast shadow here.
If you have many intertwining elements in your drawing, it’s important to be attentive and careful while inking. However, if you make a mistake, there are ways to fix it.
See also: How to Correct Mistakes in Pen and Ink Drawings
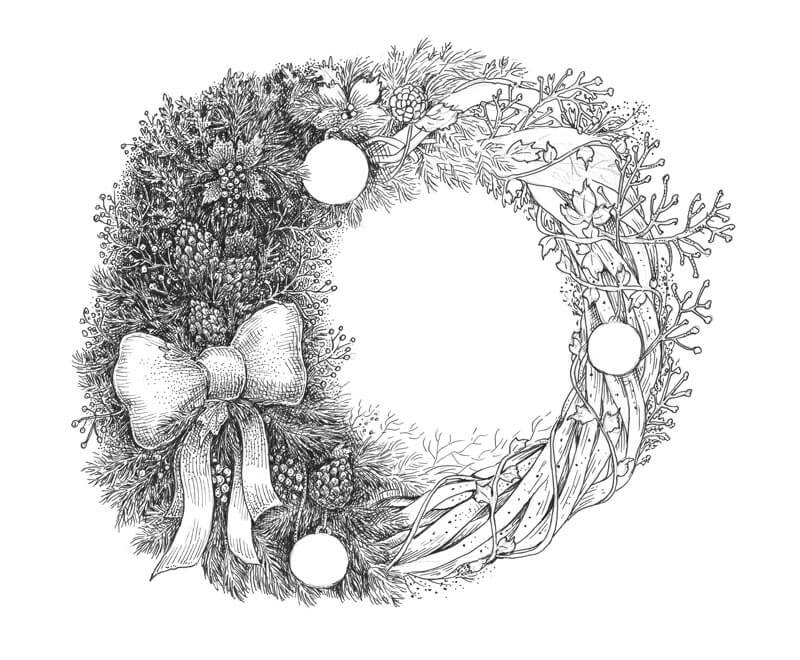
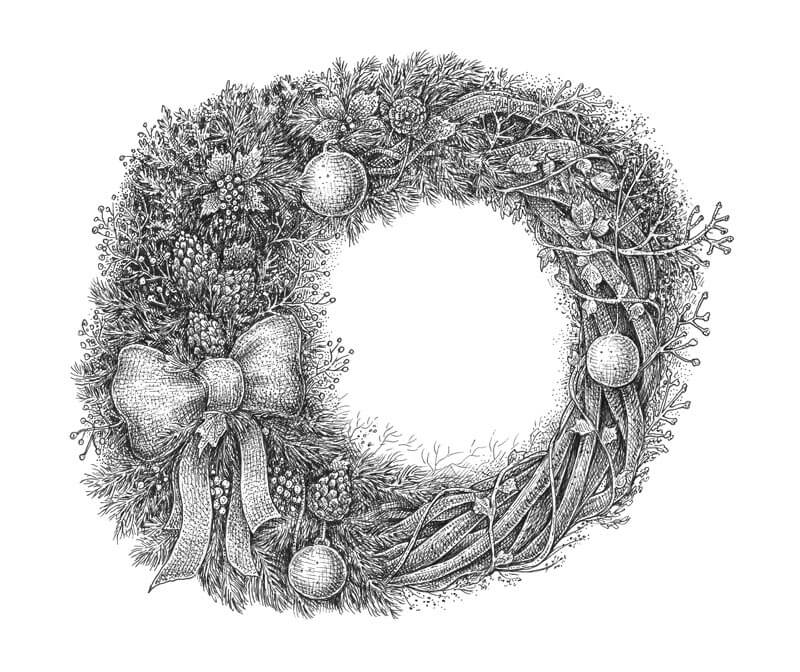
I complete the rest of the drawing, using the same principles as in the previous steps.
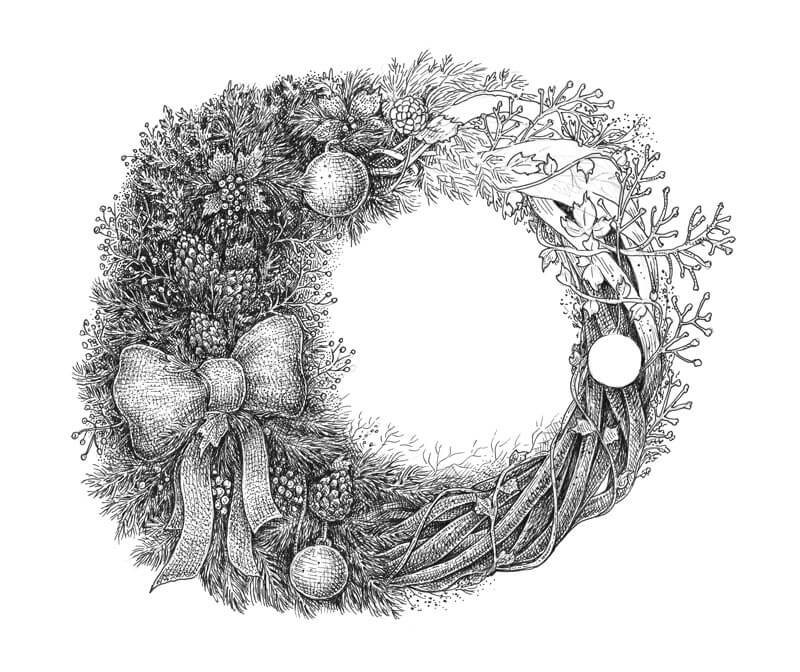
As a finishing touch, I make the contours more varied by widening the lines near the outer edge of the wreath with additional applications of ink. I also balance the image by adding new elements like thin fluffy twigs to its right side.
The drawing is complete!
I decided to draw a wreath in this lesson, however there are many more possibilities to continue your holiday series. Remember the list of ideas that I shared earlier and use it as inspiration for your next work.
If you’re looking for more inspiration, the image below may help. By the way, creating small, quick drawings is an excellent way to discover a great concept for your next drawing!
I hope you liked the lesson and thanks for being with me on this creative journey! I wish you all the happiest of Holidays!
If so, join over 36,000 others that receive our newsletter with new drawing and painting lessons. Plus, check out three of our course videos and ebooks for free.