The following lessons are designed to help introduce beginners to Photoshop. Photoshop is an extremely complex program that can be overwhelming if you're just starting out. The lessons here cover just the basics and assume that you are starting with zero experience. The lessons were recorded using CS4. Photoshop has been updated since this version was released, but the processes are essentially the same.
If you want to learn the basics of Photoshop from the perspective of a traditional artist, I've created a course that will help you. This course uses the most recent version of Photoshop (Creative Cloud) and covers the common uses of the program that a traditional artist may employ.
You can check out the course here...
Table of Contents
When most people think of Adobe Photoshop, they think of photos. Adobe Photoshop, however, is a powerful imaging program that can be used for drawing and painting.
When you are just beginning with Adobe Photoshop, and you aren't sure what you are doing, starting out can be intimidating. It seems to me that the most logical place to start for any beginner is with the brush tool. The brush tool is the easiest tool to use to make a mark. The brush tool is also one of the most versatile tools in the tool palette. You have the ability to change the stroke, the transparency, the color, the texture and many other aspects of the mark. You can even make your own brush in Photoshop. Couple all of the abilities of the brush tool with a digital tablet and you're "rolling".
The brush tool in Photoshop can be used to create effects that can resemble actual paintings and drawings. In fact, many traditional artists, especially illustrators, have migrated to the computer. This is simply because of the versatility of the tools in Photoshop and other digital painting programs.
Mastering the brush tool is the first step to learning and mastering Adobe Photoshop. Once you are comfortable with the brush tool, the other tools seems to fall into place much easier. No tool is more intuitive than the brush tool.
Sometimes the need arises to create a custom brush in Adobe Photoshop. It may be because you need to repeat an object. A custom brush will save you loads of time in this case. Just create that brush and spread as many copies of your image on your canvas as desired. And do it very quickly. Or perhaps you're looking for a specific texture that can't be found in the default brushes or in any brush sets that you can download online.
Knowing how to create a custom brush in Photoshop is a basic skill that any designer should know. Luckily, it's pretty easy to create your own brush. So, here's how to do it...
First, you will need to open an image, create an image (or shape), or text in a new Photoshop document. Select the area to define the brush area. Go to "edit"->"define brush preset". Name your brush and that's it.
All of the standard features such as opacity and flow apply to your new brush. You can also edit the brush as normal. Get creative and see how many different ways that you can use this feature.
Photoshop is much more than a program for editing photos. It is a powerful program for developing drawings and paintings that resemble those created with traditional media.
In order to find success however, more equipment is required beyond a mouse, keyboard, and monitor. To take full advantage of what is possible, the artist will need a tablet with a stylus to create a truly refined digital drawing or painting. The good news is that this equipment is fairly inexpensive, especially compared to what may be spent on traditional media. Quality, introductory tablets start at about $70. And now that Photoshop is available as an affordable subscription, there is no longer a price barrier to prevent traditional artists from making the switch.
Recommended Materials for This Tutorial
(Some of the following links are affiliate links which means we earn a small commission if you purchase at no additional cost to you.)
There are a variety of graphics tablets available for artists. Like most things, they vary greatly in quality and price. From my experience, the best line of tablets are made by Wacom. They provide exceptional response and feel, even with the introductory tablets.
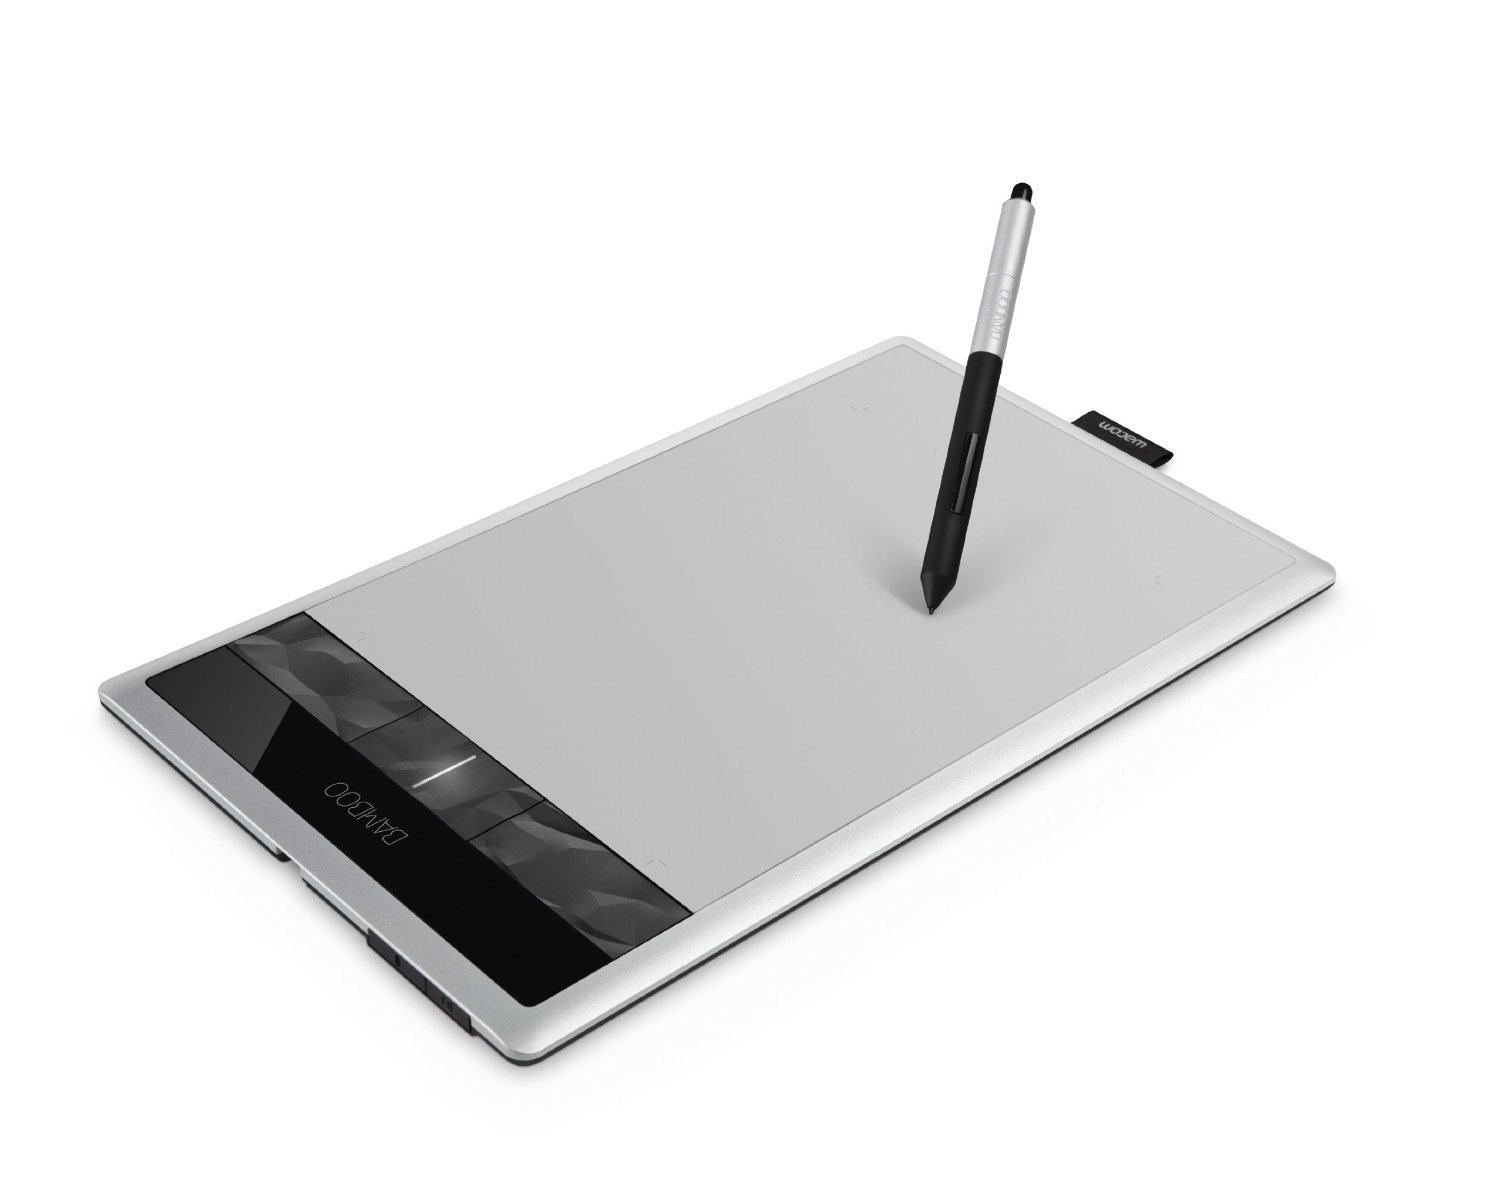
The Bamboo Tablet - The Bamboo tablet by Wacom is designed for beginners. But even at an affordable price, this tablet packs a lot of punch. I own this tablet and use it with my laptop when I'm on the go. It provides a suitable surface for drawing and fairly nice feel as well. It is quite durable as well and has survived several cross country flights. But like with all external tablets, it does take some getting used to. After years of watching your lines develop on the surface with traditional drawing, some may find it difficult to make marks and watch them appear on a screen in front of you.
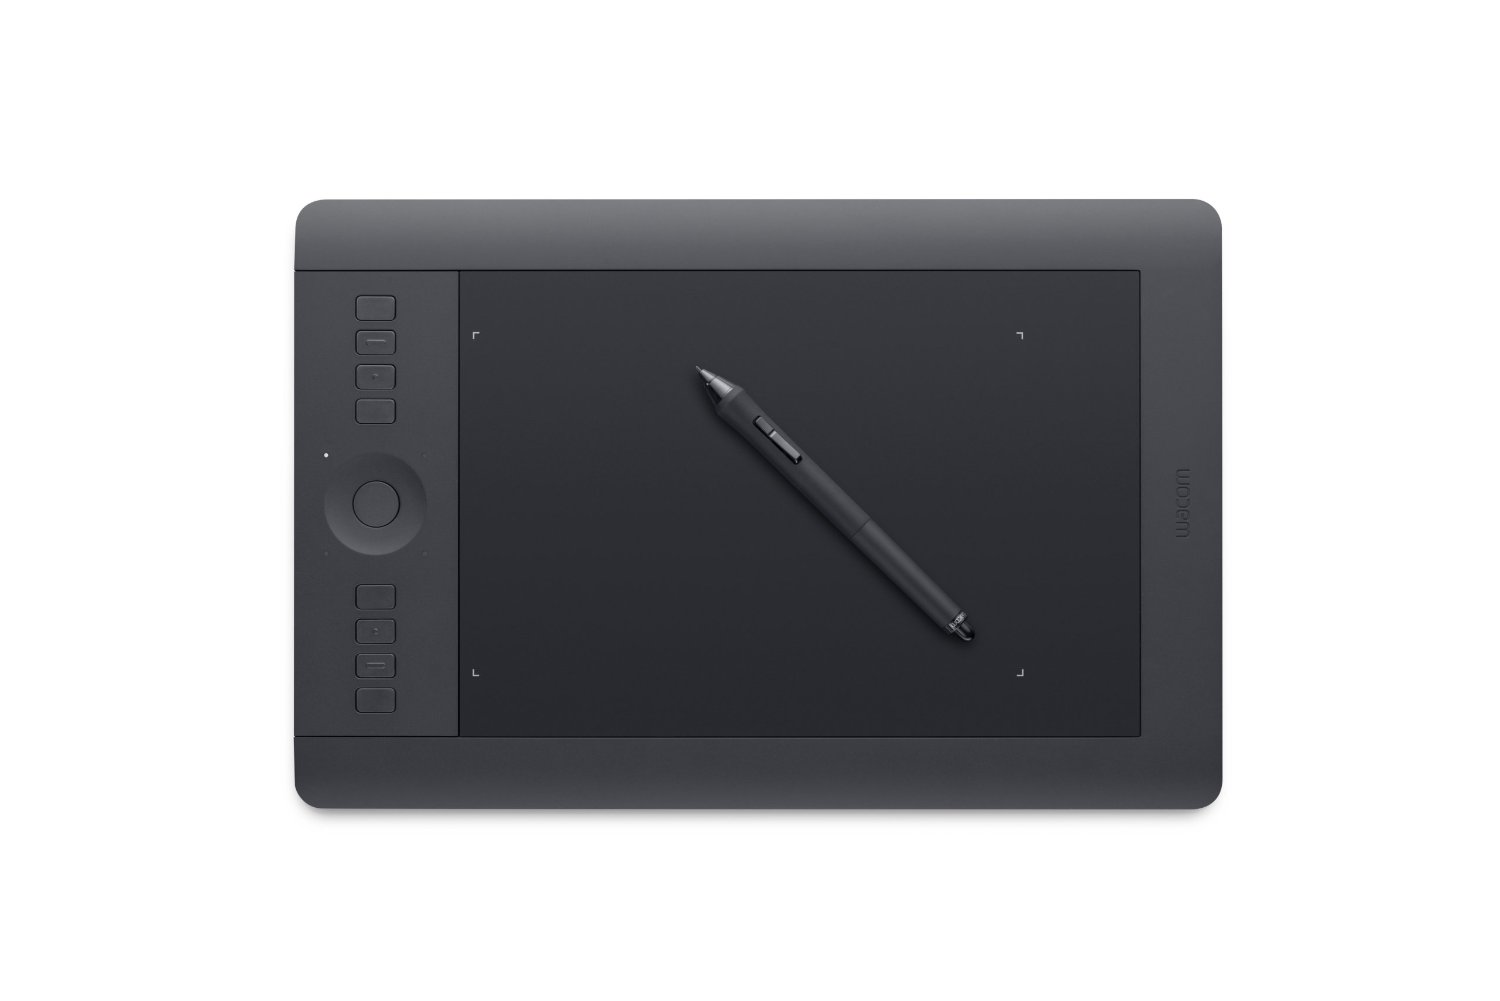
The Intuos Tablet - The Intuos tablet, also manufactured by Wacom, feels quite a bit more natural than the Bamboo. It also includes more features and programmable buttons. Of course, all of this comes with a price. The Intuos is quite a bit more expensive than then Bamboo. It is considered a professional tablet. If you are just starting out, I personally feel that the Bamboo will do everything you need it to.
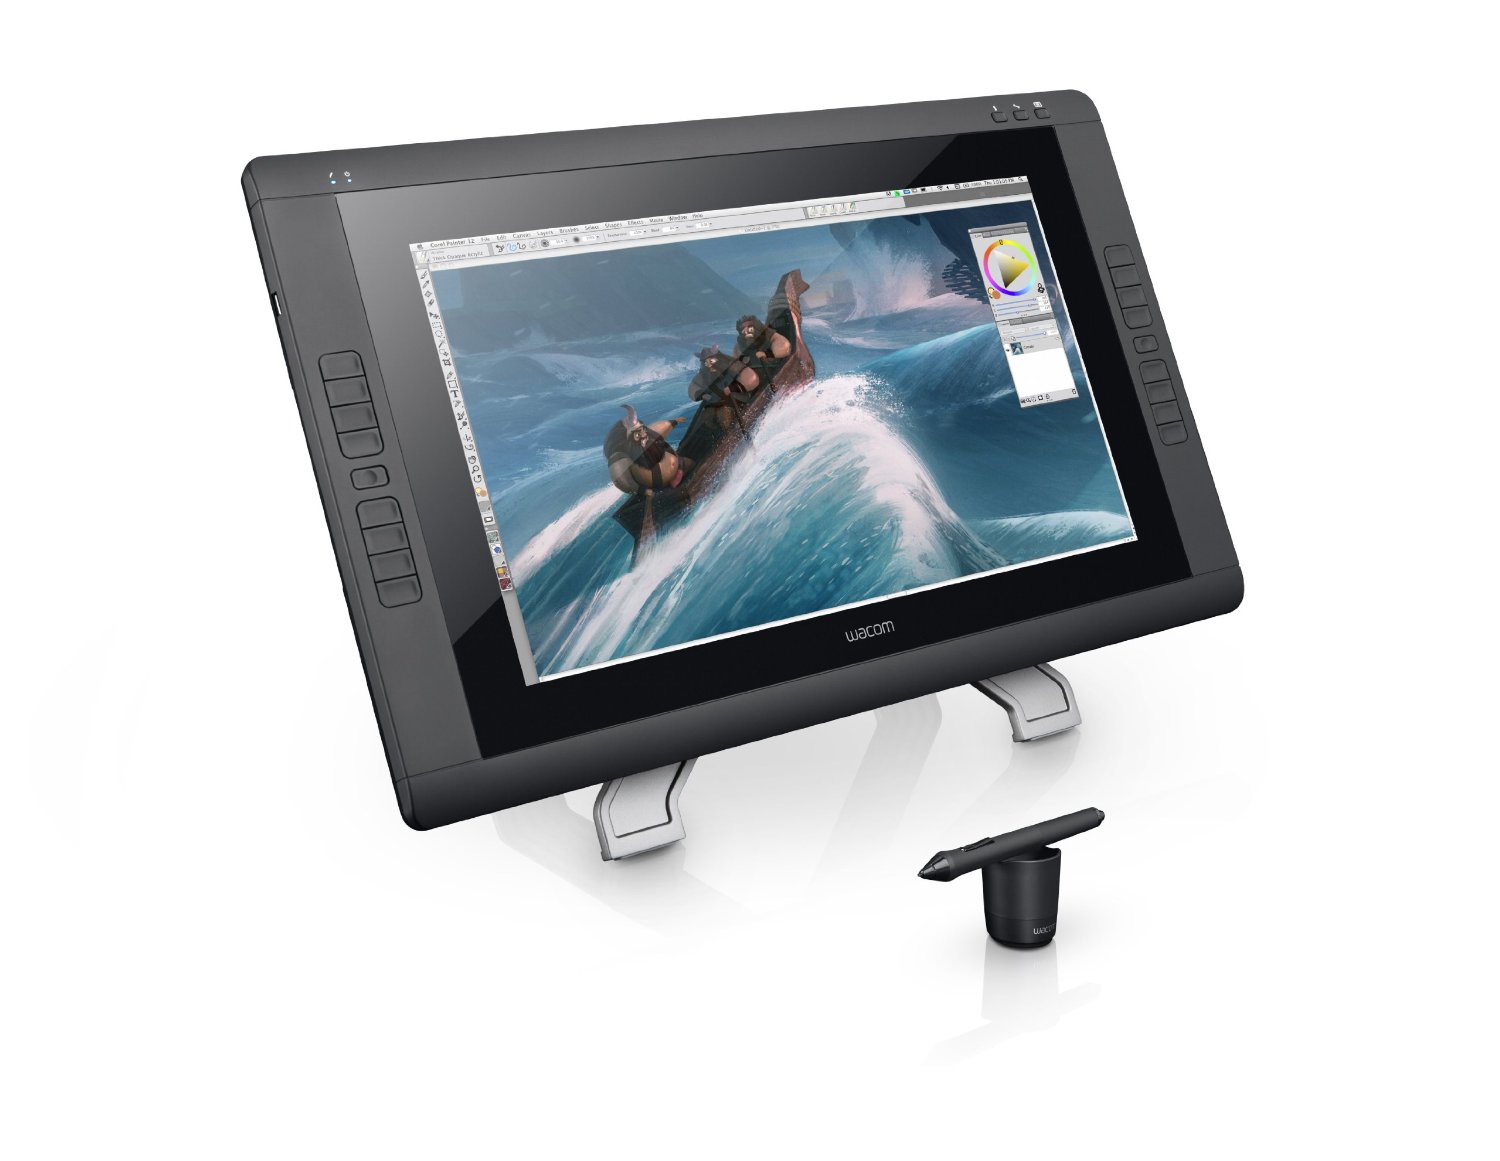
The Cintiq - The Cintiq is the ultimate tool for digital artists. Despite having a slick screen, the marks still feel very natural. The pressure sensitivity of the stylus is unrivaled and nothing beats making marks "directly on the screen". It can be titled at multiple angles making it feel as though you are drawing or painting on an easel. It can even tilt to match the angle of your arm. Of the options presented here, it is far more expensive. Considering what we spend on art materials over several years, the Cintiq may be worth the investment for you. I use my Cintiq every single day and it has been far worth what was paid for it. If you know that digital art is your medium, I would suggest investing in a Cintiq.
There are a variety of brushes that are standard in Photoshop that are suitable for drawing and painting. However, many artists and programmers have created additional brushes that behave and make marks like those of traditional media. These brush sets are easily added to the Photoshop brush library.
Kyle Webster, a digital artist, has created the most natural set of brushes available. His brushes are used by digital artists all over the world and can be found in the brush libraries of artists at Disney, Marvel Comics, Sony Pictures, and Dreamworks.
Kyle's Brushes now come with Adobe Photoshop.
With all drawing and painting mediums, the characteristics of the medium are exploited by the artist. For example, we can tilt a graphite pencil to produce different marks. The pencil dulls over time, which may also lead to aesthetically successful mark making. In a digital format, however, the tip of the pencil stays sharp. The line remains fine. This is much more what you'd expect when drawing with a mechanical pencil.
For this reason, the manner in which your digital drawing develops may be different than what you would expect with traditional media.
Since the lines remained fine in this example, I had to use line to define the value within the drawing. This required the use of cross hatching instead of simply adjusting the pressure placed on a semi-dulled pencil.
To develop the value and the form of the subject in the portrait, lines were crossed countless times. The more lines that were drawn, the darker the value became.
When lines are used to develop the value, like in a pen and ink drawing, we need to consider the form of the subject. Lines should flow over the contours of the form. These lines are called cross contour lines. Not only do they work to develop the value range, but when used correctly, they can also communicate the form of the subject.

For years, when I wanted to create a drawing in Adobe Photoshop, I used the mouse. I have since traded my mouse for a tablet. However, understanding how to draw with the mouse is important for any Photoshop user. More importantly, understanding the thought process behind drawing with the mouse will give you insight on how Photoshop works. It will help you better understand how to work with layers and help you when you need to problem solve along the way. Photoshop is, after all, a program that you must problem solve as you work.
In this demonstration, I show you how to draw a sphere using only a mouse. It may seem like a taunting task, but actually it's not really difficult. Just make sure to use the tools to their potential. Use the brush tool like an airbrush, with a check on the opacity (around 25%) and the flow (around 30%).
A larger brush typically works better for this drawing. Also be sure to keep the circular area selected when you paint the highlights and the shadows on the sphere.
The selection tools are the most used tools in Adobe Photoshop. They tell the computer where you want to work and where you want to avoid. They can used for drawing, cutting and pasting, editing and adjustments and more. Understanding which selection tool is right for your task is the key to using the selection tools correctly.
The paint bucket is a relatively easy tool to use and understand. It is pretty straight forward to use. The gradient tool is found along with the paint bucket and is a little more complex to implement.
Sometimes, you need to add a little bling to some of your images in Adobe Photoshop. Most of the effects that you see are accomplished through layer effects. Creating metallic text is no different.
Experiment with different fonts, gradients, and lighting to create a variety of different types of text.
There are countless effects that you can create with text in Photoshop. Playing around with various layer effects can really make some cool things happen. You can easily add an outer glow, inner glow, add some beveling, or a stroke around the letters with layer effects. But it is also really easy to take the text to the next level by adding a reflection or a shadow underneath it.
Begin by creating some text. I choose to put this text on a gray background to create some contrast. I also added a couple of layer effects (bevel and emboss and an outer glow). Go to your layer palette and right click on your text layer. Select "Duplicate Layer". Pull your duplicated layer underneath your original text layer. Go to "Edit". Select "Transform"-> "Flip Vertical". When you do this, your text will flip upside down. Next, you will create a layer mask. To do this, go back to your layer palette. Select the "add layer mask" button at the bottom. Next, select the Gradient tool. Make sure that your Gradient is set to go from White to Black. Pull your gradient over the reflected letters. Next go to your layers palette and adjust the layer opacity to make the reflection natural looking.
This is what the effect should look like.

Now, we'll take a look a look at how to create a shadow effect underneath text.

Again, you will begin by making some text. In this case, I used the layer effect "bevel and emboss". Duplicate your text layer and pull the duplicated text underneath your original text. If you added any effects to the text, you will have to remove them. You will also have to "rasterize" the type in order to edit it. To do this, go to "Layer"->"Rasterize"->"Type". Now, color the text the color of your shadow with the paint bucket. Go to "Edit"->"Transform"->"Perspective". Grab a corner and pull to the desired shape. Now create a layer mask, just like we did with the reflection, and your shadow is complete.
Micrography is an ancient art making technique that is Middle Eastern in its origin. Micrography is the process of creating imagery through words or text- a text image. Micrography can be created through a variety of media. Pen and ink and graphite are commonly used. By adjusting the value of ink or graphite, an image can appear through the text. If using line, adjusting the line quality can create the illusion of a change in value.
Micrography is very easily created in Adobe Photoshop CS4. Take whatever image you want to convert into text and bring it into Adobe Photoshop CS4. Duplicate the layer. Then go to image->adjustments->threshold. Slide the bar to adjust the threshold effect. Create a new layer and type your text in black in a small font size. Be sure to cover the entire document with black text. Rasterize the type by going to layer->rasterize->type. Go to the threshold layer. Select the white areas with the magic wand tool. (Be sure that the contiguous box is unchecked) Go to the black text layer and erase everything. Only the black text in the white areas will be erased.
Now you just need to repeat these steps with white text. But, before you do this, add a layer that is gray by creating a new layer. Go to select->all. Use the paintbucket to fill in the background gray. Move this layer behind the black text layer but on top of the threshold layer. Create a new layer on top of the gray layer and type with white text to cover the entire document. Rasterize the type. Go to the threshold layer. This time, select the black areas with the magic wand tool. Go to your white text layer and erase everything. Now you have an image made up of text.
By using clipping masks in Adobe photoshop, you can quickly and easily create interesting effects. A clipping mask does exactly what it suggests. A clipping mask allows for masking effects, such as an image showing through text. A clipping mask is accomplished by using two layers in a photoshop document. The bottom layer of the two acts as the masking agent. Masking effects do not have to be limited to just text. You can be creative and apply them to any shape or other effect just as easily.
First, pick an image that you would like to use. On a new layer, type your text (or draw or import a shape). If you are using text, choose a font that will allow for maximum exposure of the image. Transform your text to fit the image. Right click on the background layer and duplicate layer. Pull the background copy layer to the top of the layer order. Go to "layer"->"create clipping mask". Hide your background layer and your clipping mask should be visible. You can still edit the text on the text layer as well as the image on the clipping mask layer.
Creating an image that has some black and white areas highlighted by color is called "selective color". Here's how it works...
Start with the image that you would like use. Duplicate the background layer by right clicking on the layer. Select "Image"->"Adjustments"->"Desaturate" to take the color out of the duplicate layer. Then select "add a layer mask" from the layer palette. Use a soft brush with the opacity turned to 80% to paint the areas that you want colored with the color black. If you make a mistake, you can paint with white to desaturate. Think about color theory, so be sure to highlight colors that make sense to create an artistic image.
Most of us are aware of the art of Roy Lichtenstein. Lichtenstein was an American Pop Artist that created comic-like, large paintings. I have always been a big fan of his work. I recently came across a great tutorial on creating a Lichtenstein inspired image from photos using Photoshop.
Here's what my finished product looks like...
The lessons above should get you going with Photoshop, but they simply scratch the surface as to what is possible with this program. Many traditional artist now use Photoshop as part of their process. In fact, use the program every day. You can learn all of the techniques that I use to help me create traditional art in the course, Basic Photoshop for Artists.